<a href="http://www.bloglovin.com/blog/12777737/?claim=khsw6hm6zk2">Follow my blog with Bloglovin</a>
Updated 5/17/16
Getting out the Spring/Summer clothes and this blouse surfaced again. Although this is from 2013, Bling is still trendy in daytime wear. Actually, after all this time, it has graduated from Trend to Fashion.
Perhaps you have a blouse ready for an upgrade.
Updated 9/28/13
You know how you think your ideas are one-of-a kind? Unfortunately--or Fortunately--they are not. (That's why 15th Century explorers, who had limited communication between each other, all decided to seek the New World at the same time.)
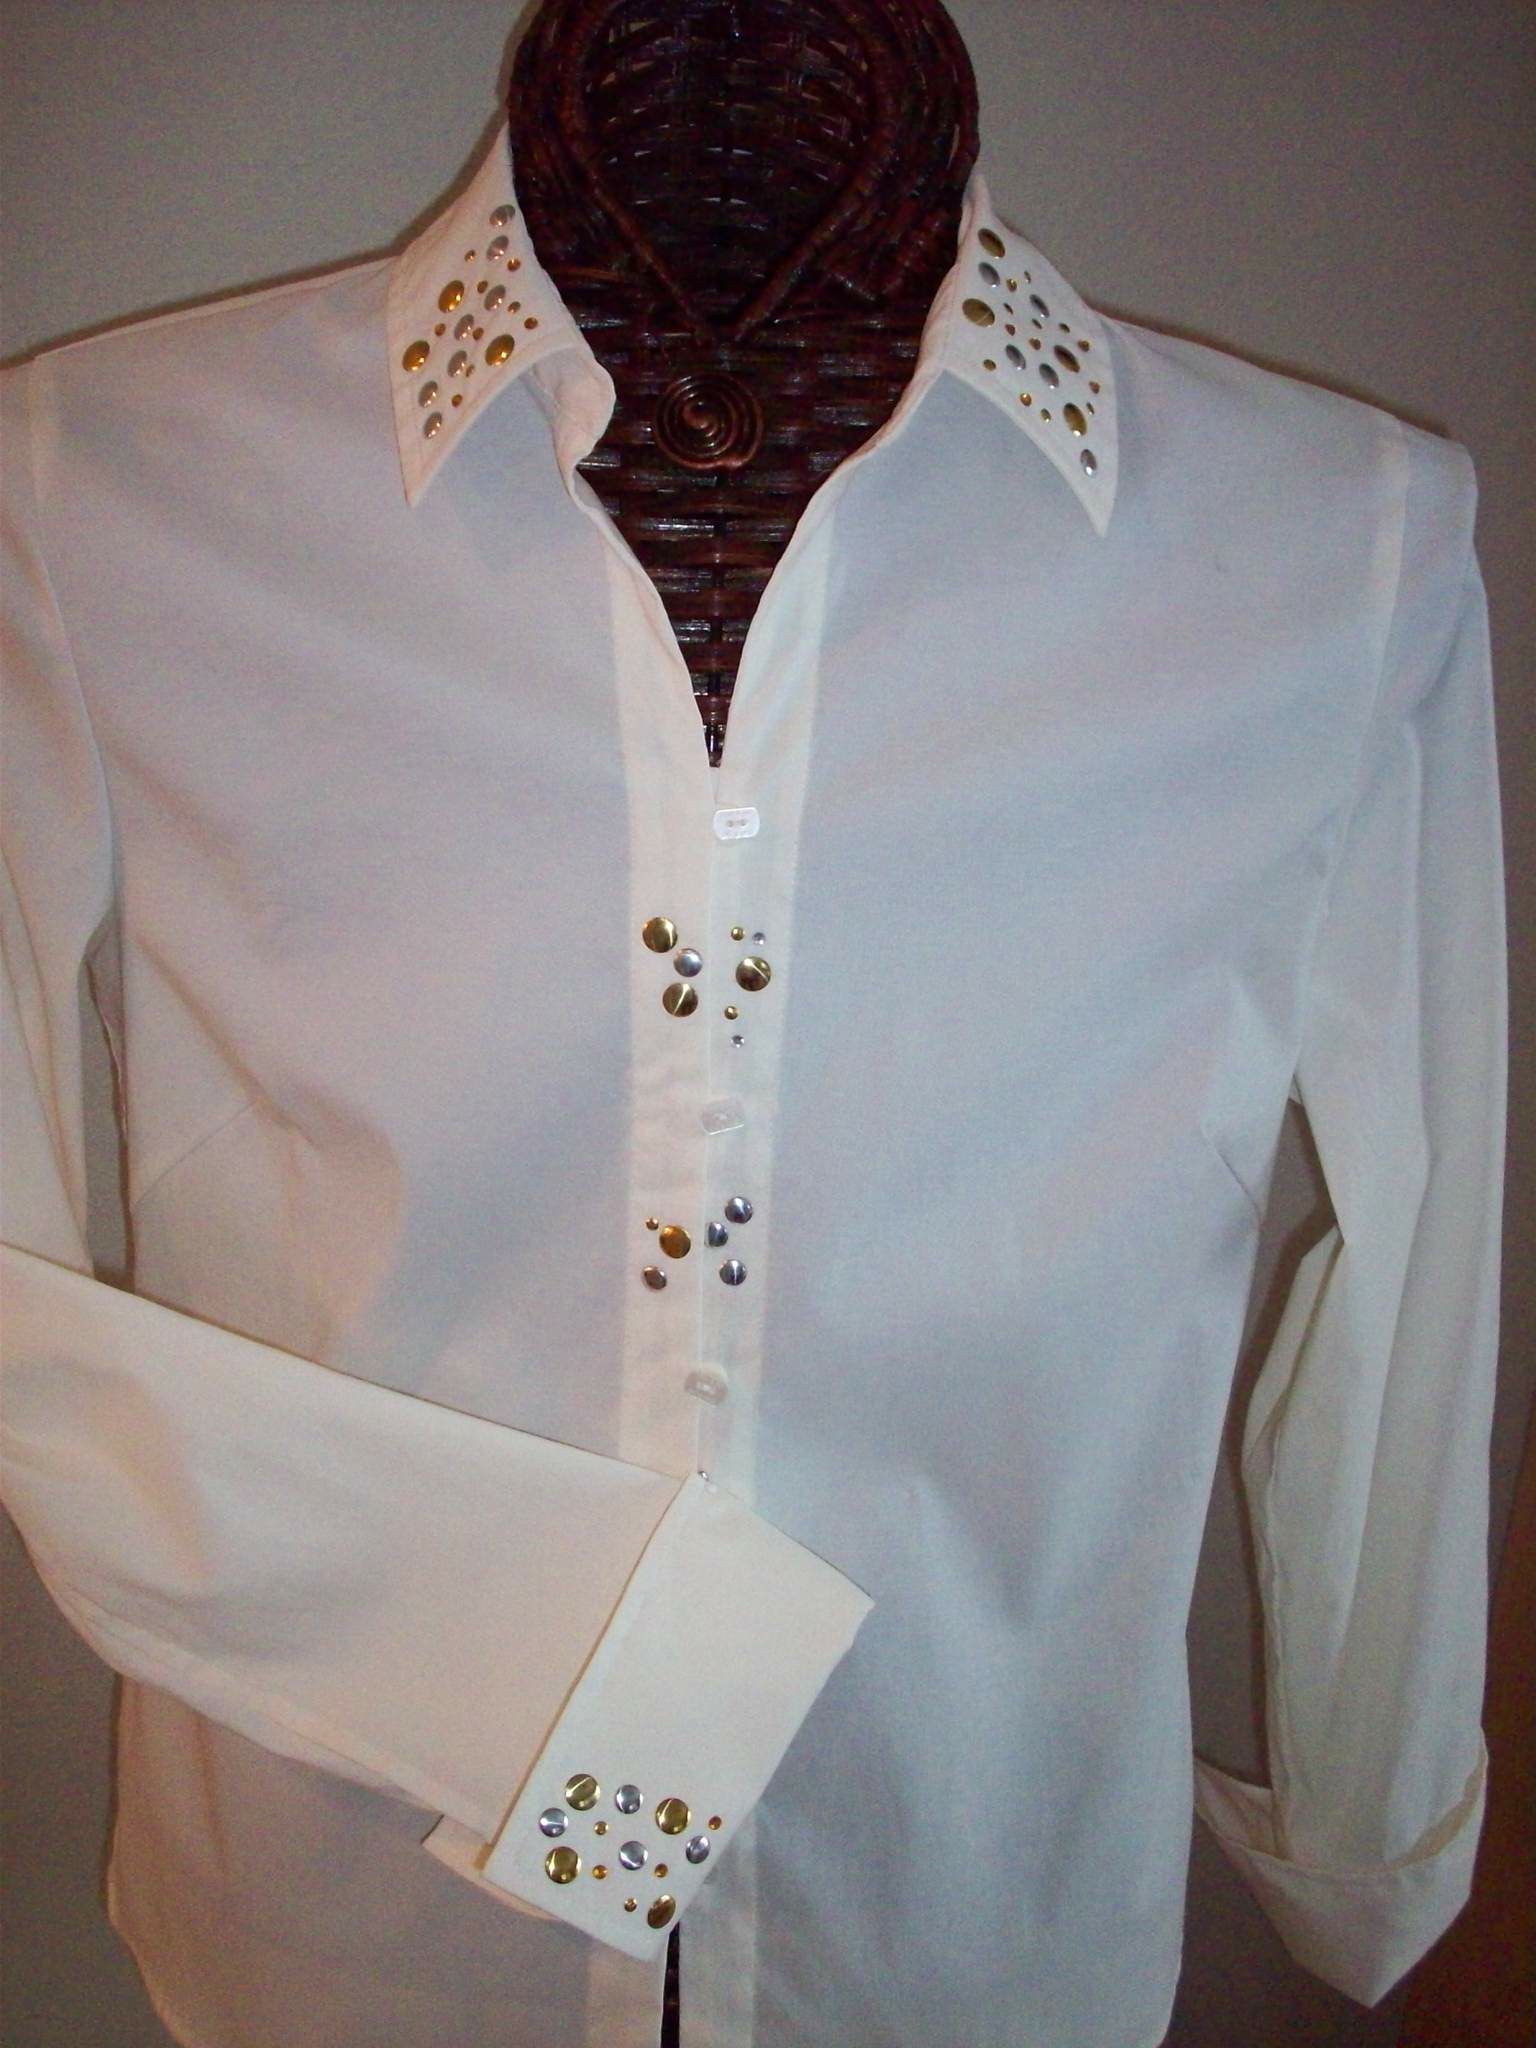
Imagine my surprise to see this studded blouse in my local department store--identical to one I made in April.
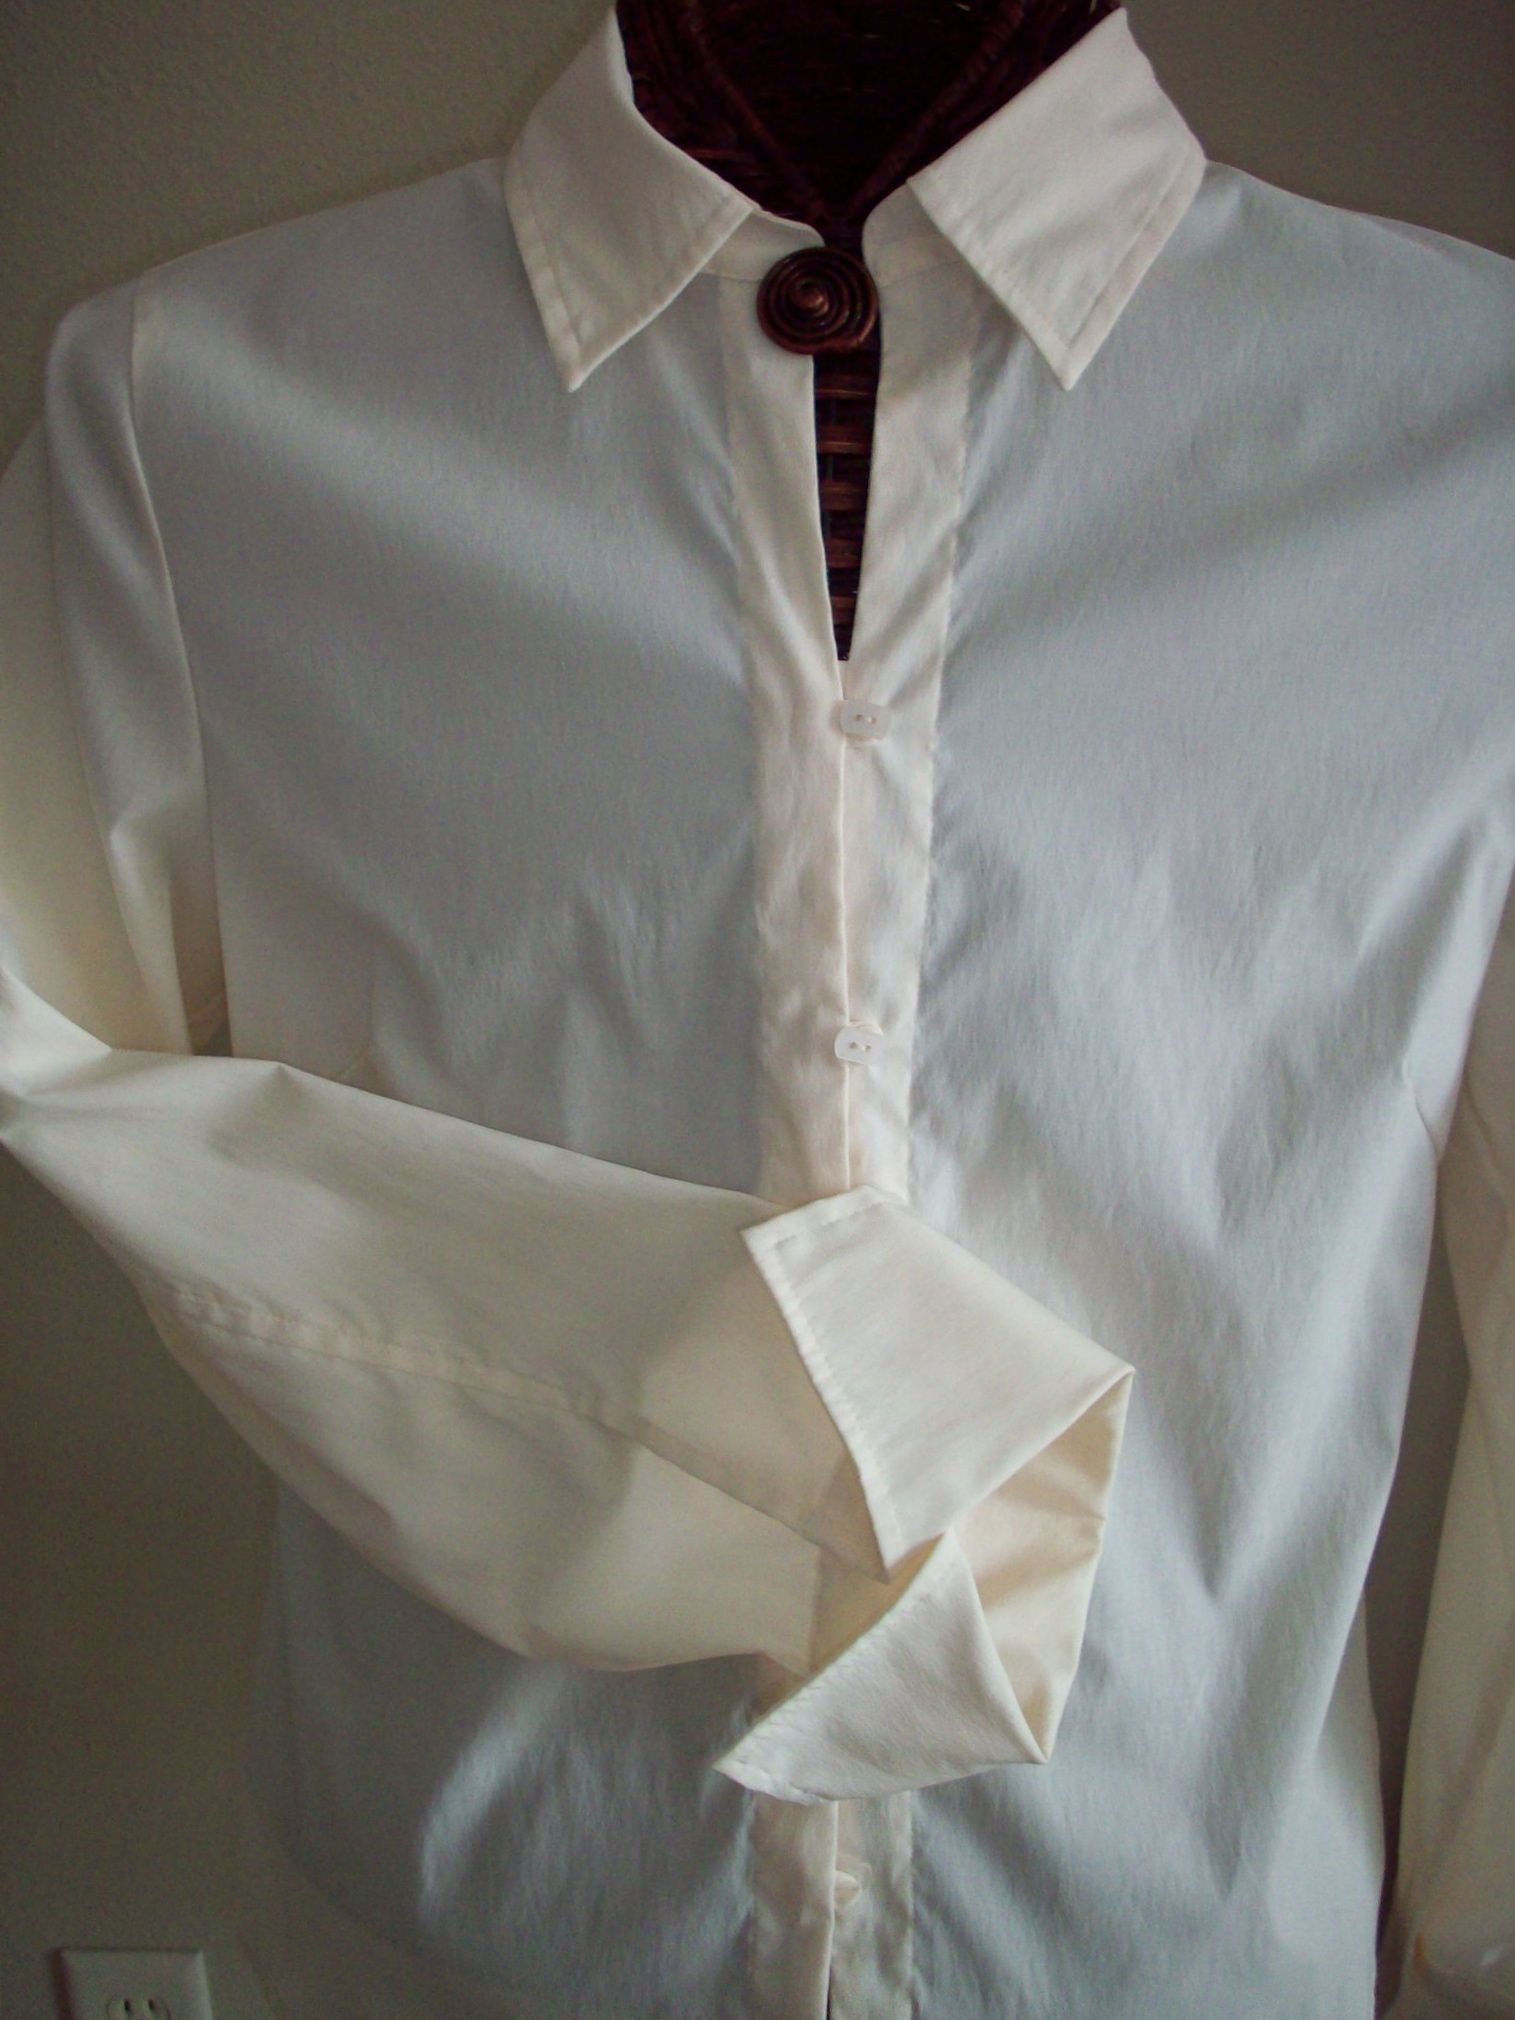
Here is that shirt that has been worn a few times under a sweater and then relegated to the back of a drawer as 'too good to toss' and consignment store didn't want. Hey, what do they know?
What originally attracted me was the fiber content of poly, nylon and spandex. Poly and nylon mean it is easy care--machine wash warm, hang to dry and wear. Although the fit skims the body, a bit of spandex is always welcome for stretching and reaching.
The photo makes the garment appear wrinkled but this is due to the slight texture in the yarn that hides wrinkles.
OK, enough touting the attributes of the shirt; I still wasn't wearing it. Then I saw Inspiration in the Bright and Shiny Blouse from a previous post and knew a solution had been found.
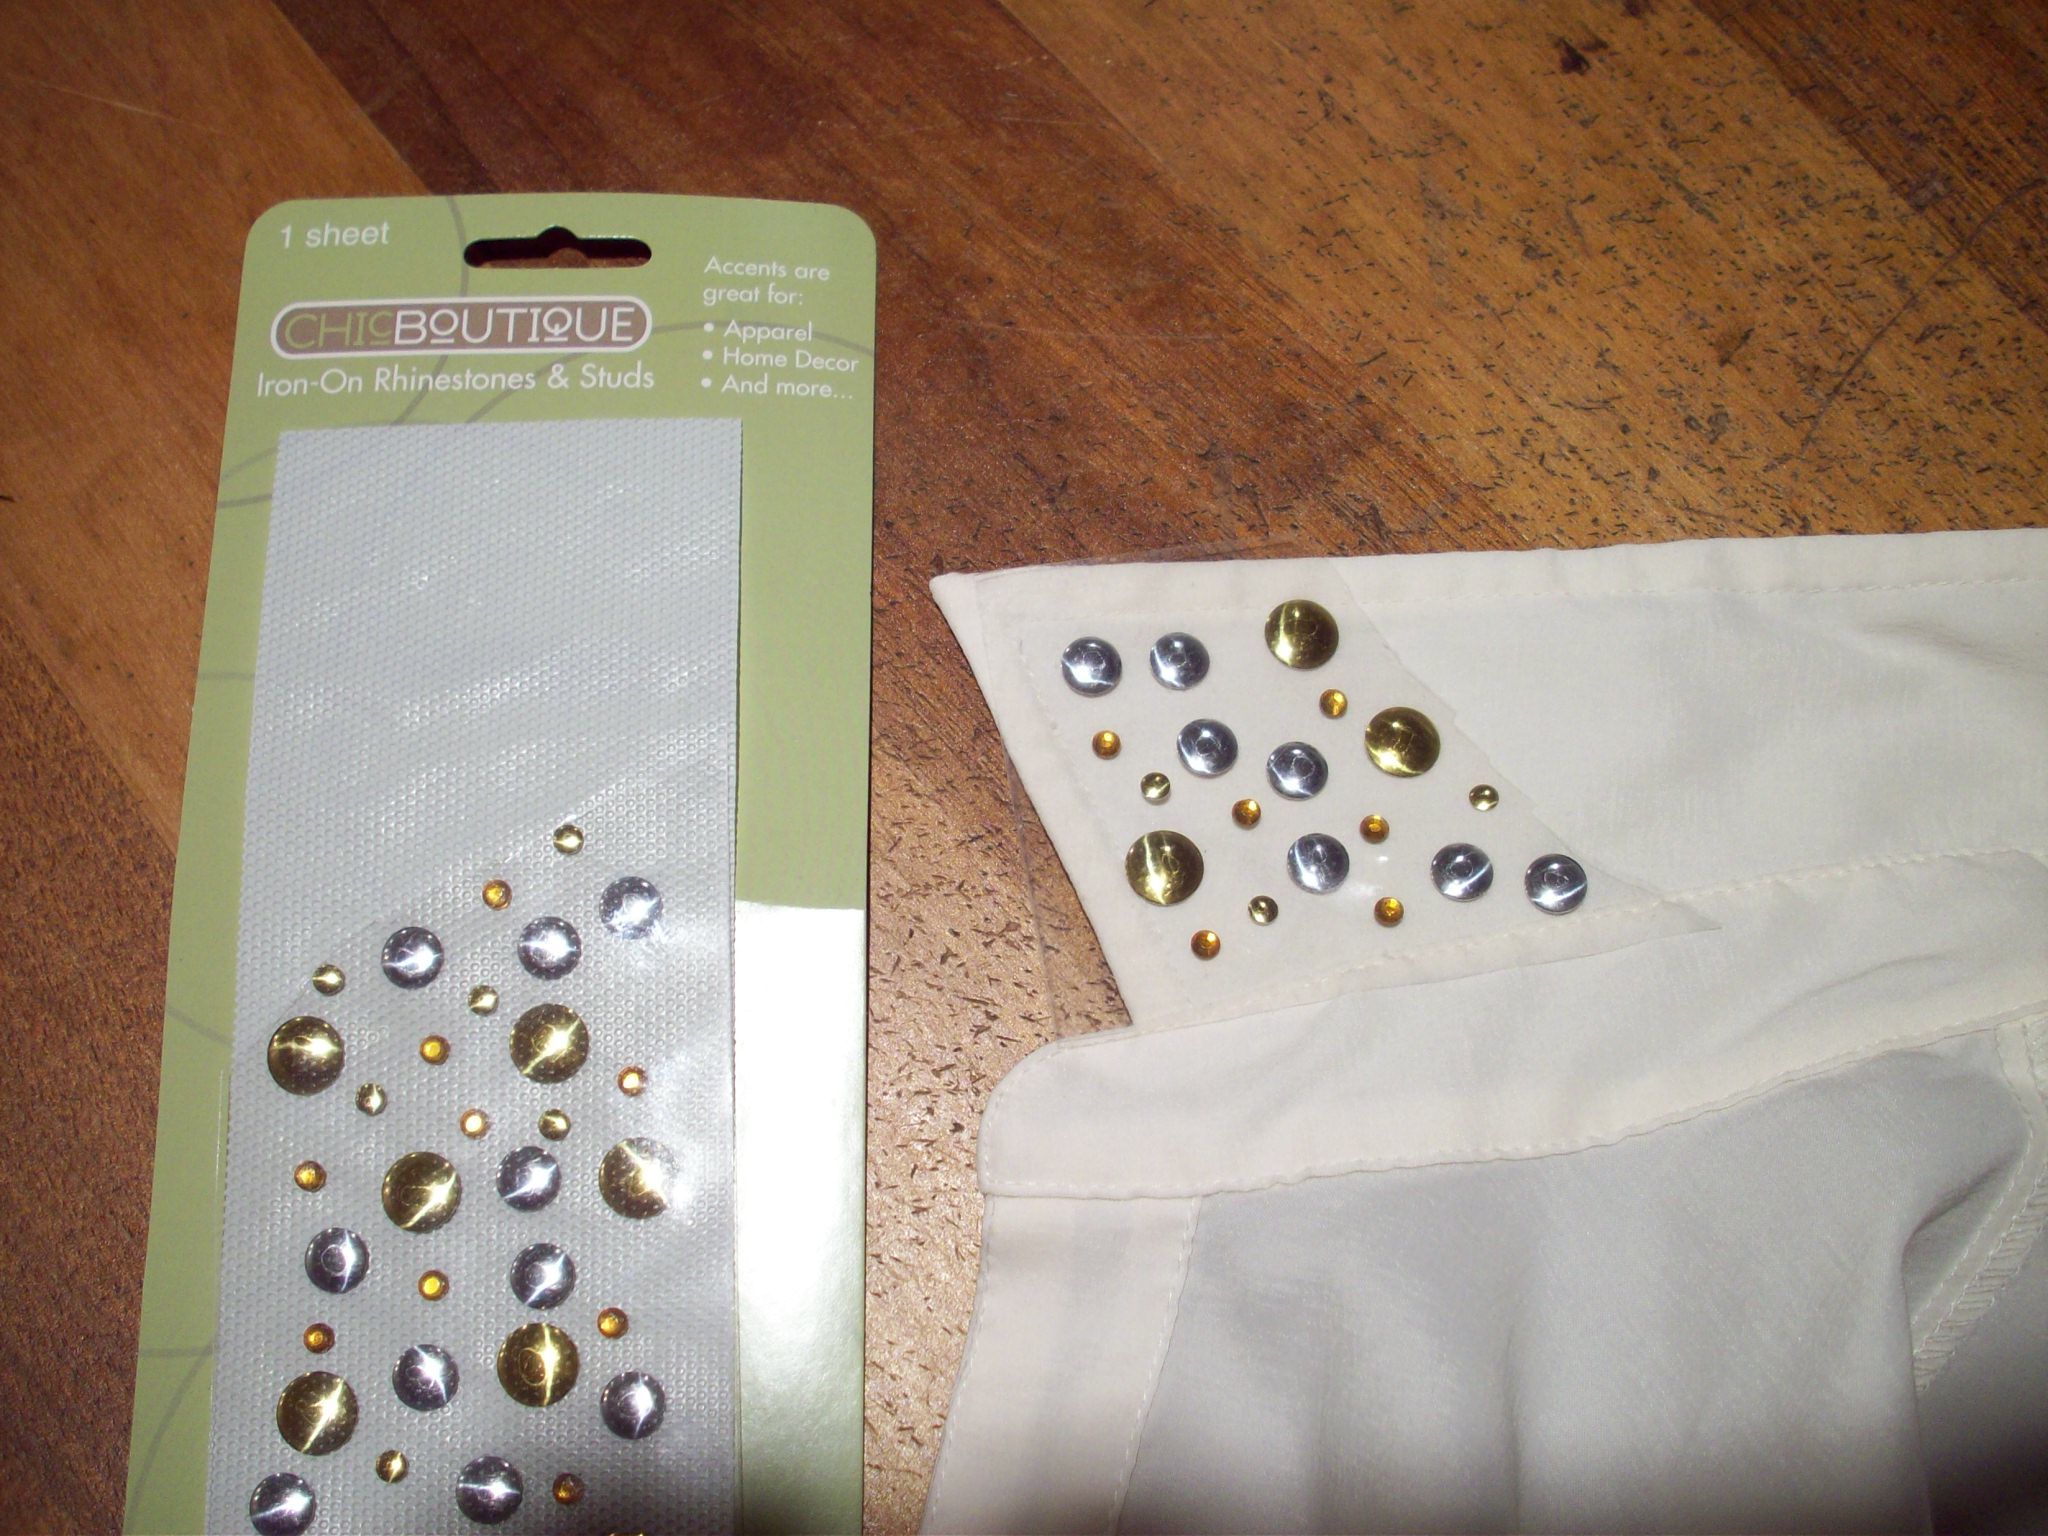
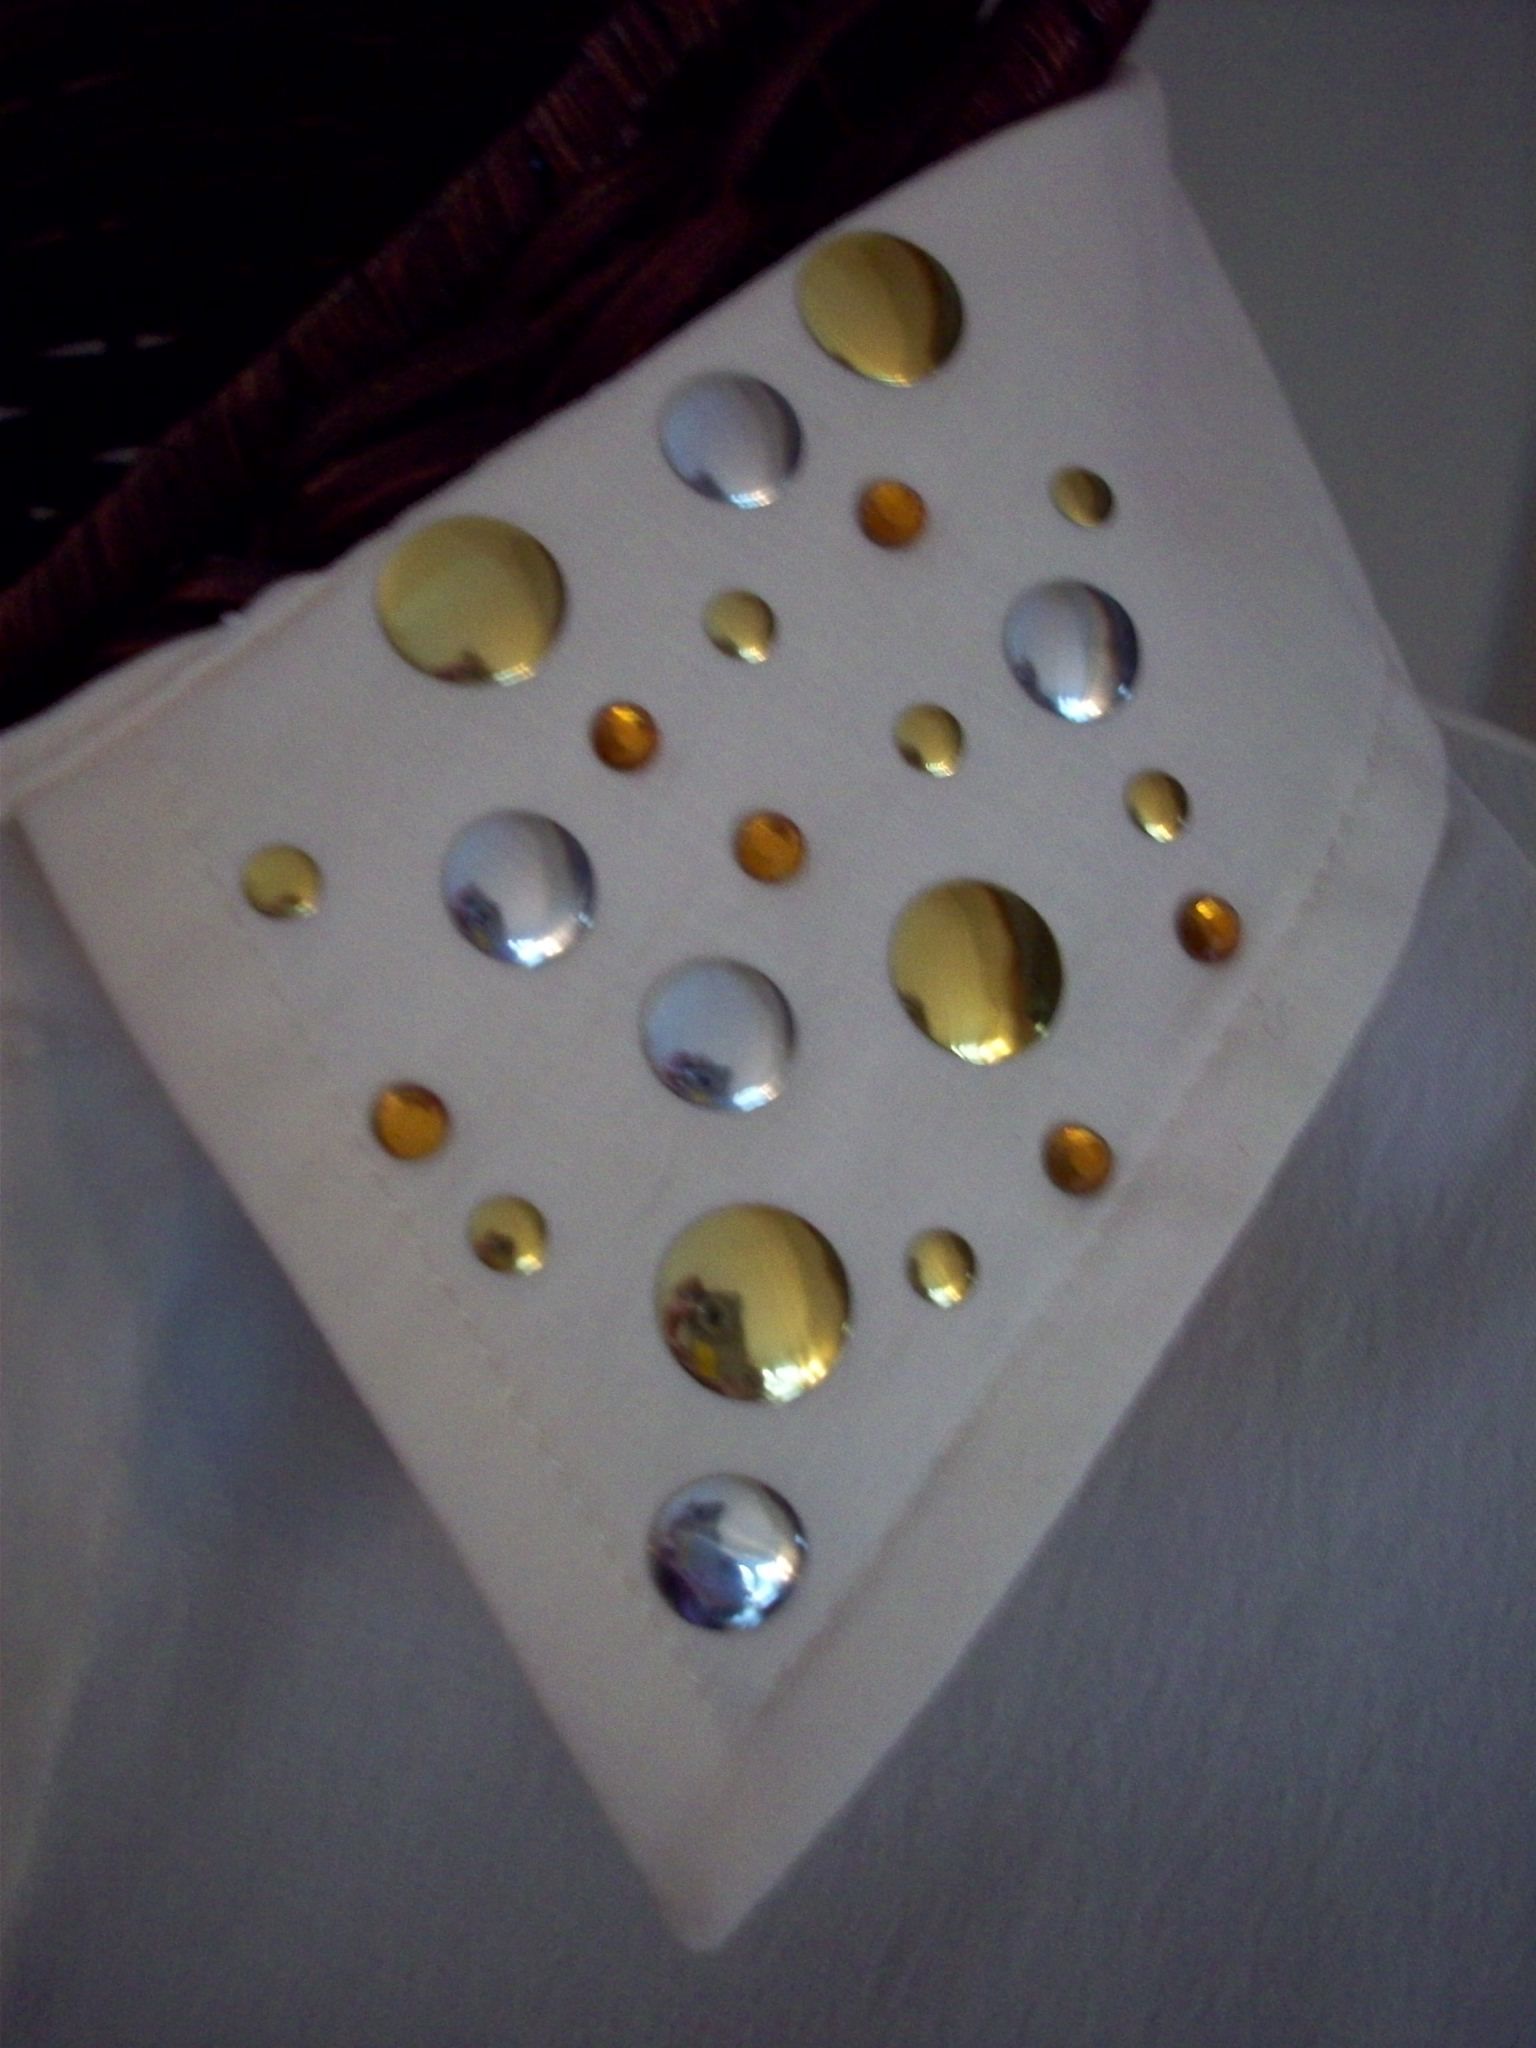
I originally planned on applying studs with the a Hot Fix Tool, but found a package of Iron On Art in my stash that would be much quicker to apply; instead of applying individual studs, I could just cut the sheet apart and apply multiple studs in one step. And I really liked the combination of silver, gold, amber, clear and various sizes.
Directions were straight forward:
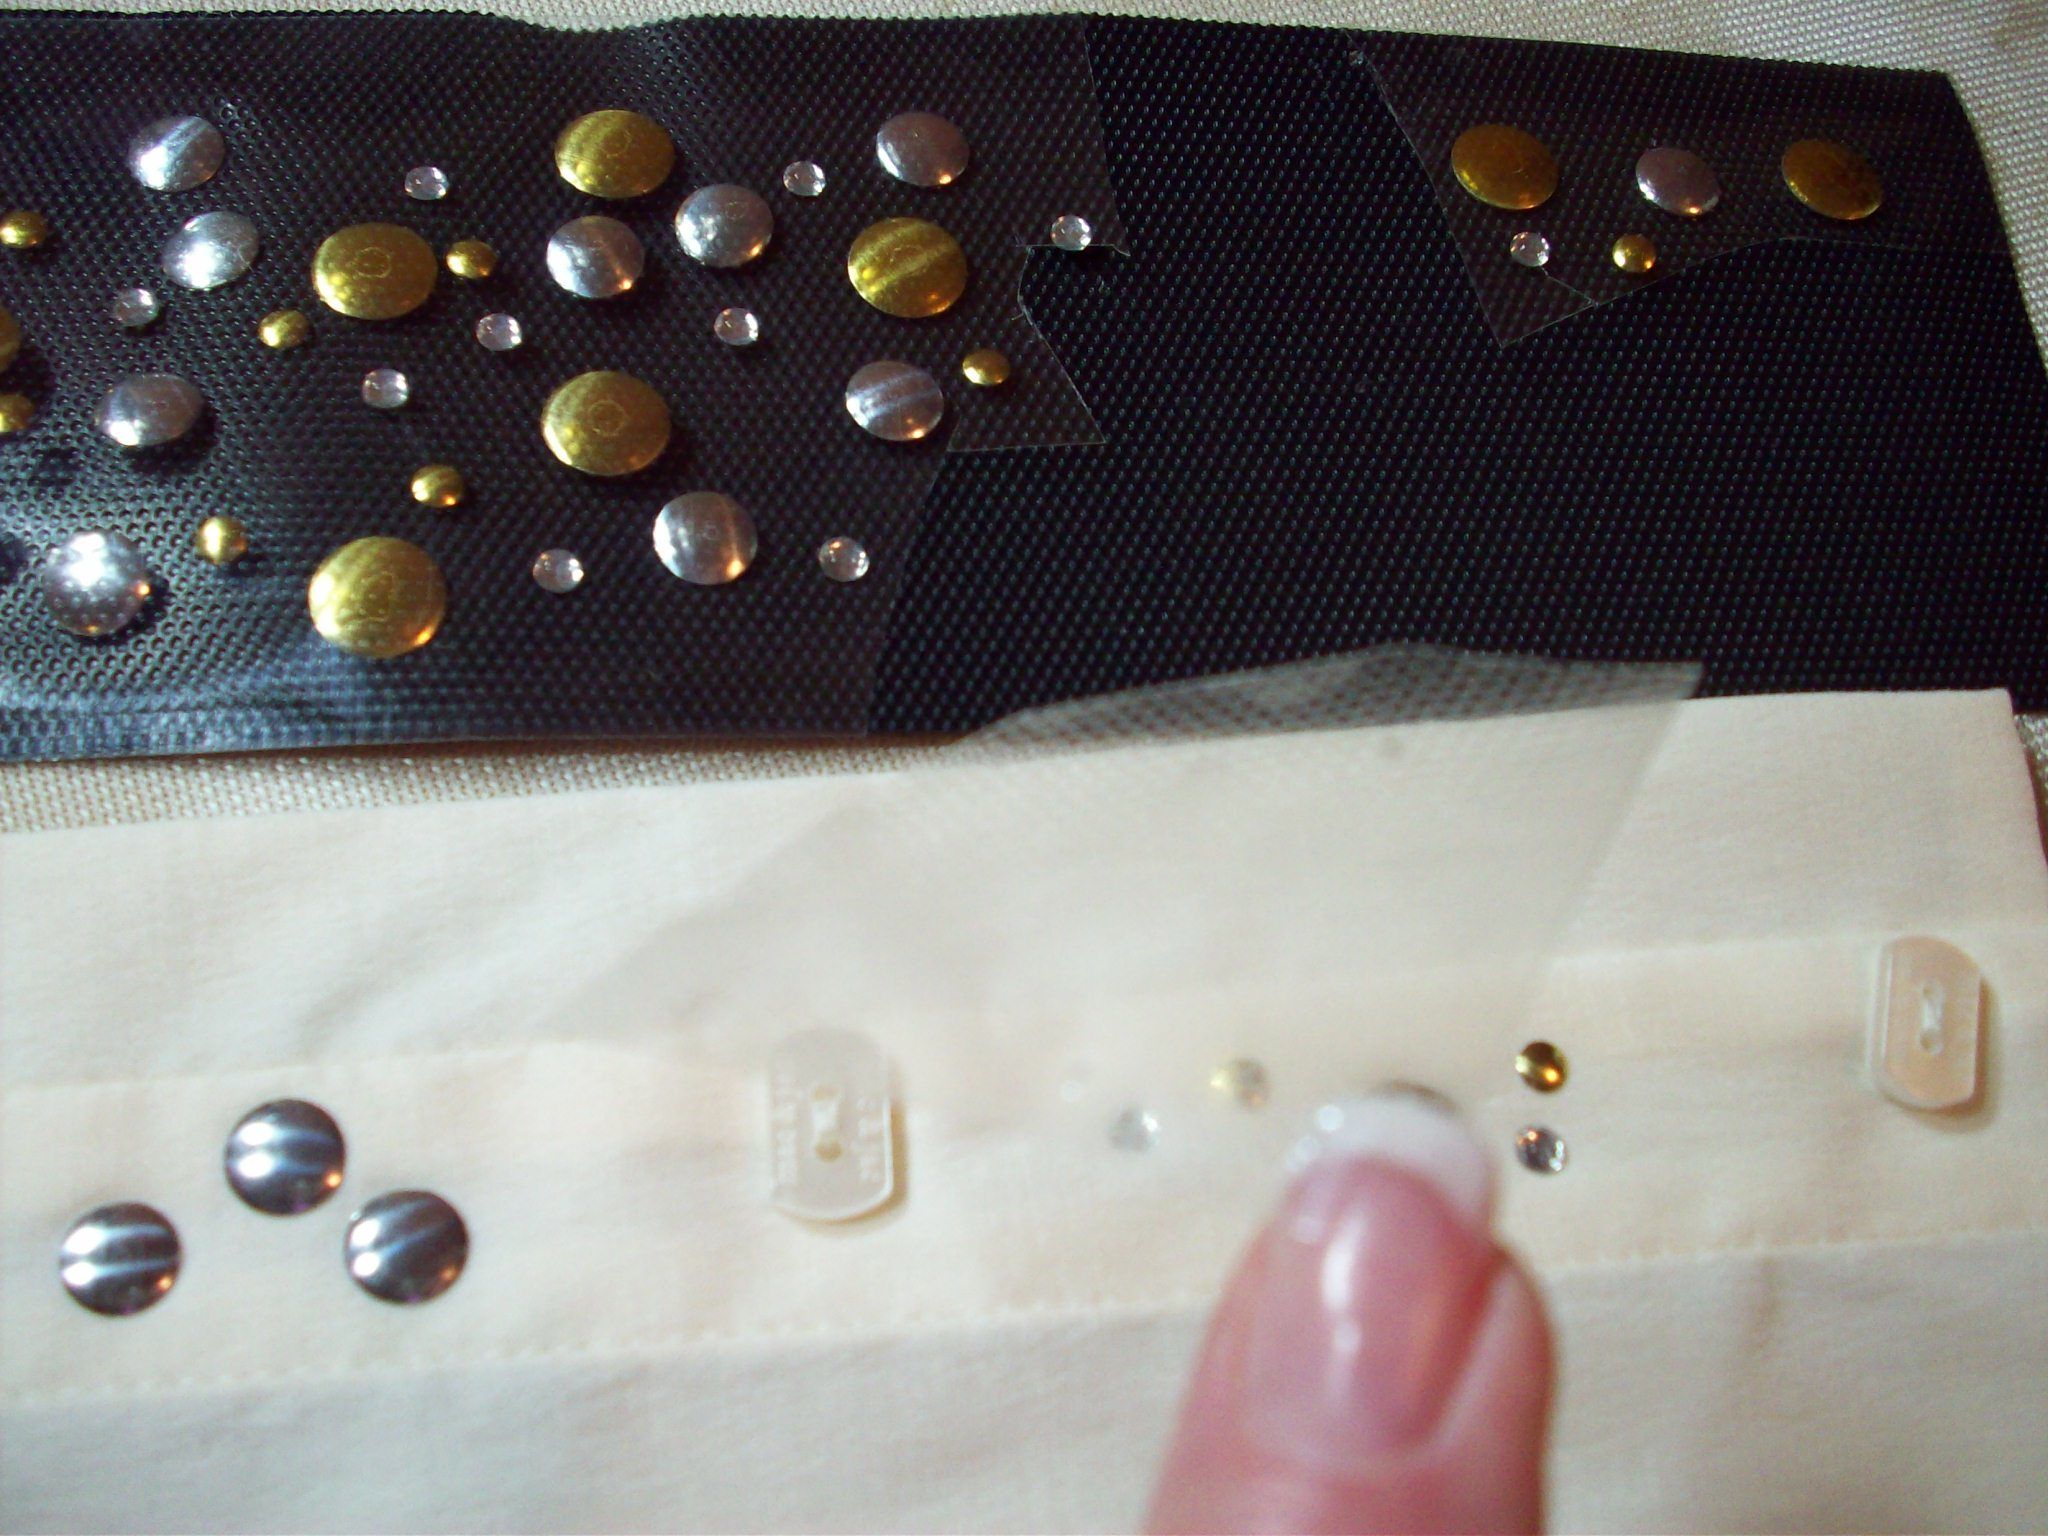
• Remove plastic sheet and cut design apart
• Preheat fabric
• Place sheet with studs sticky side down on right side of fabric; easily repositionable
• Press in place from wrong side following directions
• Cool and gently remove sheet from studs
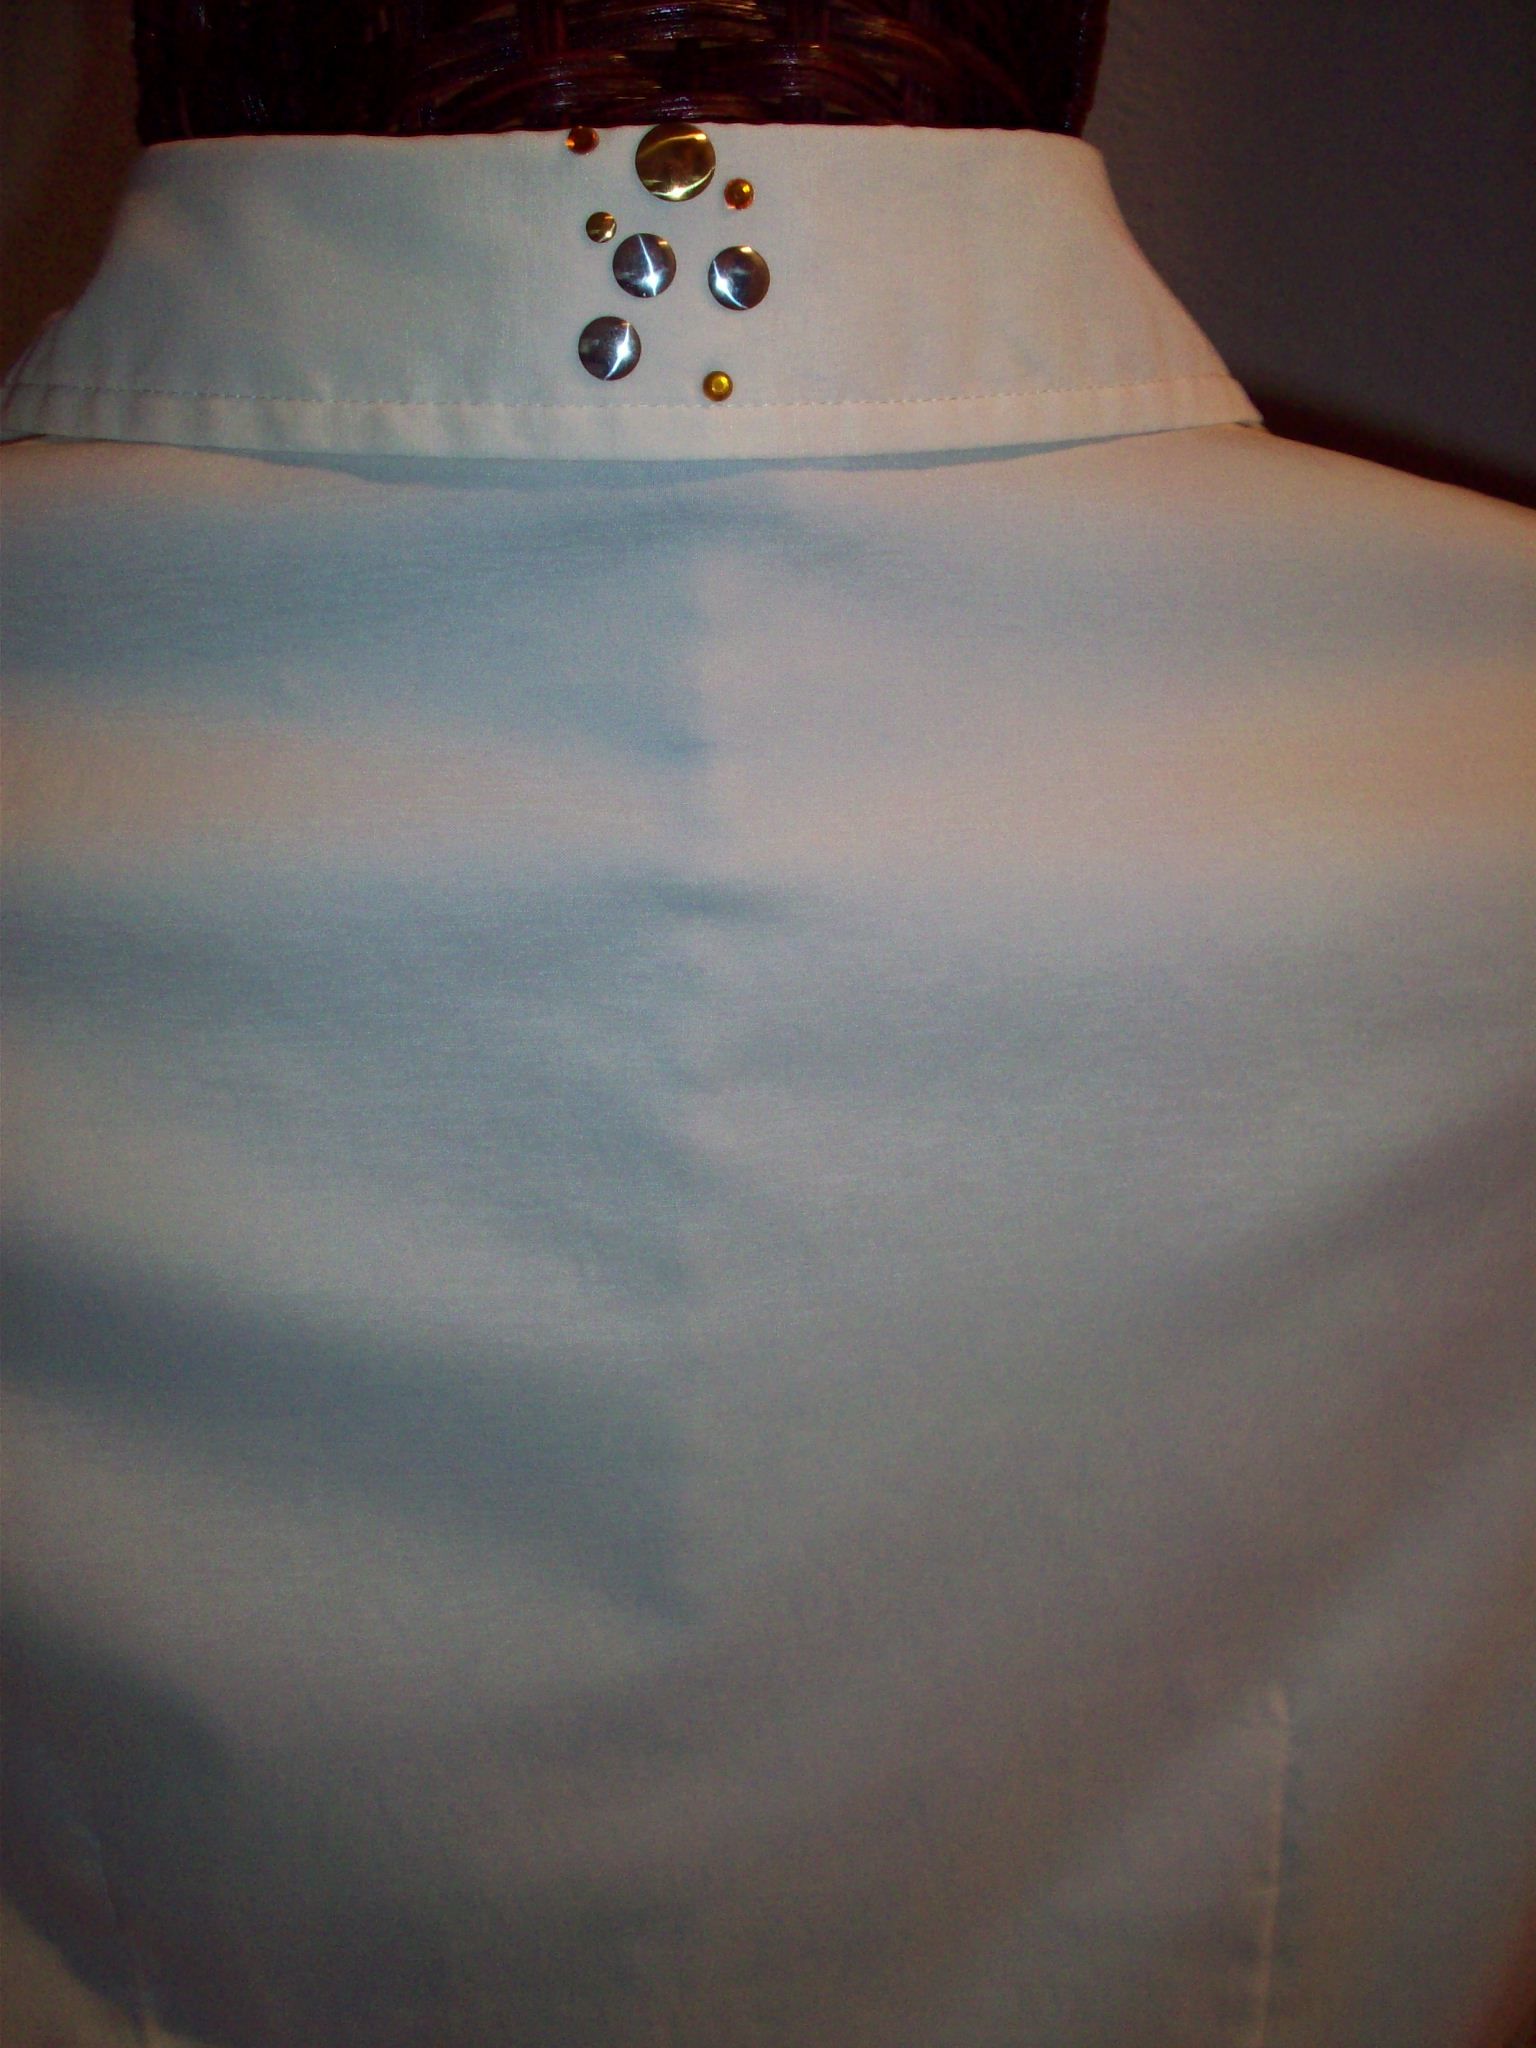
Much Better!
Note: ALWAYS, ALWAYS TEST! I cut out one of the larger studs and tested on an inside seam allowance to make sure the iron wasn't too hot and melted the fabric and/or overheated the glue which would cause it to lose its adhesion--per the instructions. Then tried to remove studs. All were secure and couldn't find any loose edges. If necessary, can be re-ironed. This particular product is permanent and can be hand-washed in cool water and air-dried. That is another thing to check--permanence for washable fabrics.
Read more.
