Sew on a Button with a Thread Shank
33 Steps–That got your attention.
Actually, it may be that many, as have tried to include all the tips and tricks I’ve accumulated. And want this to be the be-all, end-all button sewing tutorial.
Sewing on a button isn’t difficult but it seems to be the ‘bugaboo’ of all sewing tasks. Have you ever babied a dangling button just to avoid having to sew it back on? Well, here’s the scoop on sewing on buttons that will always look good and last.
Just remember the following Secret and Tip:
A Thread Shank is the Number One Secret
That’s the extra thread between the button and the fabric that provides room for the correct seating of the buttonhole under the button. A thread shank is absolutely necessary for thick fabrics but is even advantageous for shirts and blouses. The shank also is a strong attachment as it is firmly wrapped with thread providing strength through more thread and more abrasion resistance. Abrading of the thread is the #1 cause of missing buttons; the buttonhole moves back and forth under the button as the garment is worn, buttoned and unbuttoned.
No. 1 Tip for Sewing on Buttons
Do not use knots–at beginning or end of stitching. Typical place for knots is on the wrong side; it’s just going to rub off during wear, and pretty soon the button is loose/lost.
Knots under the button get in the way of the shank, plus they too rub off due to abrasion from the buttonhole.
Tools
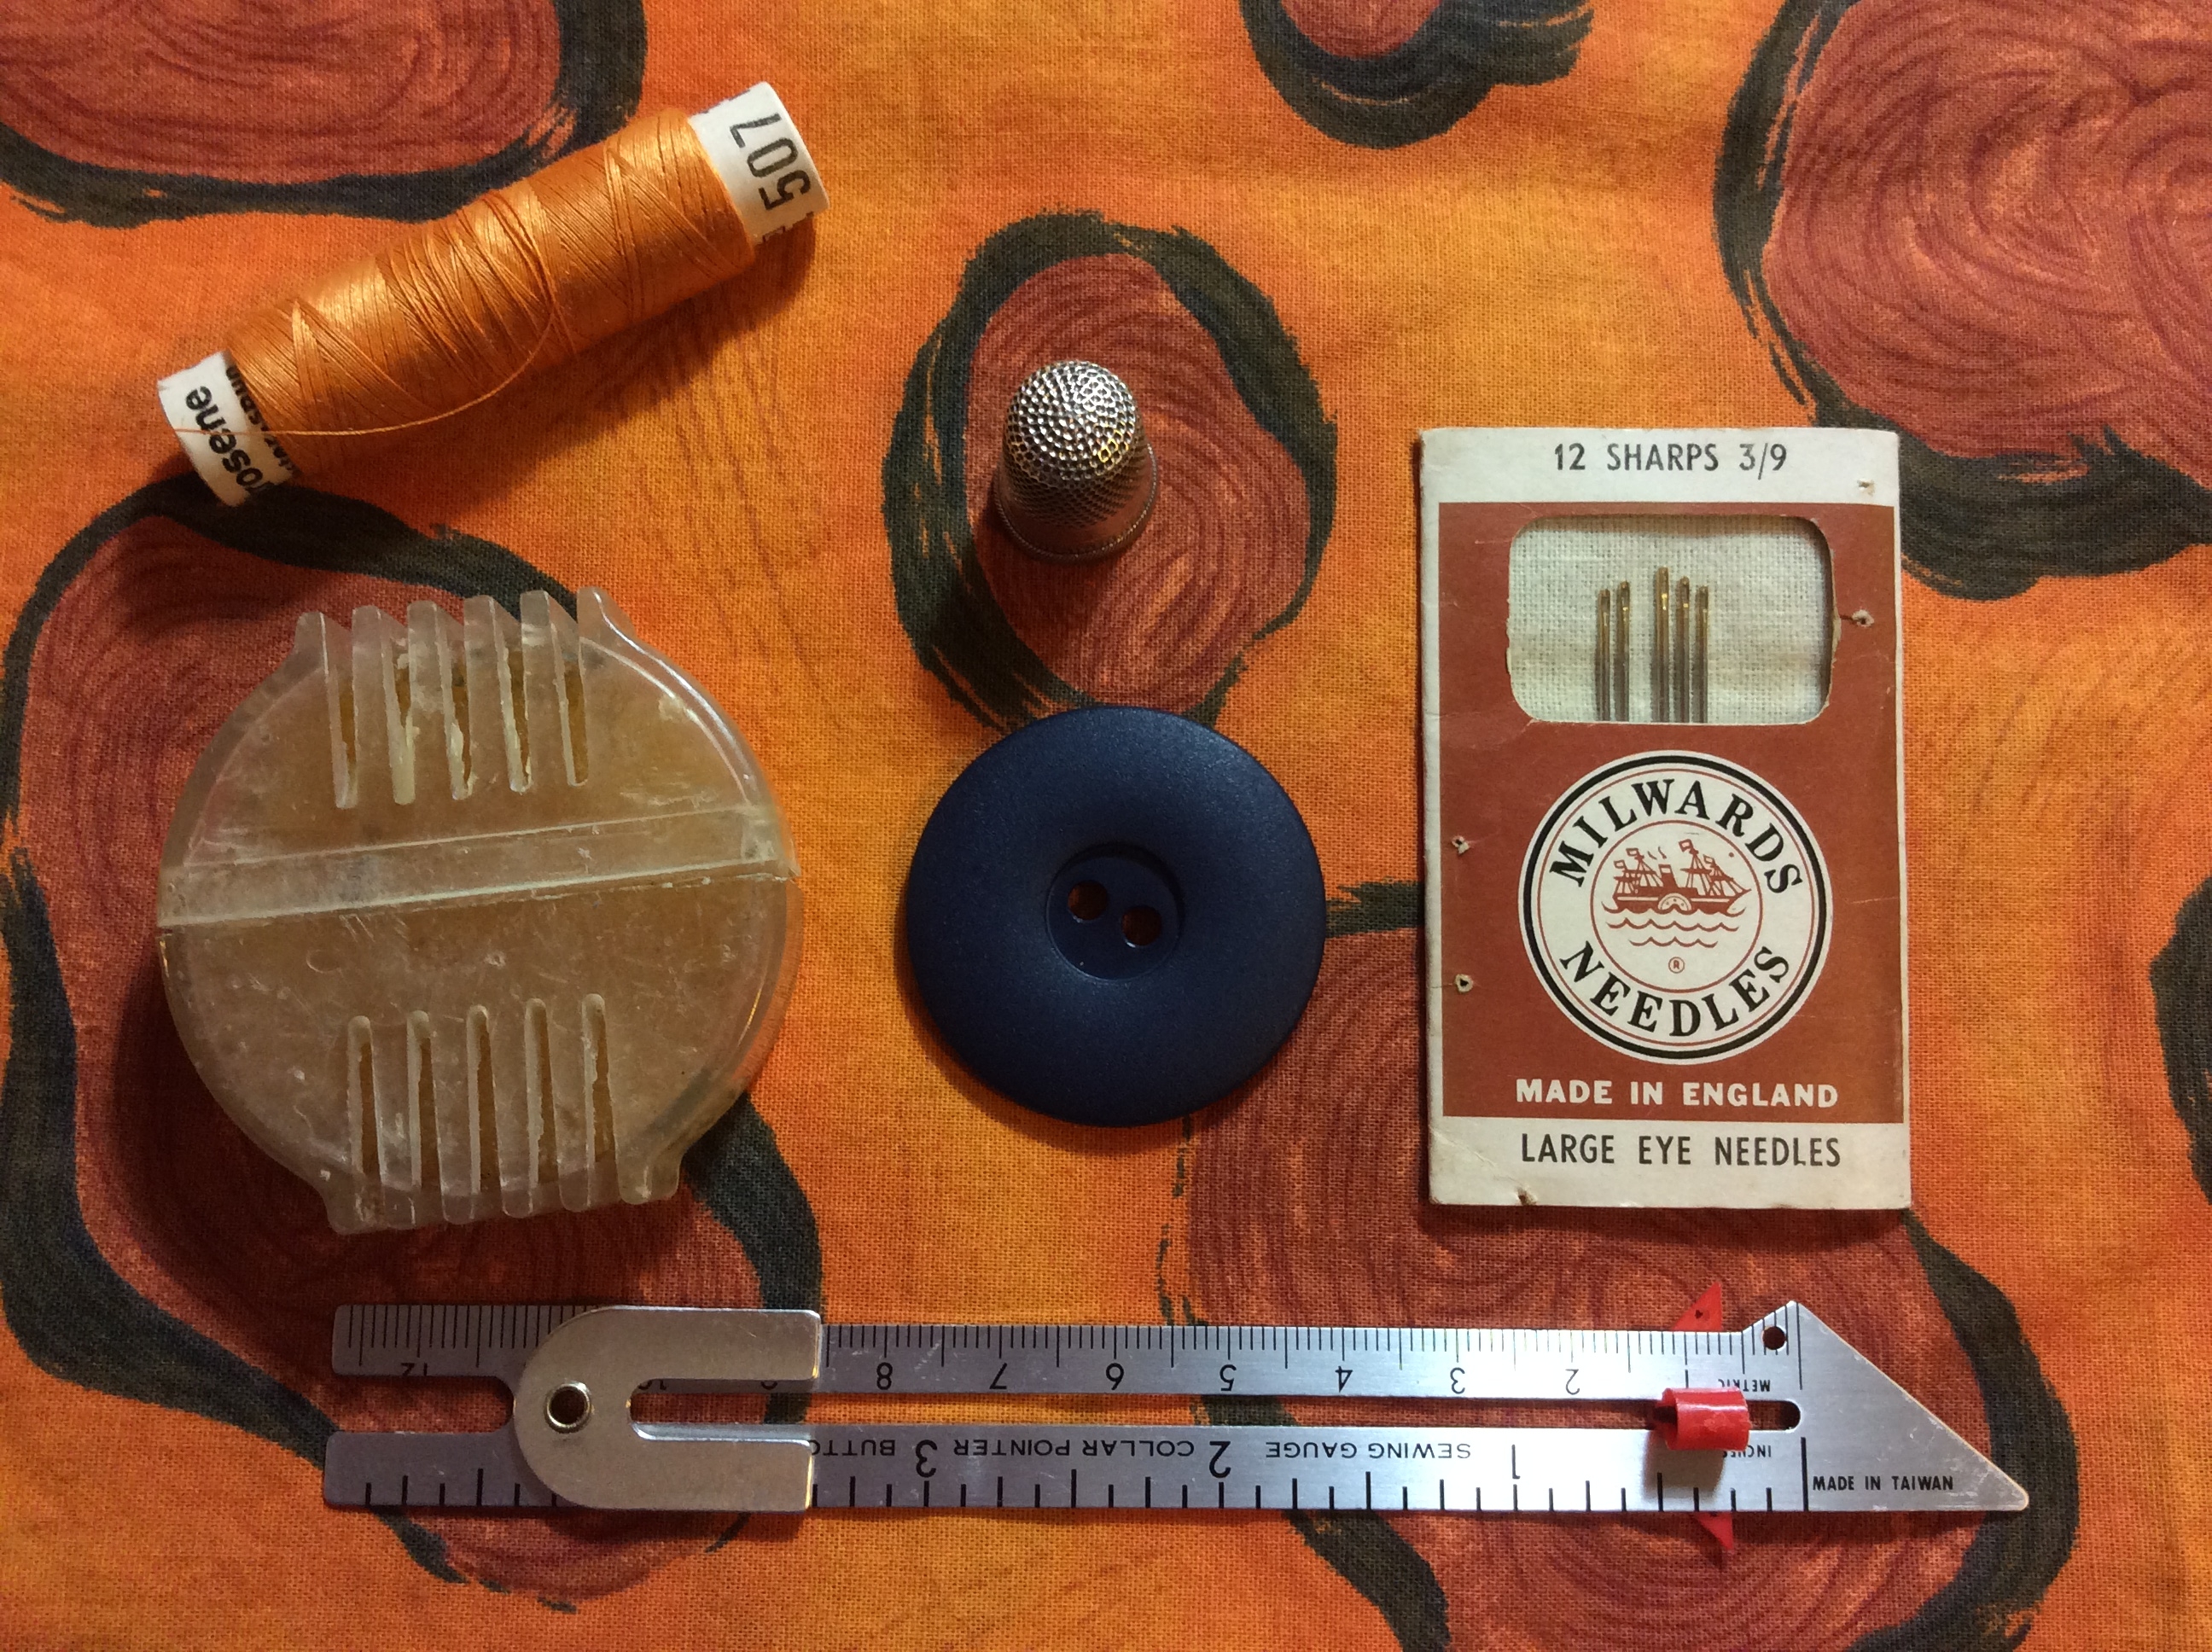
Tools
- 3″-4″scissors with sharp points; easy to get in tight spaces and nip threads
- Beeswax; this comes in a holder that separates threads for complete coating. Wax strengthens the thread, prevents knotting, eases needle threading. You can also use it to improve the glide on dresser drawers.
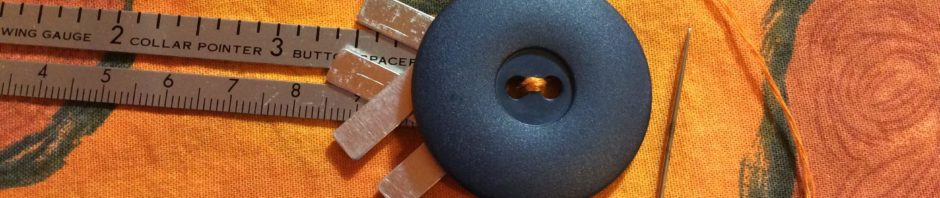
- Seam Gauge with Button Spacer
- Sharps Large Eye Hand Sewing Needles. Sharps are an all-purpose needle with a round eye for easy threading. The larger the size number the thinner the needle shaft. For thick or stiff fabrics, a size from 1-4 means a thicker shaft that won’t bend/break when pulled thru the fabric. An assortment of sizes in the 5-10 range will provide needles for most hand sewing needs.
- Thread–all-purpose polyester thread has high breakage and abrasion resistance–the button hole edges will rub on the thread. Use a double strand of thread so less stitches are needed to secure button; 3-5 stitches through the holes is sufficient, any more and it just looks messy.
- Fray Check/Seam Sealant secures thread ends and fabric fraying. It is washable and dry cleanable.
Button Sewing by Hand
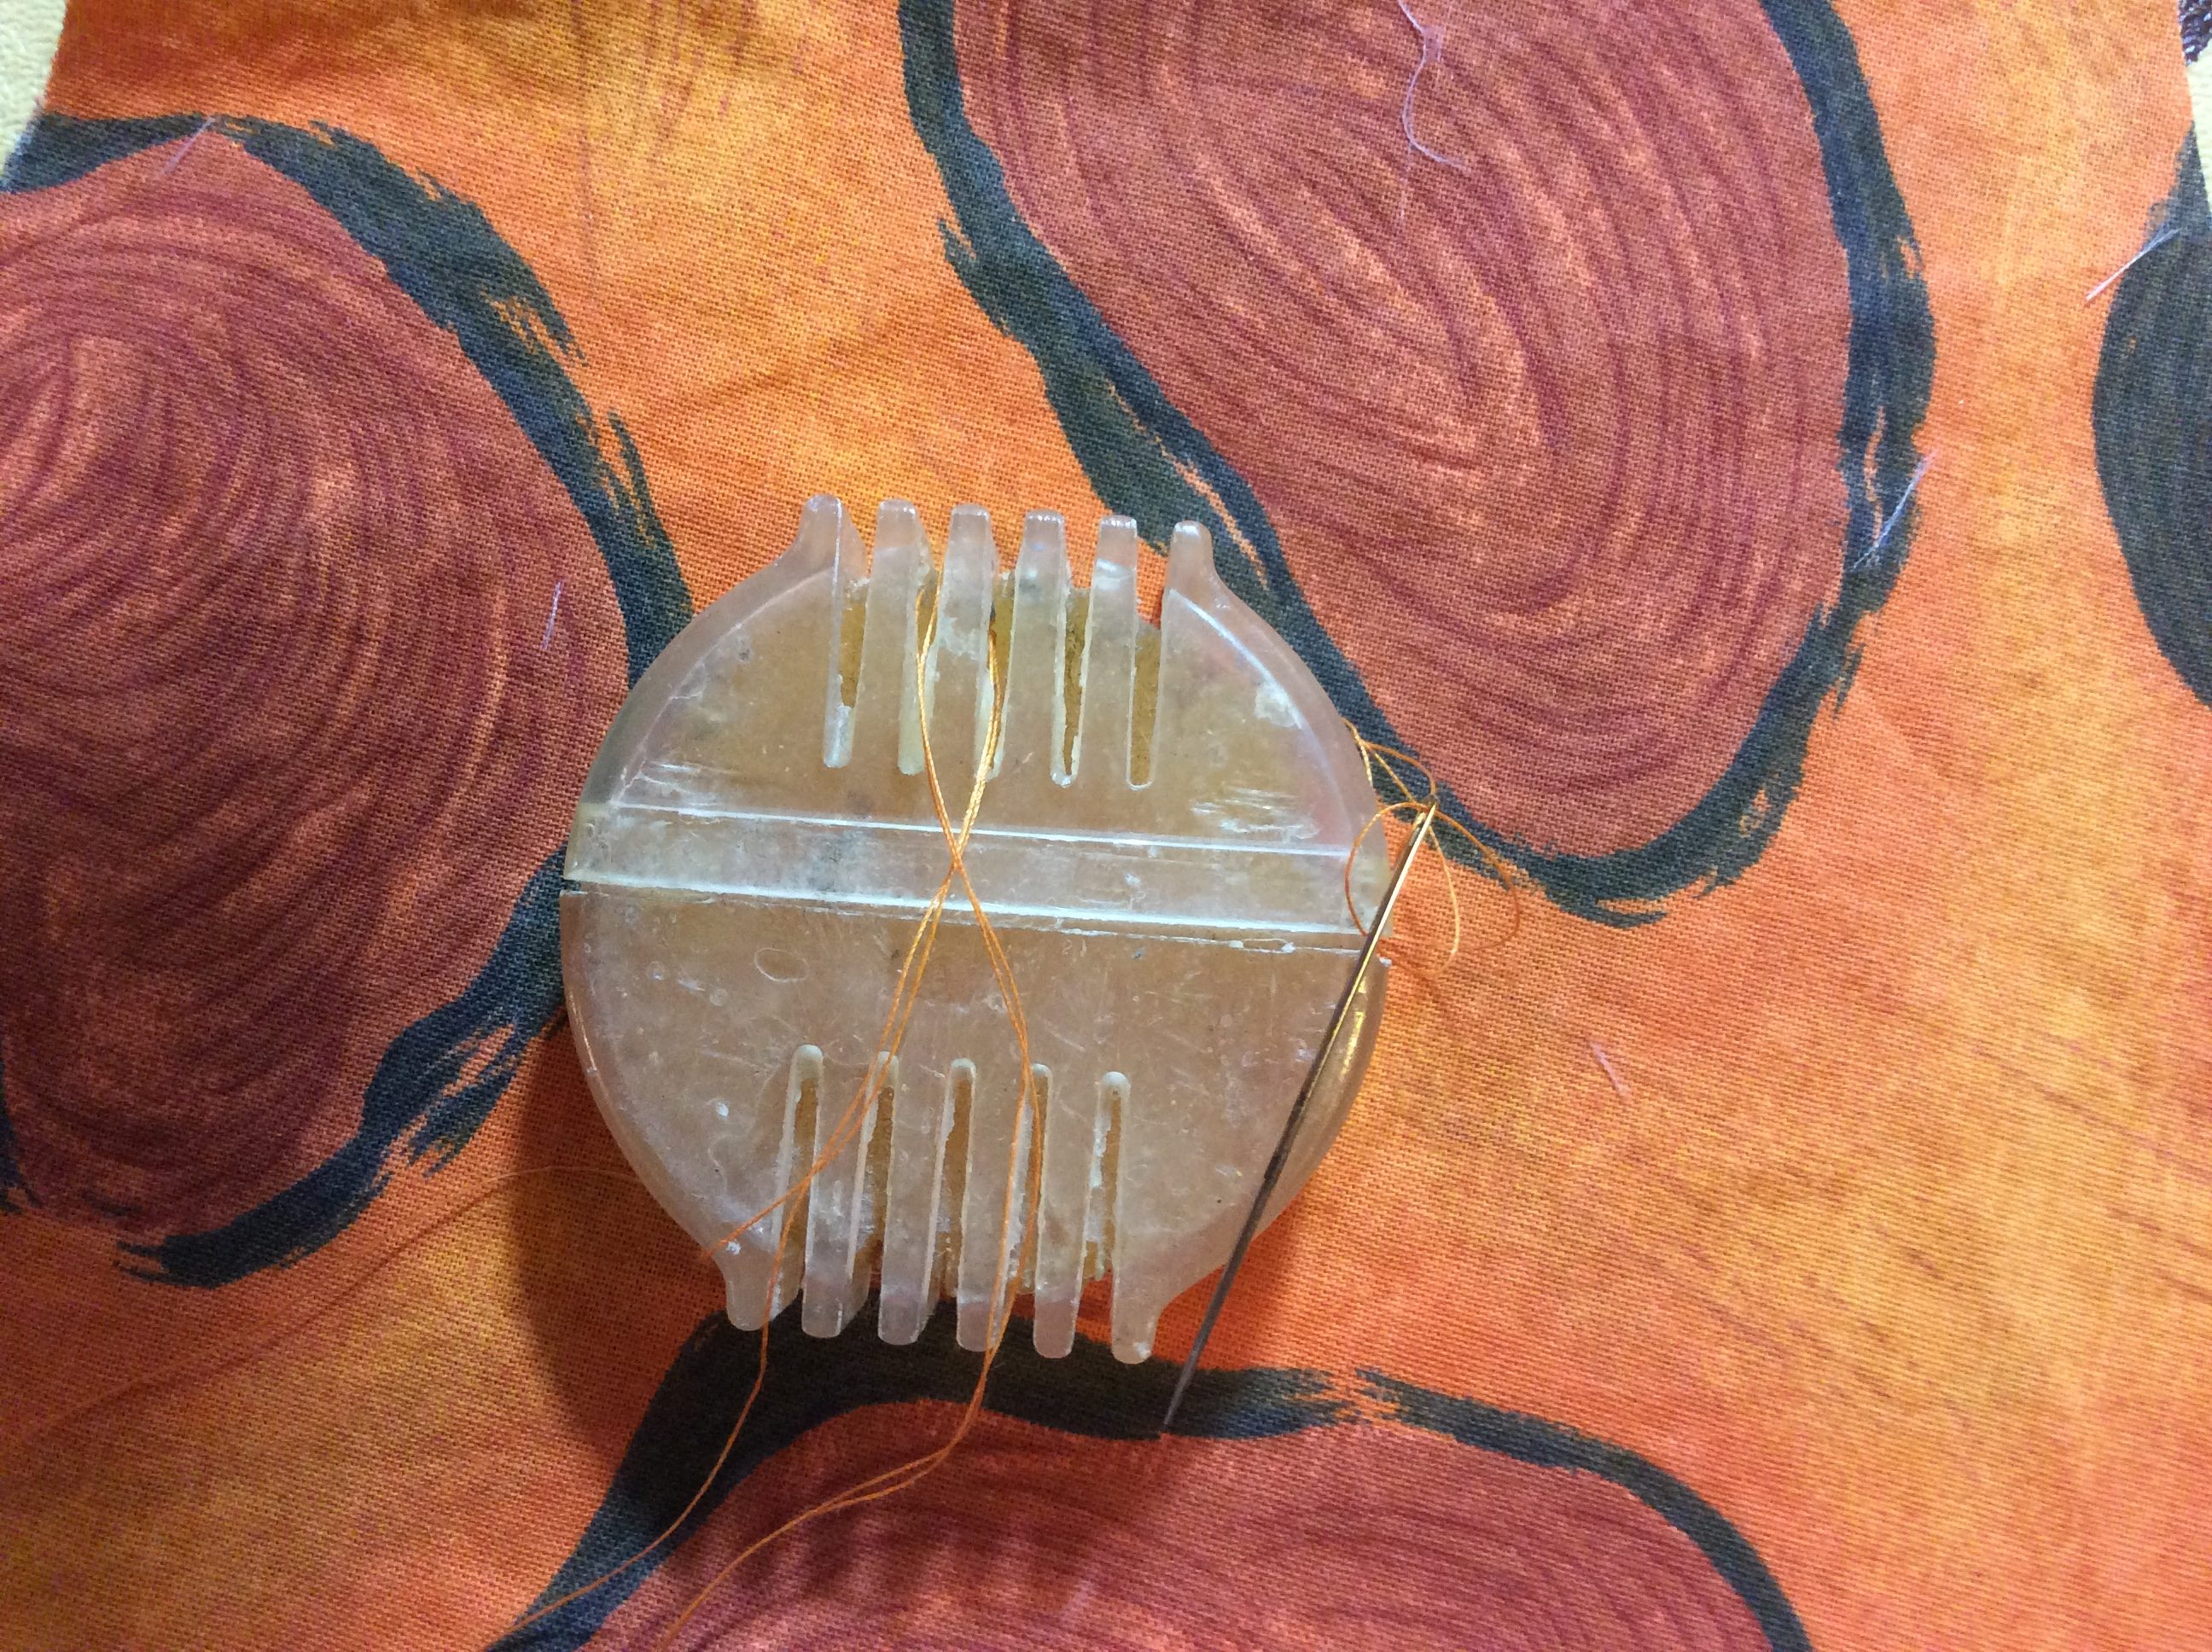
Draw thread over beeswax separating strands for full coverage.
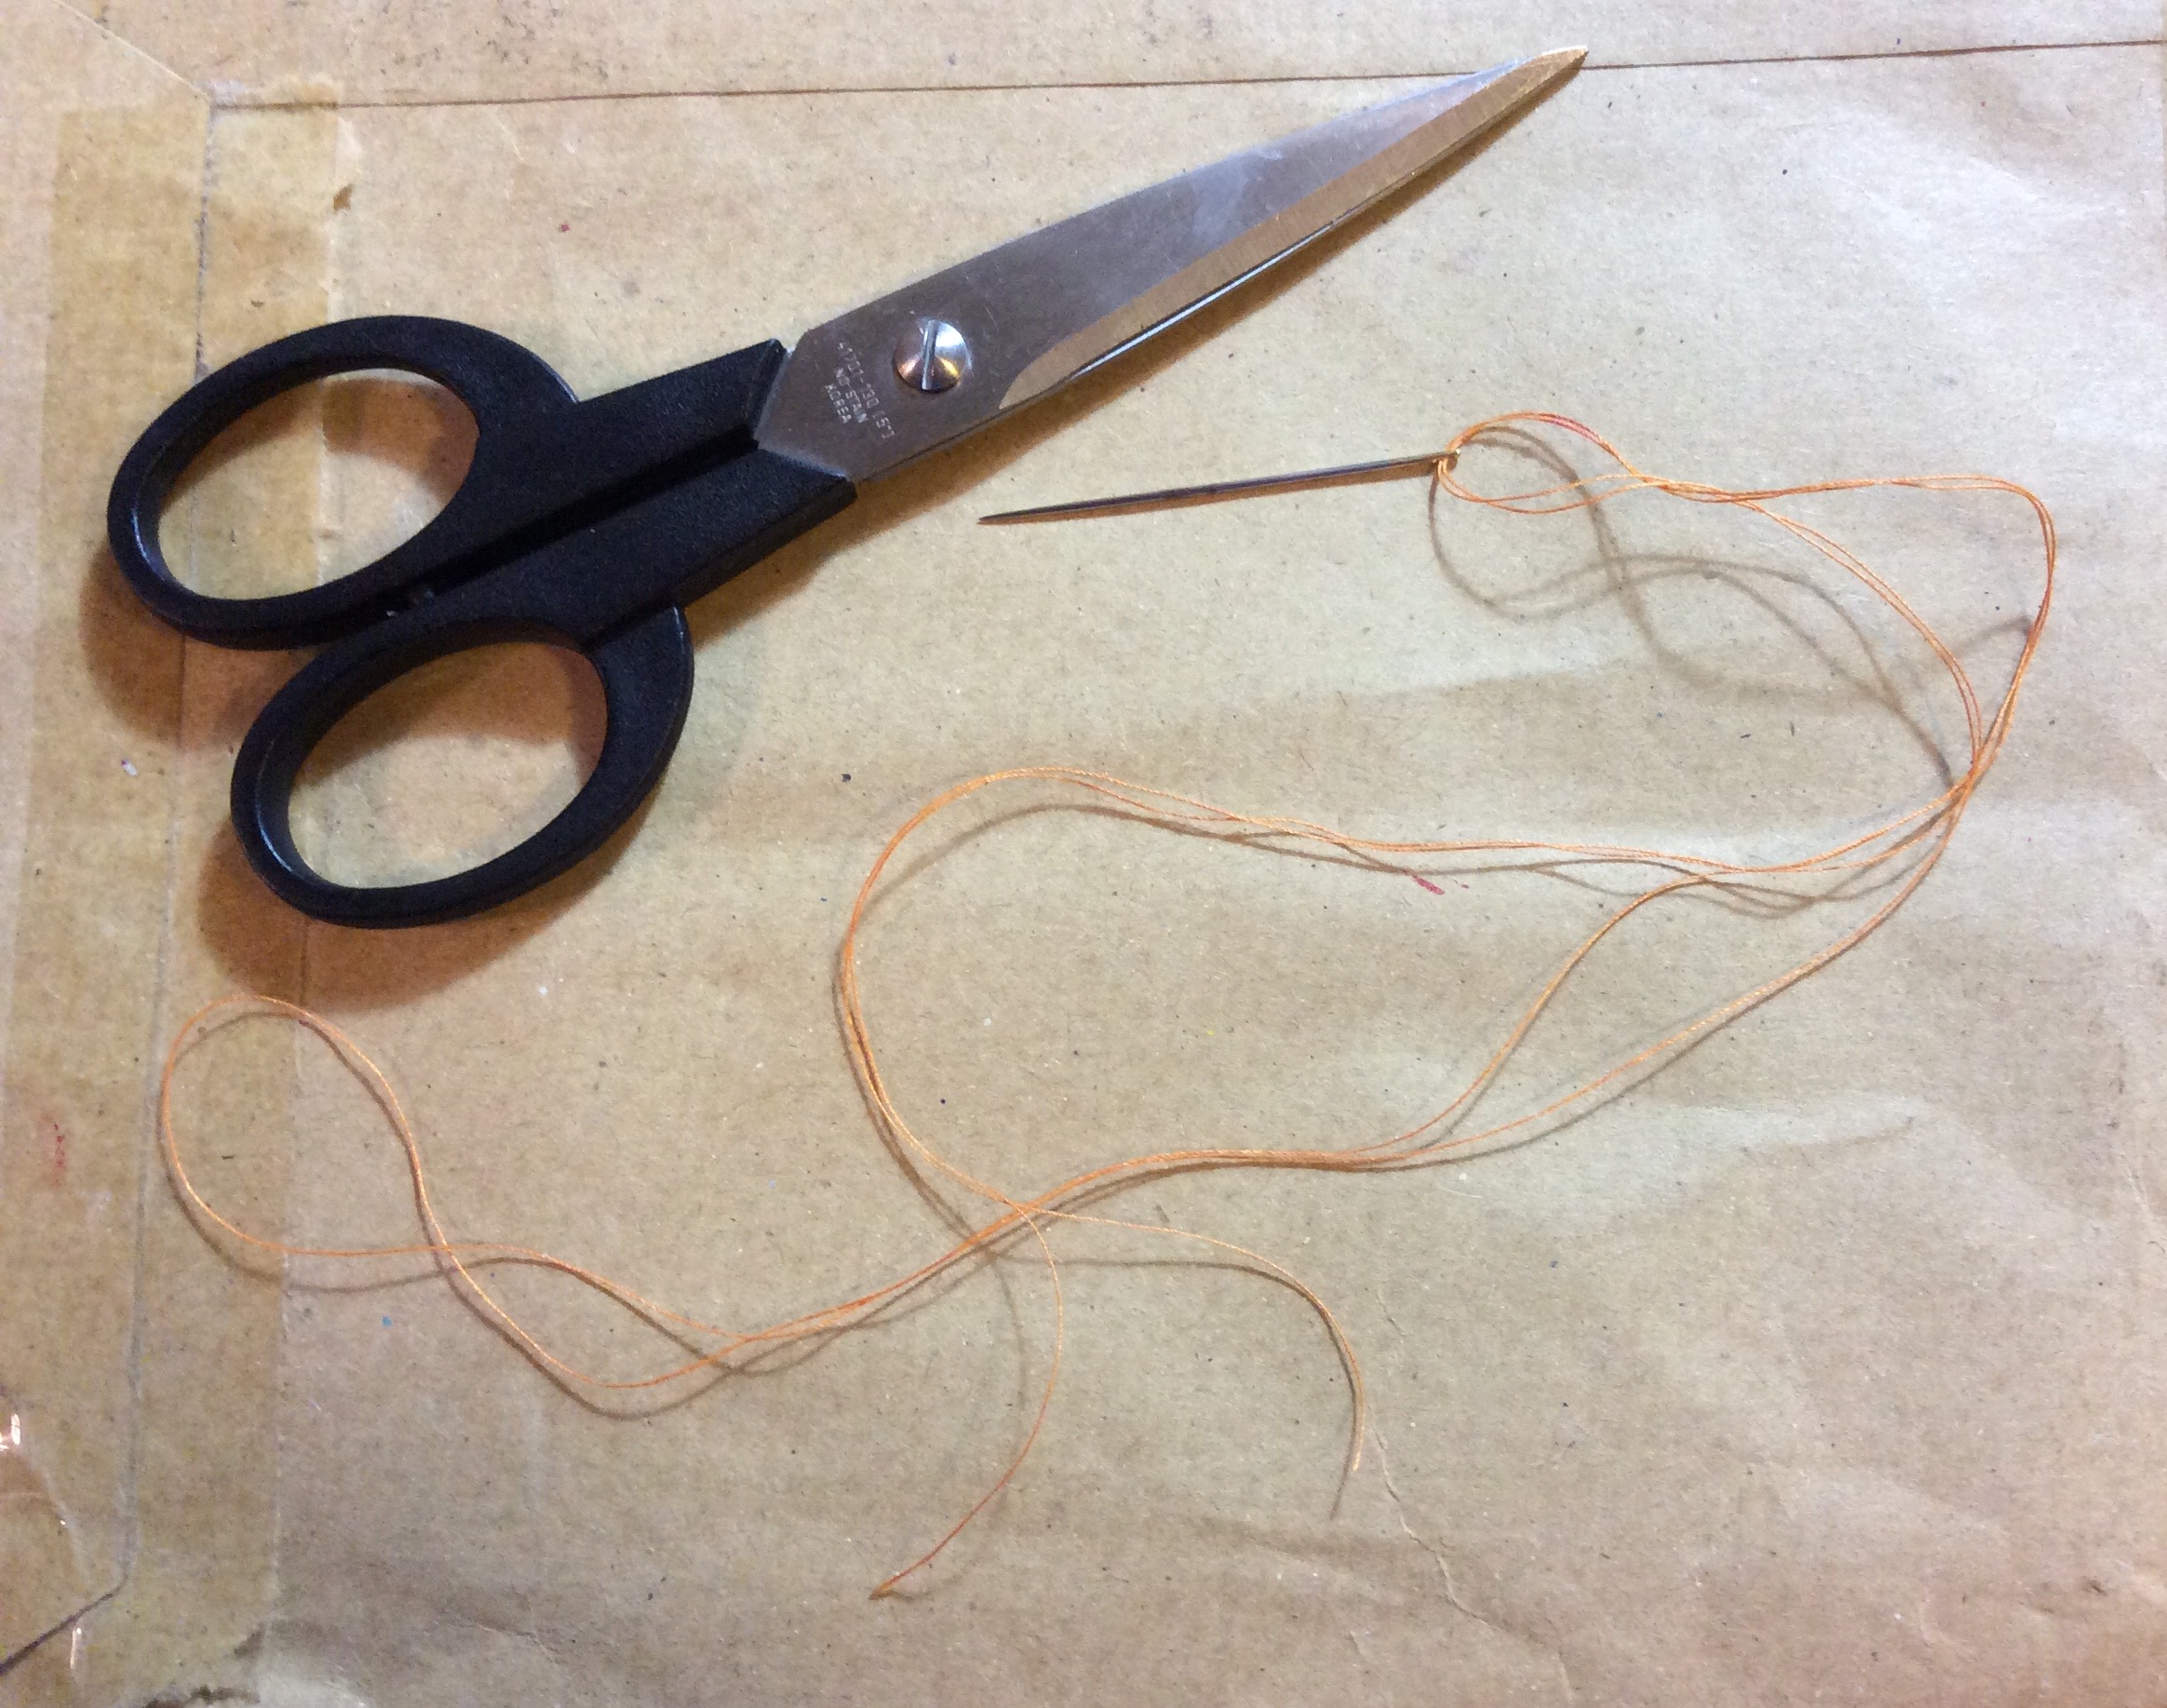
Thread needle with Double Strand Thread with loop and two cut ends
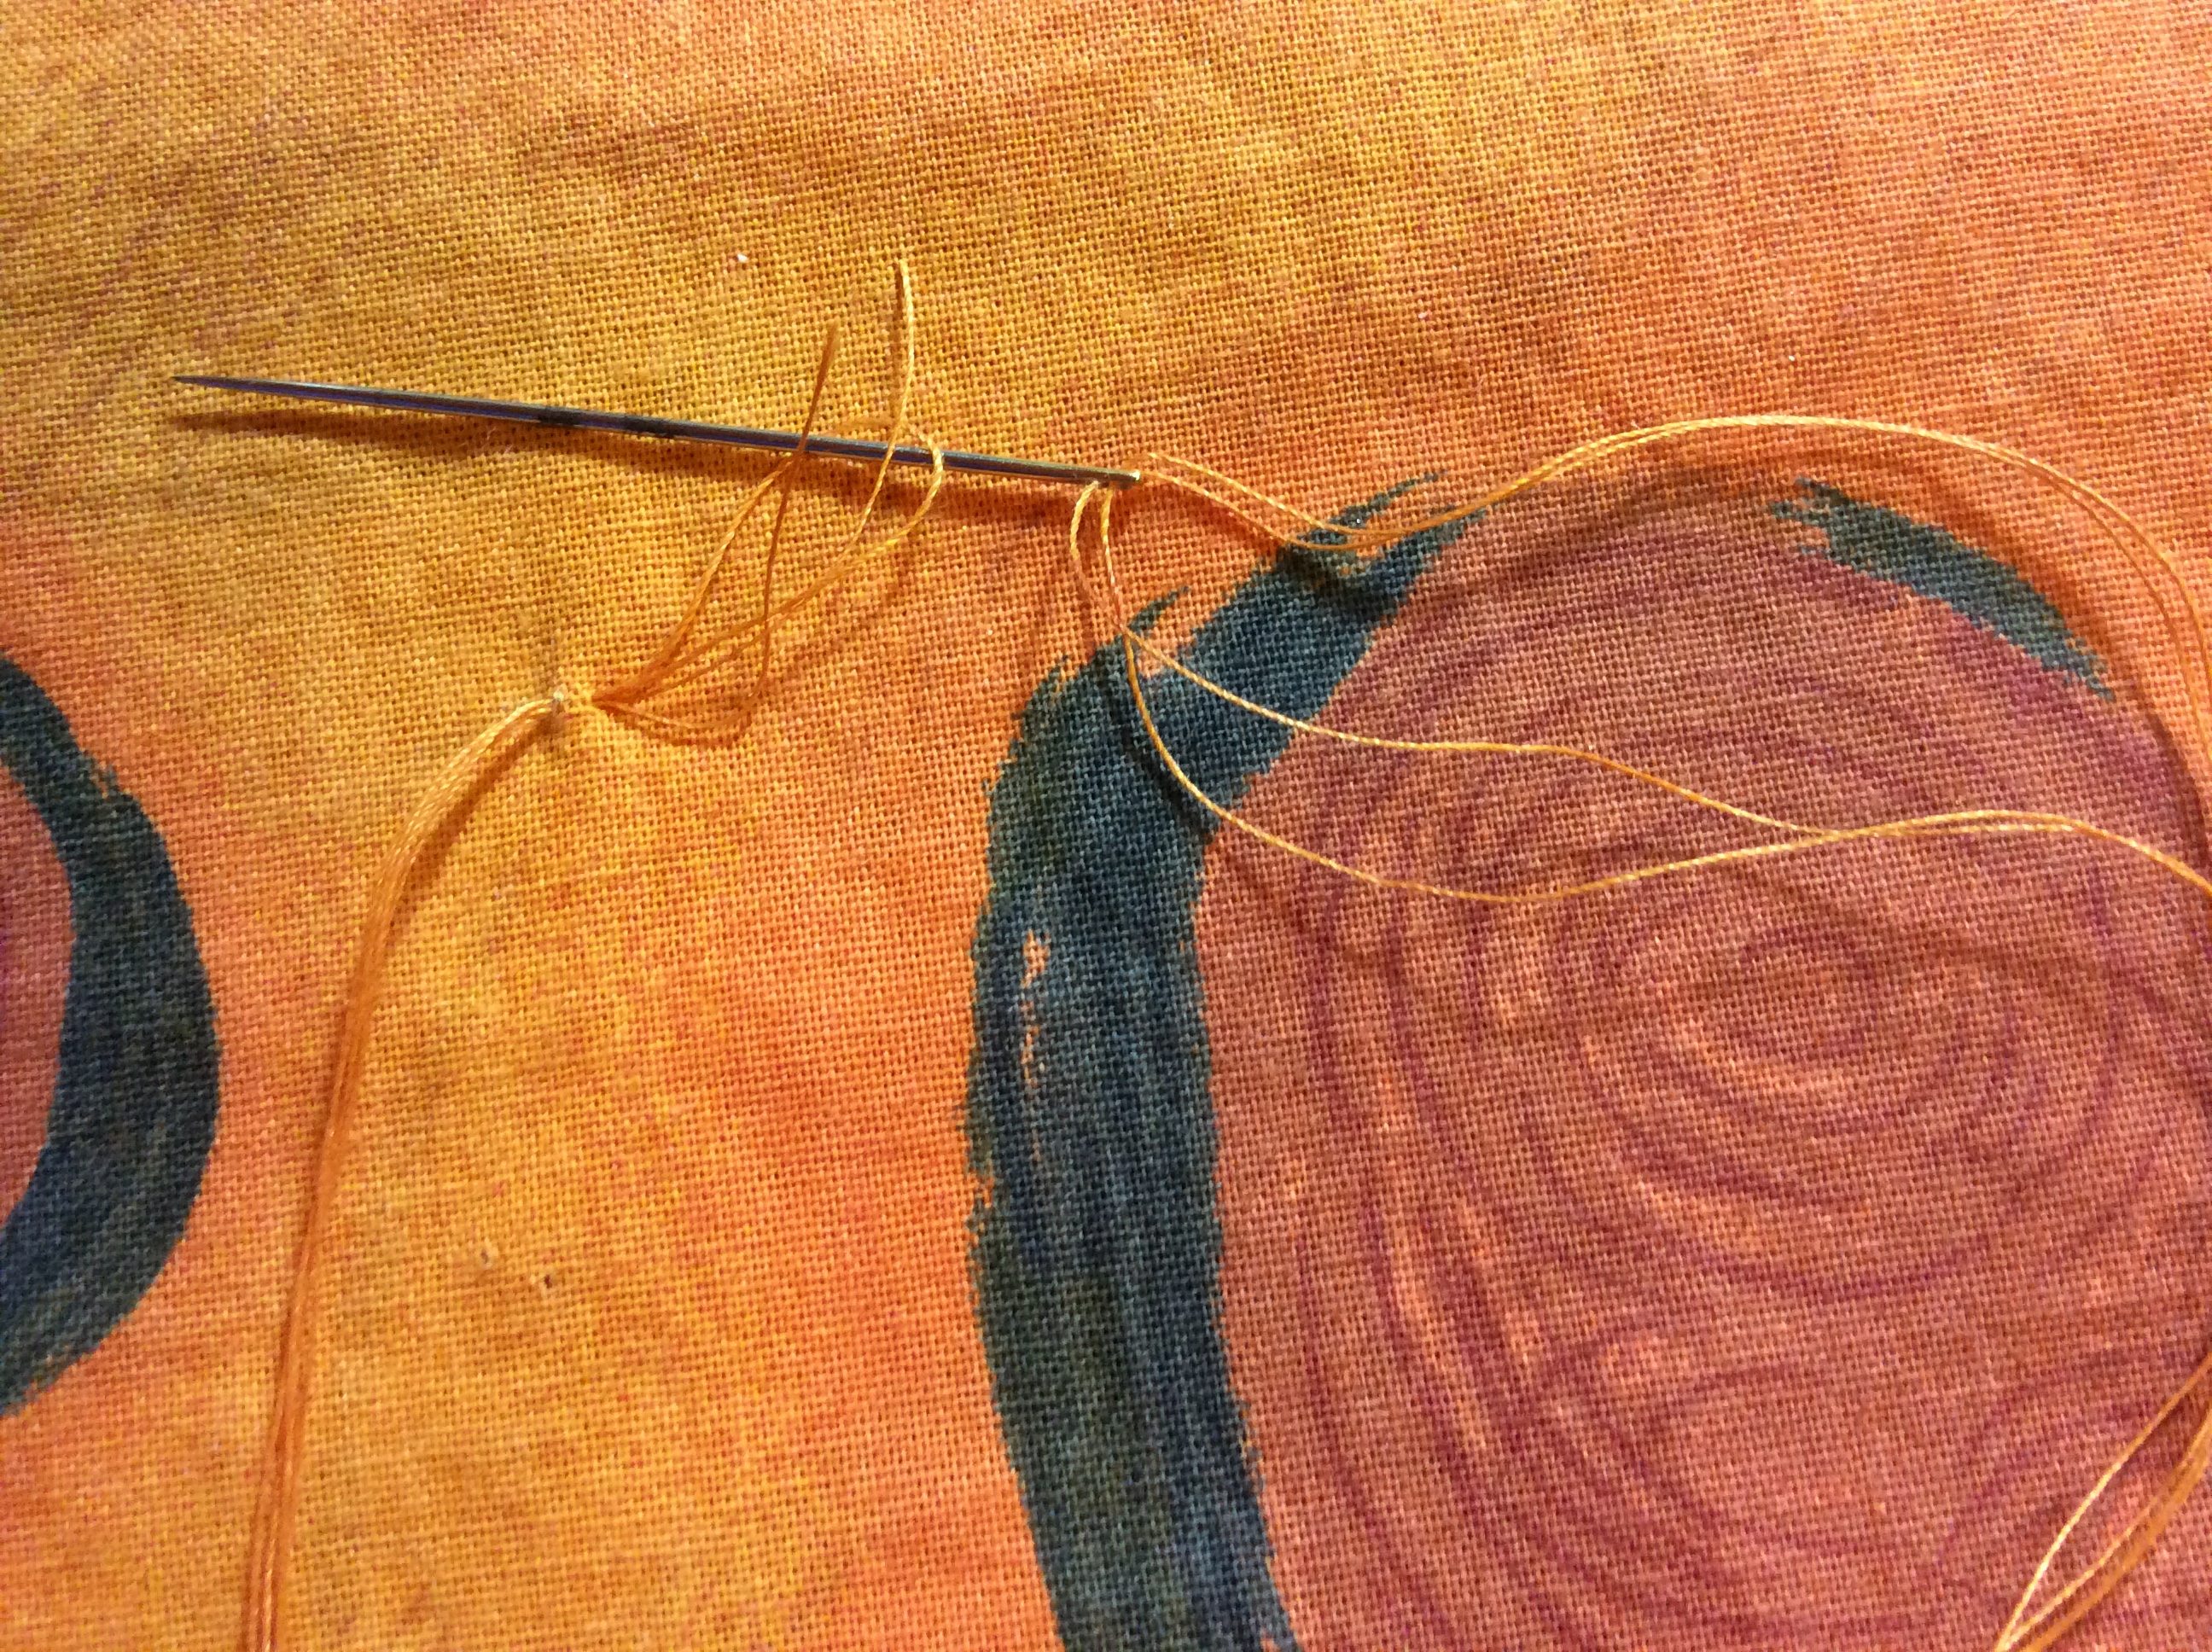
Take one small stitch; leave loop on top; insert needle thru loop
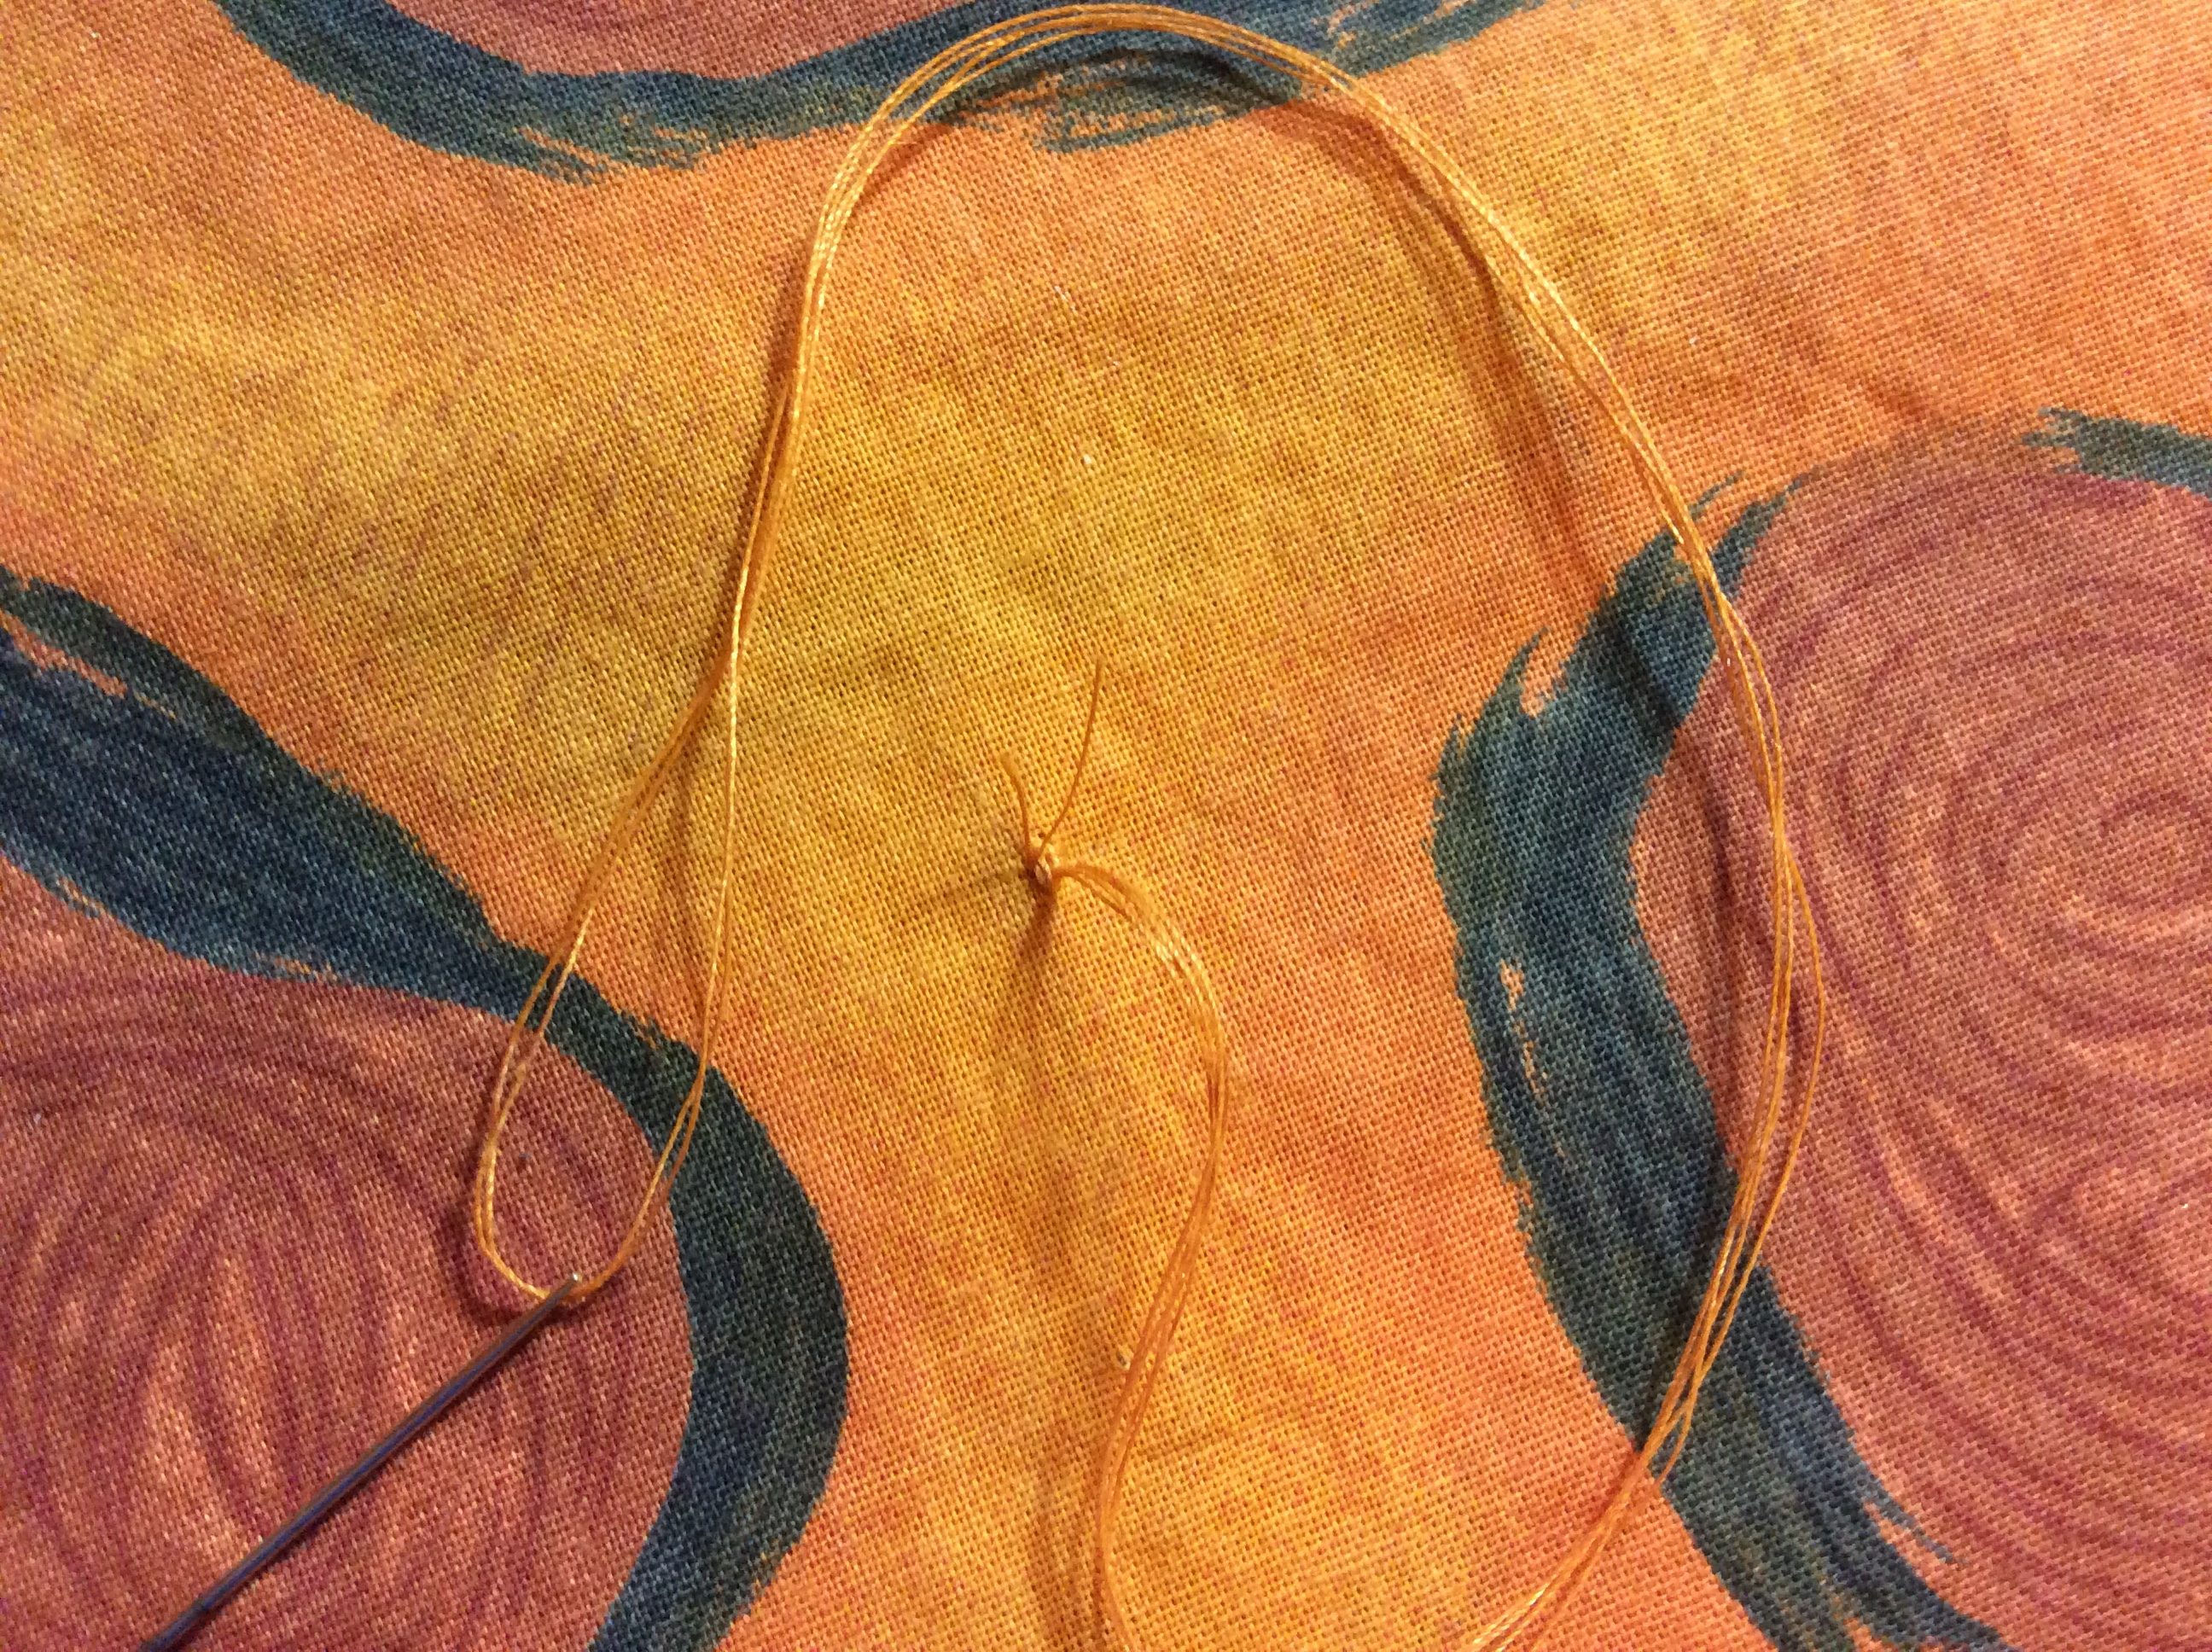
Anchor thread by tugging thread snug thru loop
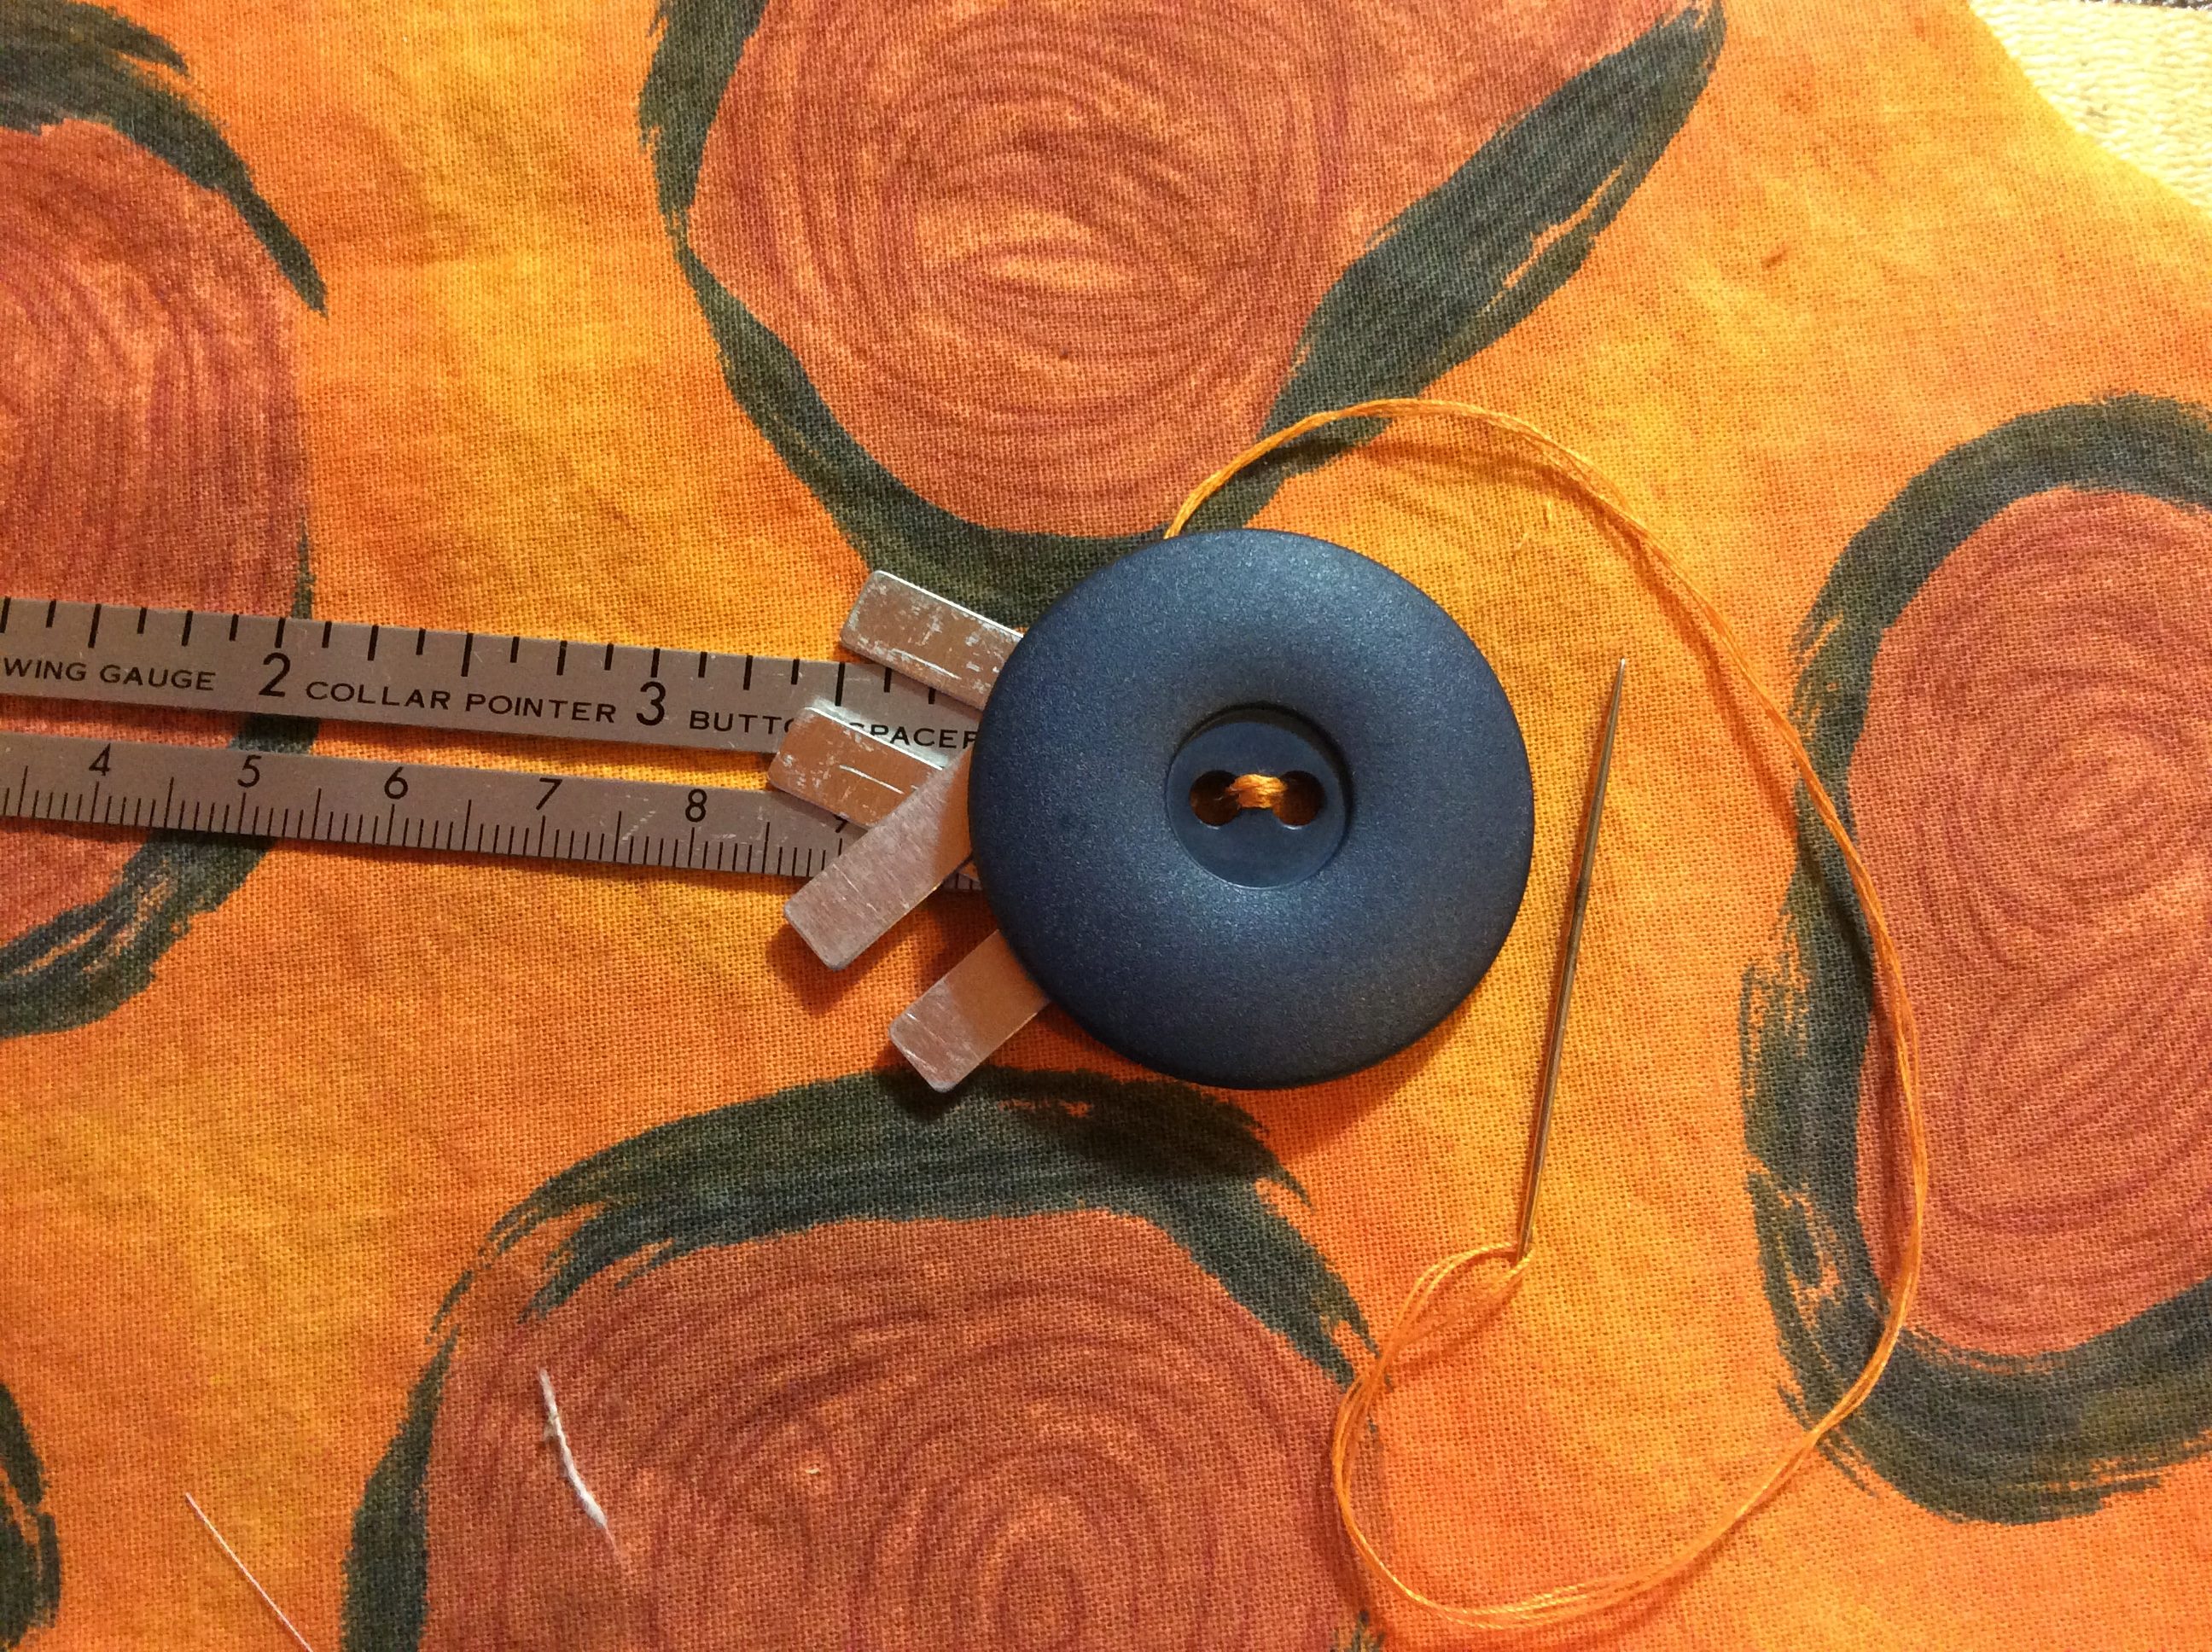
Insert button spacer(s) under button holes. Stitch thru button holes 3-5 times.
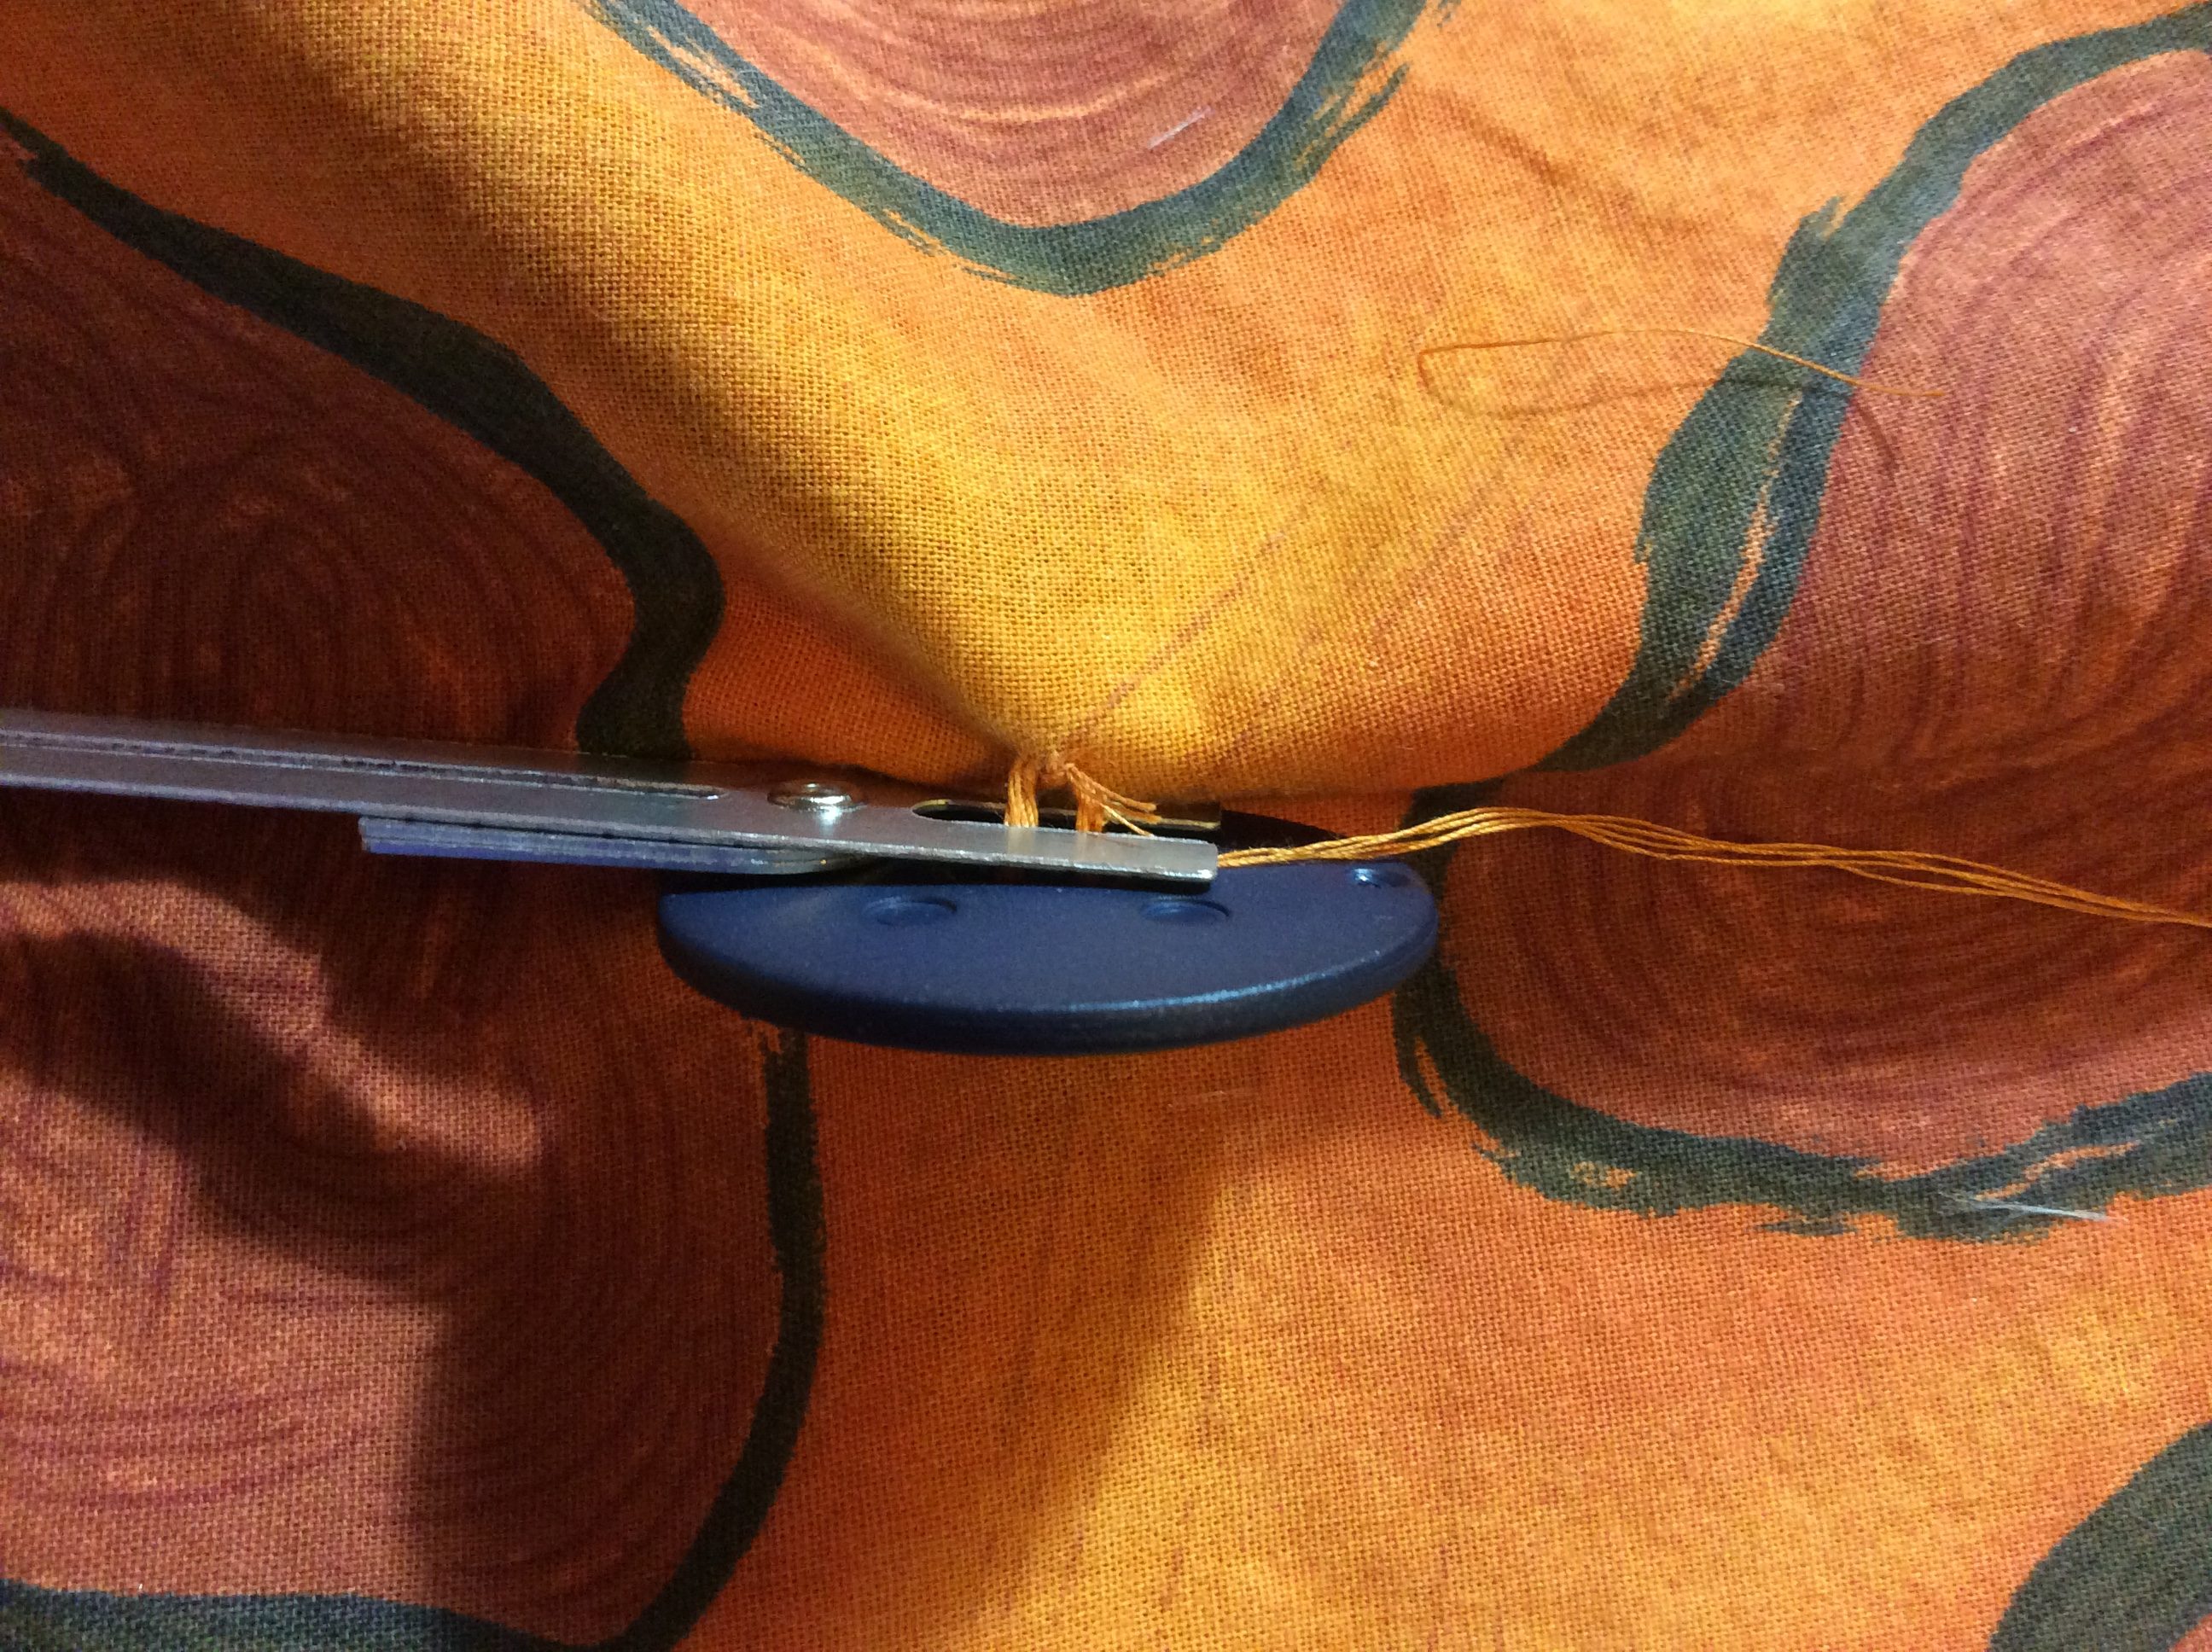
View between button and fabric with button spacer in place
Wrap thread tightly around shank 3-5 times
Draw needle thru thread shank
Create loop and draw needle thru loop
Draw needle thru shank from bottom to top

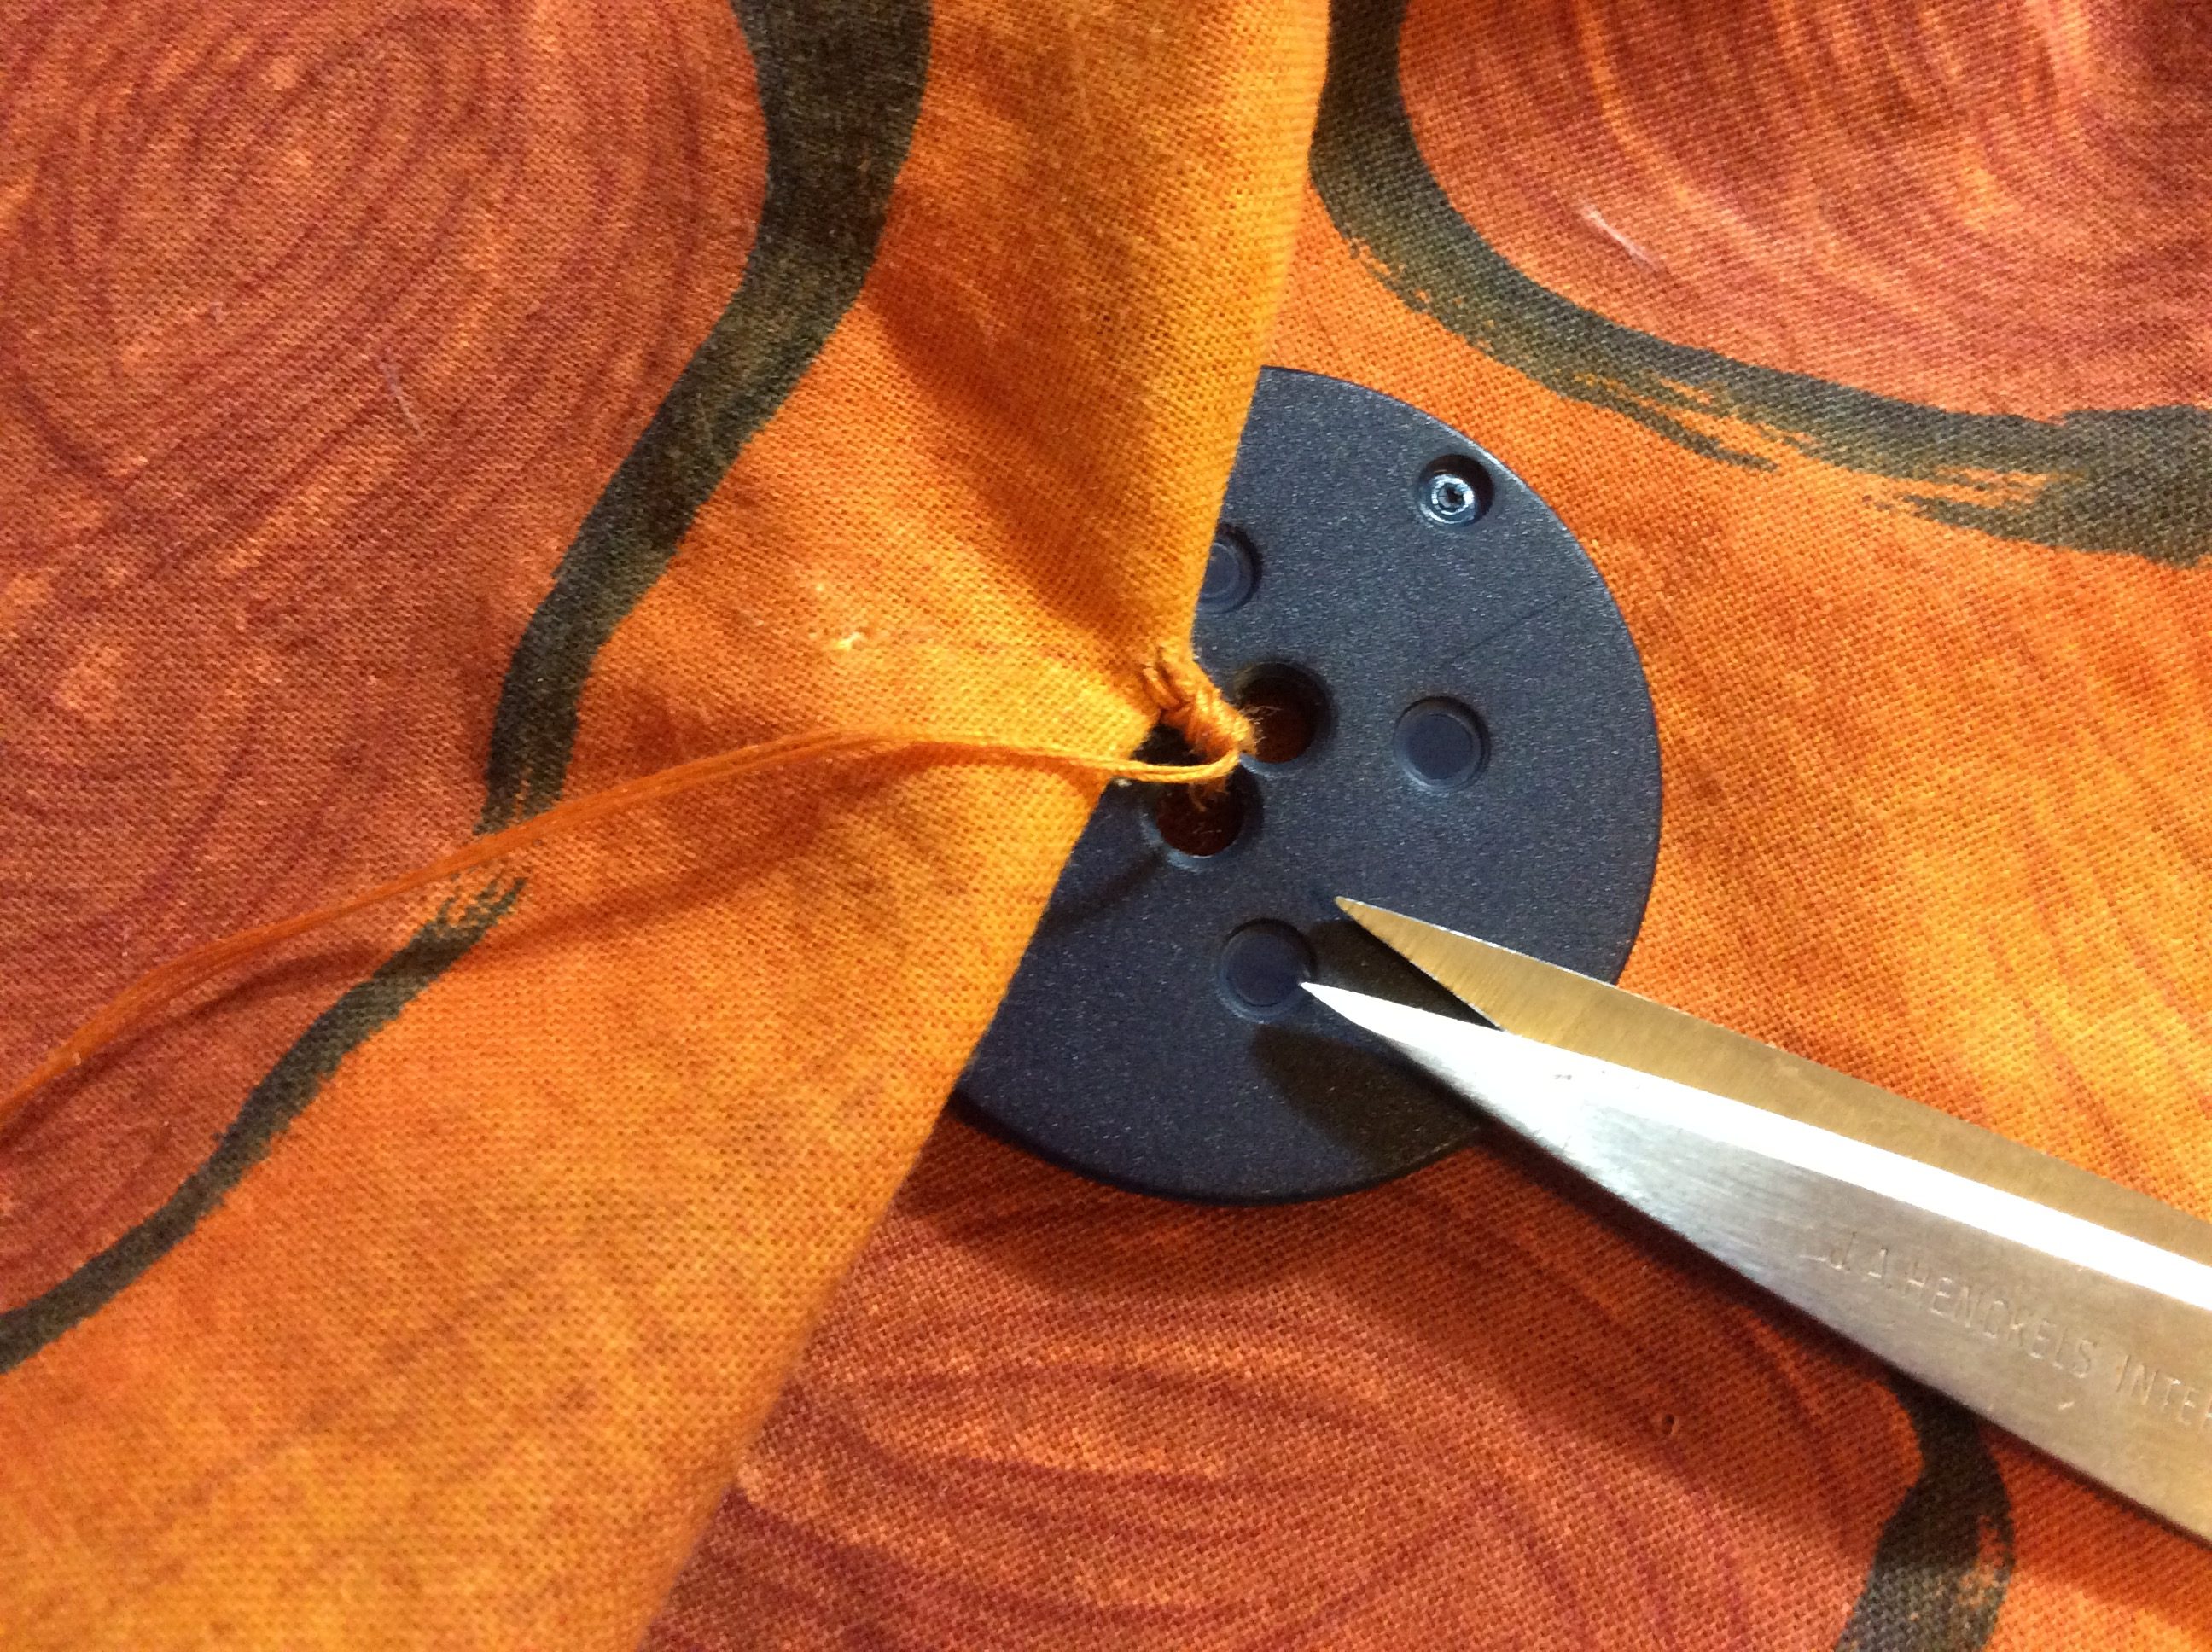
Trim thread leaving short ends–a little extra thread can’t hurt just in case ends do want to work out.
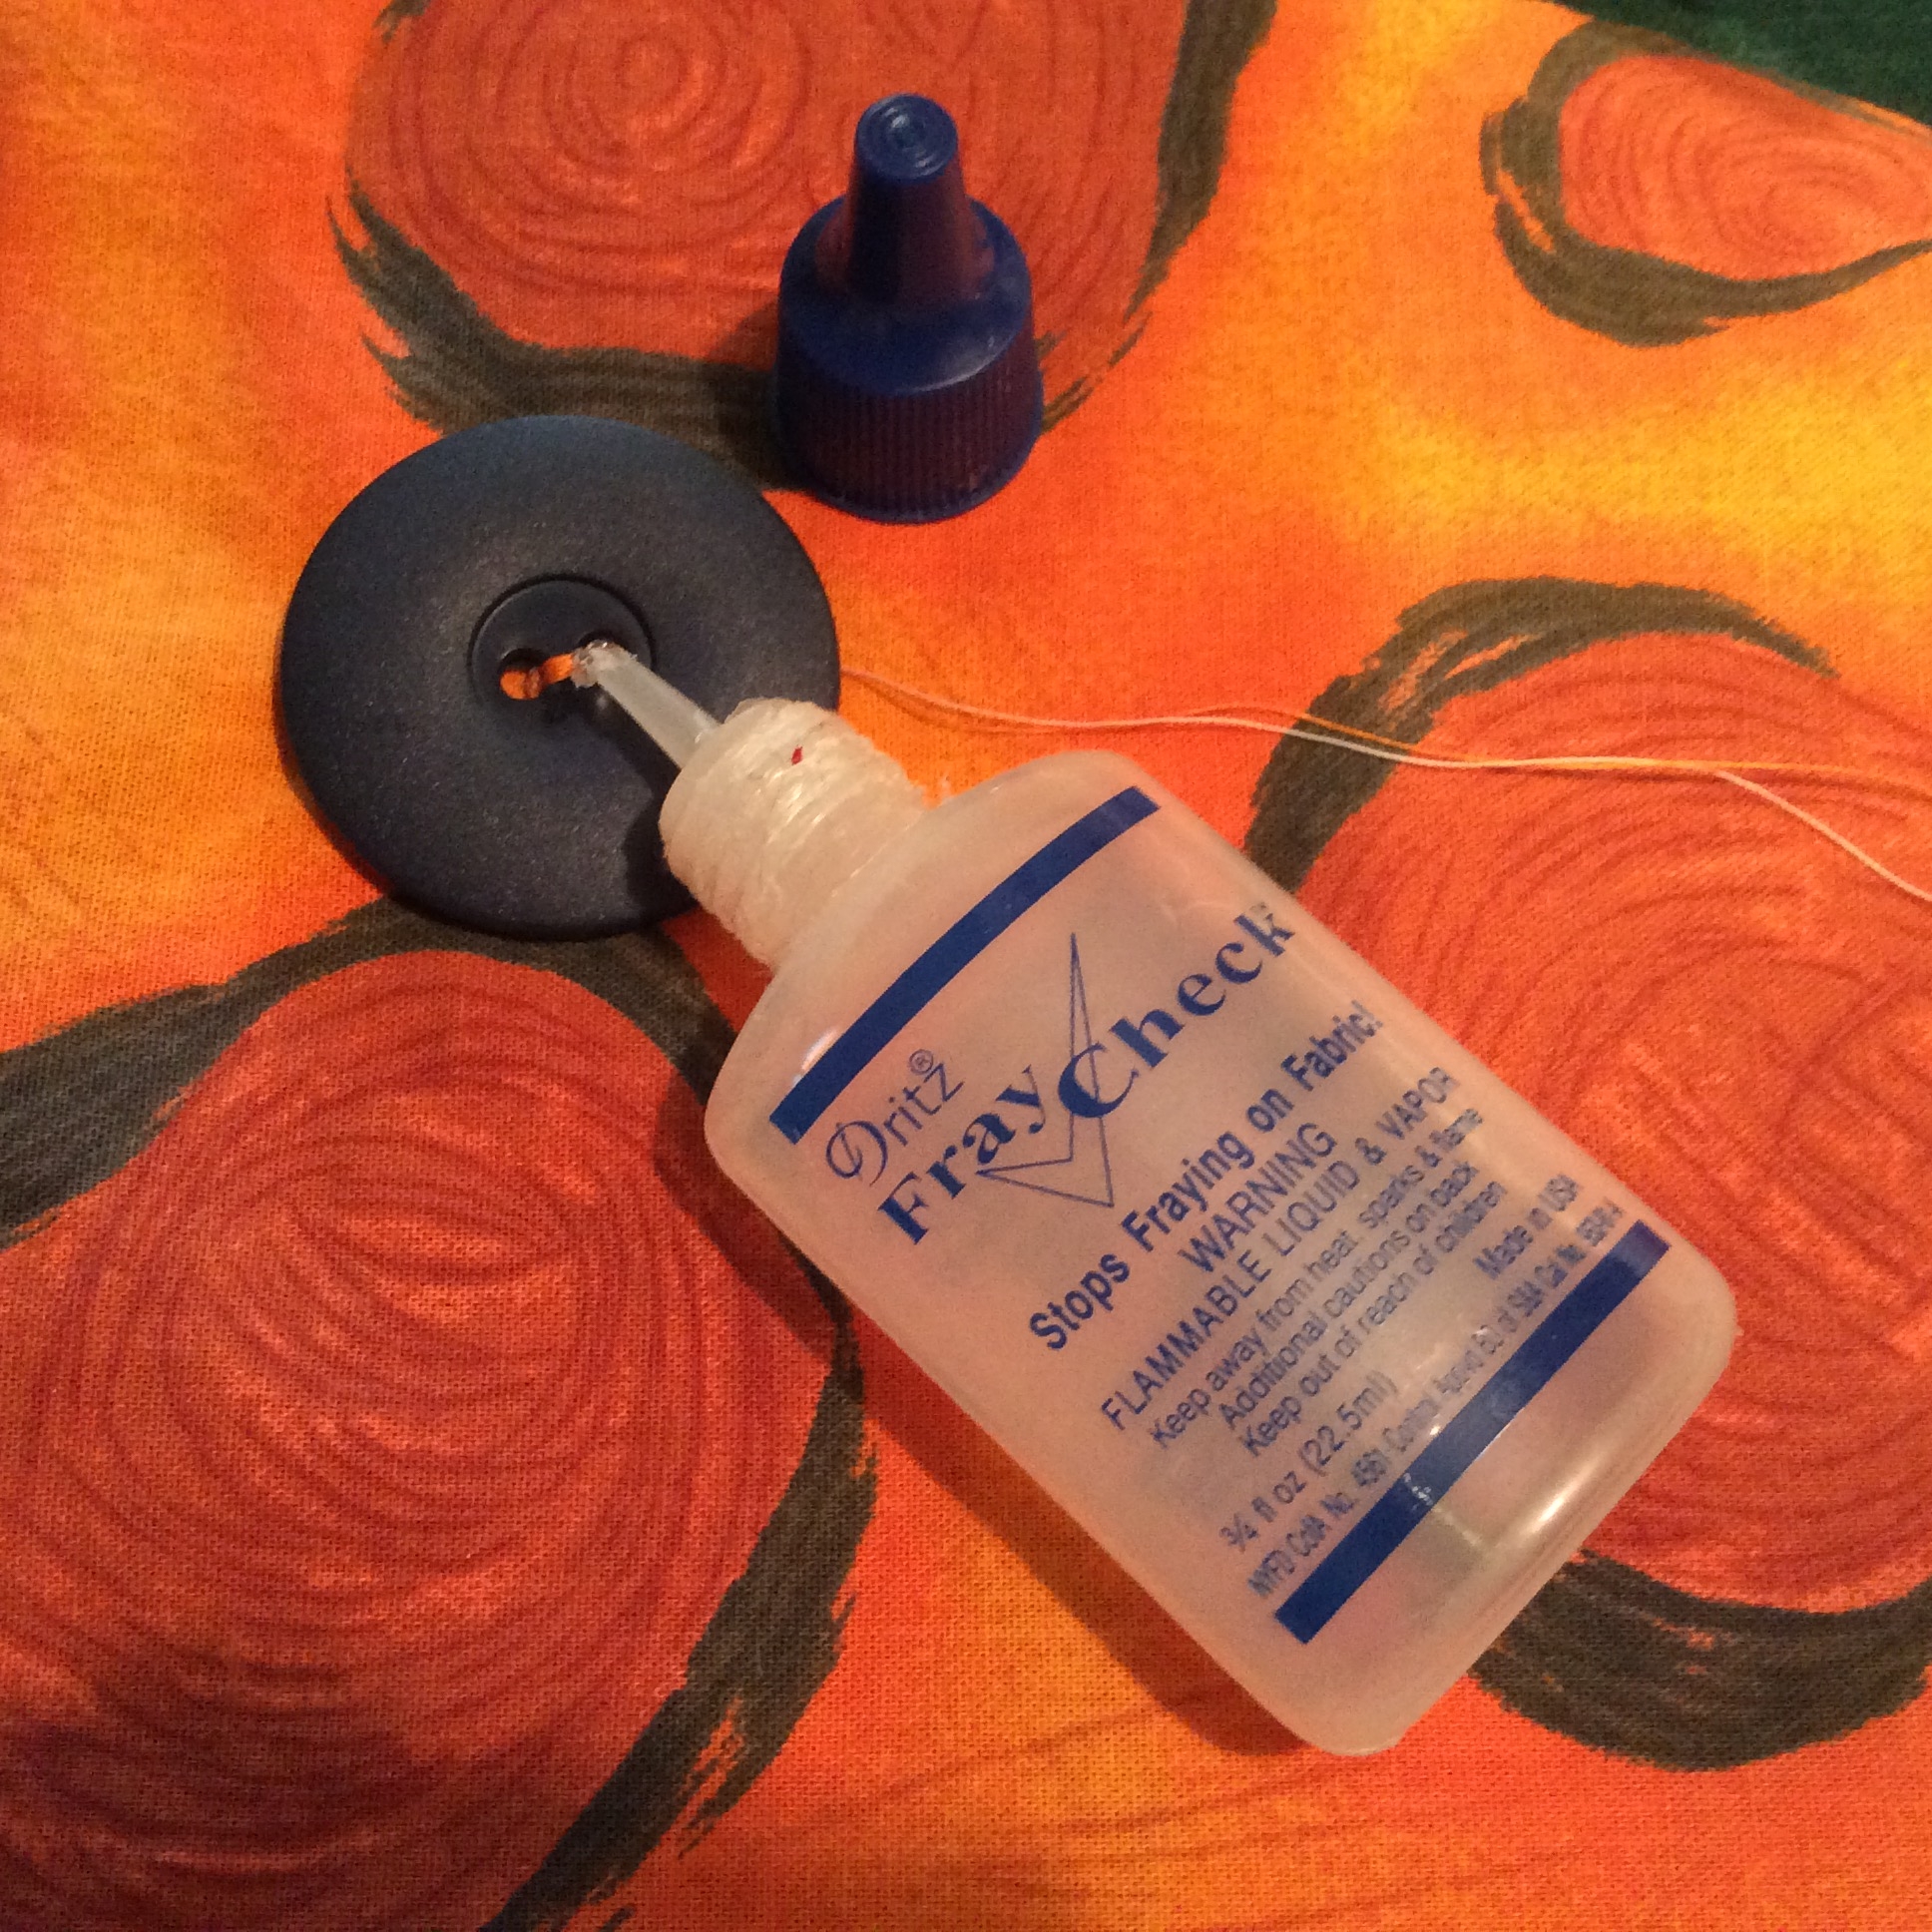
Dot threads with Fray Check or clear nail polish for extra security.
Button Sewing by Machine
Only buttons with holes can be sewn by machine; buttons with integrated shanks must be sewn by hand.
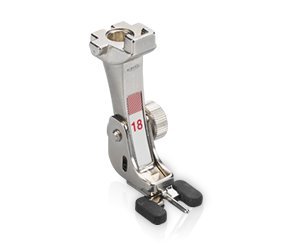
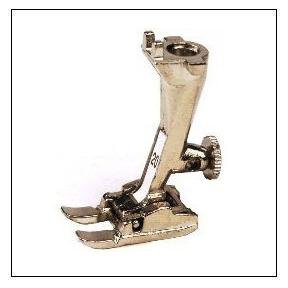
Bernina and other brands of sewing machines have specific presser feet for sewing on buttons. It even has a pin to sew over thus making a thread shank. I don’t have one so make do with the #20 Bernina open toe presser foot.
Lower Feed Dog. The Feed Dog is what grips the bottom of the fabric and moves it under the needle. Lowering the Dogs, keeps the fabric stationary so zigzag stitches can go back and forth between the button holes
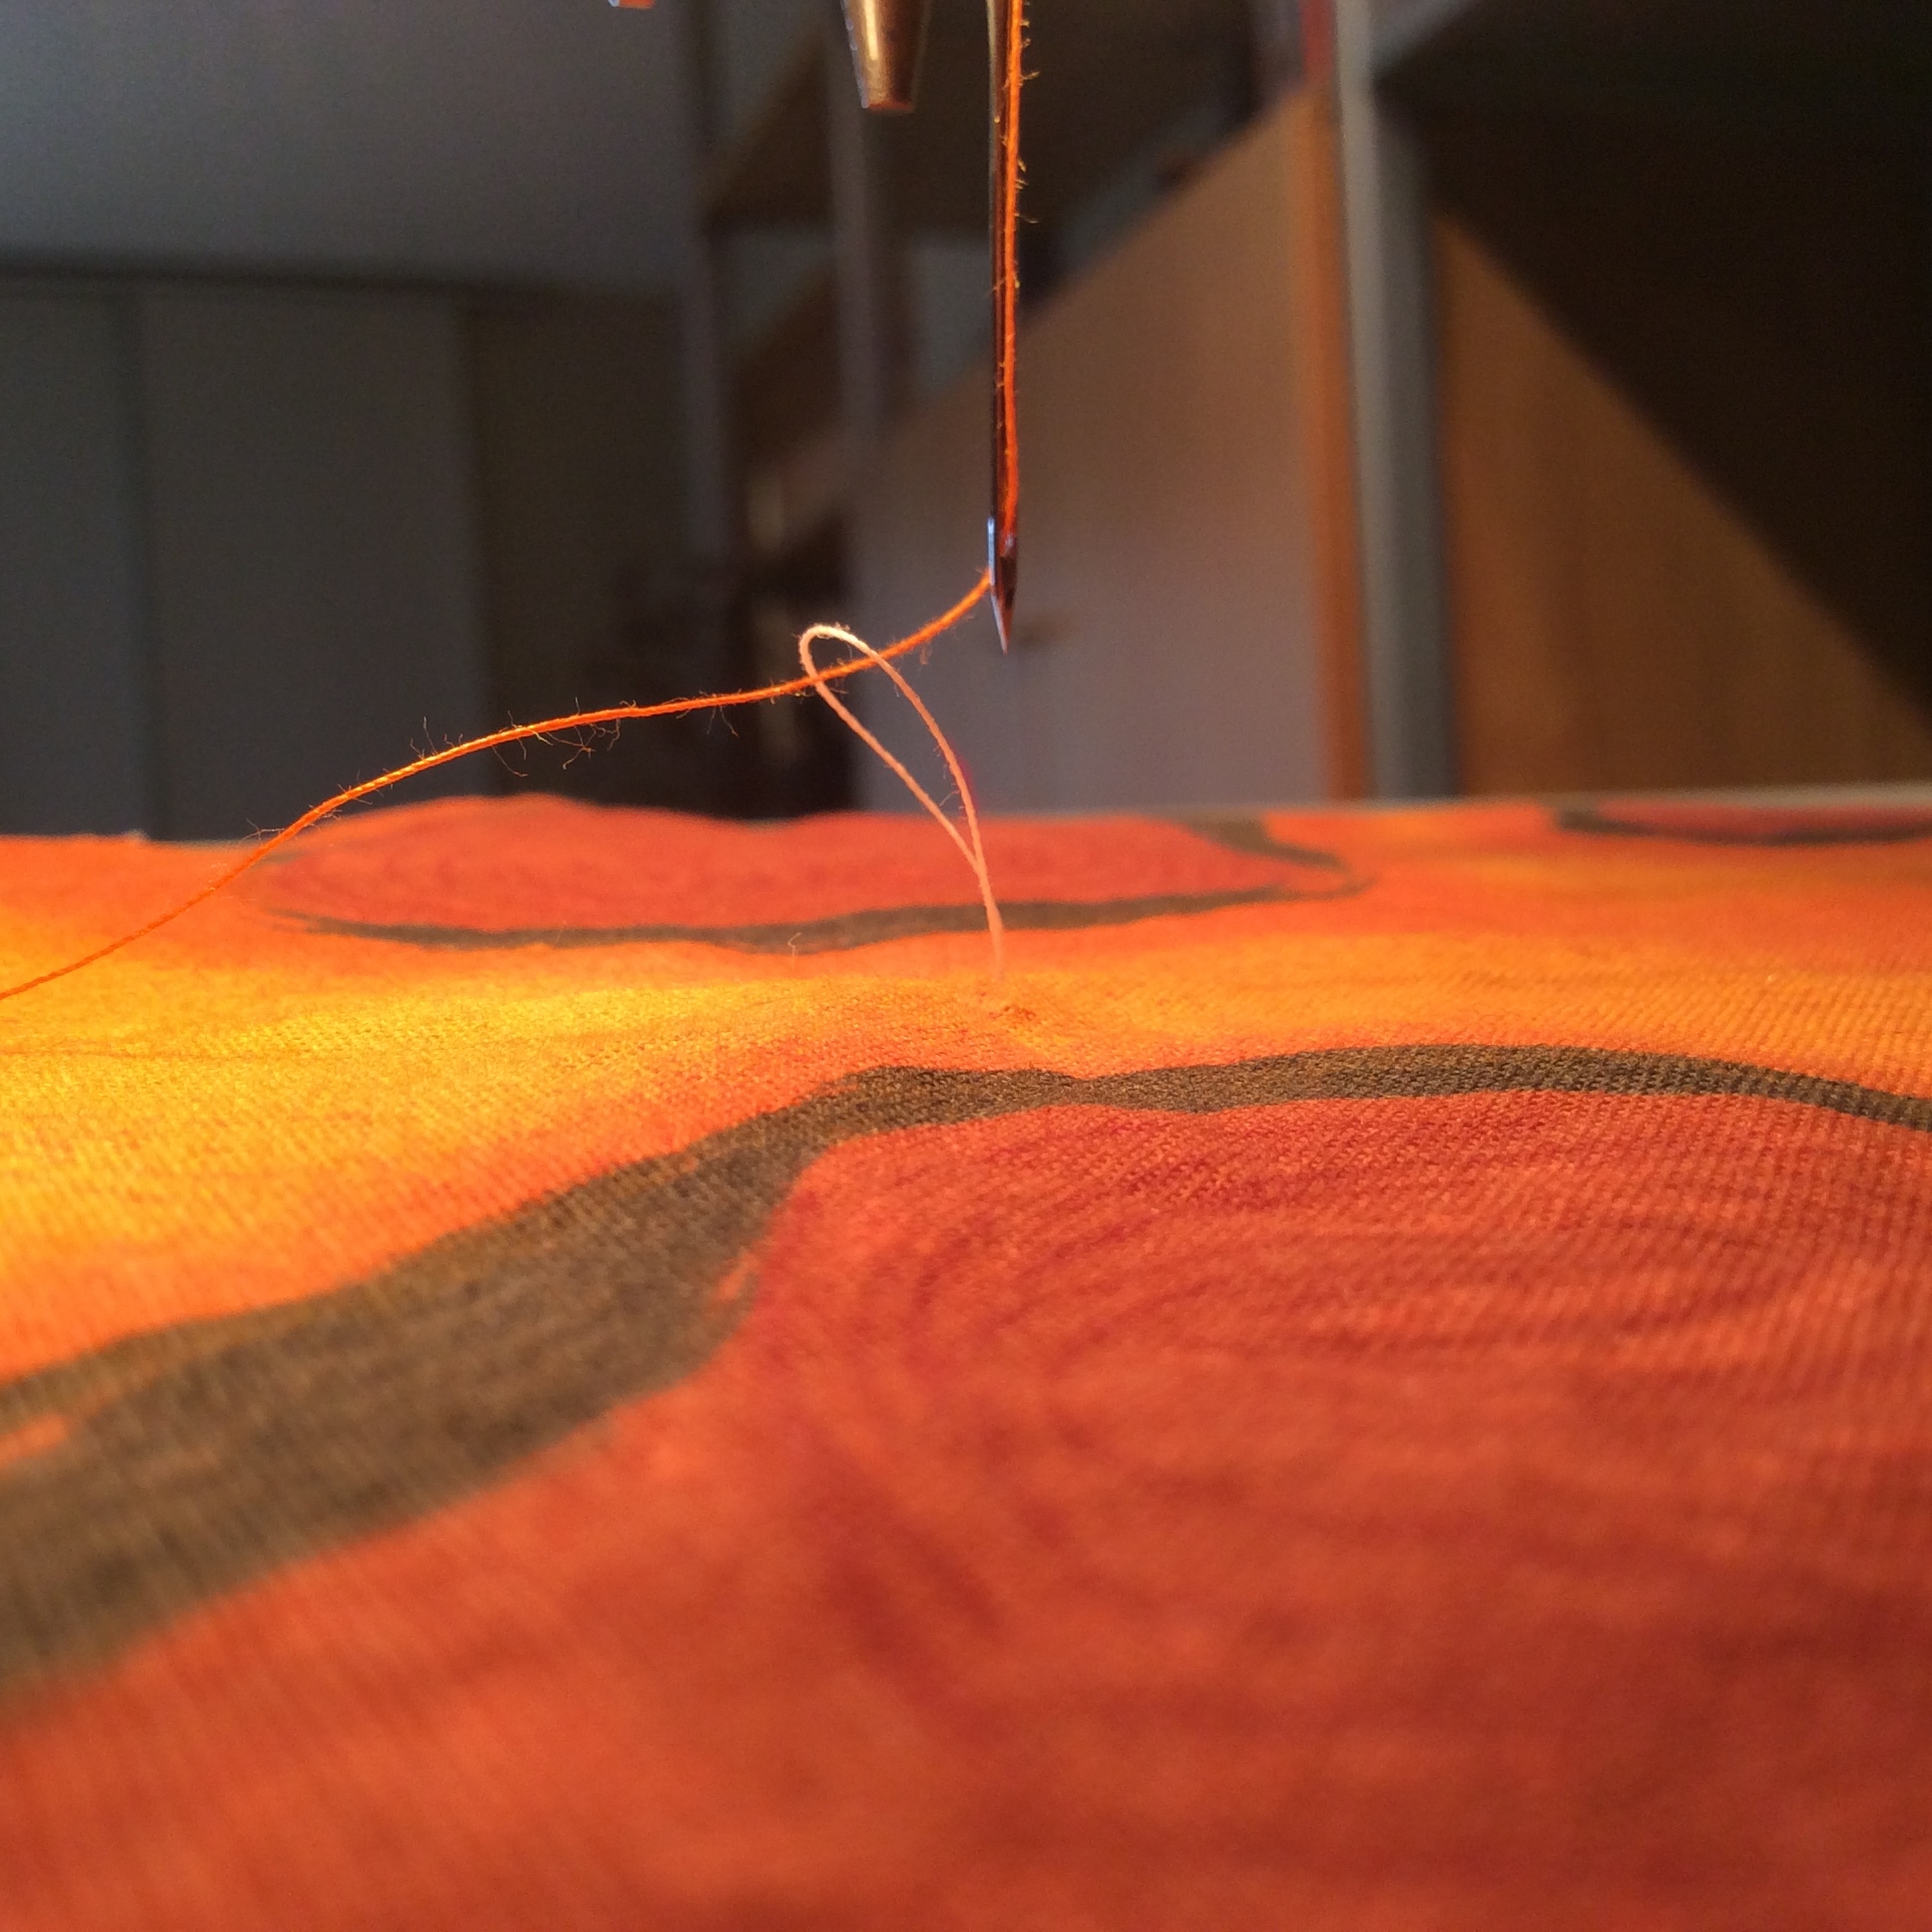
Take one stitch in fabric and pull up bobbin thread. Arrange both threads to one side.
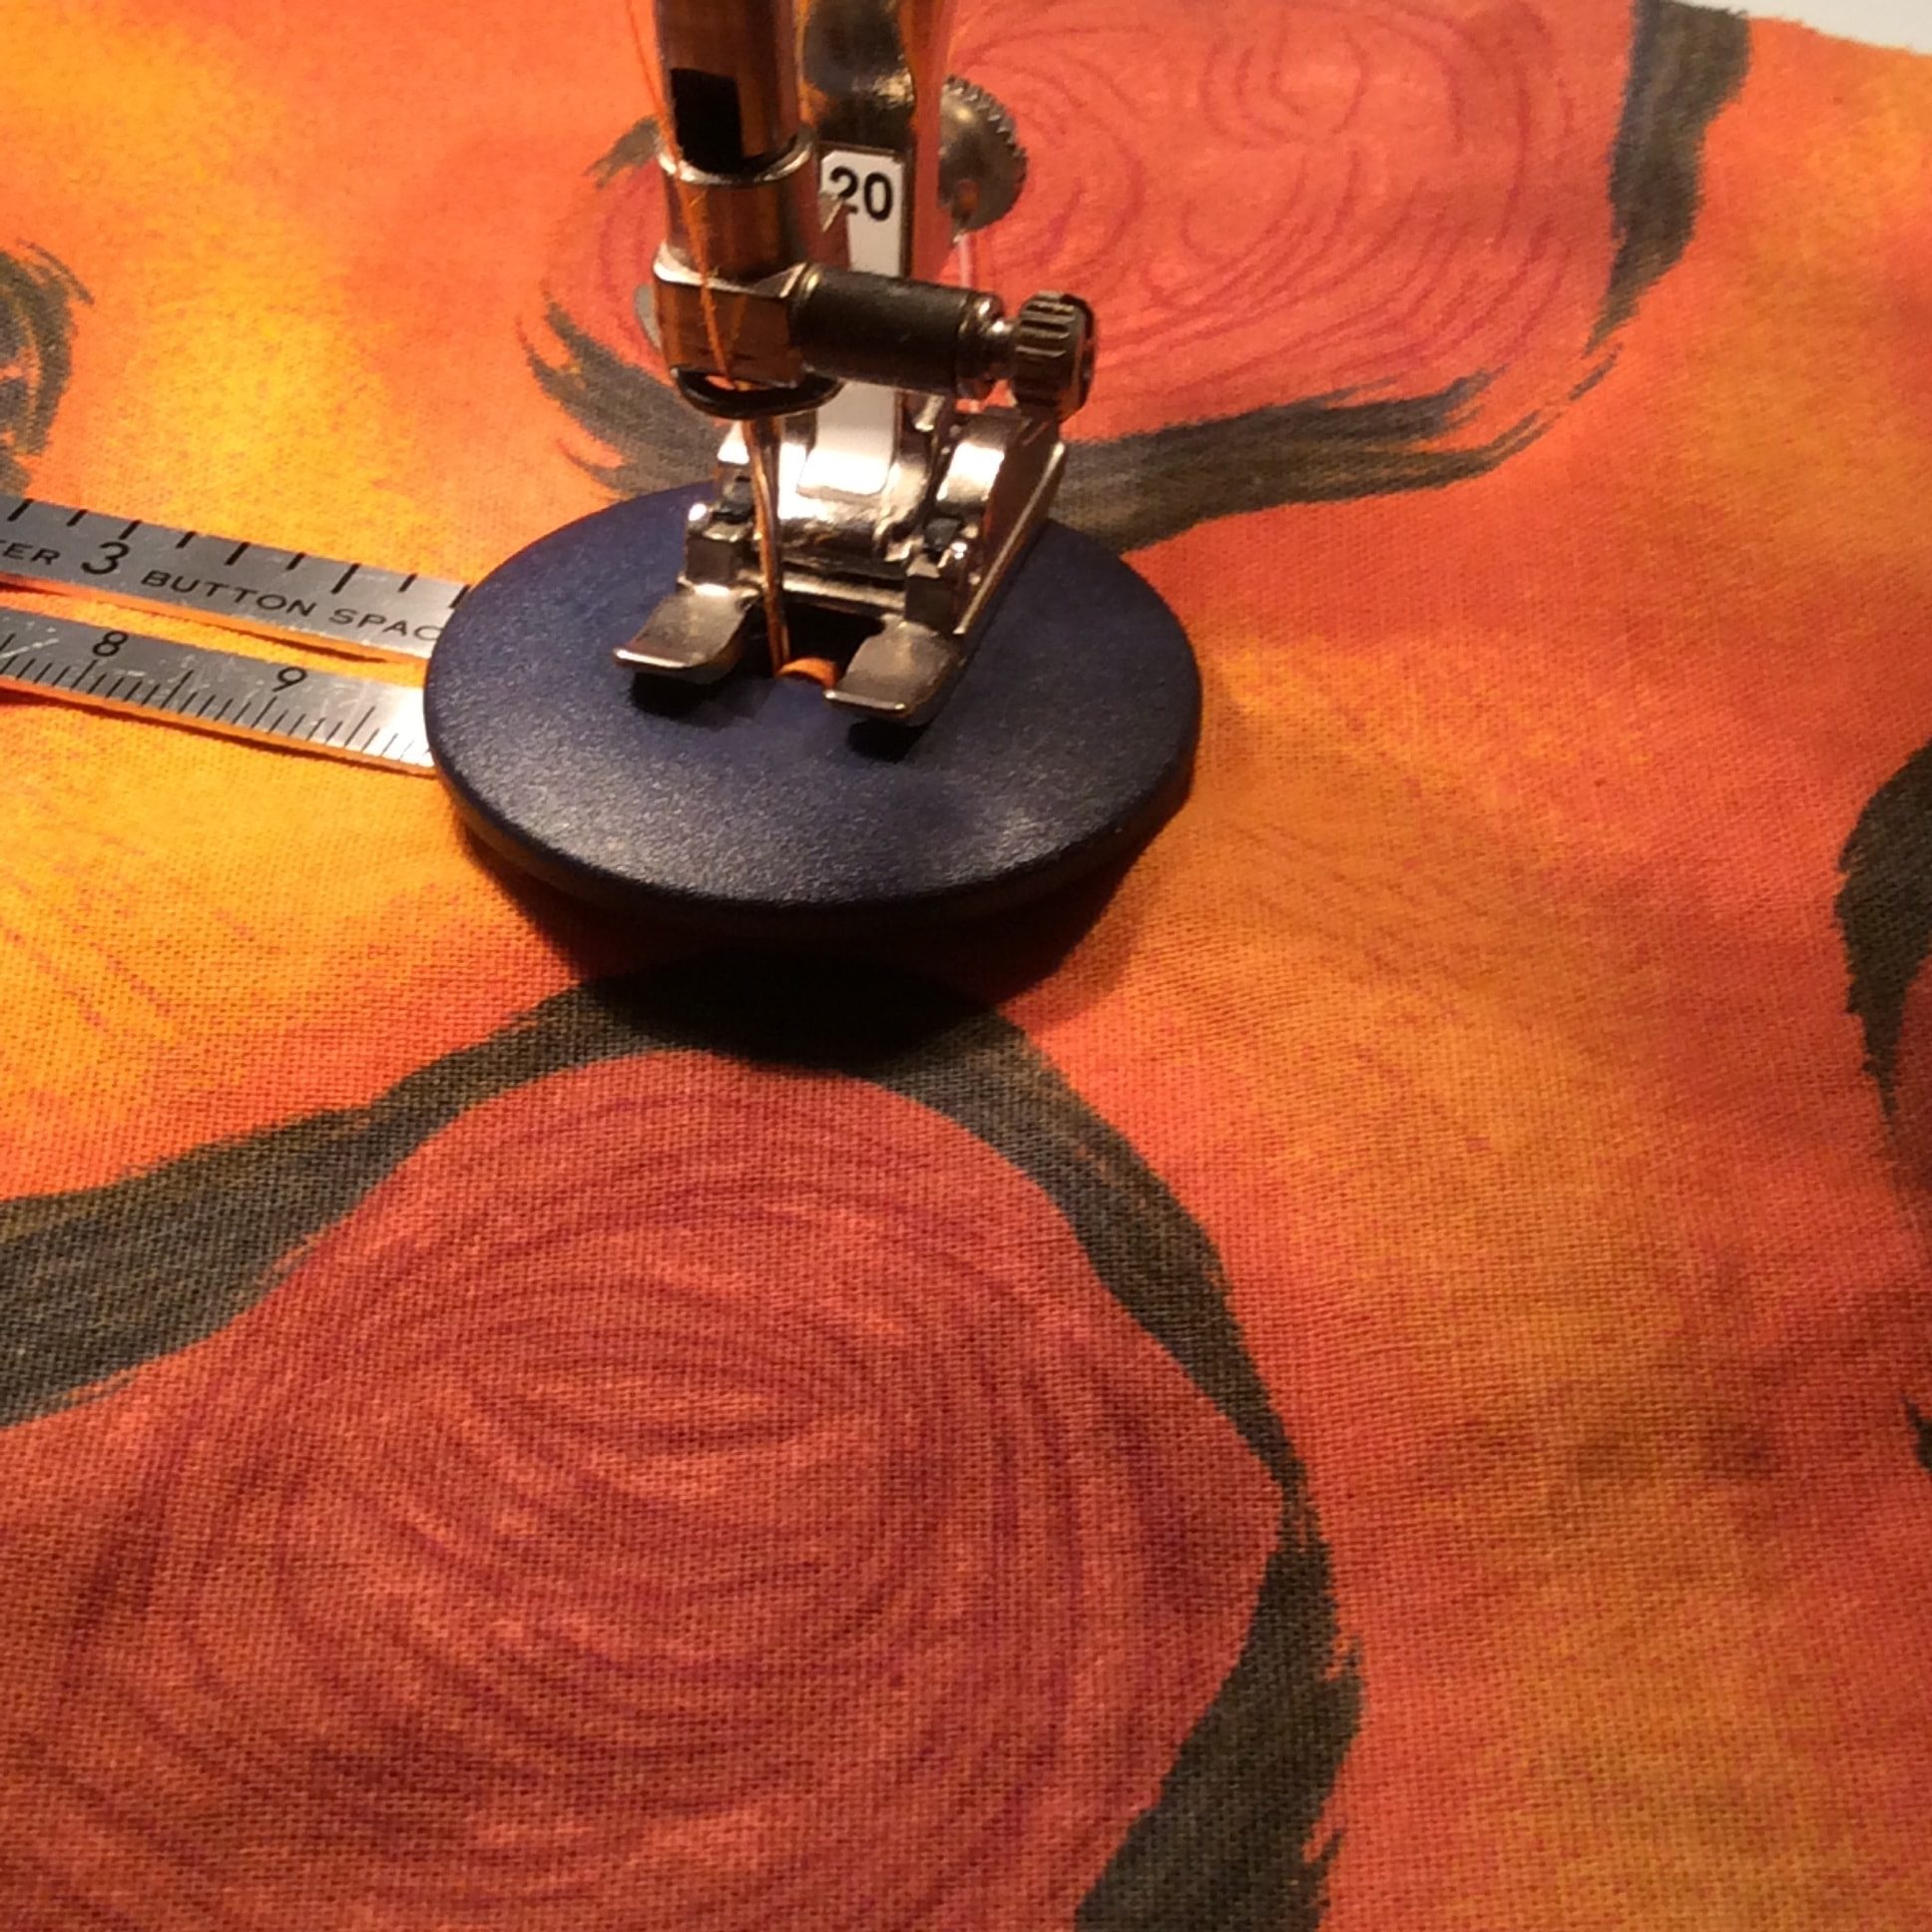
Position button and button spacer under presser foot.
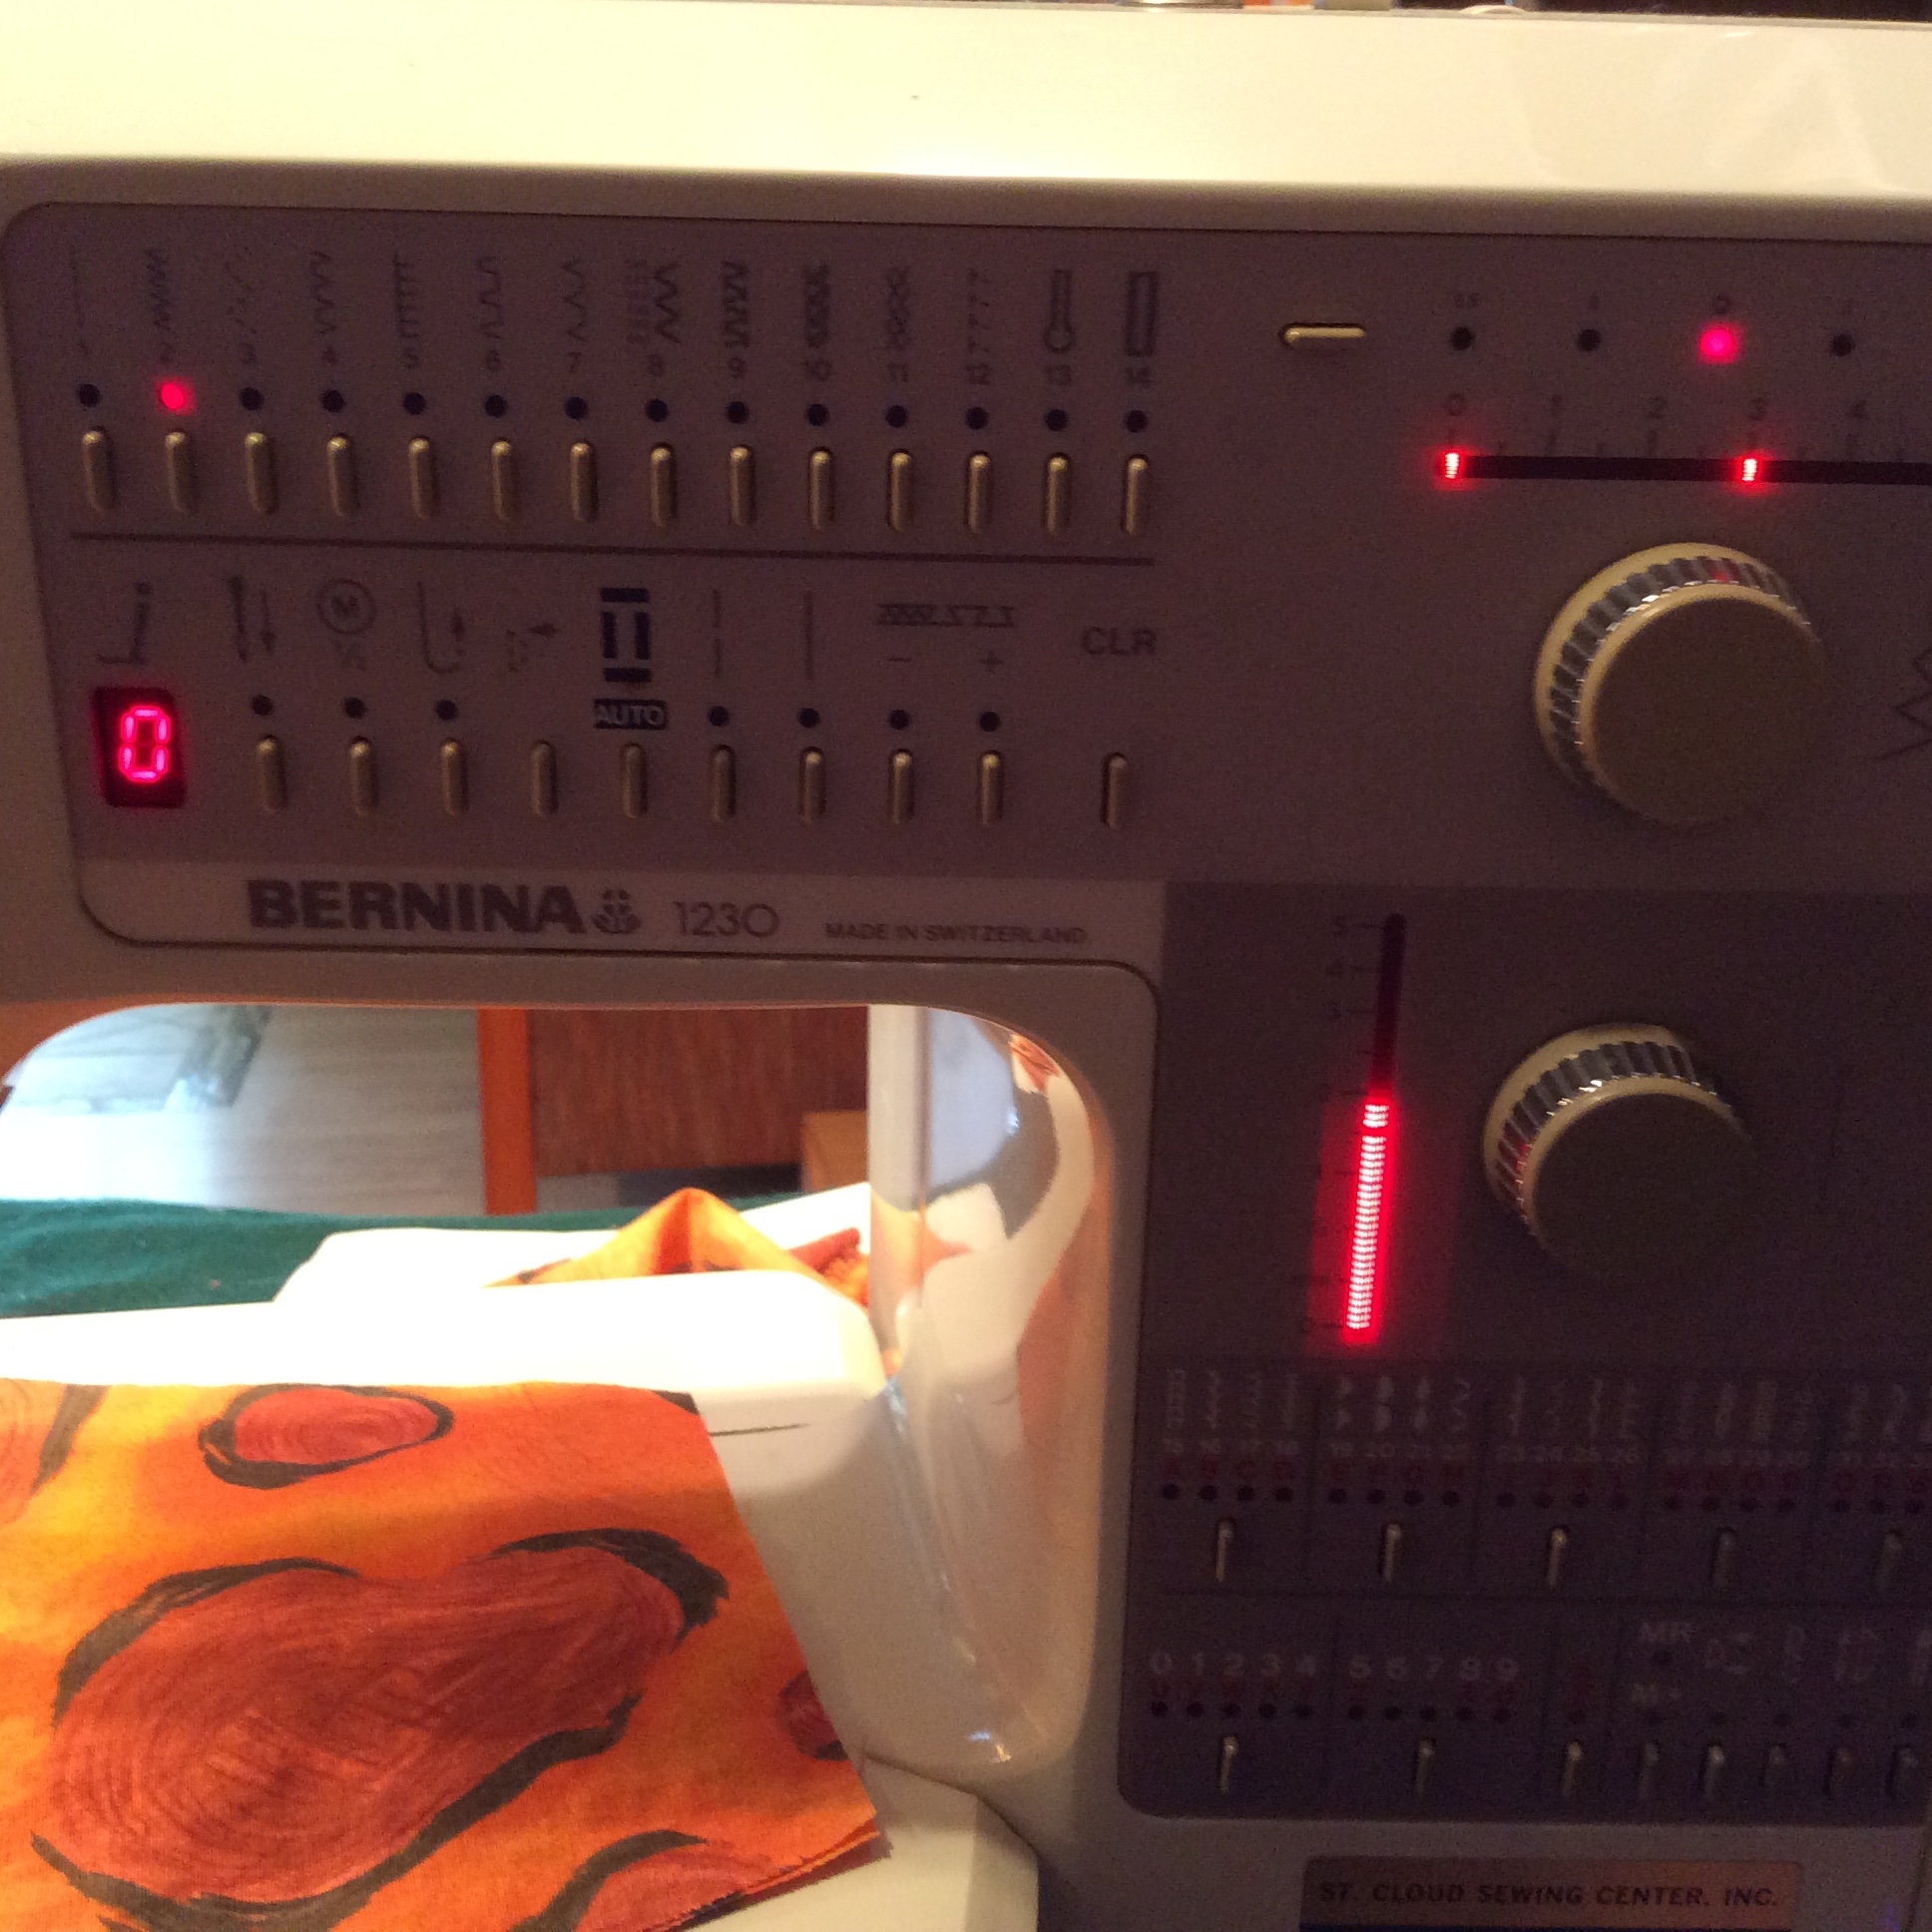
Set zigzag stitche width to zero–see stitch width indicator upper right above. Stitch 2-3 times in one button hole to anchor threads.
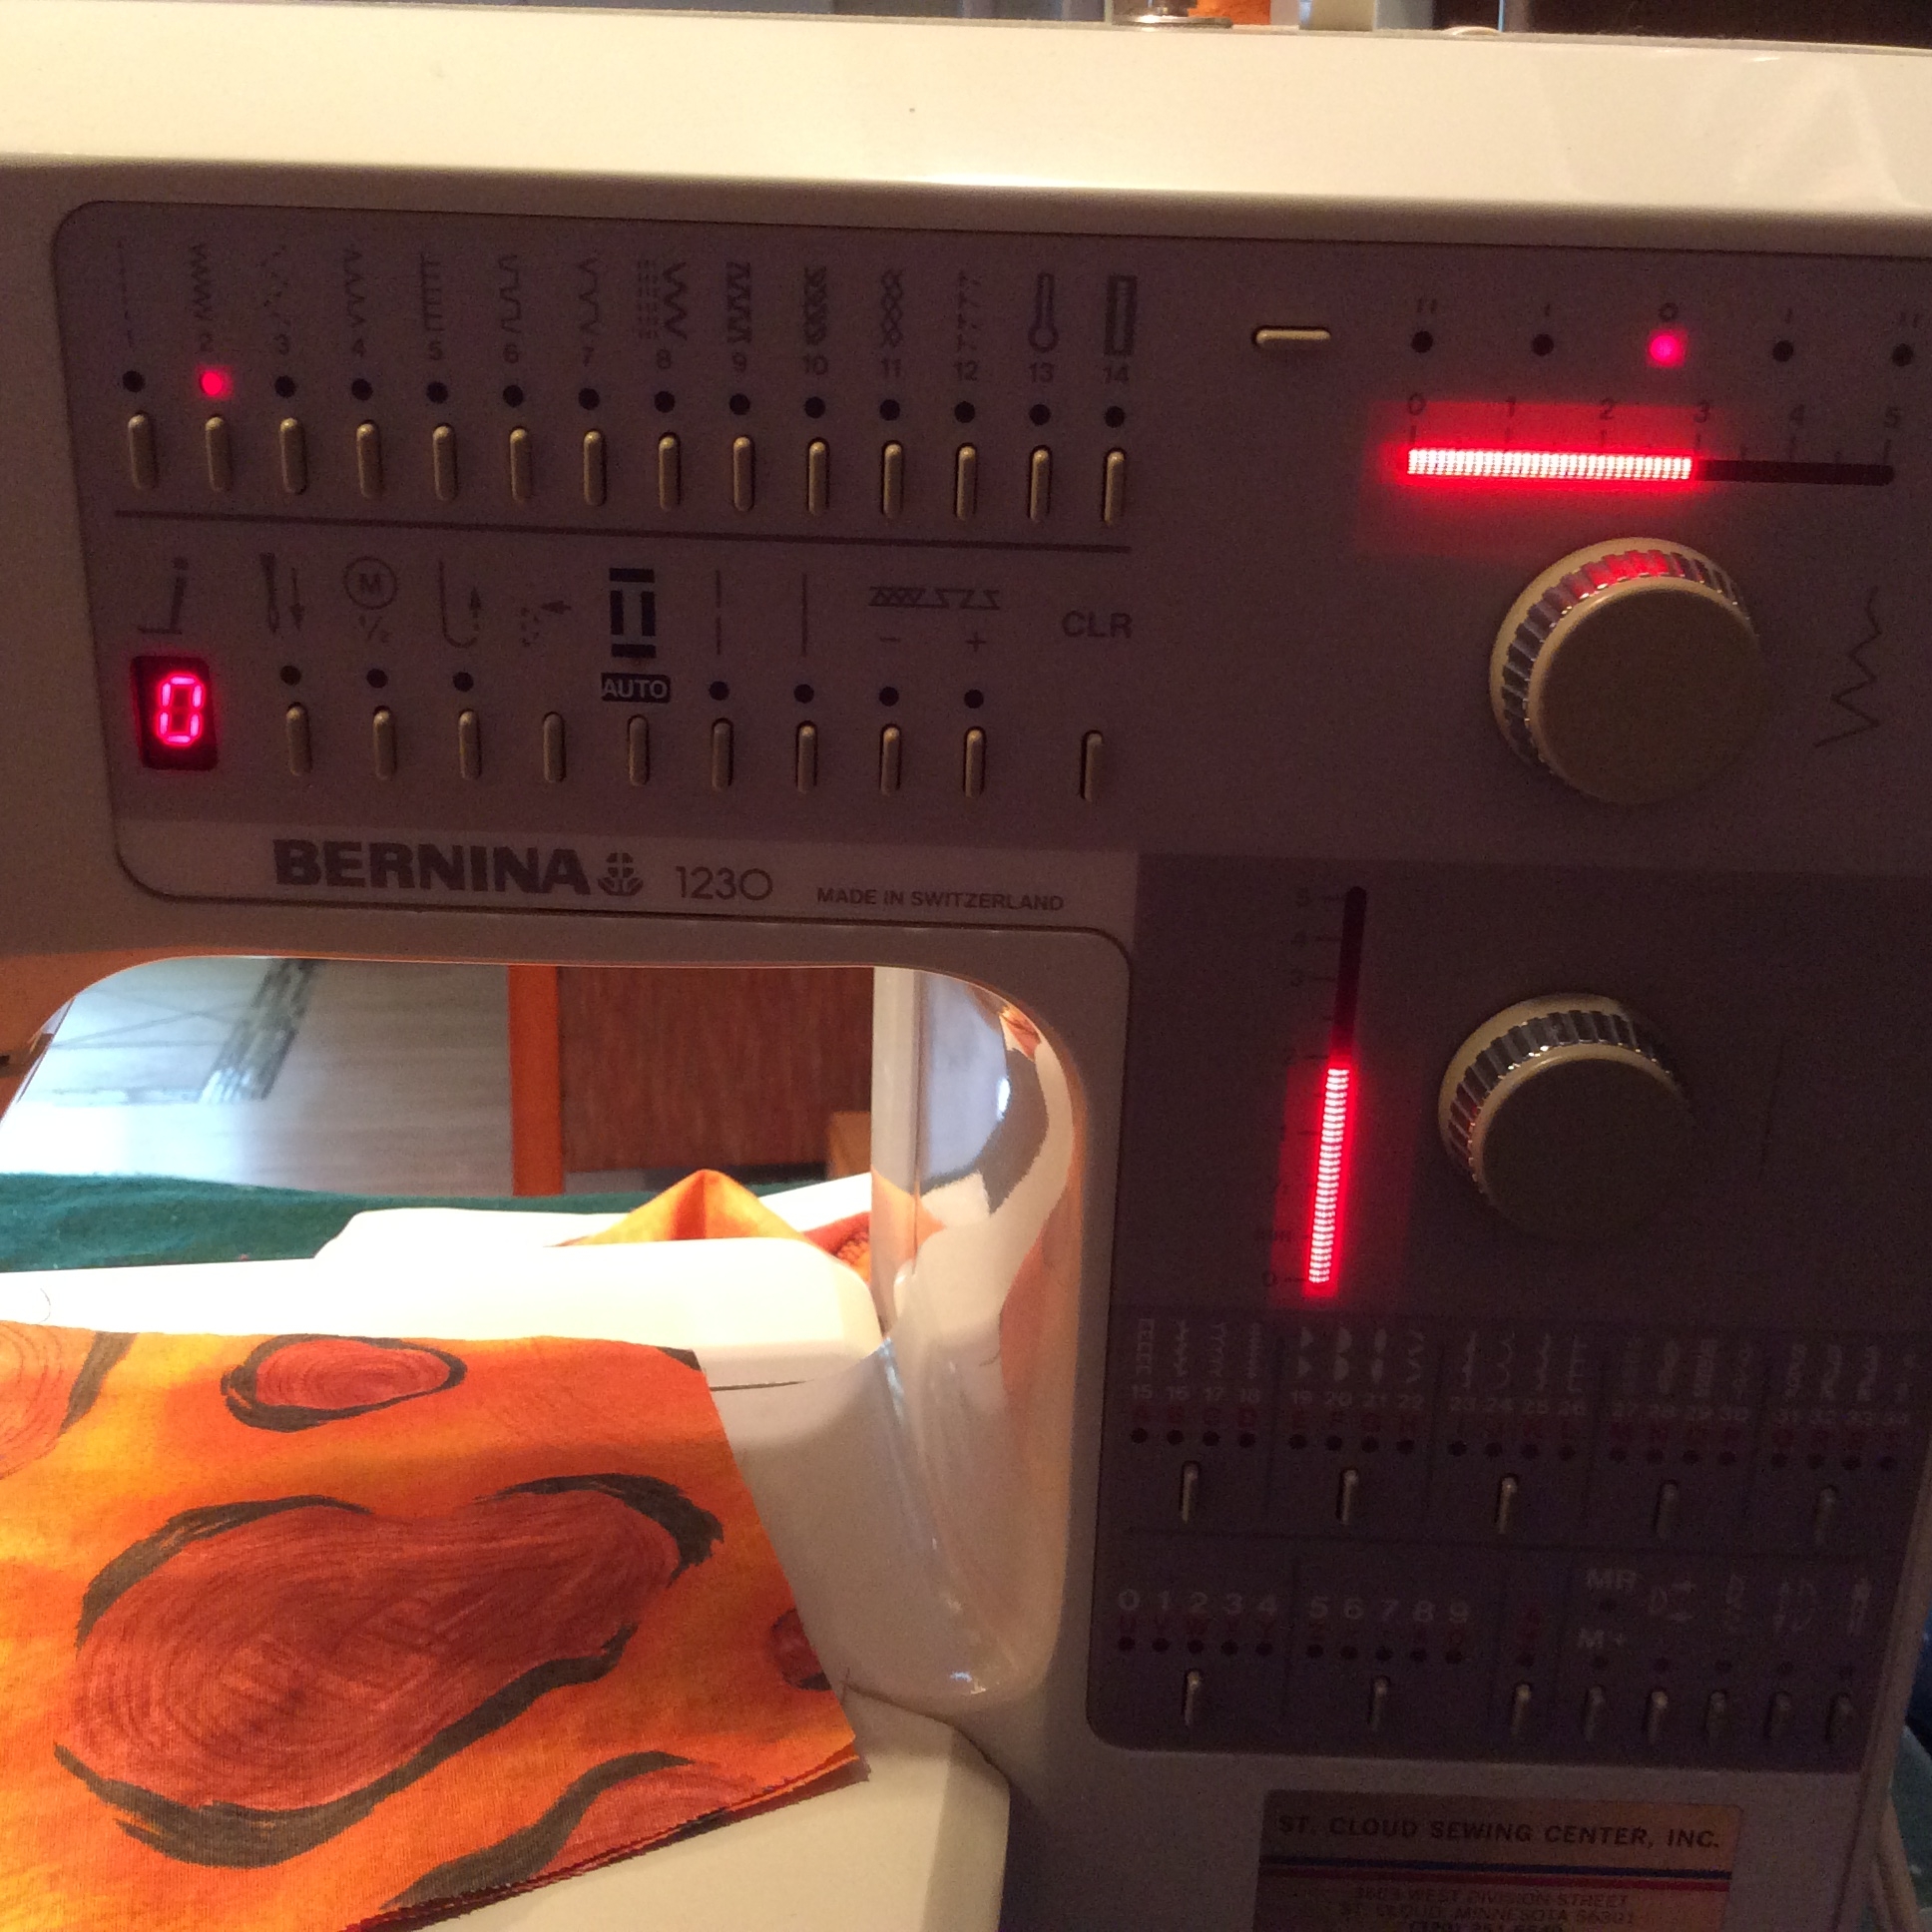
Set stitch width to 3-4–wide enough for needle to zigzag across both holes. Zigzag 3-4 times. Anchor as for first button hole.
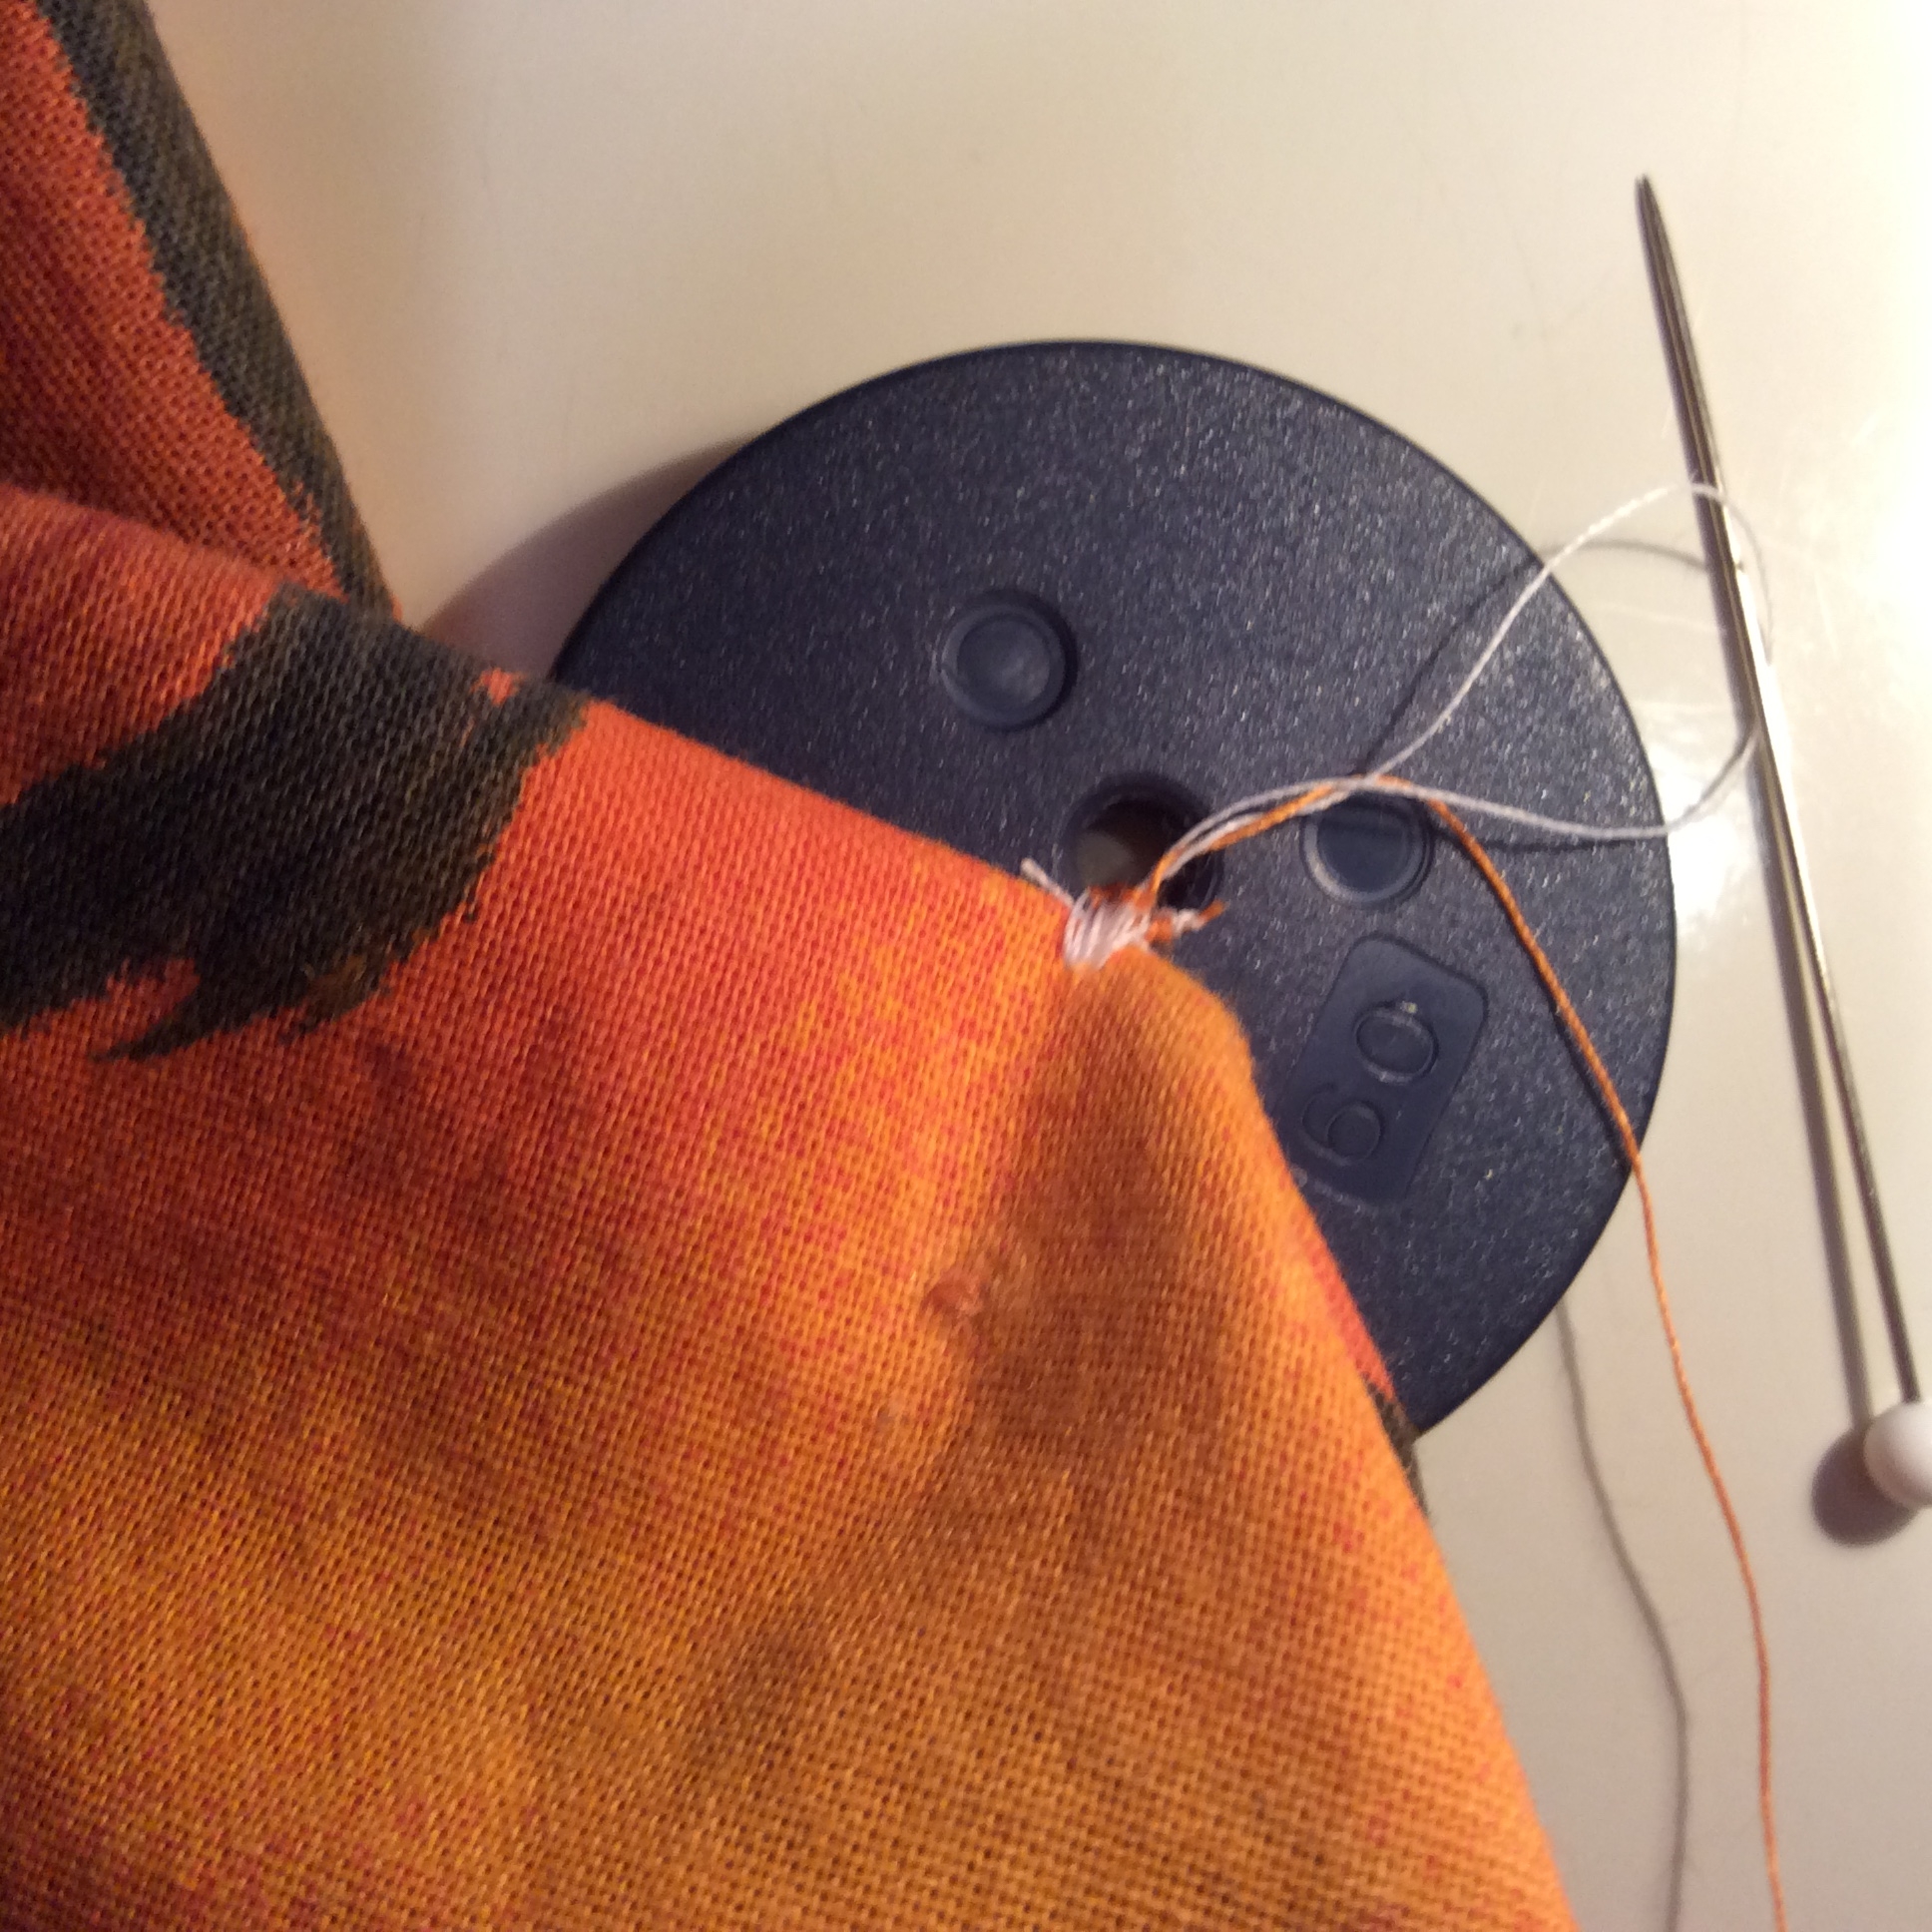
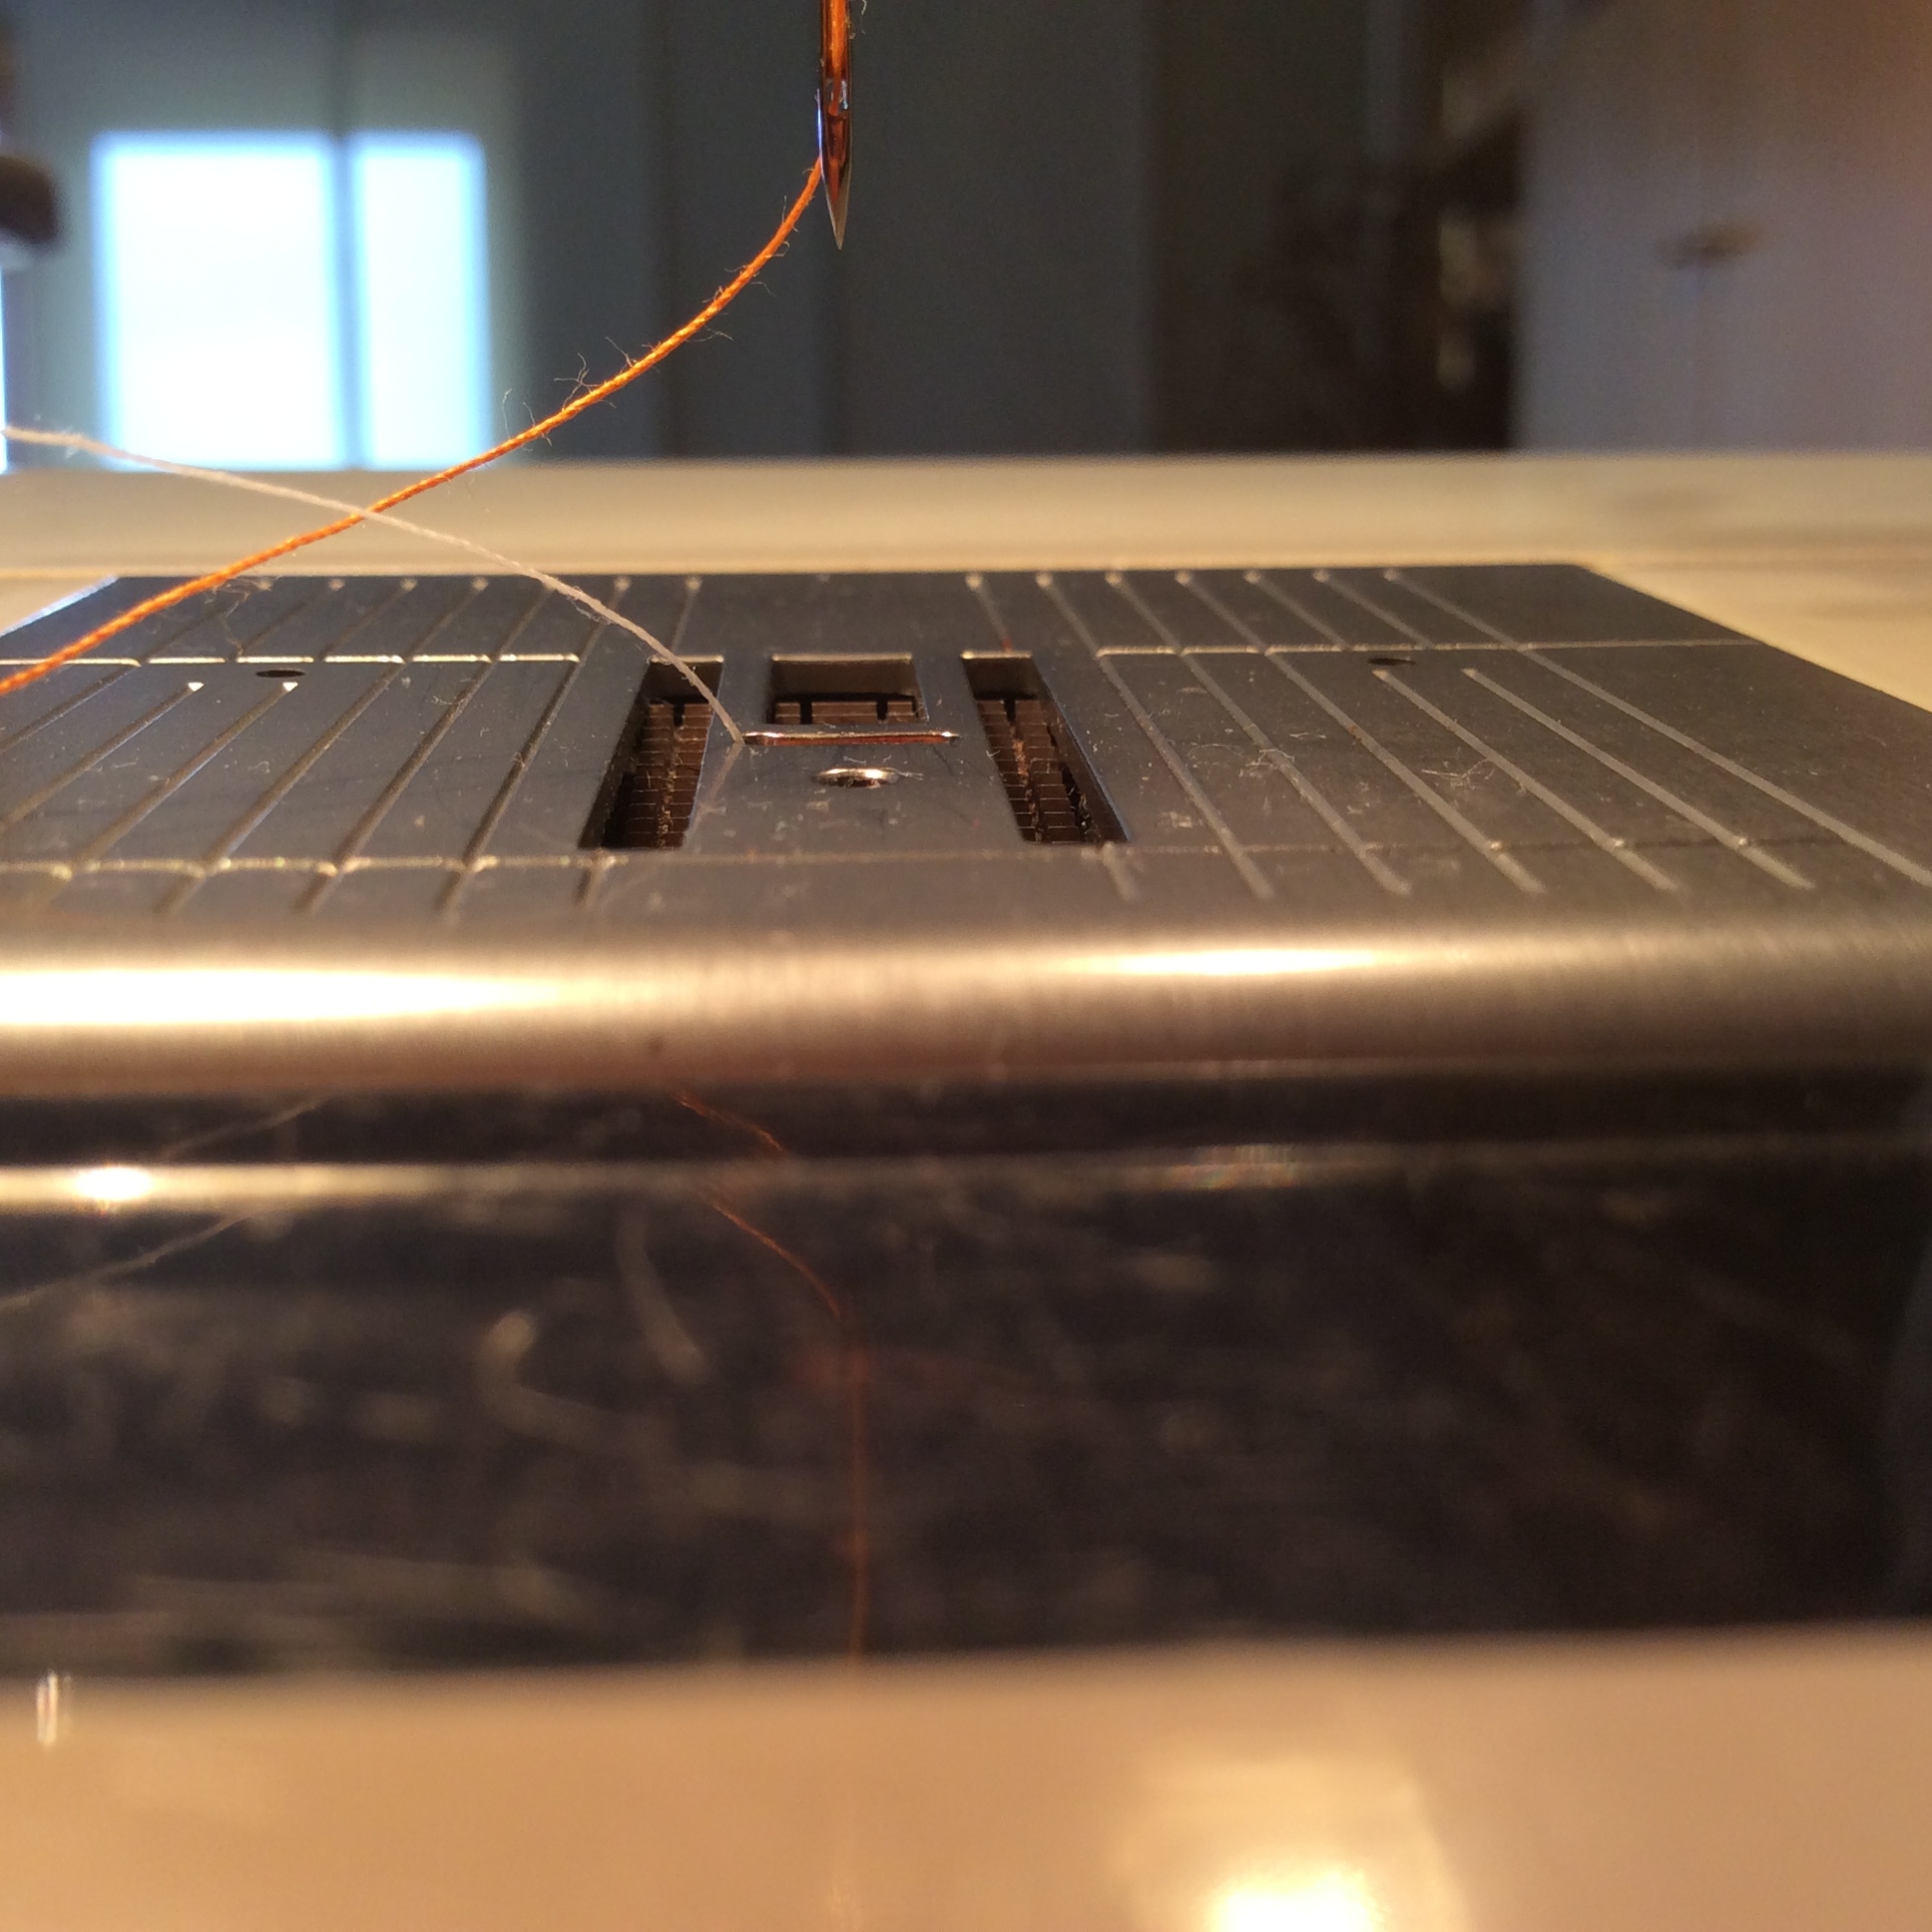
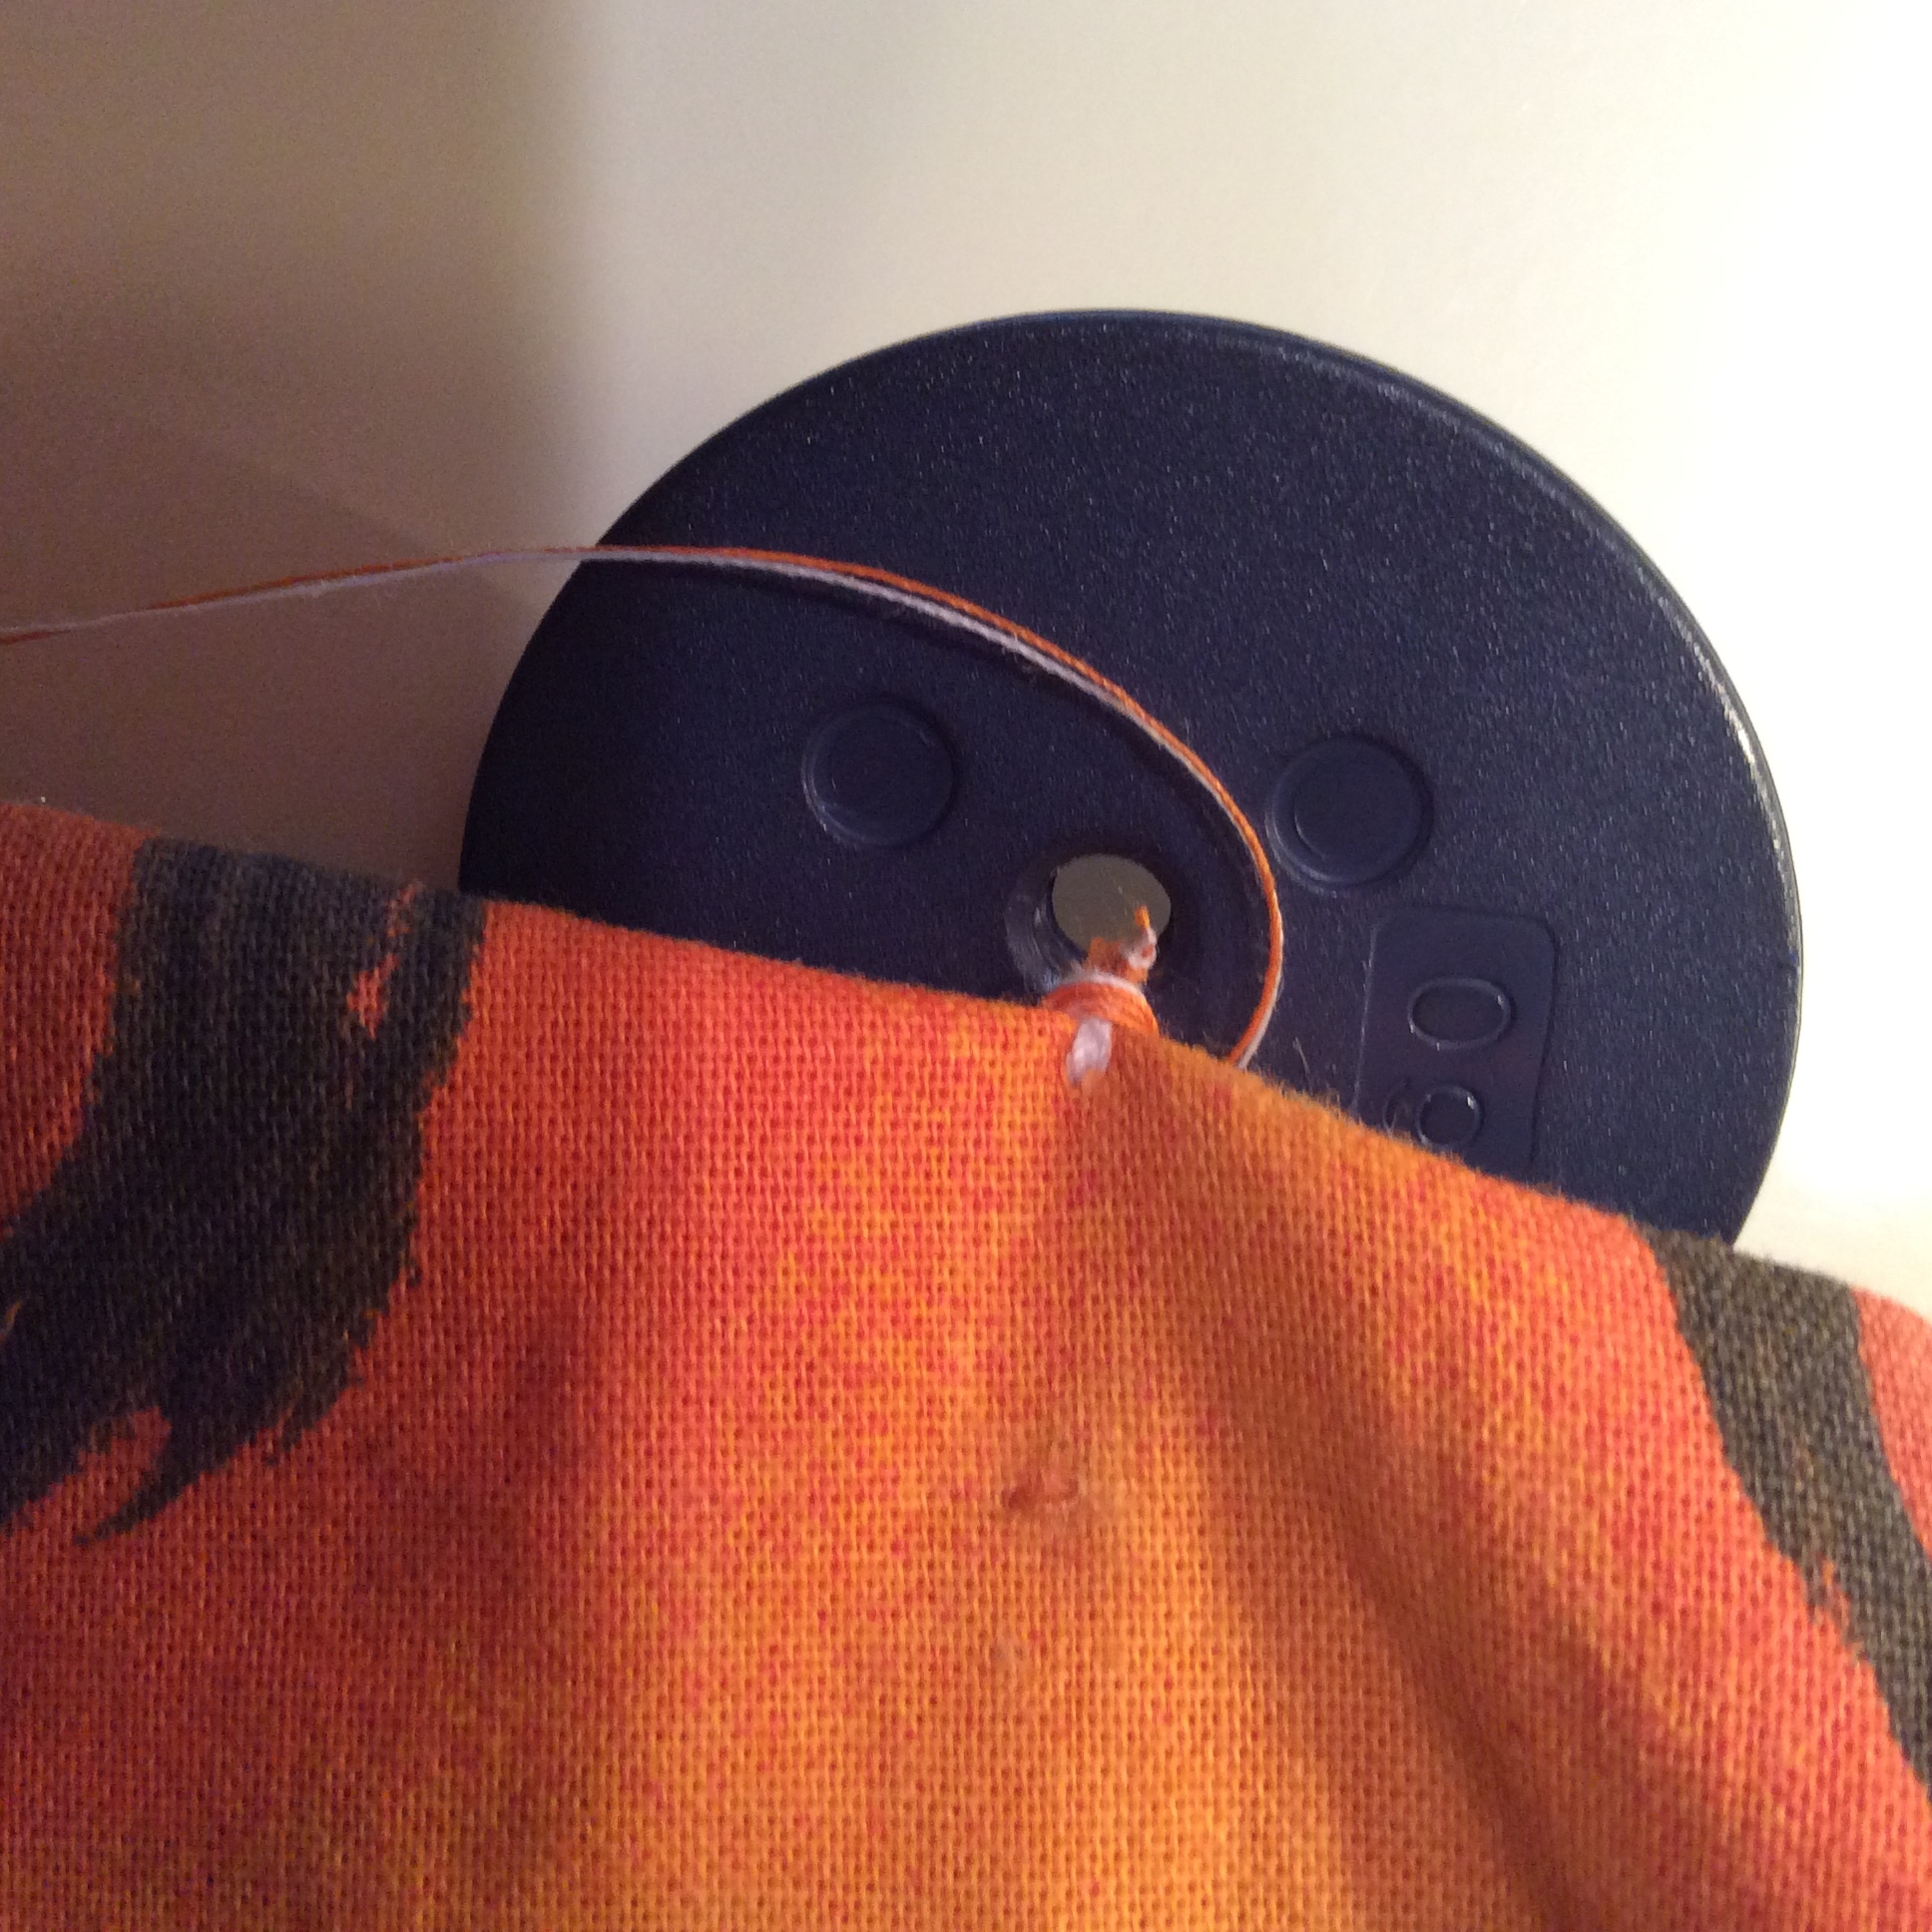
Cut thread leaving a long tail–12-15″. Tug upper thread (orange) to pull up bobbin thread loop(white). Both threads should be under button.
Wrap threads around shank and finish as in Hand Sewn Button
Dot threads with Fray Check or clear nail polish for extra security.
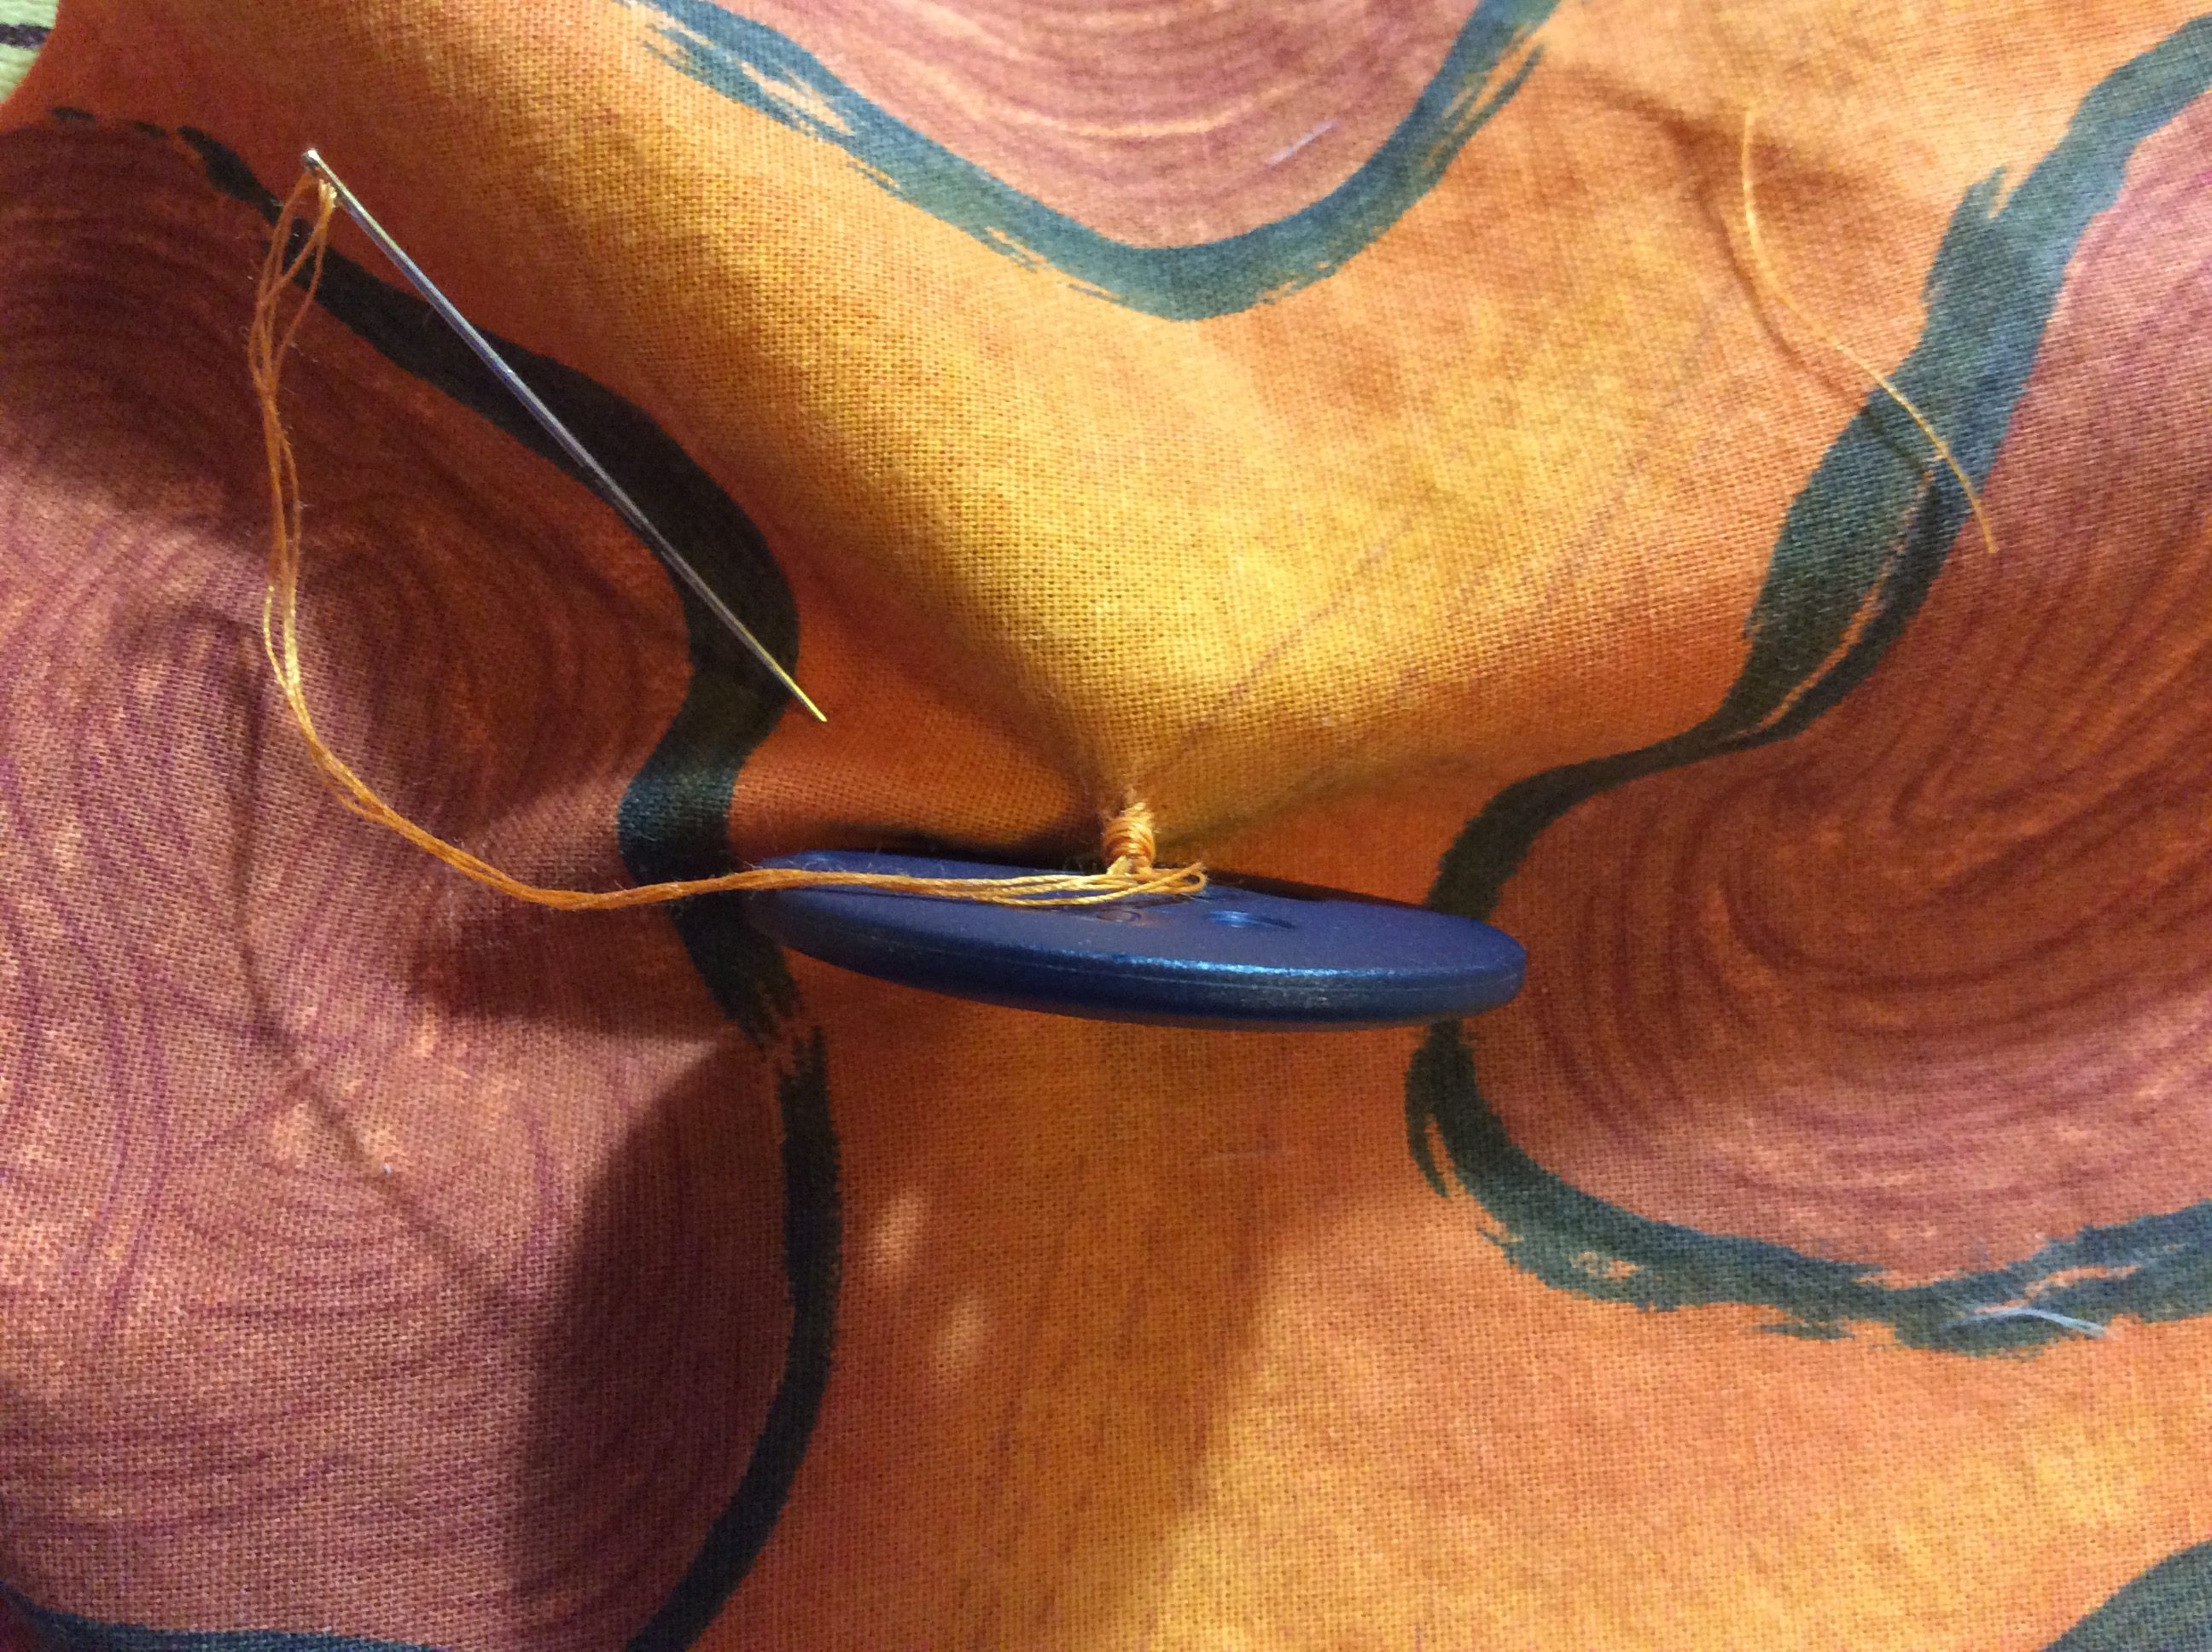
Sewing on a Button that has an Integrated Shank
Buttons with integrated shanks are more common on large buttons suitable for coats. They still need a thread shank which provides strength and abrasion resistance. The tightly wrapped shank is stronger than just several thread loops through the button shank.
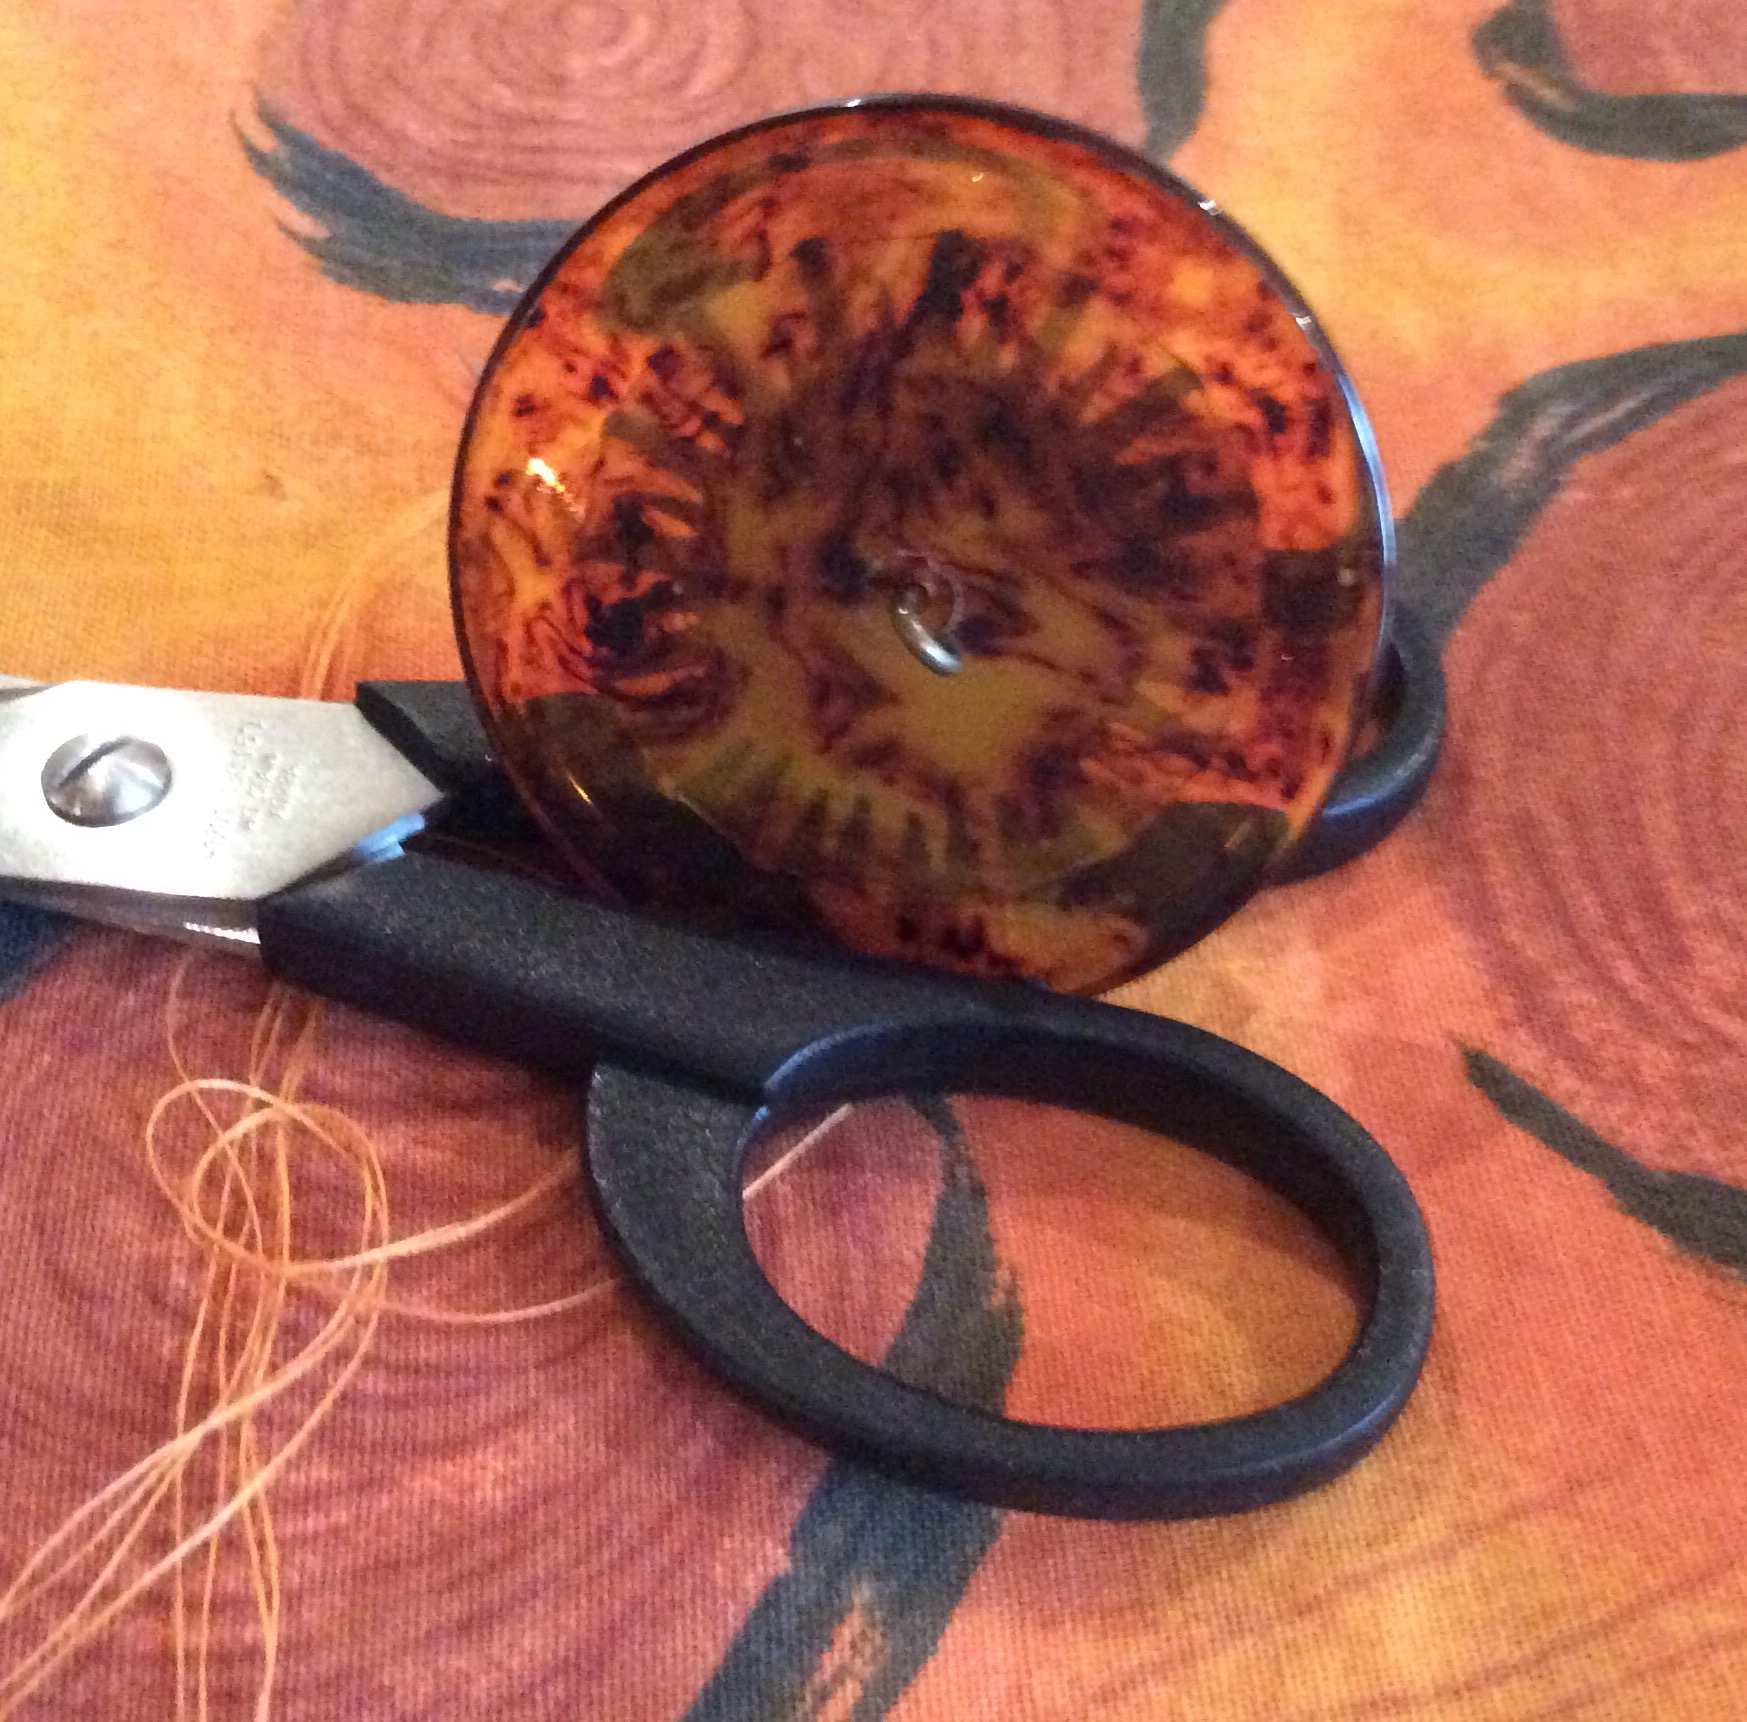
Resin button with embedded metal loop, aka Shank
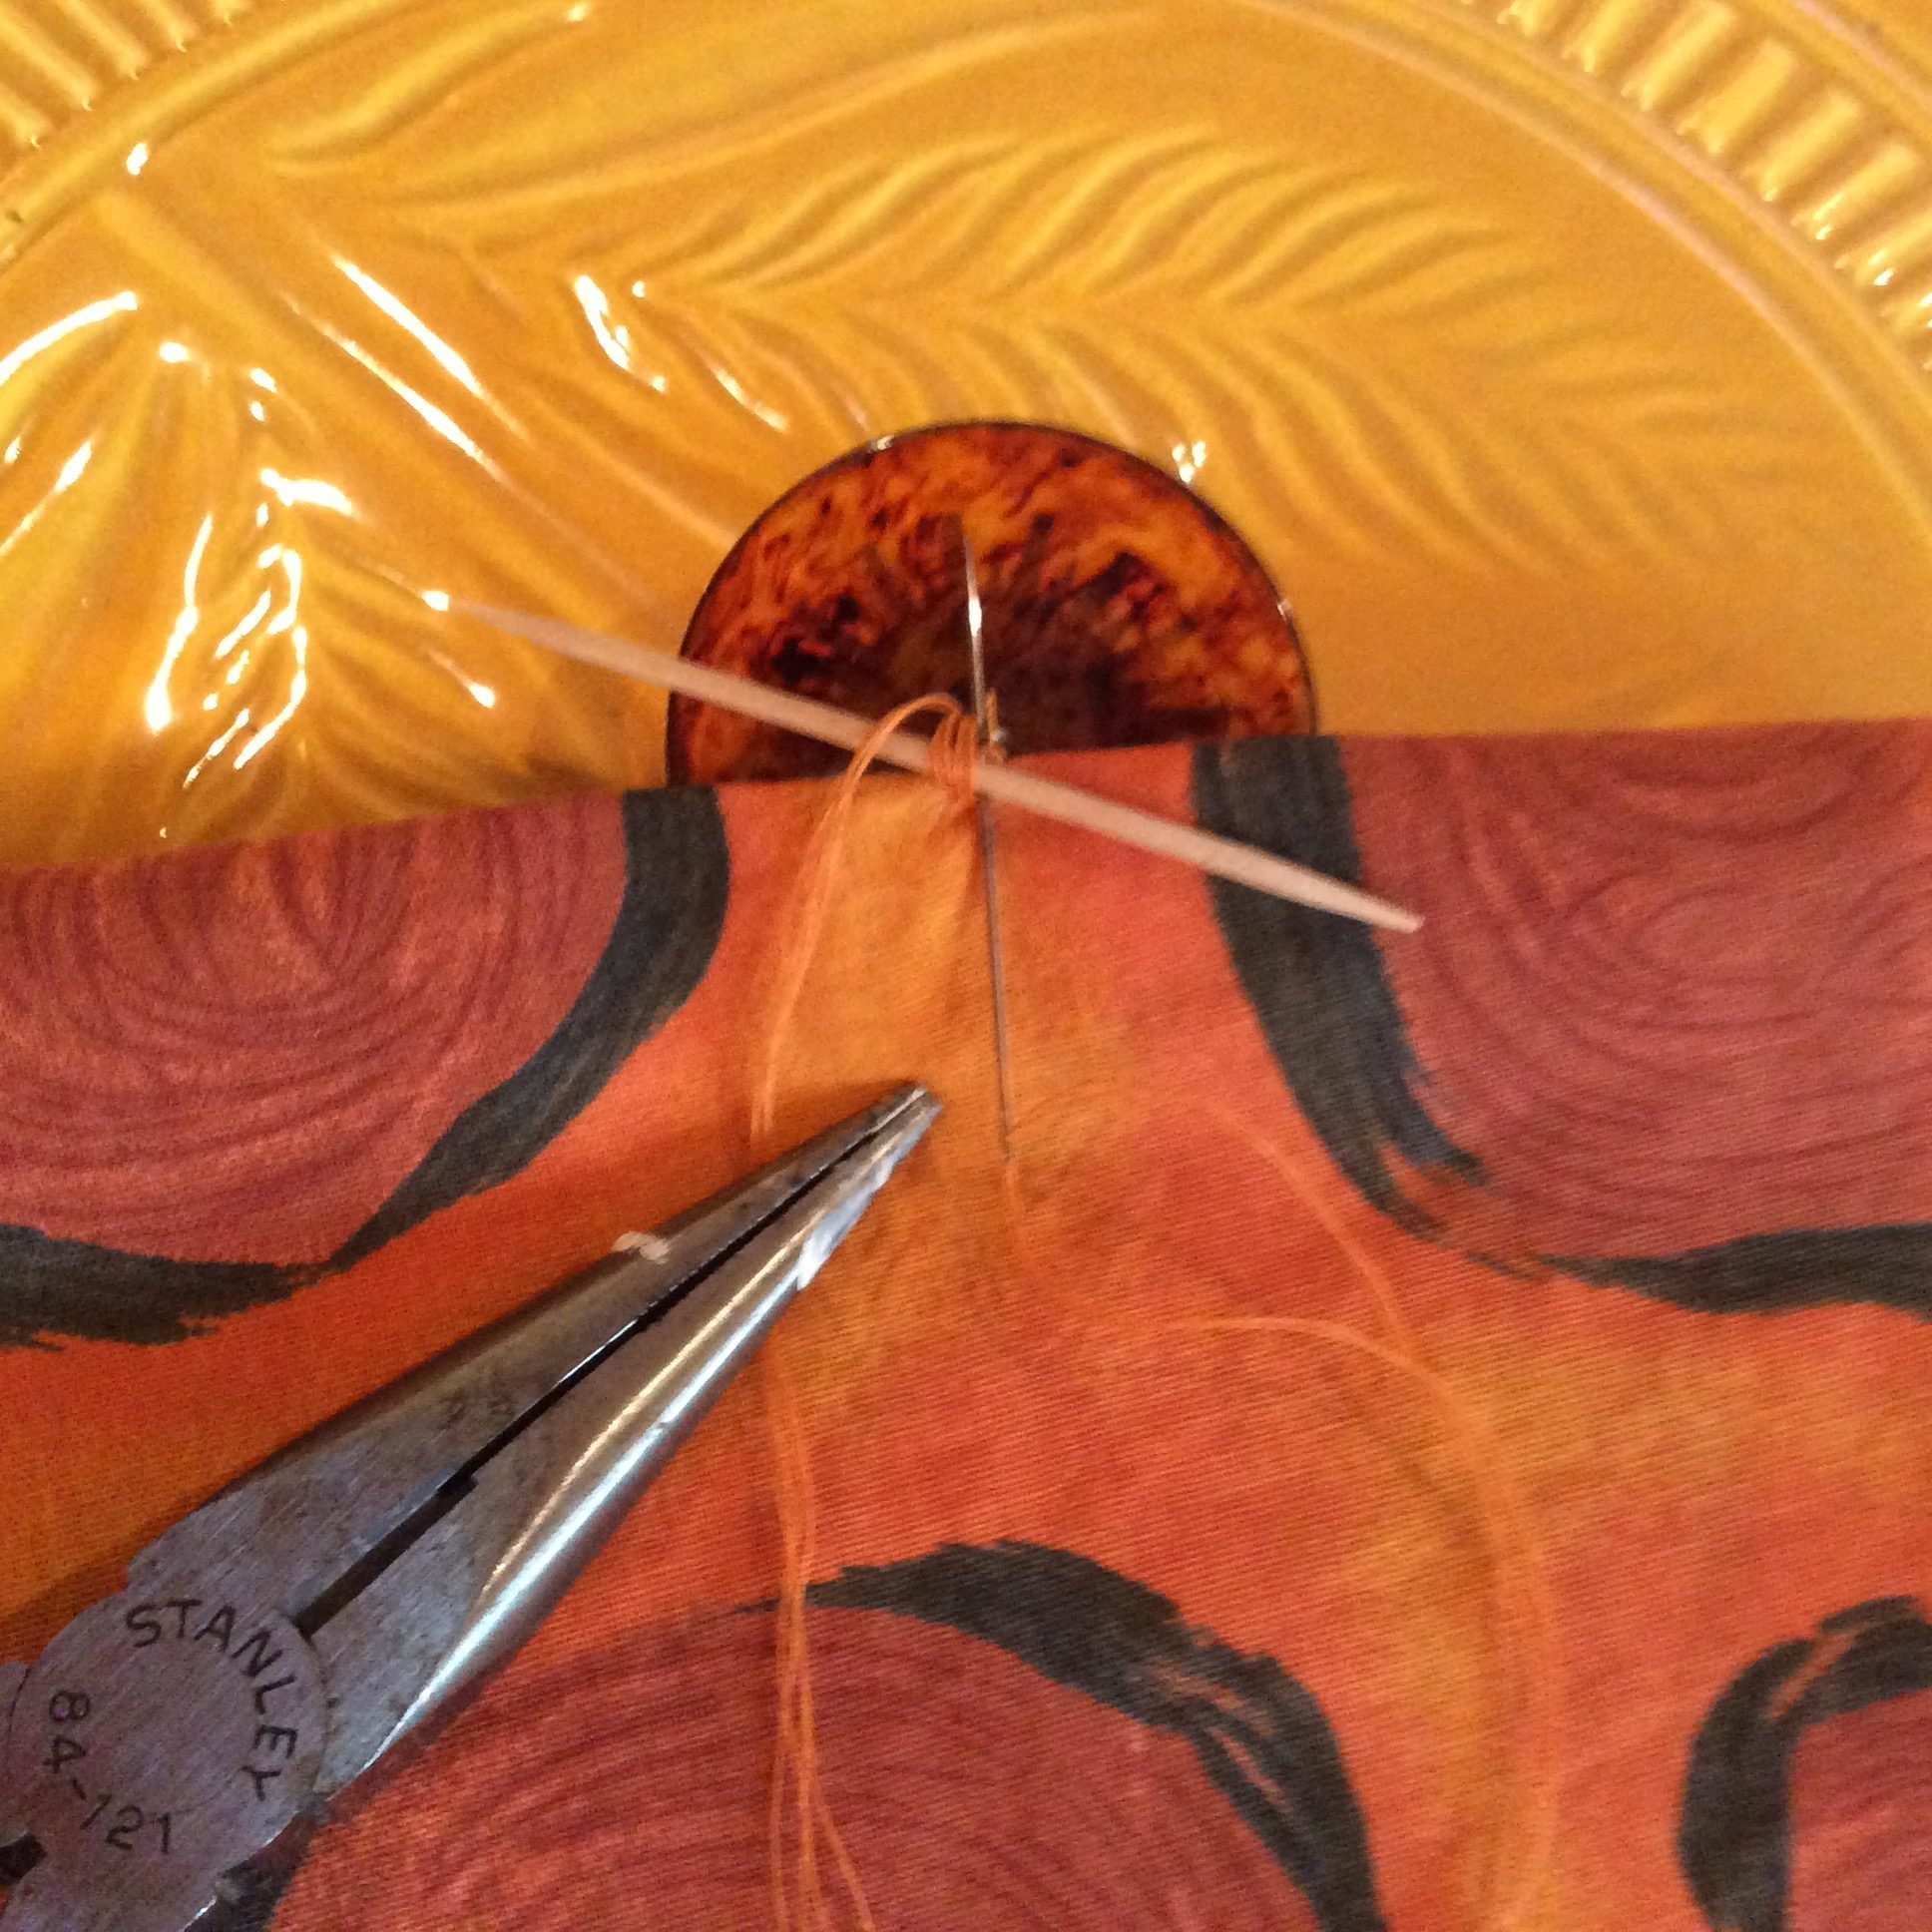
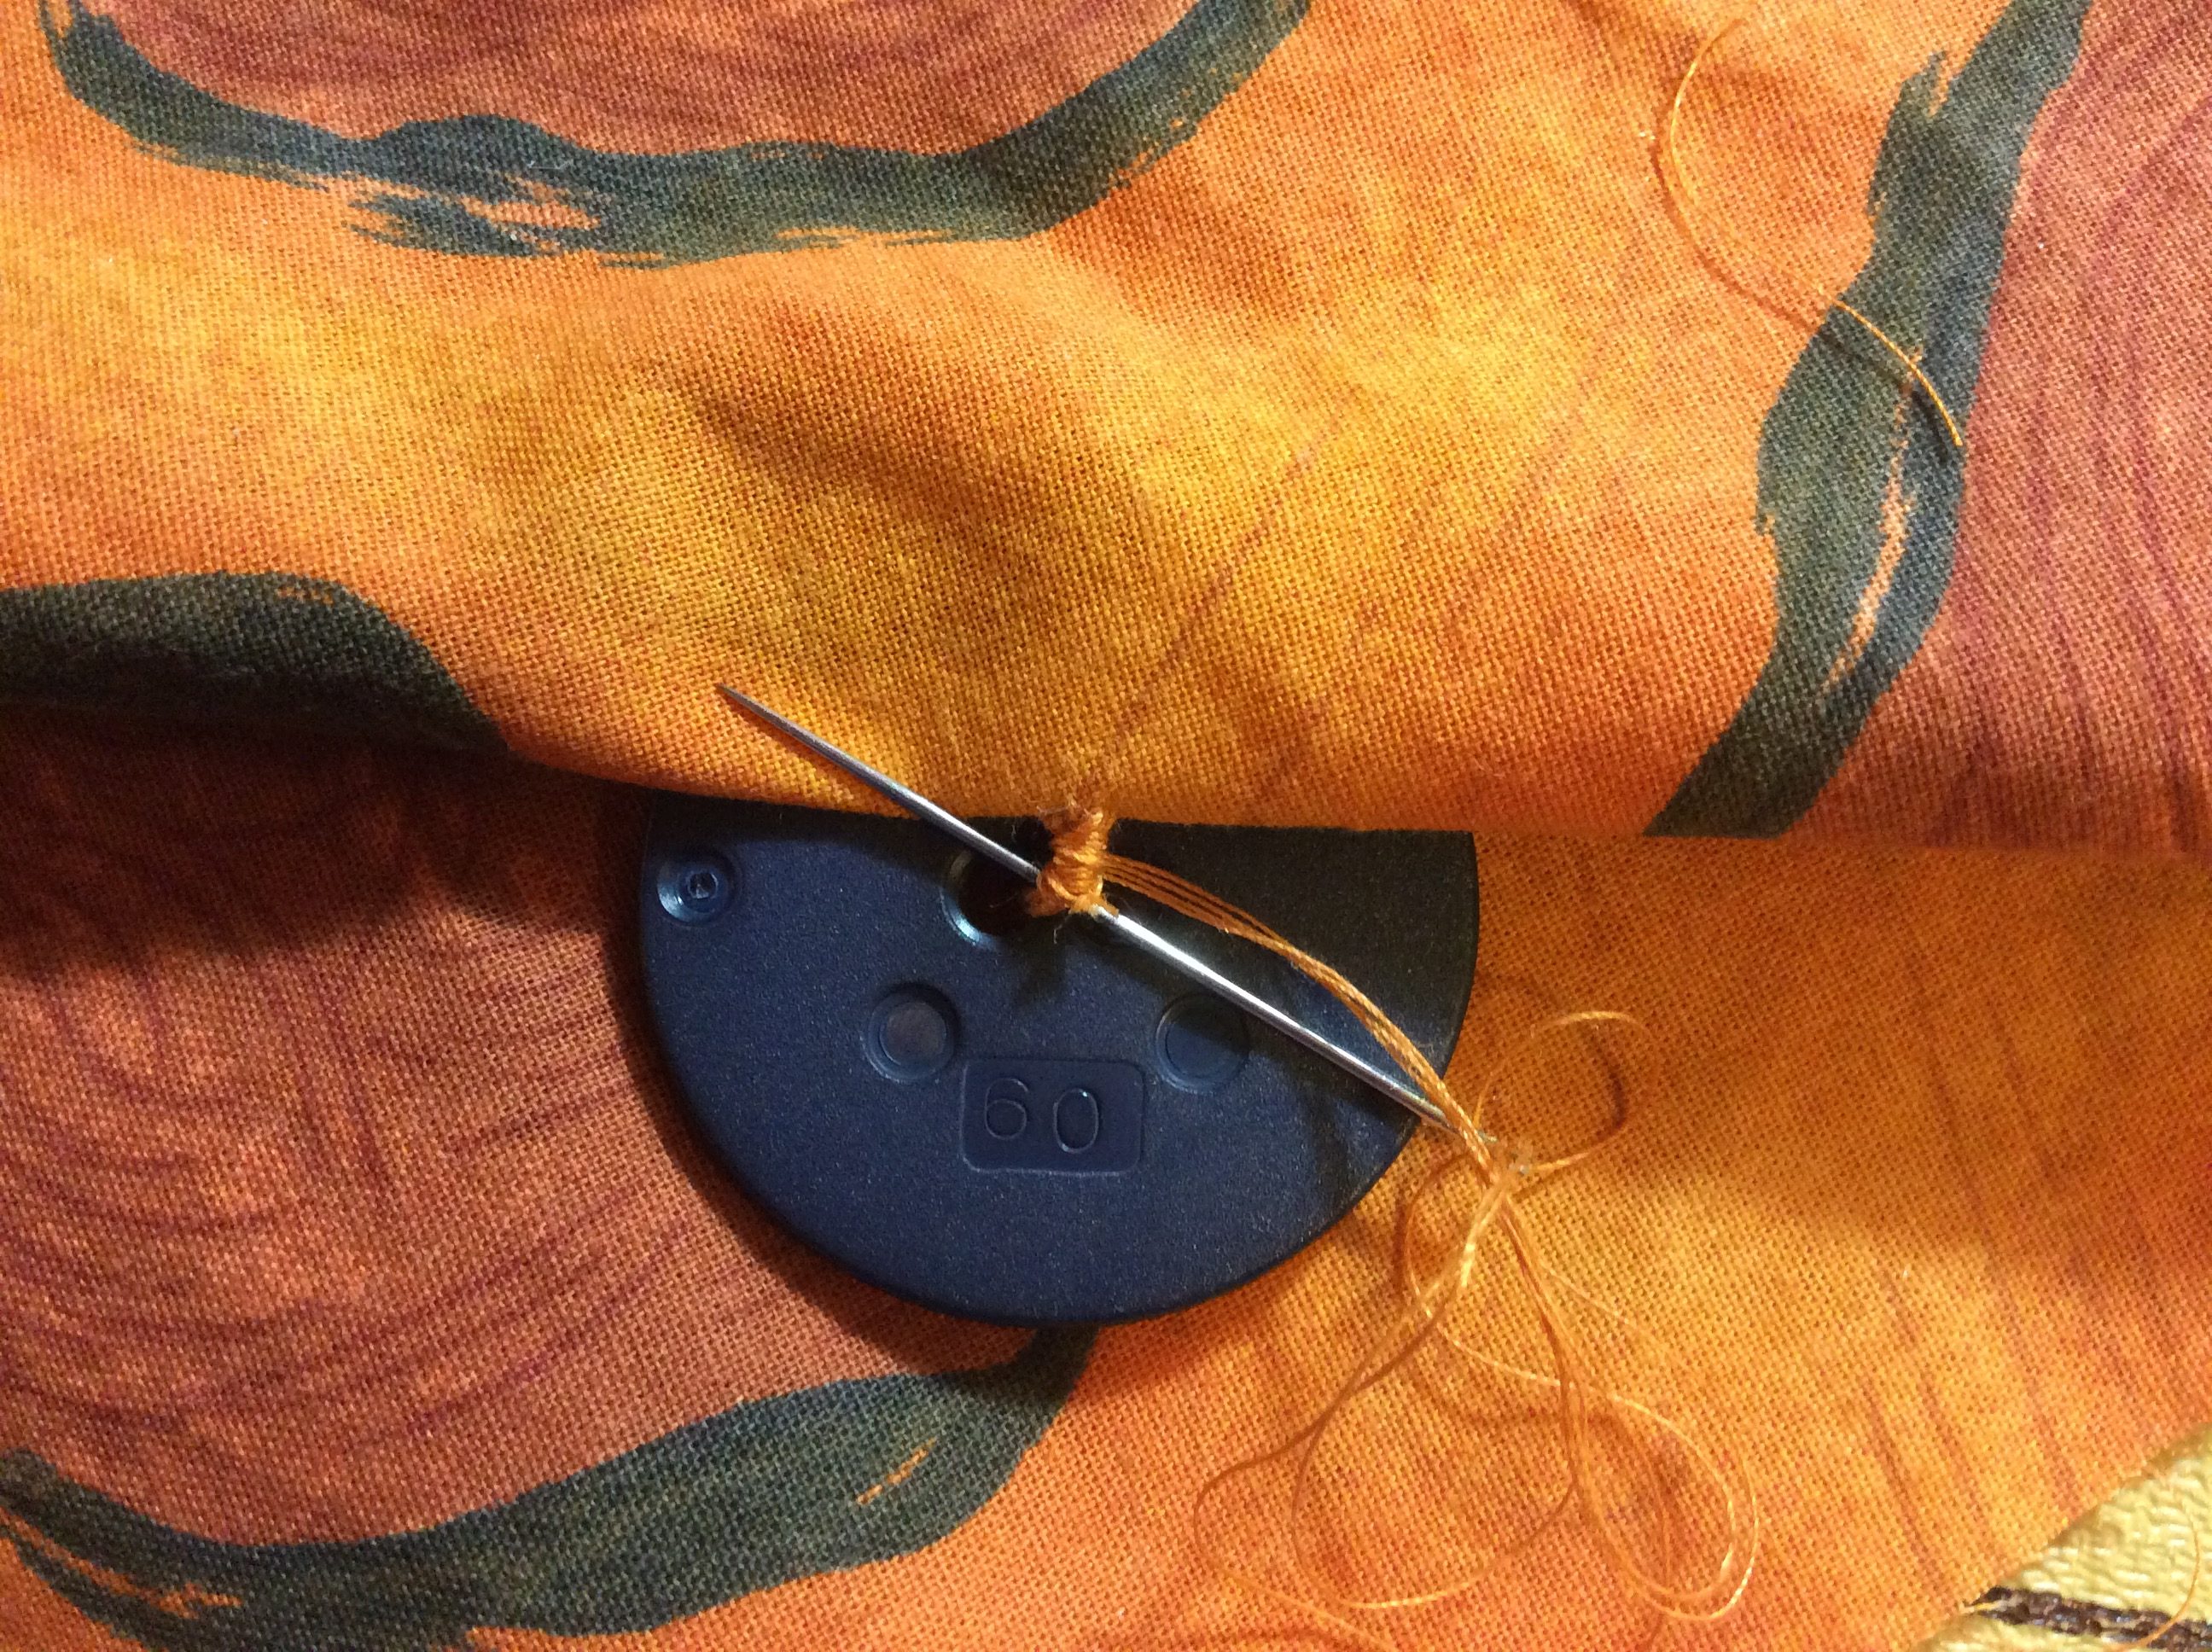
Anchor thread; fold fabric at button placement; stitch thru fold and button shank. Insert toothpick spacer under button shank and take 3-4 more stitches. A needle-nose pliers is a help in grasping needle in tight spaces

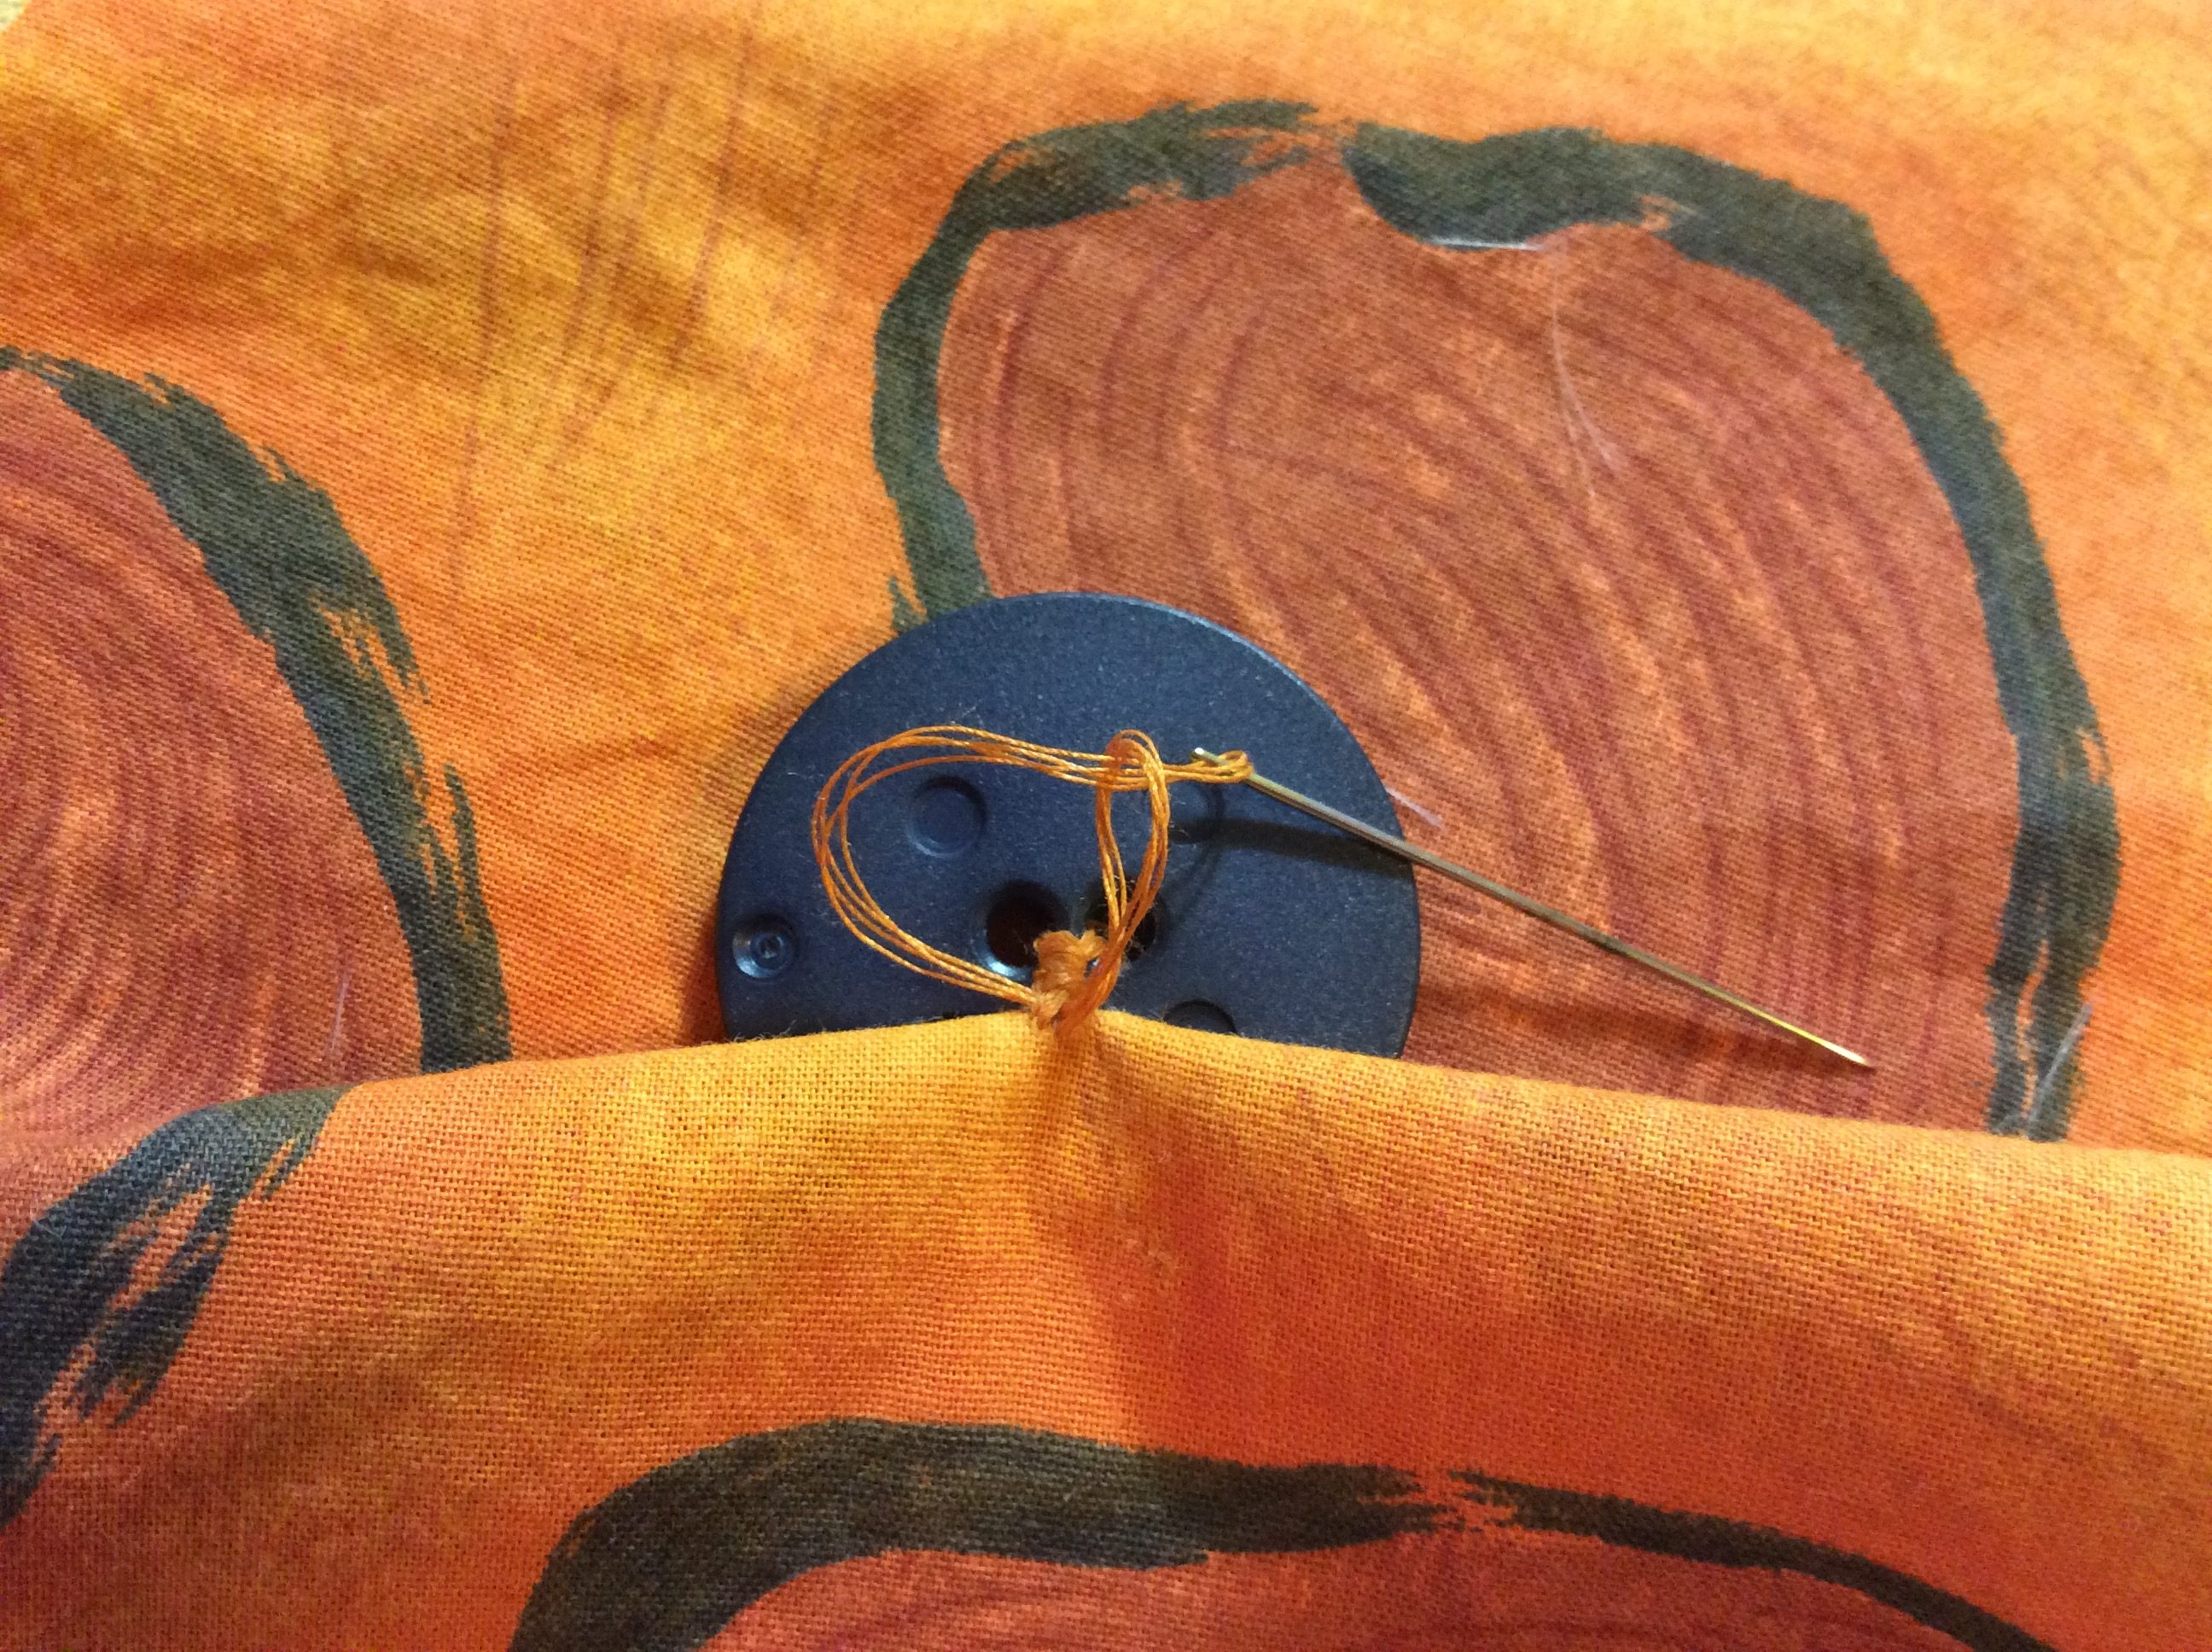
Remove toothpick spacer; wrap thread around thread shank and secure as for Hand Sewn/Machine Sewn Button.
Ta-Da
And, this is absolutely Everything you need to know to successfully sew on buttons that will stay sewn!
Related
Not Just Any Seam Gauge


Pingback: plaquenil itching
Pingback: paxil and abilify
Pingback: metformin and fatigue
Pingback: buy neurontin
Pingback: order cialis india
Pingback: top rated essay writing websites
Pingback: discount propecia online
Pingback: college essay writer
Pingback: help with writing thesis
Pingback: writing a thesis paragraph
Pingback: synthroid 75
Pingback: diflucan sulfa allergy
Pingback: priligy usa
Pingback: missed clomid dose
Pingback: prednisolone hydrocortisone
Pingback: order doxycycline online
Pingback: albuterol 180 mcg
Pingback: ivermectin 3mg for lice
Pingback: azithromycin for sale
Pingback: lasix price in india
Pingback: how to order amoxicillin online
Pingback: cialis original for sale
Pingback: canadian pharmacy cialis 20mg
Pingback: cialis original for sale
Pingback: essay on issue business ethics theories
Pingback: help me with my english essay
Pingback: monthly cost of cialis without insurance
Pingback: write my essay online cheap
Pingback: how to write a research introduction
Pingback: what is the best custom essay writing service
Pingback: buy cheap cialis uk
Pingback: viagra comprar contrareembolso
Pingback: buy cialis 36 hour
Pingback: cialis original for sale
Pingback: buy viagra
Pingback: 5 mg cialis
Pingback: can i buy cialis online
Pingback: what is the dose of zithromax for strep throat
Pingback: viagra wat is dat
Pingback: buy cialis online viagra
Pingback: where to buy viagra in perth
Pingback: njwkqmbg
Pingback: cialis sale 20mg
Pingback: buy cialis drug
Pingback: can i buy cialis in toronto
Pingback: professional cialis
Pingback: how to buy cialis online uk
Pingback: cialis male enhancement
Pingback: generic cialis daily pricing
Pingback: buy cialis online viagra
Pingback: buy cialis without doctor prescription
Pingback: cialis shop in australia
Pingback: generic cialis canada
Pingback: viagra
Pingback: Oxytrol
Pingback: aarp recommended canadian pharmacies
Pingback: Alesse
Pingback: medical pharmacy
Pingback: pharmacy drug store
Pingback: order viagra online
Pingback: viagra over the counter walmart
Pingback: how to order cialis
Pingback: generic cialis online
Pingback: master thesis writing service
Pingback: what should i write my paper about
Pingback: research methodology thesis
Pingback: sildenafil generic viagra
Pingback: help write a research paper
Pingback: medical school essay writing service
Pingback: best dissertations
Pingback: helping others essays
Pingback: fast custom essay
Pingback: cialis mail
Pingback: cialis online
Pingback: custom essay writing services
Pingback: buy levitra online in usa
Pingback: prices of cialis
Pingback: Real viagra