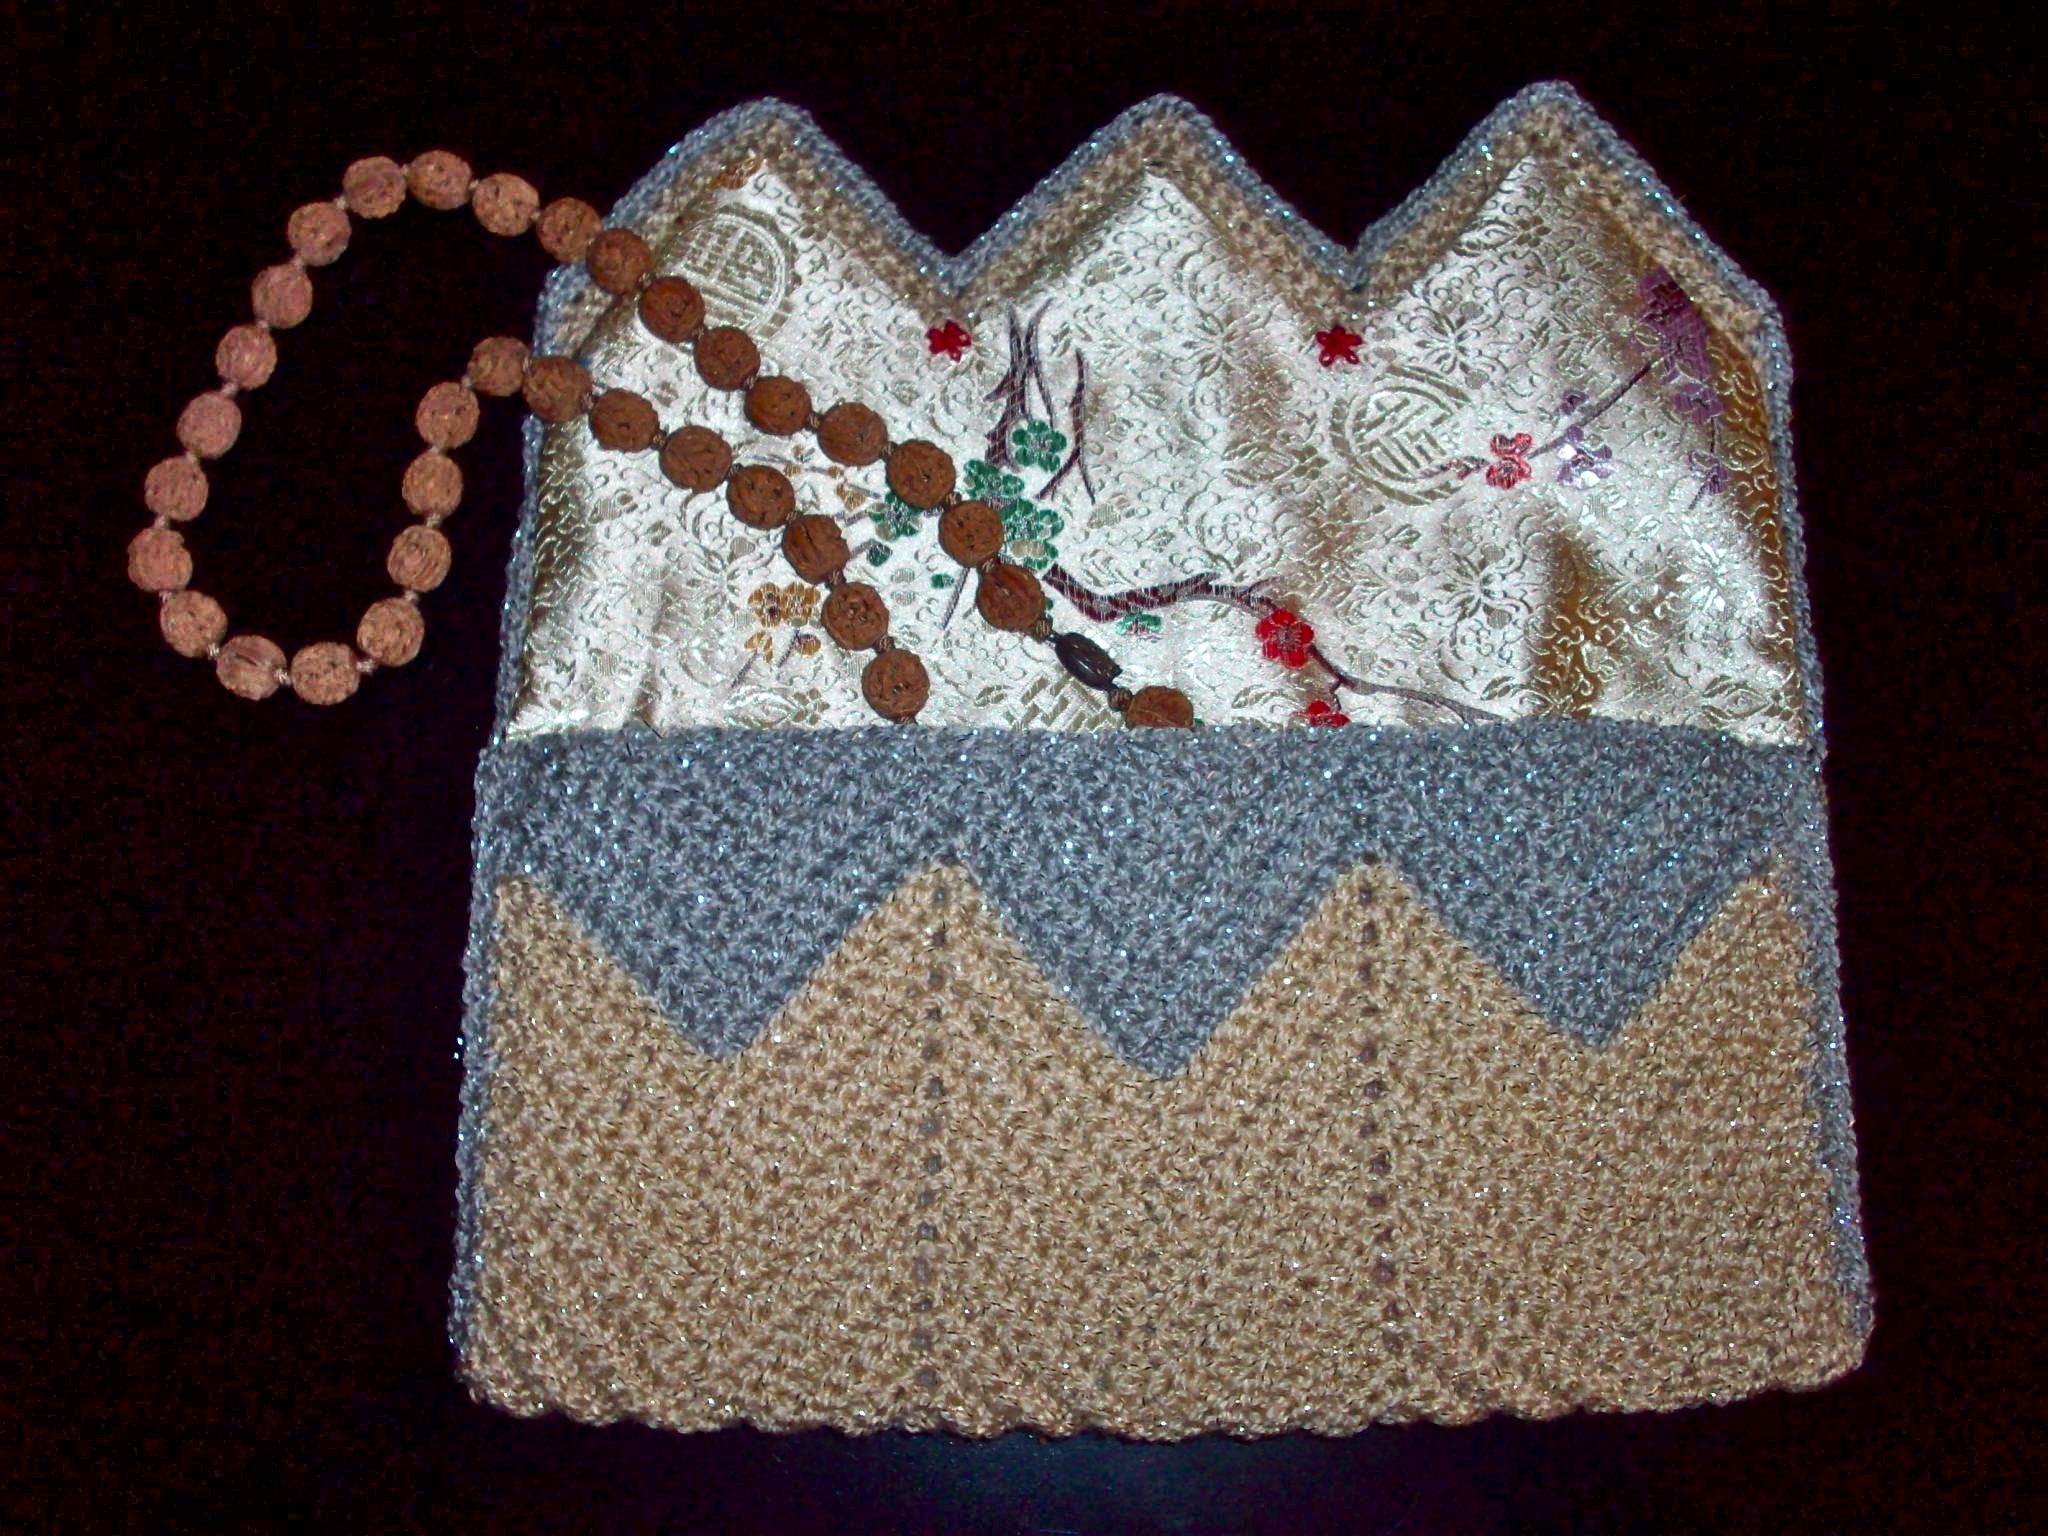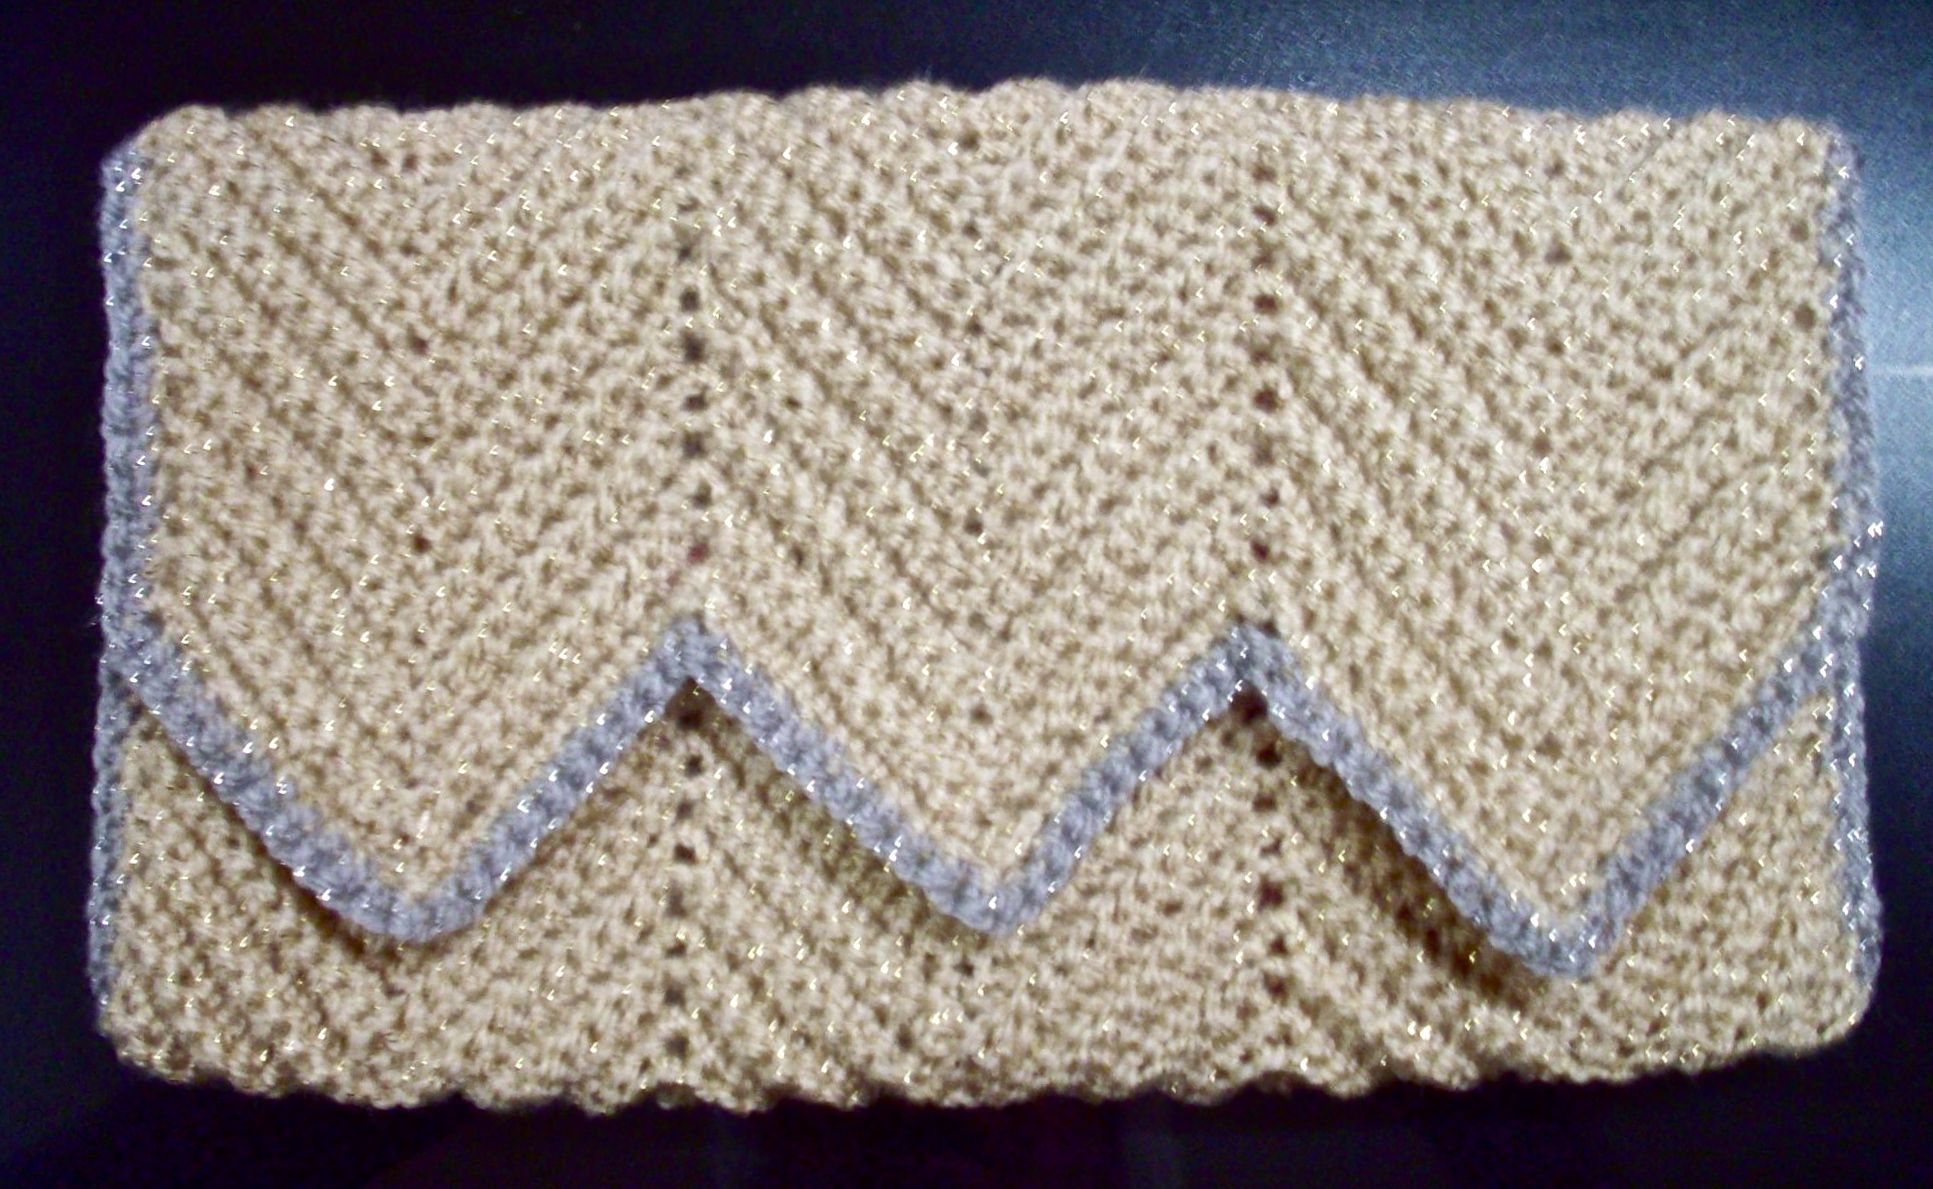
Crocheted Clutch
This crocheted bag ended up in my sewing room with a request for a lining–something ‘pretty’ with a bit of weight.
My first reaction was a taffeta; it would probably be crisp enough but not too heavy. Couldn’t find any pastel taffetas but the brocades reached out–literally–and stuck to my arm. If you know brocades, they ravel; it must be all the floating yarns that come loose. In any case, the colors worked and the addition of a light-weight fusible interfacing from my stash, and I was in business–the business of lining a floppy, stretchy bag.
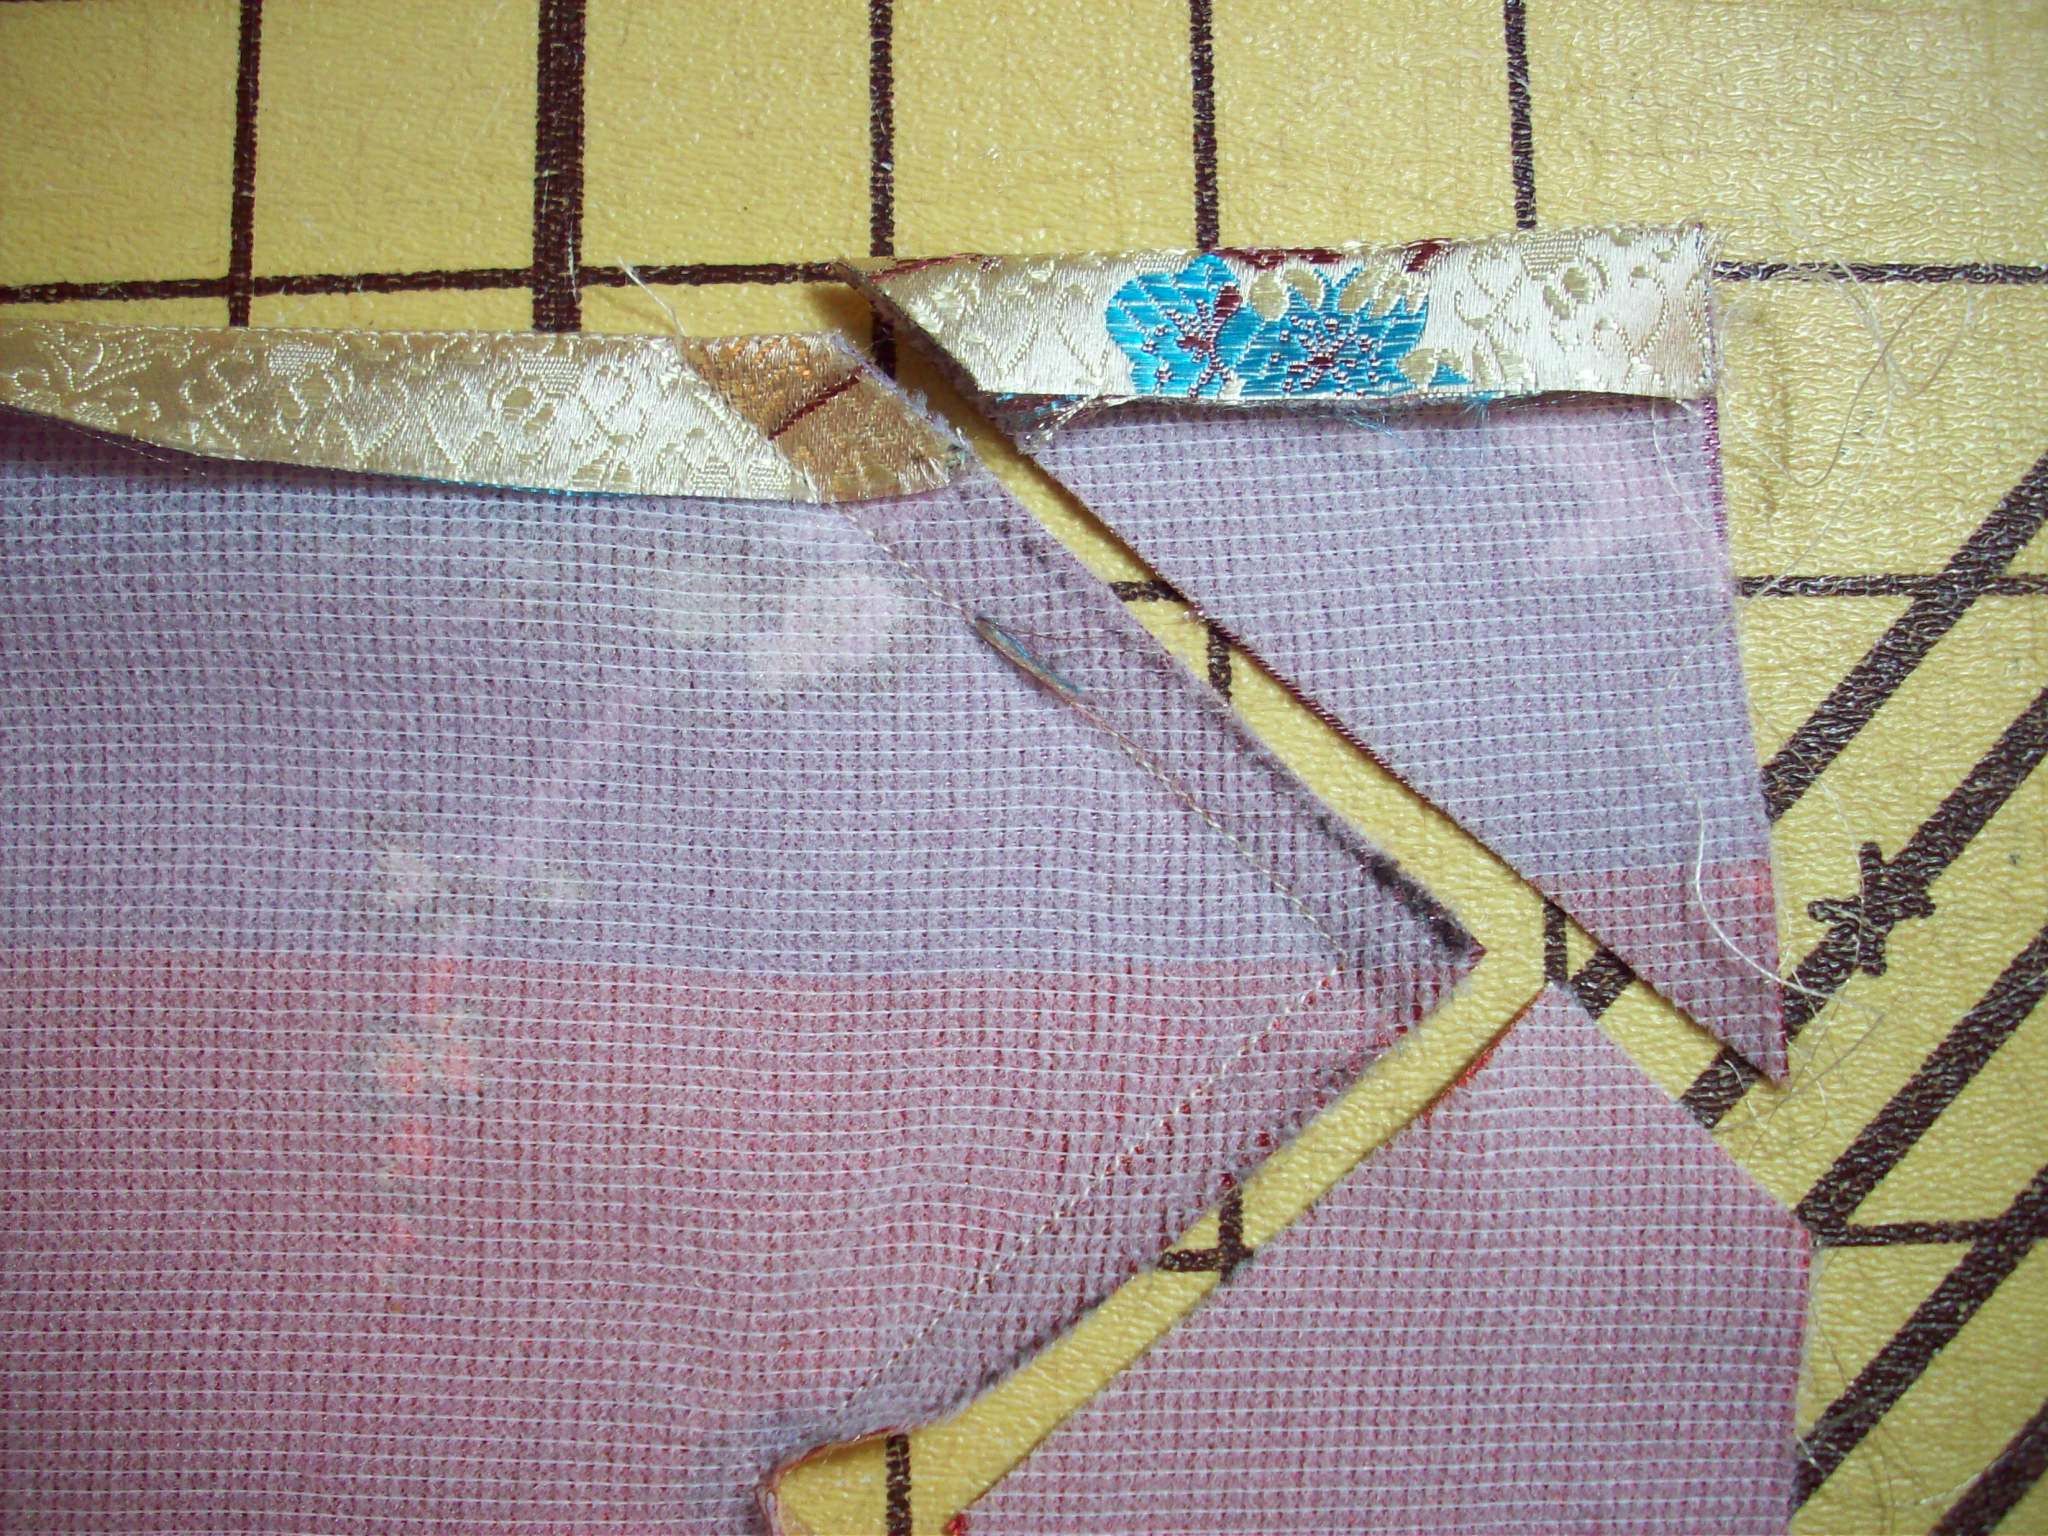
Once started, it turned out to be a straight-forward project. I measured the bag to get a rectangle. One end of the rectangle would insert into the clutch pocket and the other end would line the flap. Interfacing was fused to the wrong side of the lining. The flap provided a pattern for the corresponding end of the lining.
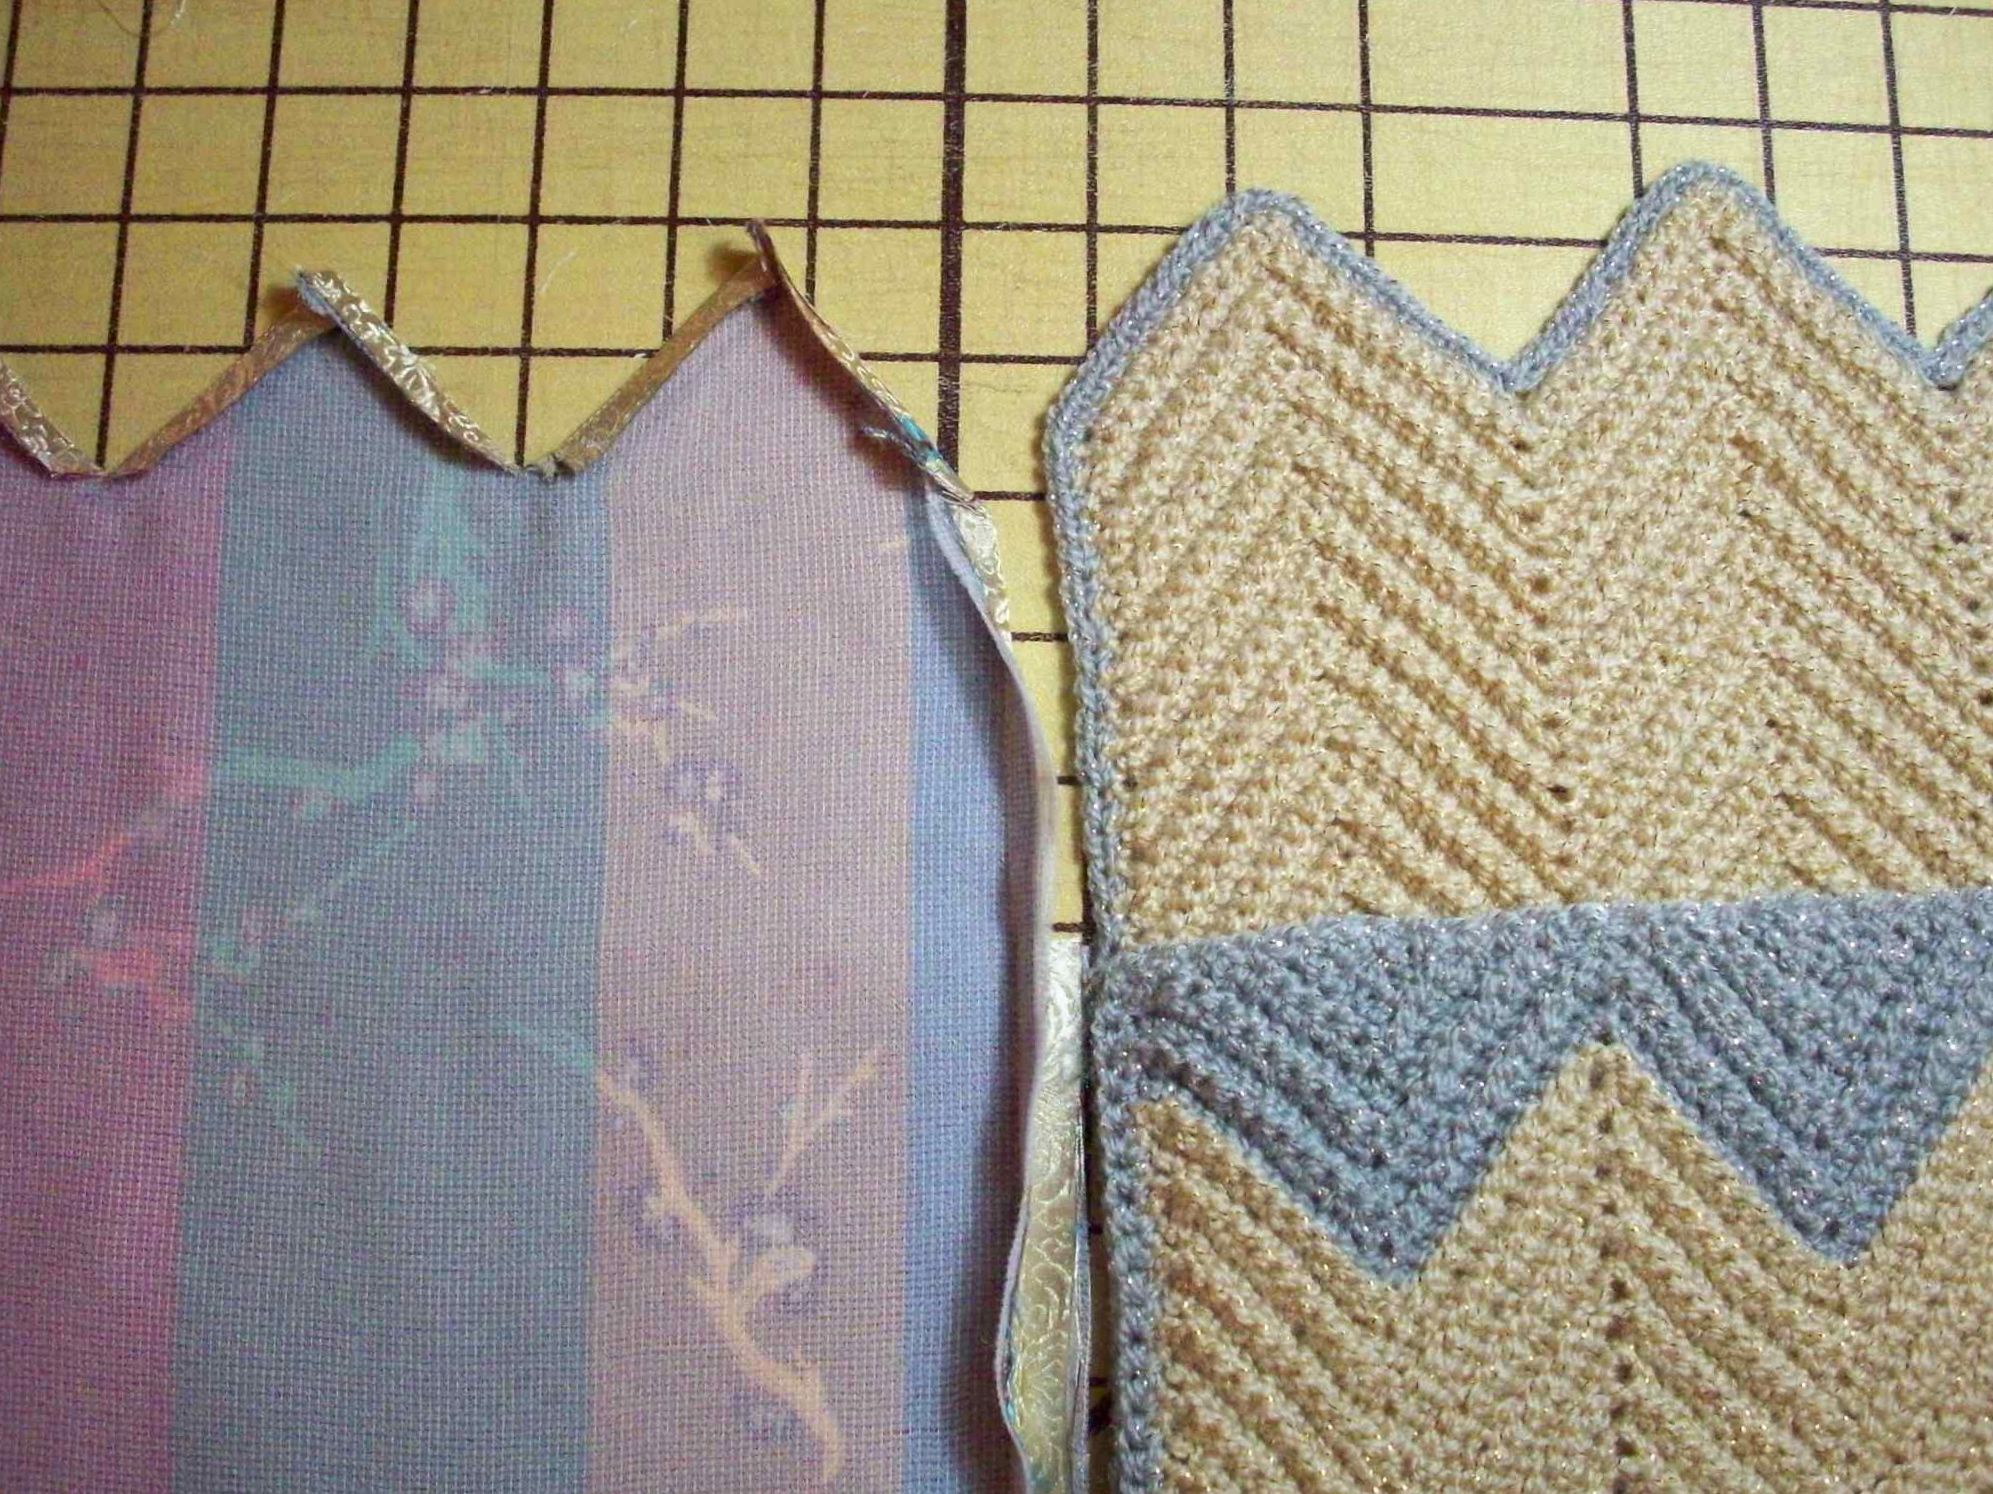
The lower end of the lining was folded up and sides stitched to form the lining ‘bag’. The flap lining was trimmed and 1/4″ seam allowances were pressed to the wrong side. I first machine stitched on the stitching line to provide an accurate pressing line.
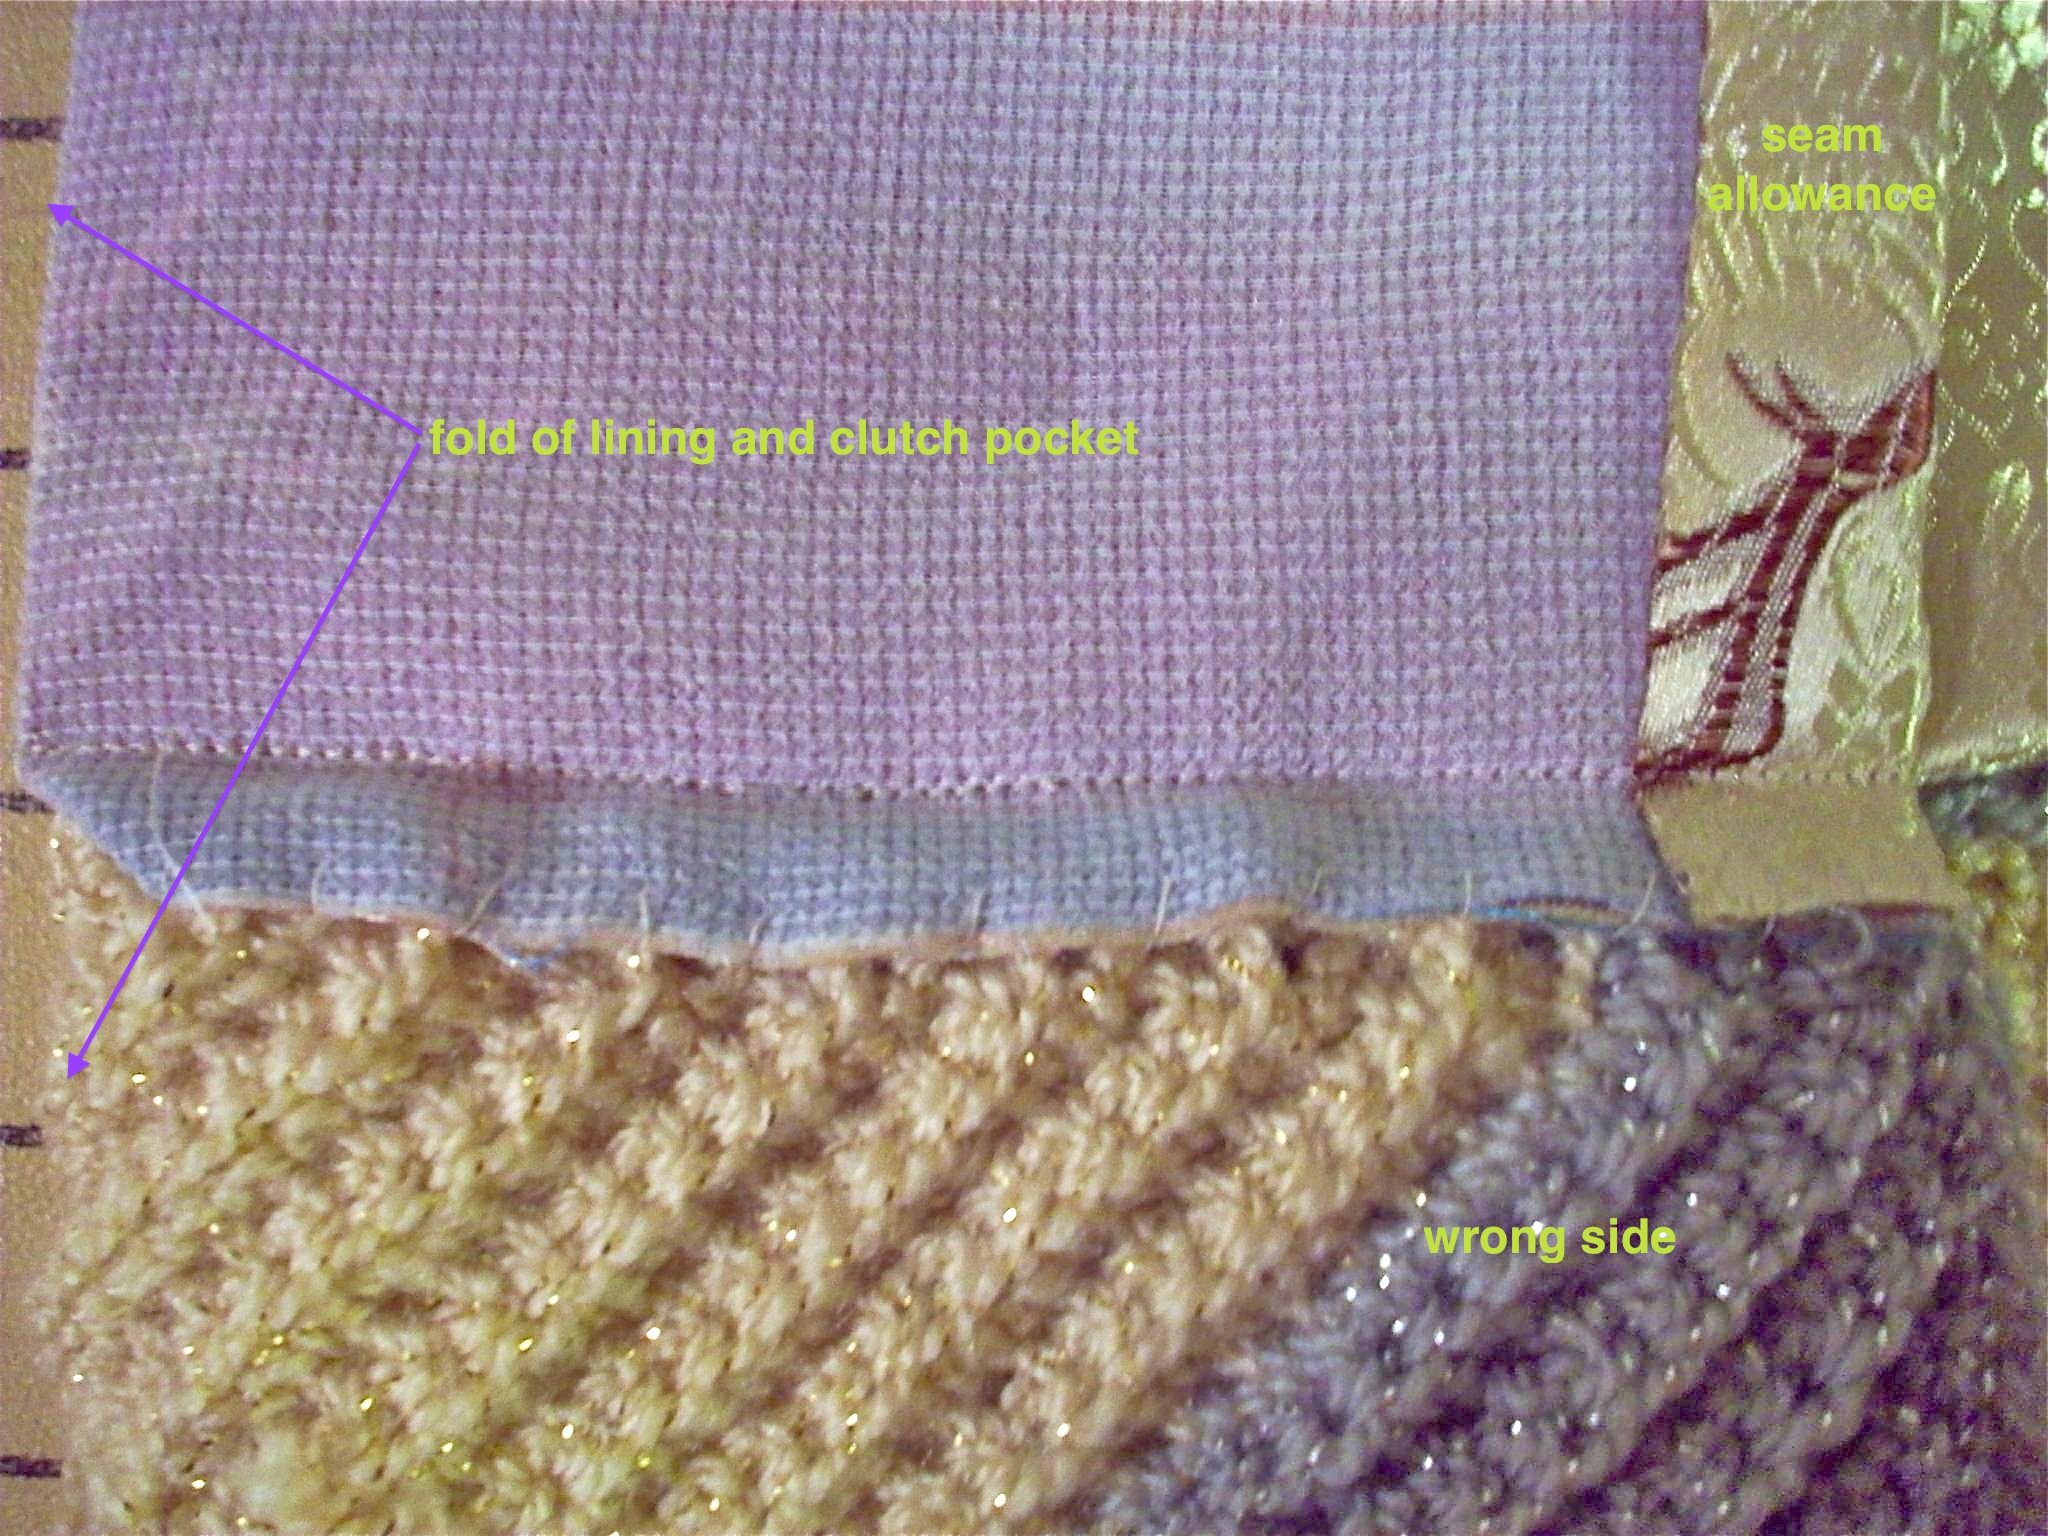
The bag was turned inside out and the prepared lining placed with the lining seam allowances matched to the crocheted bag and loosely hand-stitched in place.
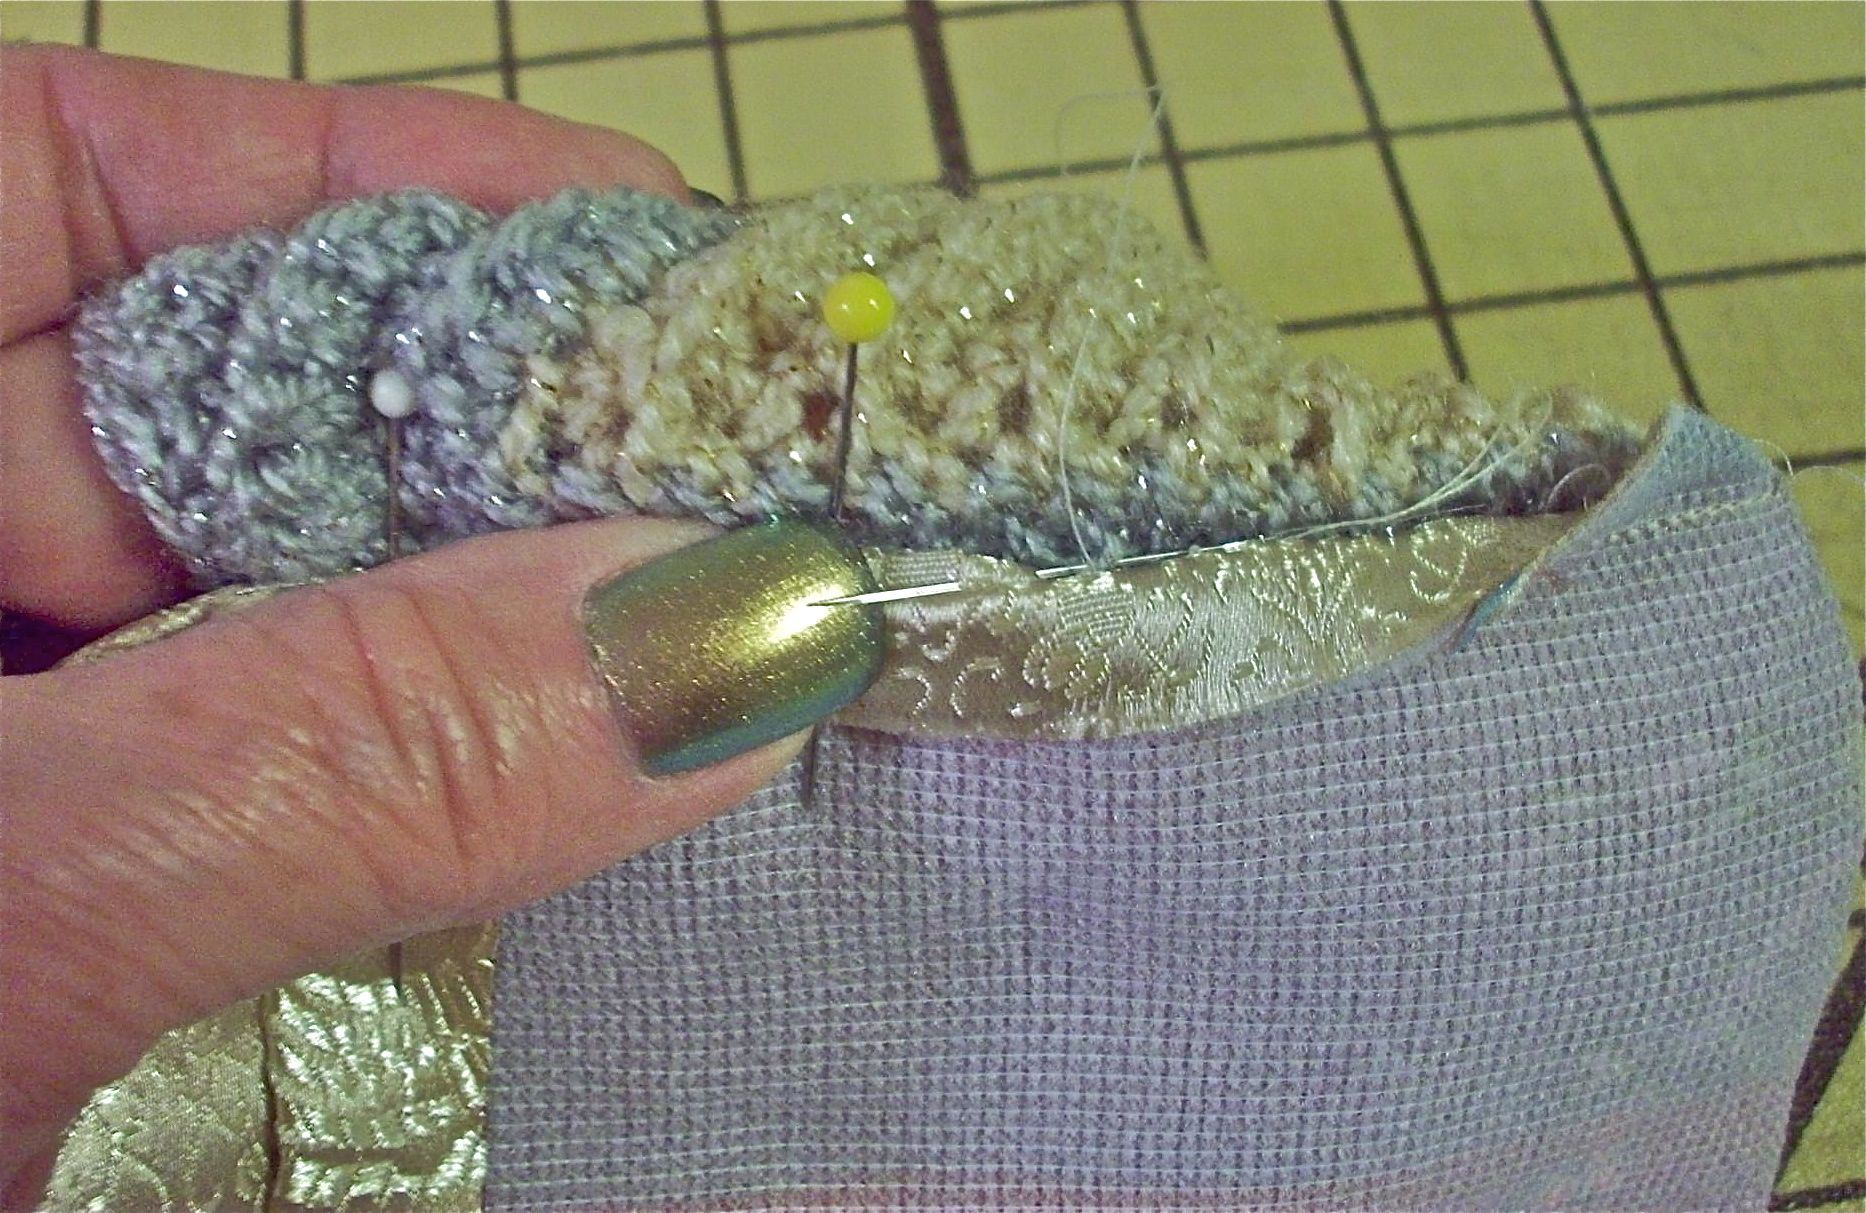
Attaching lining SA to inside of clutch
Then, the lining seam allowances were lightly tacked to the crocheted bag to prevent them from wrinkling up on themselves.
Caution: keep hand stitches loose to avoid ‘dimples’ on right side of bag. I found slipping through the yarn rather than a crochet loop was the best option.
Check work from right side as you stitch.
Tacking seam allowances
Turn the crocheted clutch right-side out around the lining.
Slip stitch top of lining pocket to top of clutch pocket.
Slip stitch flap lining in place.

Give it a gentle press and Voila!