
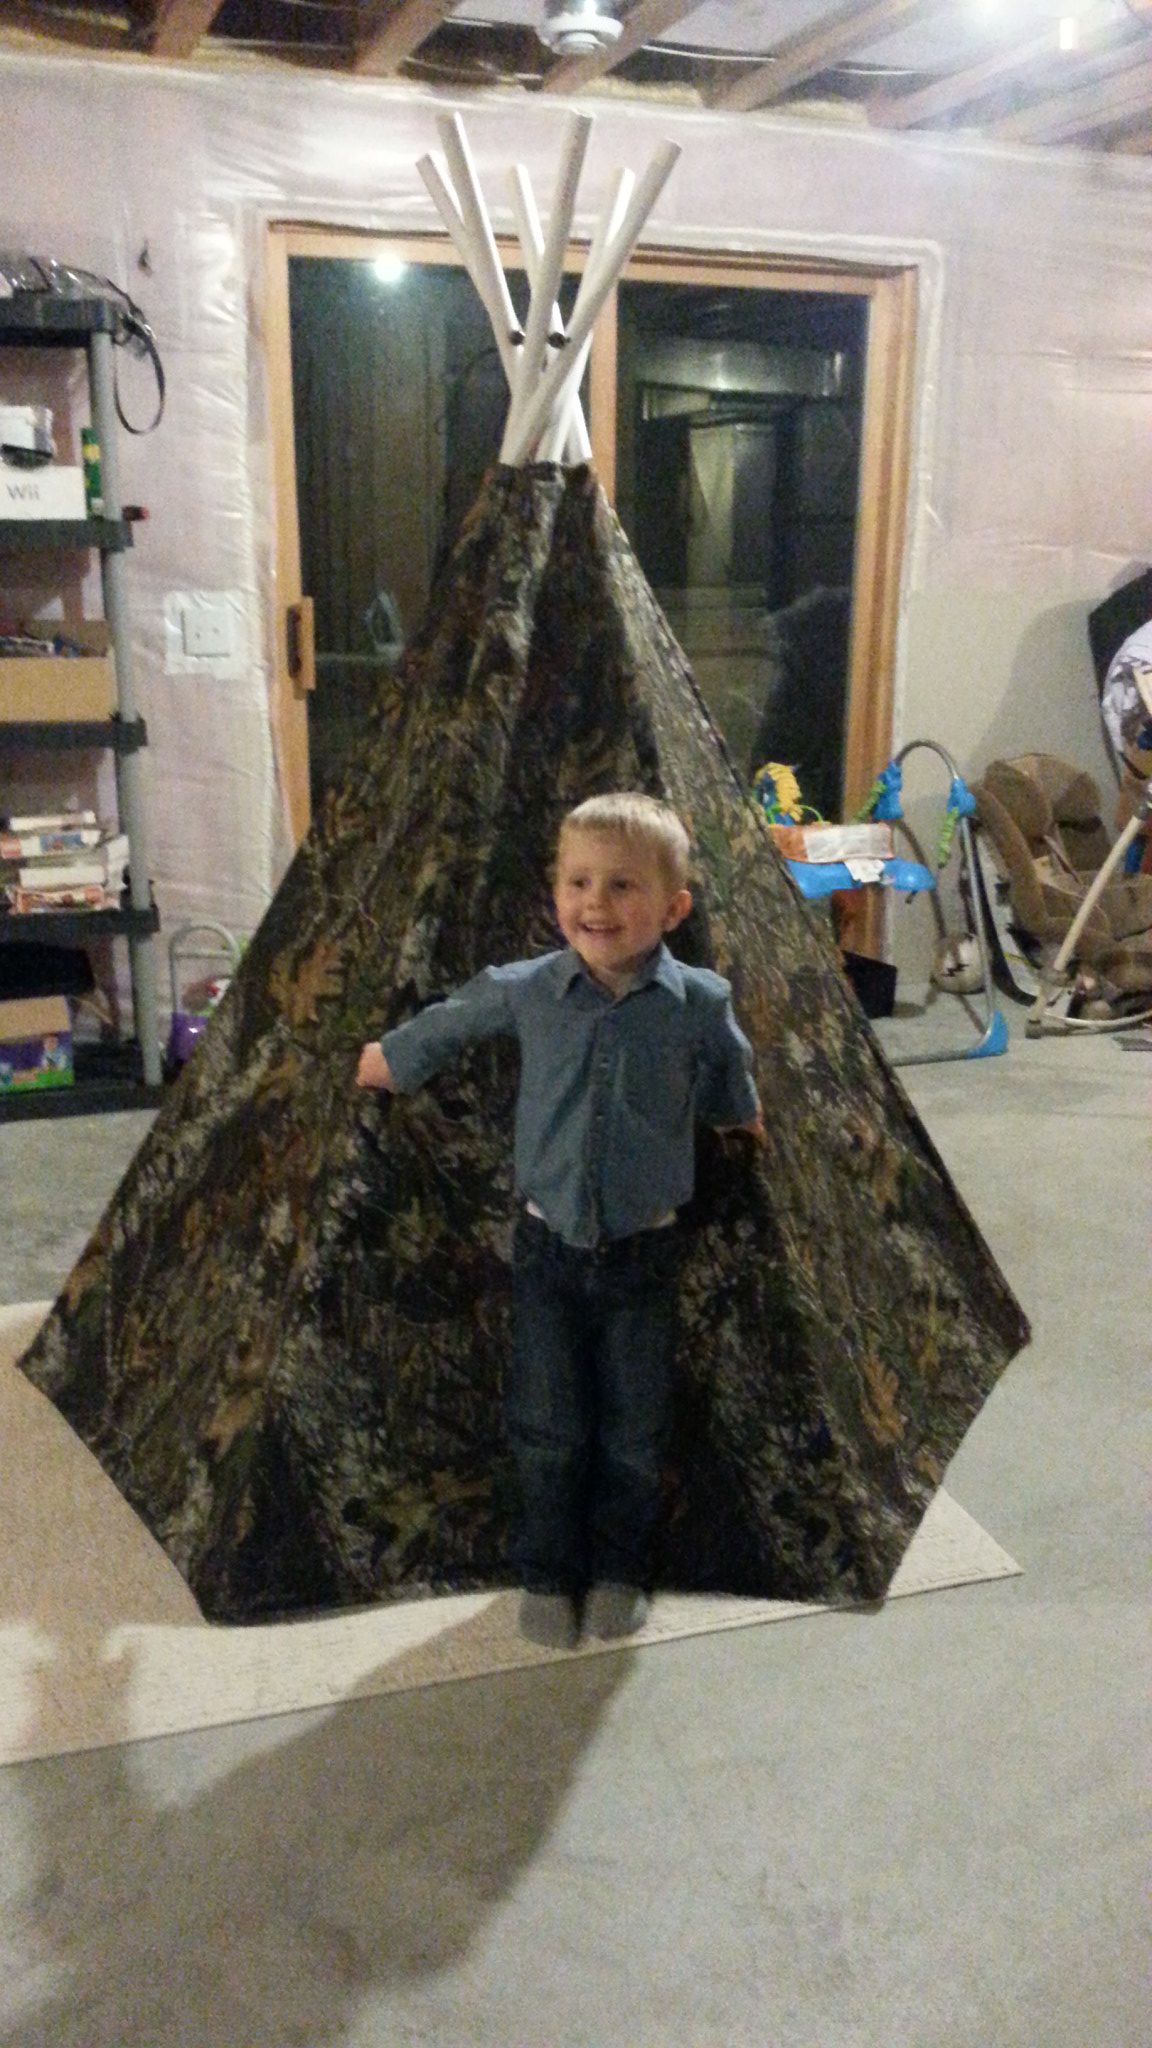
Boyz TeePee Tent
This was the 2014 Christmas present for my two Grandsons. This is Grayden, 4, and he immediately made this his Turkey Hunting Blind. Brother Oliver, 7, was too busy with ipad and Minecraft.
Using Butterick 4251 and 8+ yards of 60″ wide fabric, the TeePee was constructed with much bunching, folding, crunching, twisting. The worst part was cutting it out. I have the floor space but my robotic knee isn’t too crazy about crawling around on a hardwood floor. The worst part was getting the pattern on the fabric in a semblance of straight grain. Wasn’t too concerned as tent is not hanging from a horizontal support, but did need an approximation of straight grain.
For once, I was thinking ahead when I bought the fabric and chose a non-directional woodland print canvas so it was easy enough to fold on the crosswise grain and not be concerned about matching fabric designs.
Here’s a tip, with that much fabric, wait for a sale, a great sale, before buying the fabric.
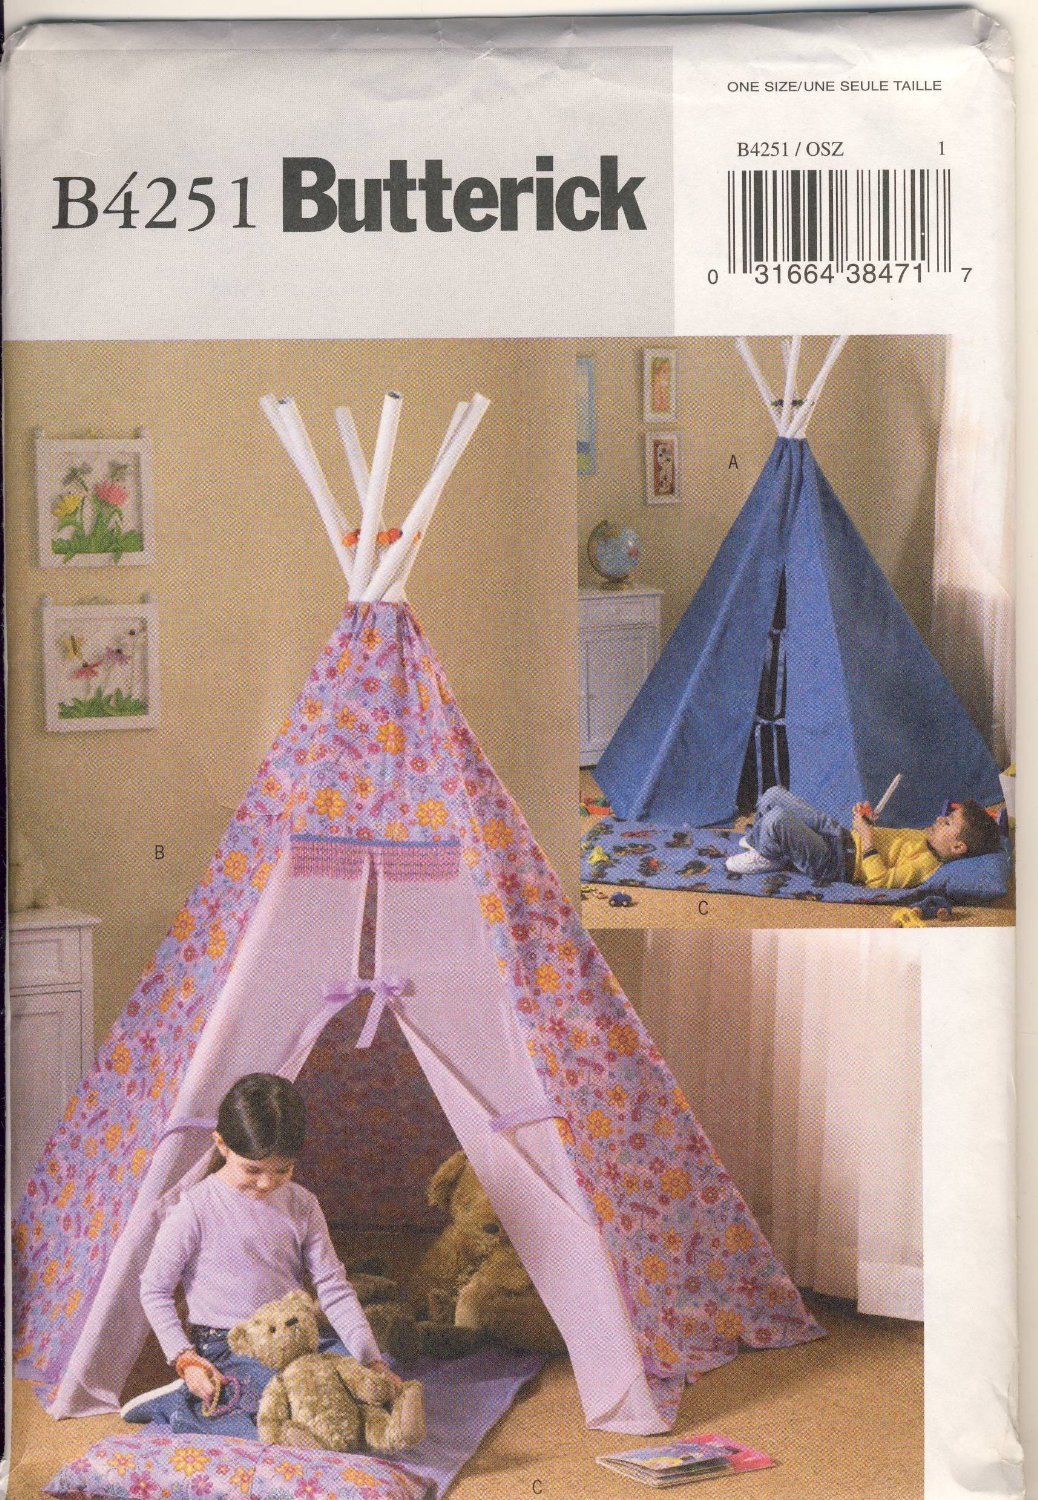
Butterick 4251
Here are some layout tips for large pattern pieces and tons of fabric.
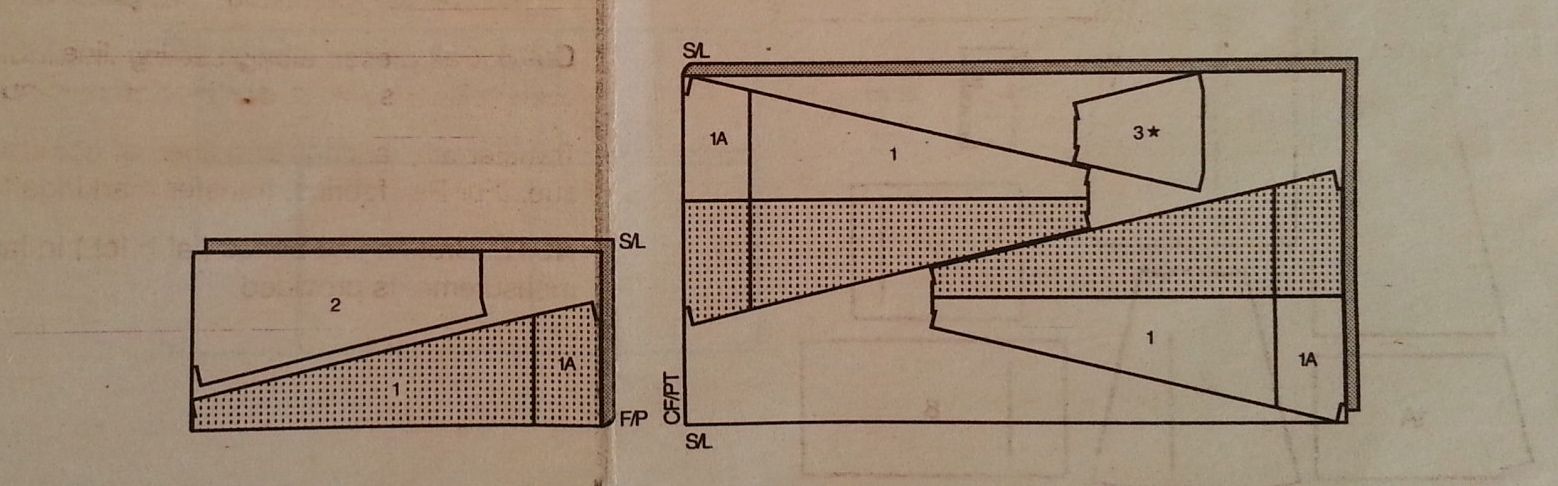
TeePee Tent Pattern Layout Guide
There are six cut pieces’ #2 and #3 are for the front opening panel; #1 is for the other five panels, and it has an extension, 1A, to add for the extra length. Pattern fabricators probably couldn’t make one pattern piece the desired length, and/or it was more economical to make two pieces. Whatever, it is another piece to the puzzle.
Please note that the shaded part of the pieces indicates the pattern should be upside down. The pattern guide will tell you this.
Also, piece #1 is not a full piece as diagramed above. It’s really half of the pattern (lengthwise) and you need to lay it out and cut one side, then fold to cut other side, which will make the full panel.
Here’s how and also how to place pattern on straight grain when working with massive amounts of fabric.
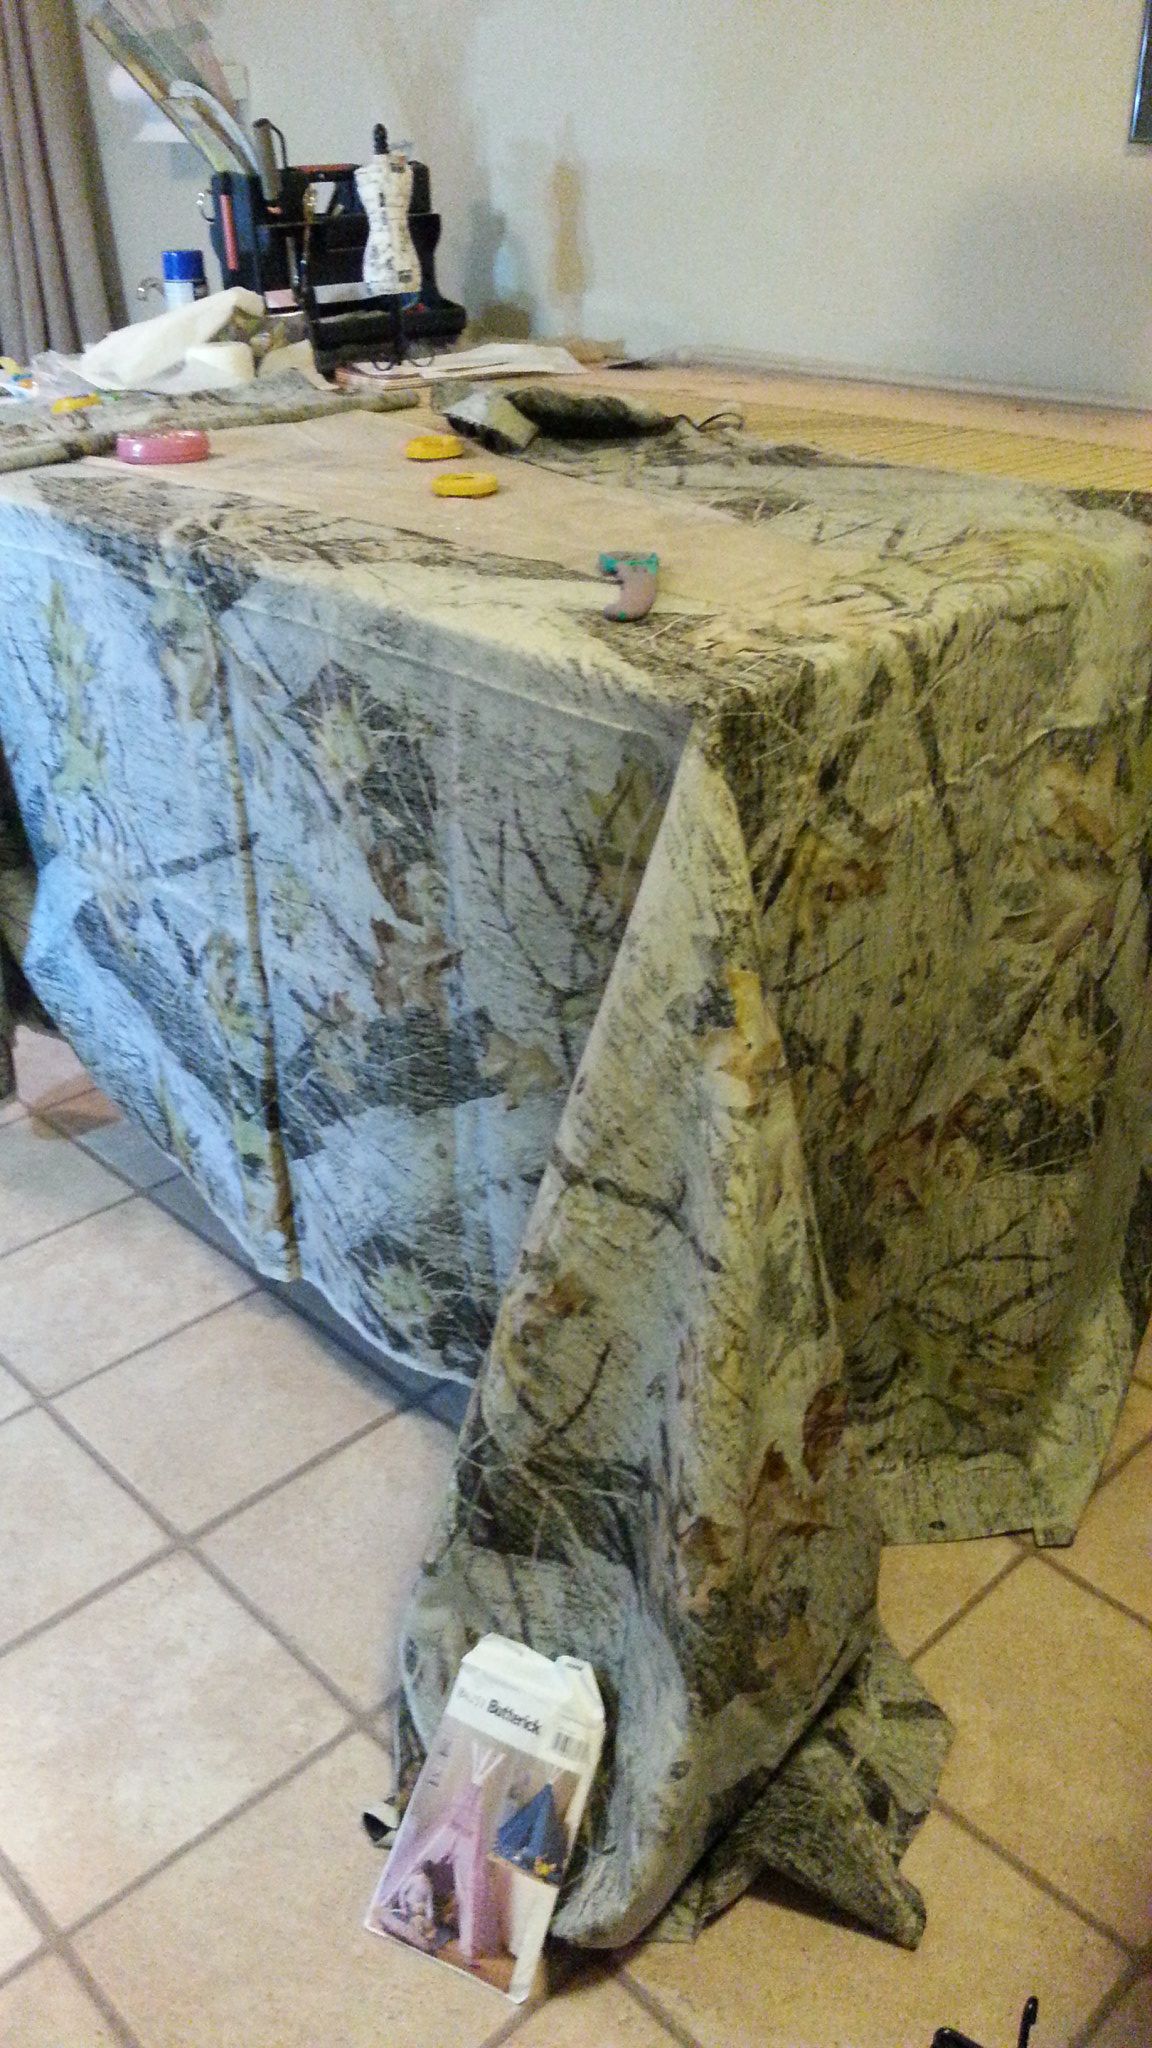
Tent Fabric Layout Massive amounts of fabric even doubled.
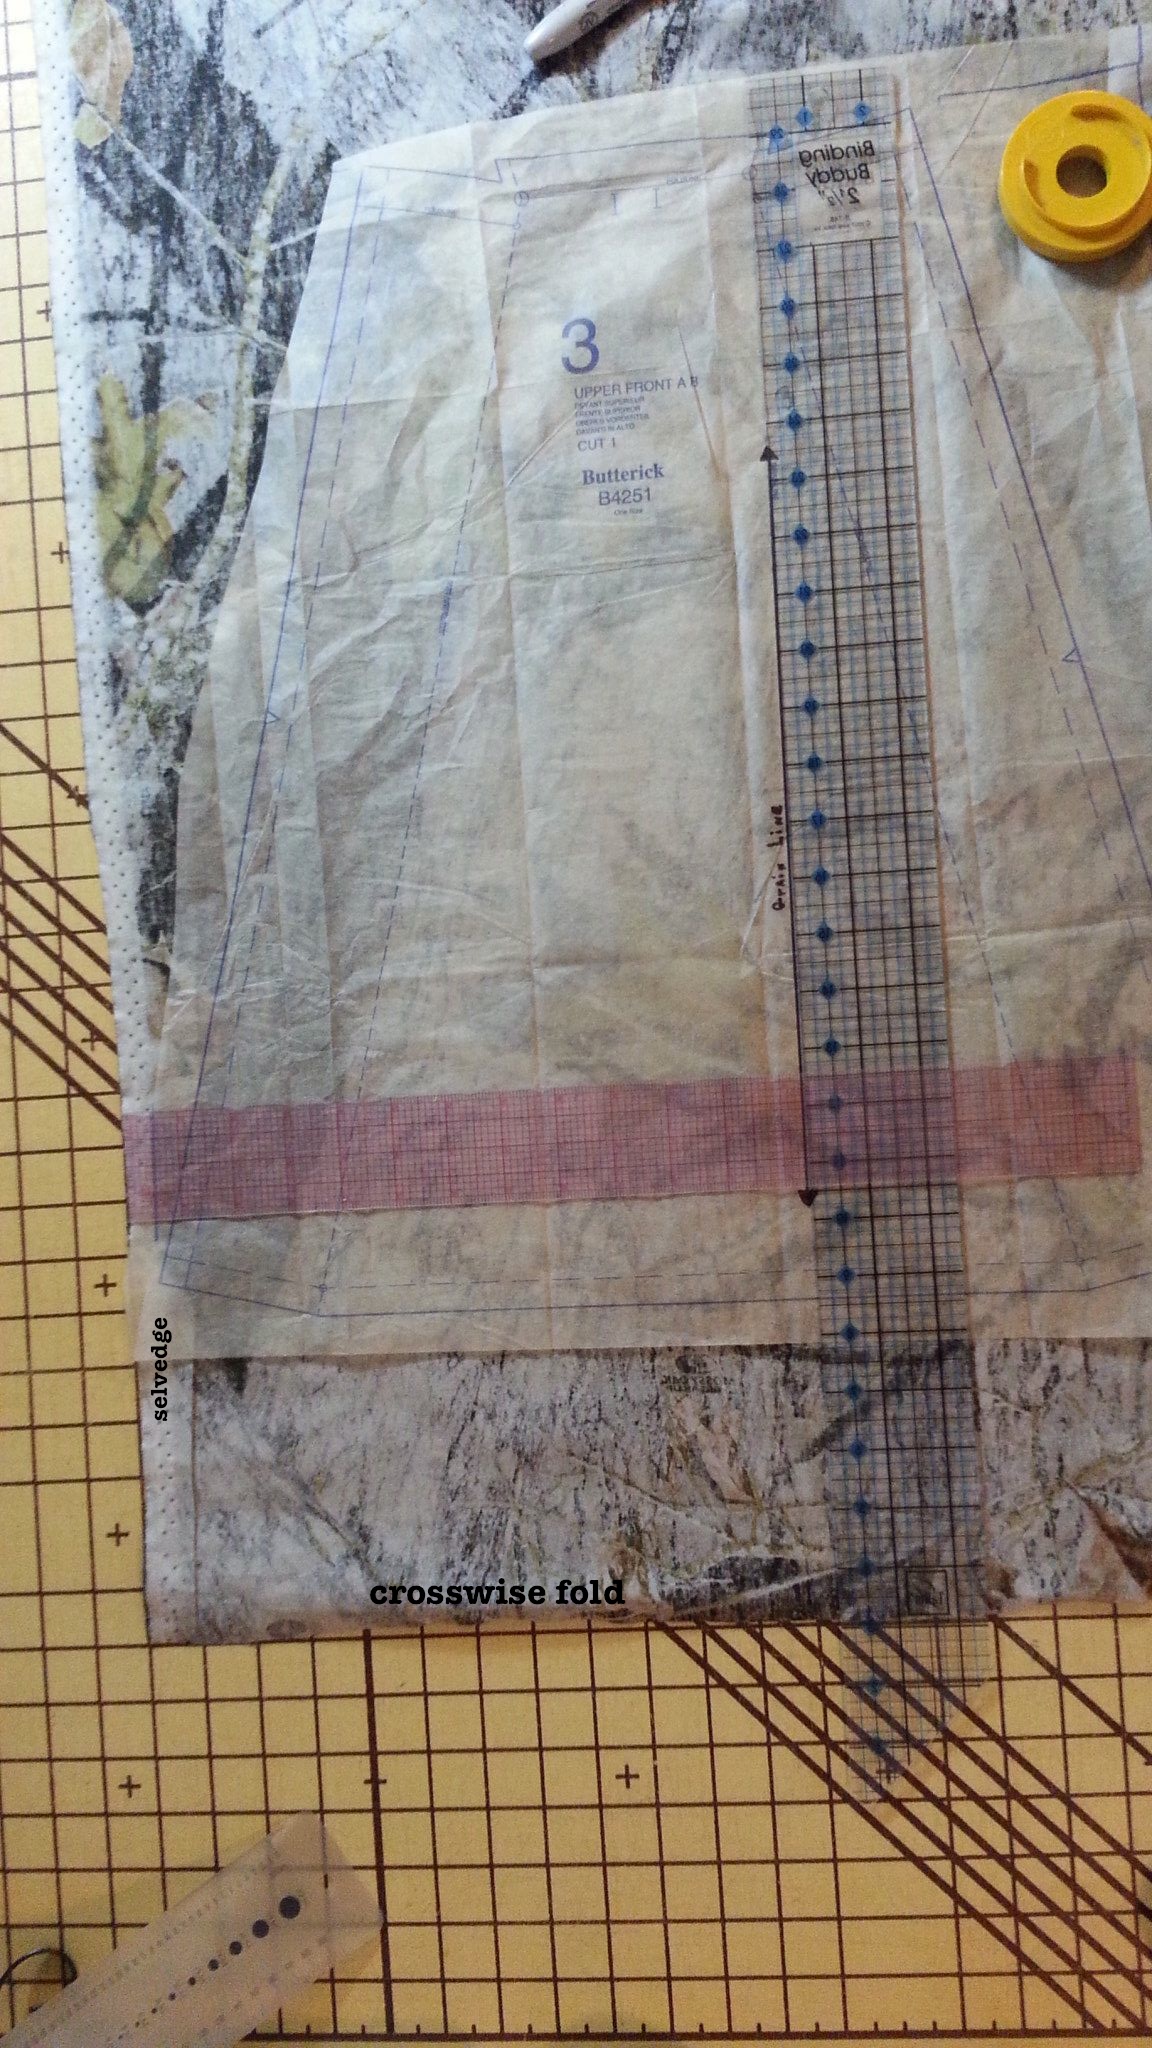
Placing Pattern on lengthwise grain
Folding the fabric on the crossgrain (per layout guide) and matching the selvedges was an exercise in futility; finally stood on a stool and managed to declutter everything in the room when shaking fabric into place. That’s a quick way to clean the tabletops.
Anyway, with the fabric mostly on the cutting board:
- match the selvedge and crosswise grain to lines on the board.
- line up one ruler along the grain line
- use a second ruler to measure distance from selvedge to the ruler/grainline
- repeat above along entire length of pattern
- pin pattern to fabric by placing pins on the fold line (this is the only time I ever pin patterns)
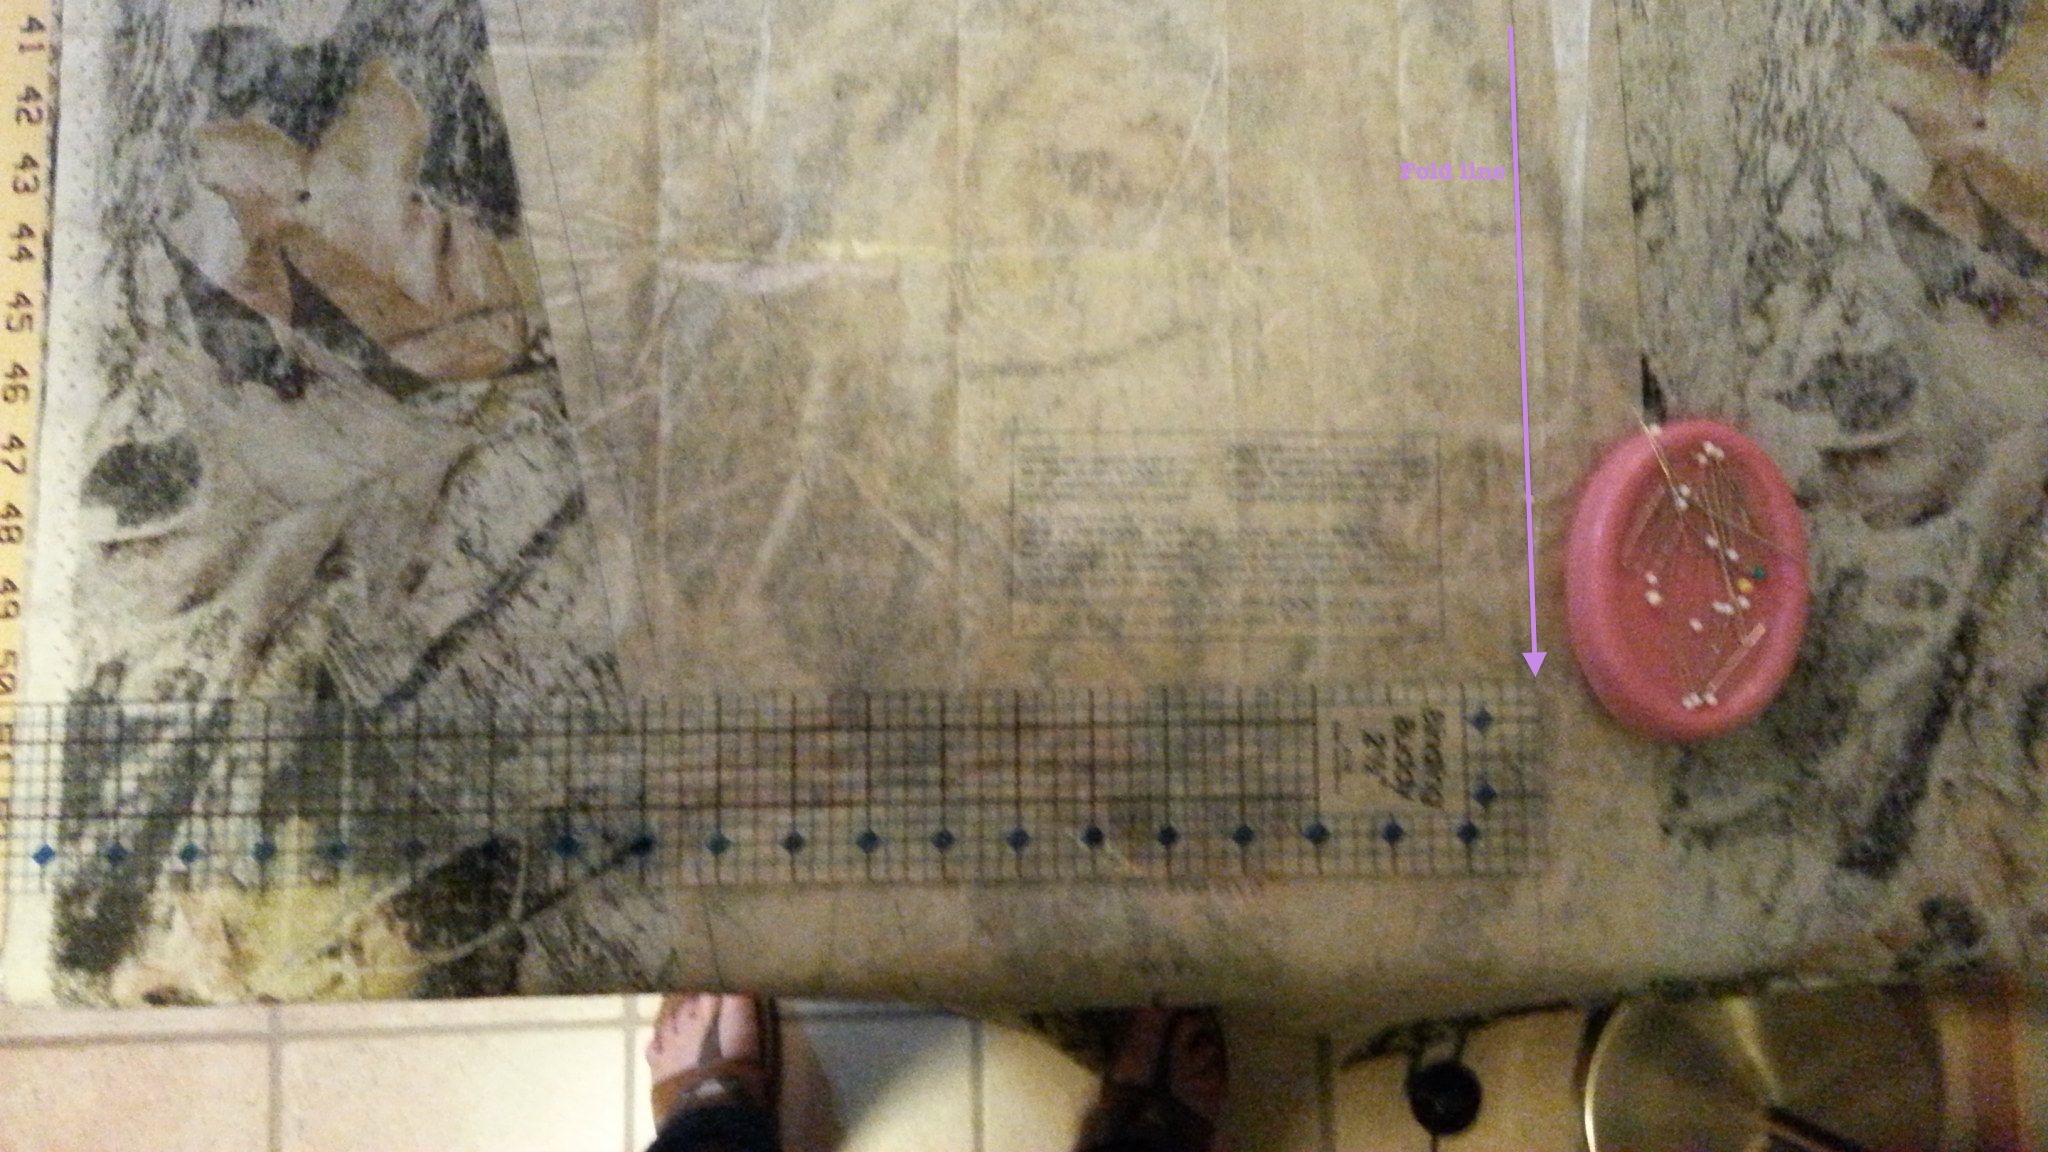
Pin pattern along fold line (see my toes)
I said this was only half a pattern and due to size, am only showing a portion of the pattern. The ruler is to match the foldline/grainline to the fabric grain.
Cut the first panel side DO NOT CUT ON FOLD/GRAINLINE See how the pin at the bottom of the photos extends? That is to remind me not to cut down that pattern edge.
Fold pattern on pinned line. Pattern is now upside down just like on the pattern layout guide.
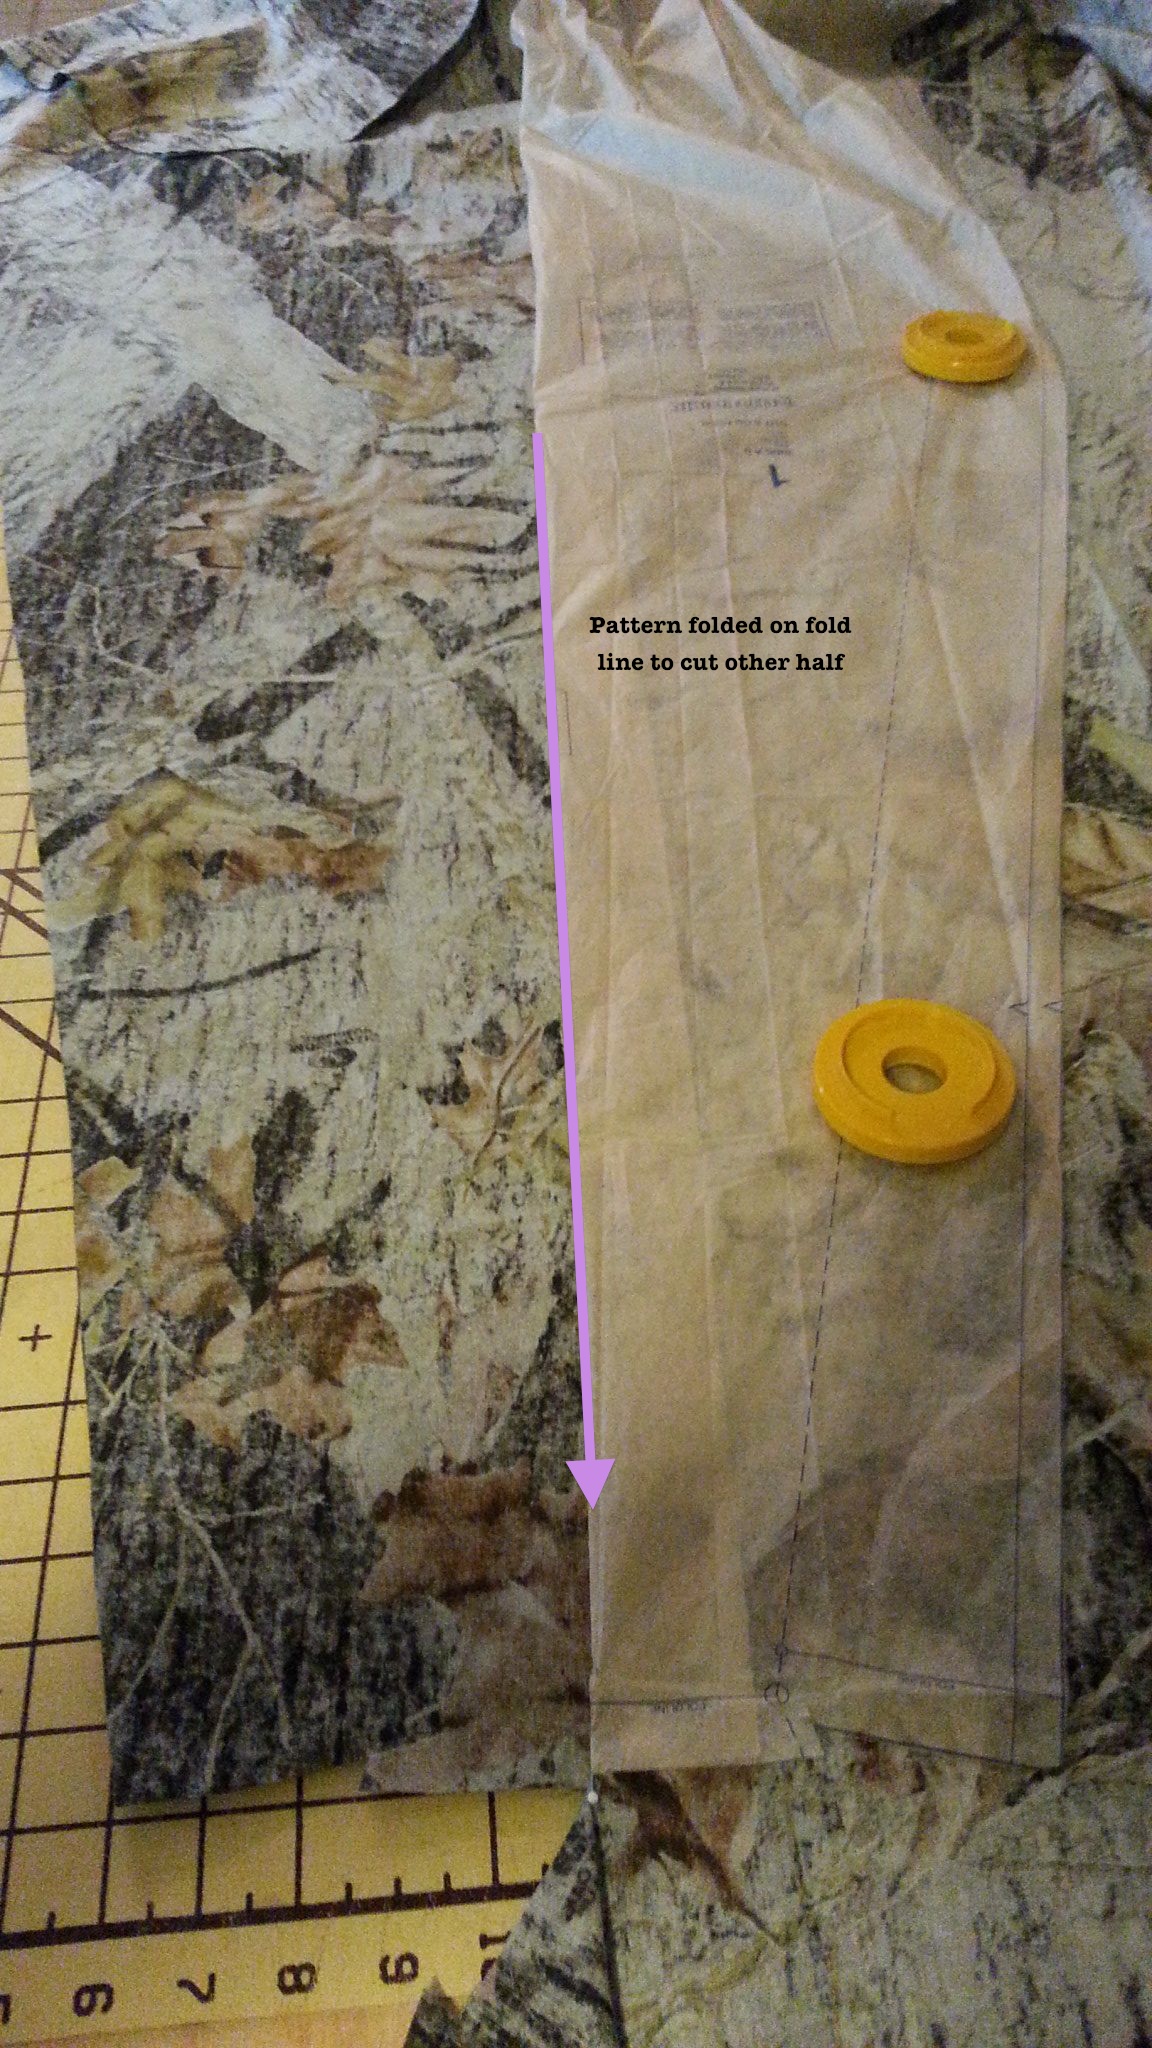
Folded Pattern for complete panel
Really could use longer arms to wrangle fabric and pattern. A step-stool is now a permanent accessory in the sewing room.
Use a ruler for a cutting guide.
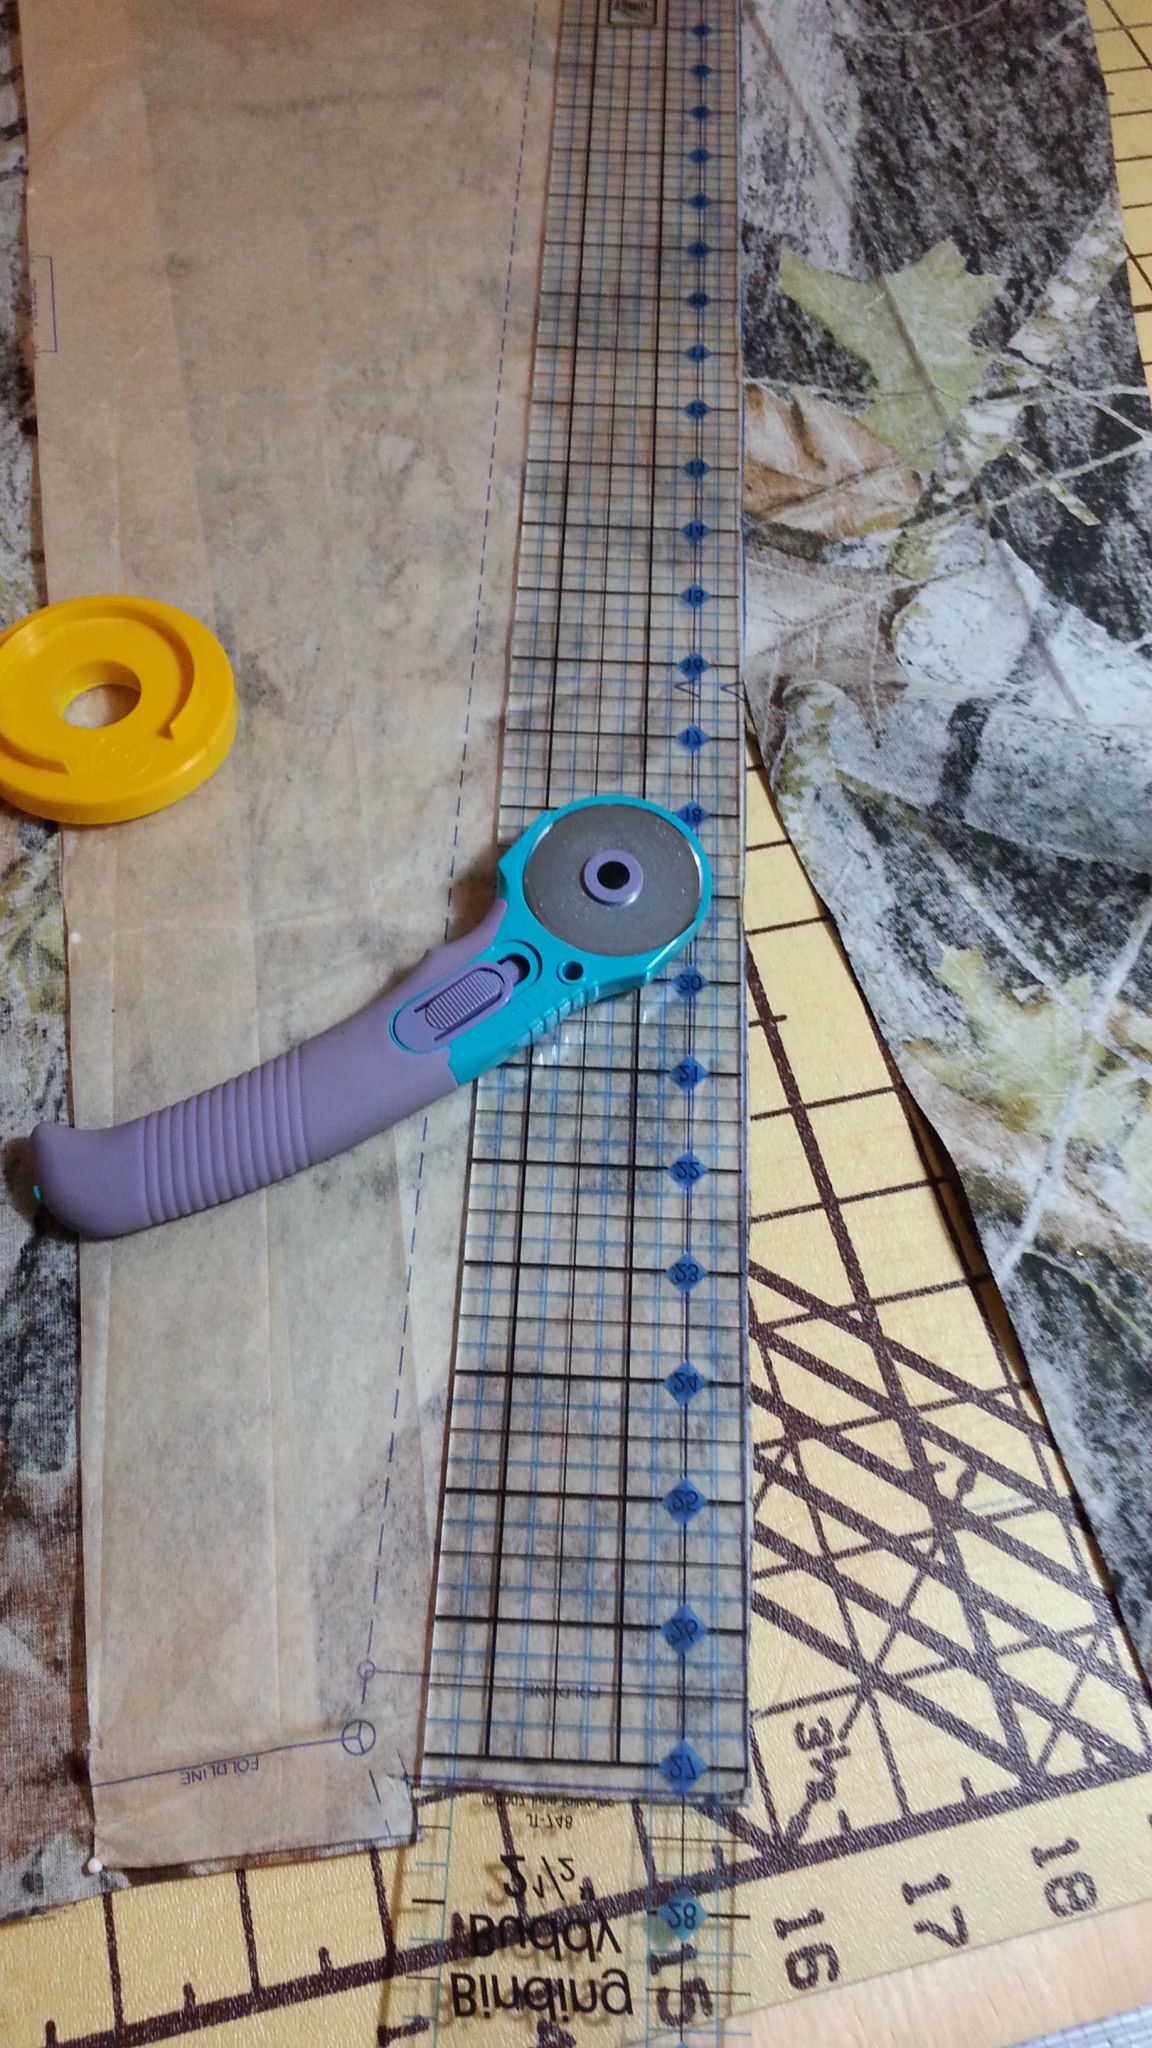
Use ruler for straight cuts
This made two panels–fabric was doubled. Had to repeat the wrangling once more; that made four panels. The other two panels were a piece of cake as one was cut on a lengthwise fold and the other on the selvedge–see pattern layout guide again.
Diagram on left is for fifth and sixth panels
Oh yes, a key part is the PVC tent poles. My Son picked them up (my car is too short for 8′ poles), trimmed to 84″ and drilled the holes. Thanx Paul!
Last I heard, Oliver is still immersed in Mineworks and Gray is stalking Turkeys.
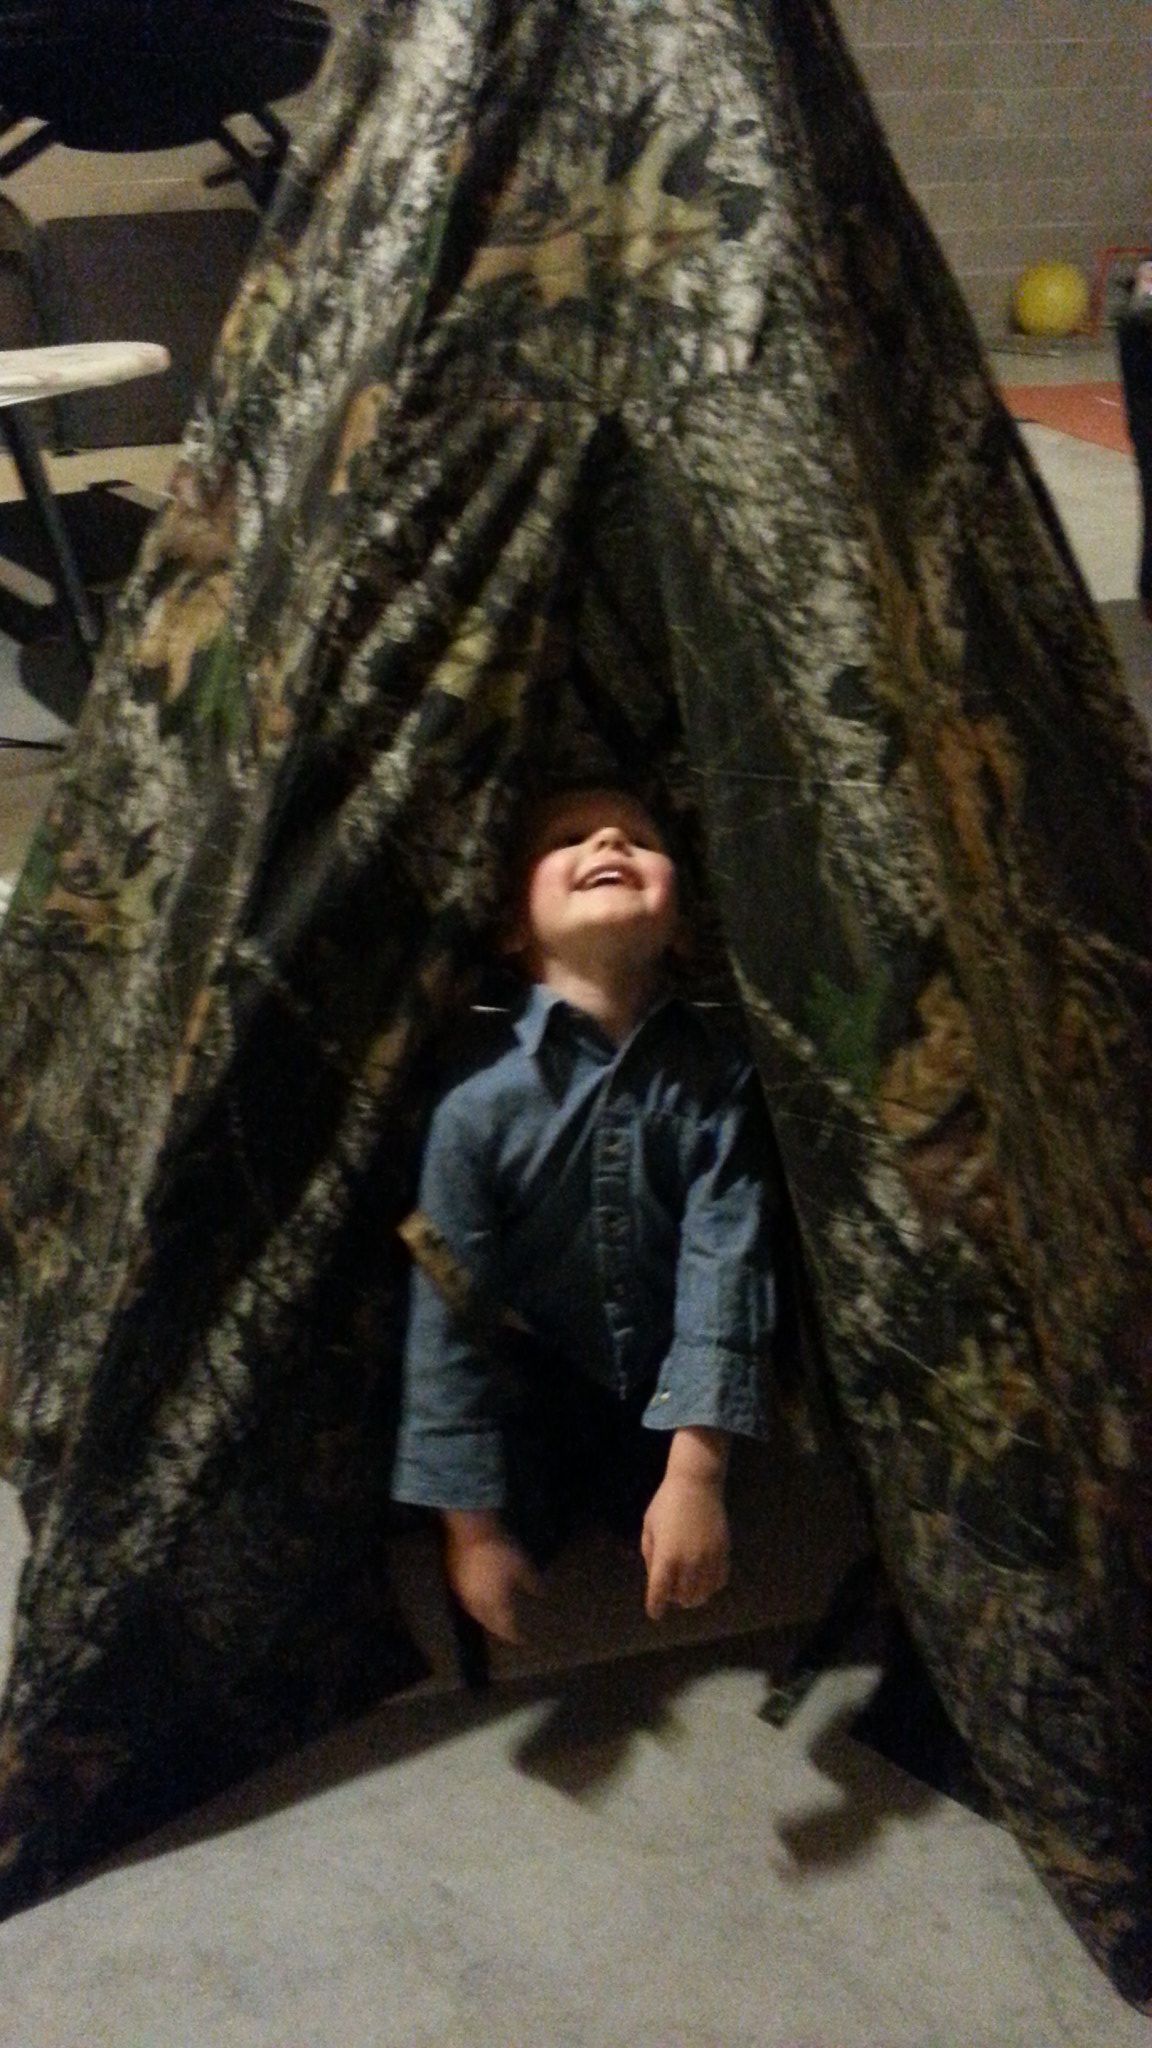
Stalking Gobblers
Gobbler Calls


Thanks for the info – very helpful indeed. Can you tell me where you got the PVC poles from? Thanks, Helen
Thanx Helen.
I bought the PVC at a local Big Box retailer, Menards, which is similar to Lowes, Home Depot.
Are you thinking of making the tent? Please share photos if you do.