My ‘go-to’ baby gift is the receiving blanket and it is always one that I make. It satisfies three gift giving rules:
- Need–every baby needs more than one
- Use–it will get used
- Love–made with
The blanket also has many lifetimes as it morphs into a blanky, binky, Gee Gee, and then finds its way to the Baby Doll wardrobe. The favorite ones even get saved, no matter how matted, tattered, to be brought out again for visiting Grands, “Here’s Momma’s/Dada’s”.
Receiving/Swaddle Blanket
Before I began having a gift stash of blankets, the baby gift I bought was outgrown before a) I got around to shopping (Babies always wear 3 month size for the first year, right?) and, b) found the address and wrapping paper, and a card, and a shipping box and got to the post office.
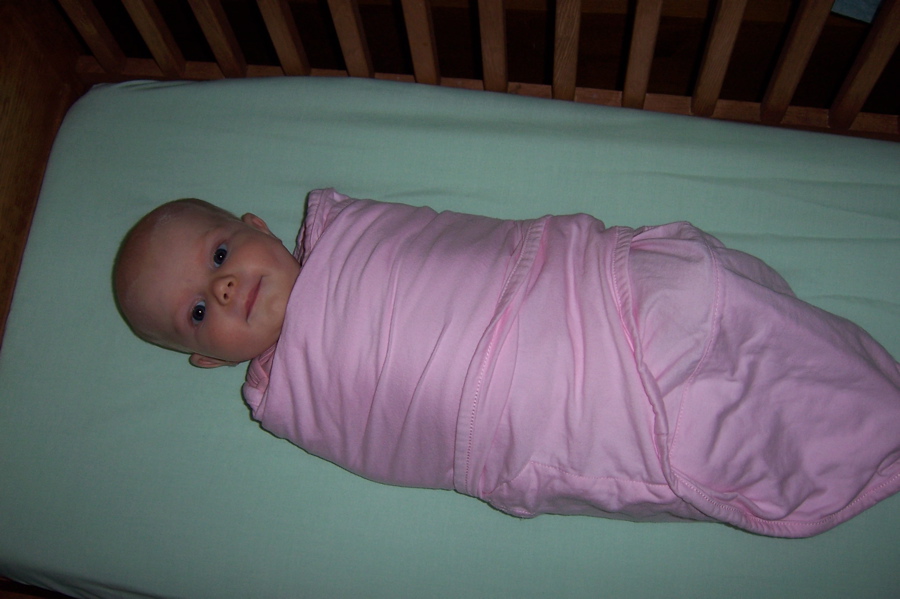
Happy Camper at 4 months
My first Grand exhibited colic at 3 weeks and the pitiful rag masquerading as a receiving blanket sent home by the hospital was so inadequate on several levels. Mainly, it was too small (probably 36″ x 30″) for even a newborn. And once the baby begins to grow out of the fetal position, a larger blanket is needed. As you can see from the above picture, E-Bear is perfectly content to be swaddled, firm around the upper body and looser around the lower body. Keeping the arms confined is important as muscle spasms will cause the arms to jerk, fling and wake the baby.
My children never had colic other than for a night or two so never swaddled them, although my mother was suitably appalled. My recollection of receiving blankets from the 60’s is a 3-pack flimsy flannel that drastically shrank, faded and pilled when just getting near water. I used them for burp cloths and the girls later adopted them for their dolls, eventually they became dust cloths (how archaic is that!).
Once I saw the need for a receiving/swaddling blanket, I knew I could make them for less, with quality fabrics, and in personally selected, attractive colors/designs.
My fabric of choice is 100% flannel, although knits and gauze are also used. Most mothers prefer all natural fibers so I stay away from synthetic fibers.
Flannel is a hard-working fabric.
- It’s durable.
- It’s washable.
- It’s absorbent.
- It’s comfortable.
- It breathes so is warm without being hot.
The blankets are quick and easy to make, actually a great learning-to-sew project. Learning anything is more fun if the end result is a useable product. Everyone is bound to need a baby gift at some point. And, if you don’t sew, and not interested in learning, that’s OK too; they are available on Etsy.
The instructions are for two blankets The first blanket is the learning project; the second one is to perfect just learned skills…’practice makes perfect!’ And, now you have an extra blanket for that unexpected baby gift.
Receiving/Swaddling Blanket How-to
Supplies:
- 2.75 yds** of 45″ wide 100% cotton flannel for two blankets,
- finished size about 44″ X 44″
- coordinating/matching thread
Equipment:
- sewing machine
- iron and ironing board
- hem gauge
1. Fold fabric in half lengthwise; snip through selvedge about 1/2″ and tear the rest of the way. Trim any loose threads resulting from the tear on both pieces. Prewash* per washing instructions for the fabric to preshrink and to wash out any manufacturing products. I know you are loath to wash and lose that nice firm manufactured finish, but do you really want unknown chemicals on you or a baby? Plus, washing softens the fabric and fluffs flannel’s appealing nap.
Another benefit is that washing and drying will shrink the torn edges back into shape as tearing will slightly stretch the fabric. So why tear? Because it is quick and easy and a ‘tear’ is always along one of the woven threads, thus the blanket piece will be on-grain and the fabric ‘square’. Note: fabric will never be ‘square’ like a piece of paper because of it’s flexibility/stretchability; the goal is to get it as close as possible.
Drying tip: cotton flannel can wrinkle into a balled mess in the dryer. I never dry flannel (or kitchen towels, placemats). I shake the item and air-dry by hanging over a horizontal kitchen cupboard drawer pull, at which point, I tug the edges taut to straighten the edges.
2. Hem both selvedges by folding and pressing the edges to the wrong side about 1/2″.
3. Hem crosswise edges (torn edges) by folding and pressing 3/8″ to wrong side. Fold again another 3/8″ encasing the raw edges. Selvedges do not need to be double folded as they don’t ravel.
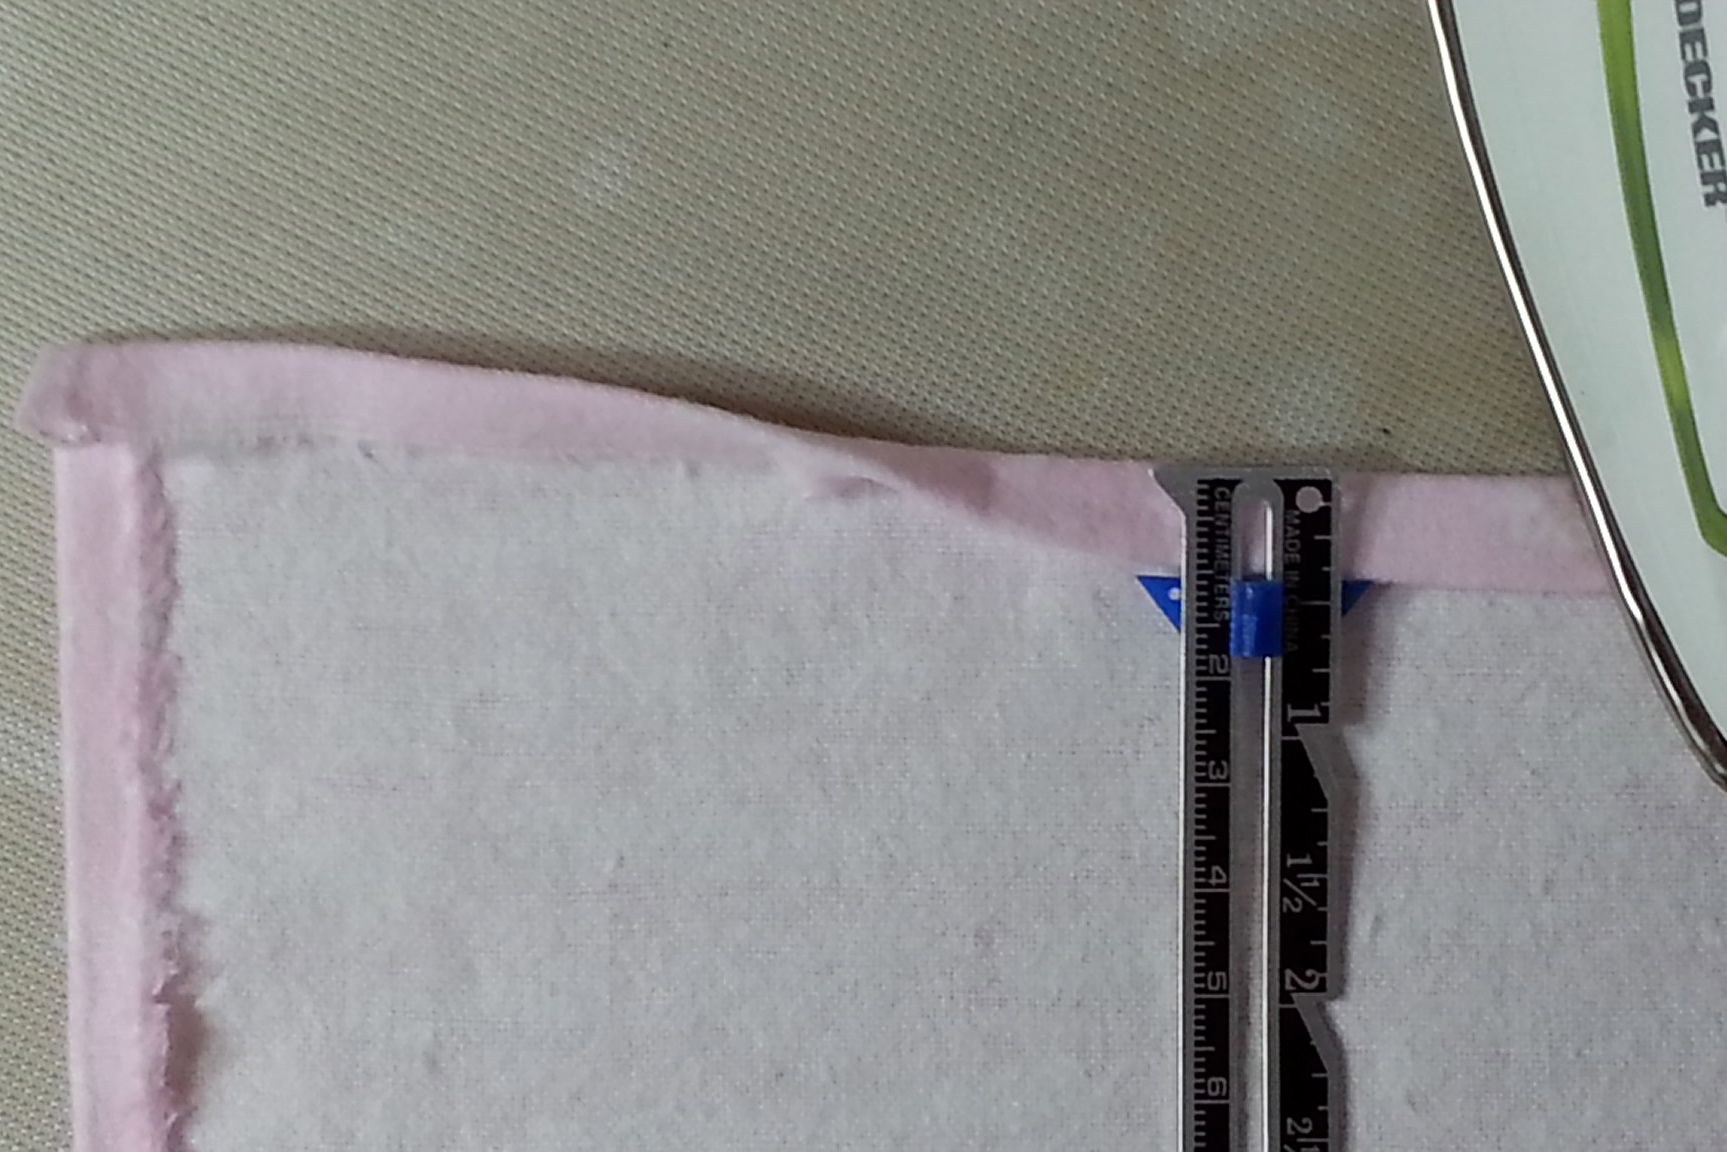
Using hem gauge
Use the gauge’s tab (blue) to push against the fold and nudge to the correct width. I leave iron on hem while positioning the next fold–about 3-4″ at a time.
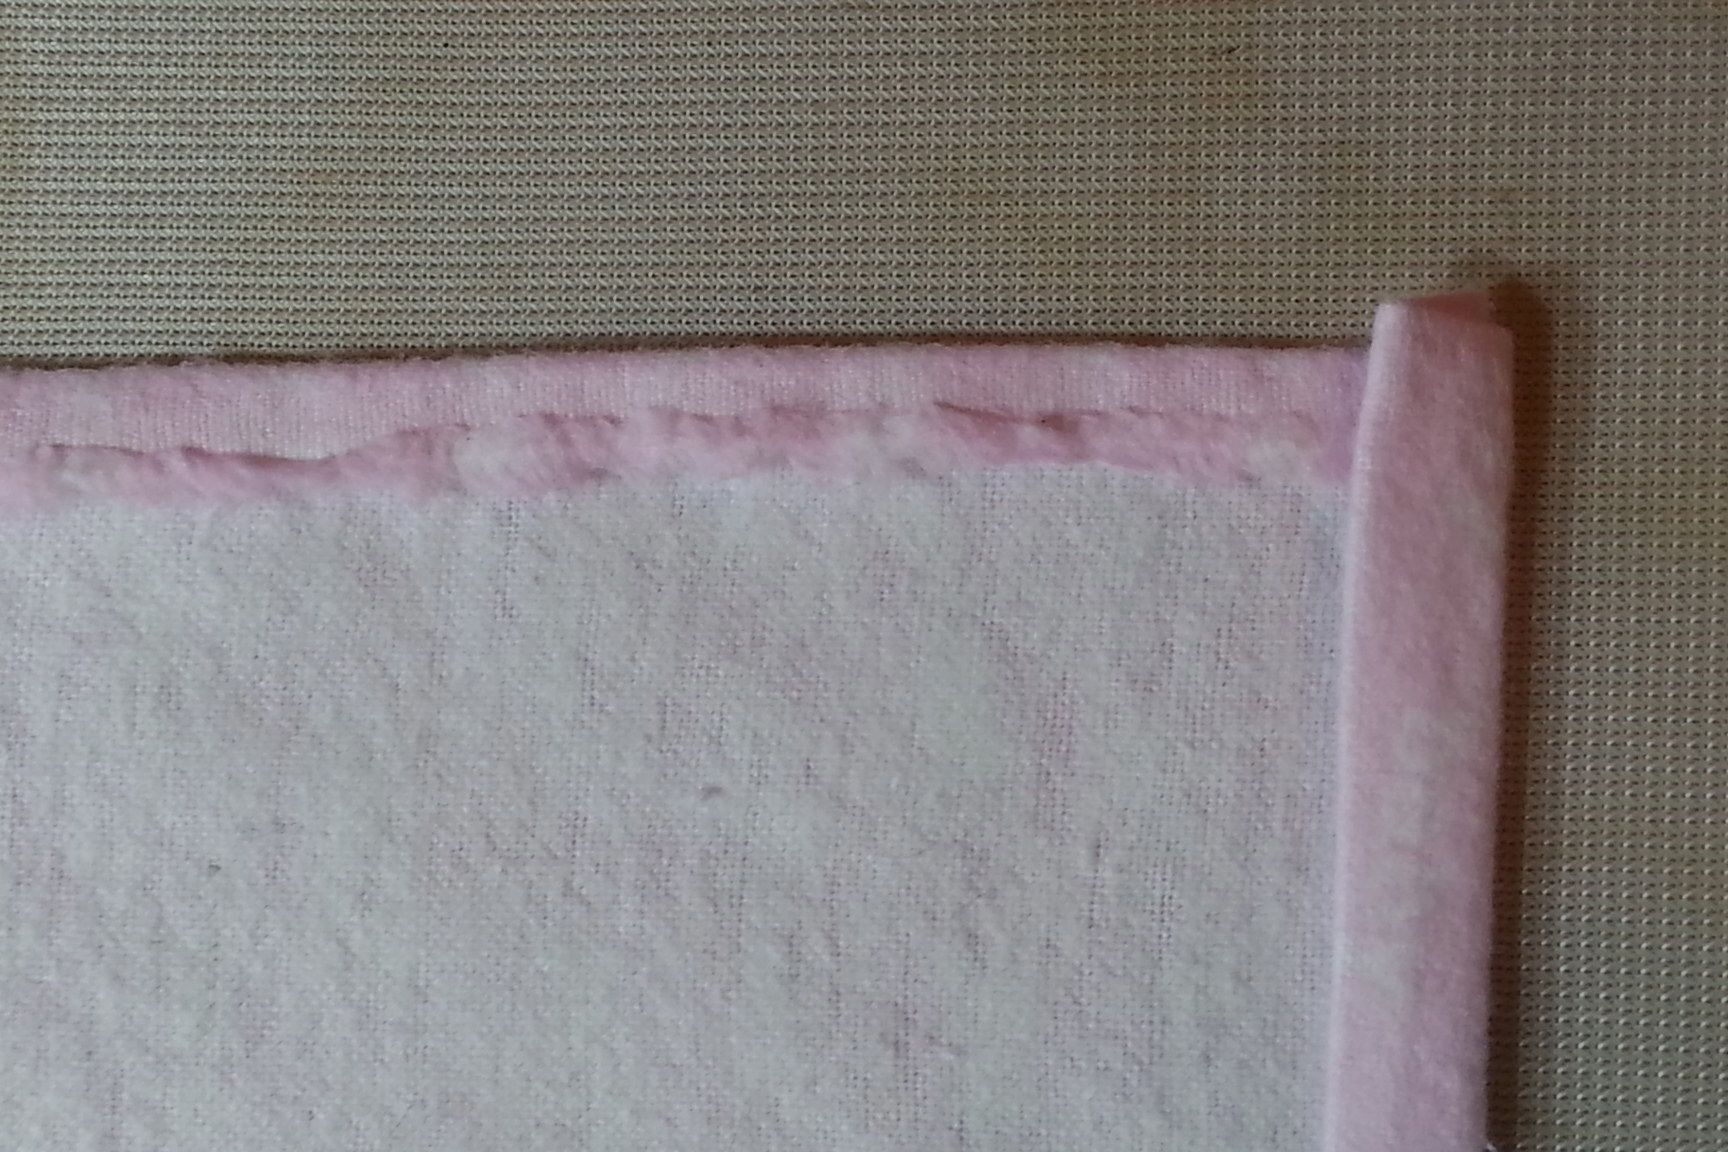
Pressed blanket hems;
Selvedge at top; cross grain at right
Notice in the above photo how the cross grain hem extends beyond the adjoining edge. This is due to a property of weaving that causes the cross grain to have more stretch/flexibility and the action of folding and pressing stretches the hem. Not attractive and a sign of a BEGINNER; horrors! Never fear, the next step is Corners, easy enough for a sewer with a learning permit.
4. Mitered Corners Step 1 Open out pressed hems at each corner. Note the selvedge has fuzzy threads; not to worry, the selvedge will not ravel and it’s a perk for a soft, appealing texture for babies. Also note how the corner is not a perfect 90 degrees due to the stretching of the grain. The mitered corner will alleviate this problem.
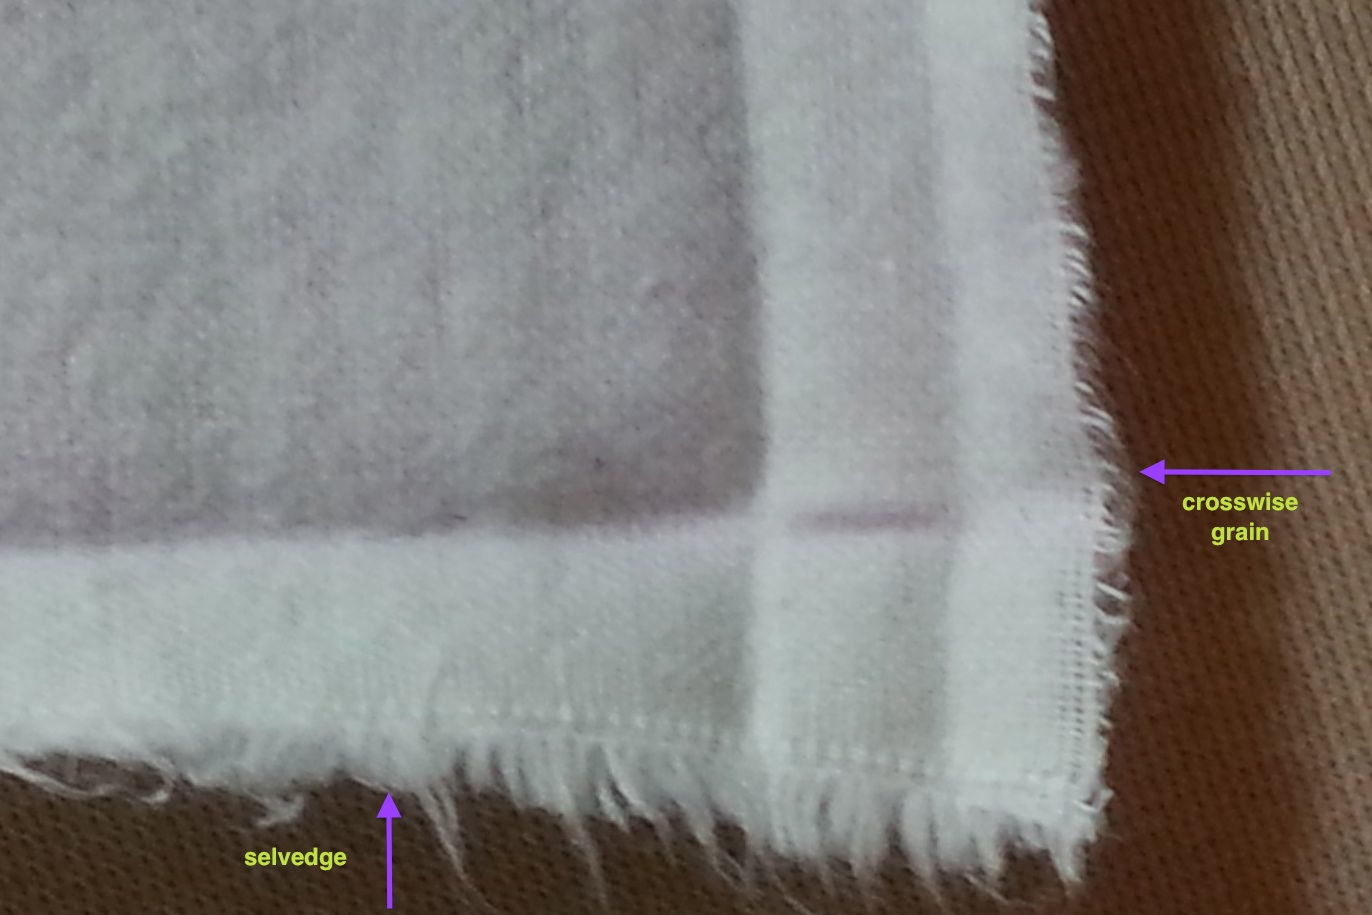
Step 1 Mitered Corner
5. Mitered Corners Step 2 Fold corner diagonally matching pressed lines (see arrows)
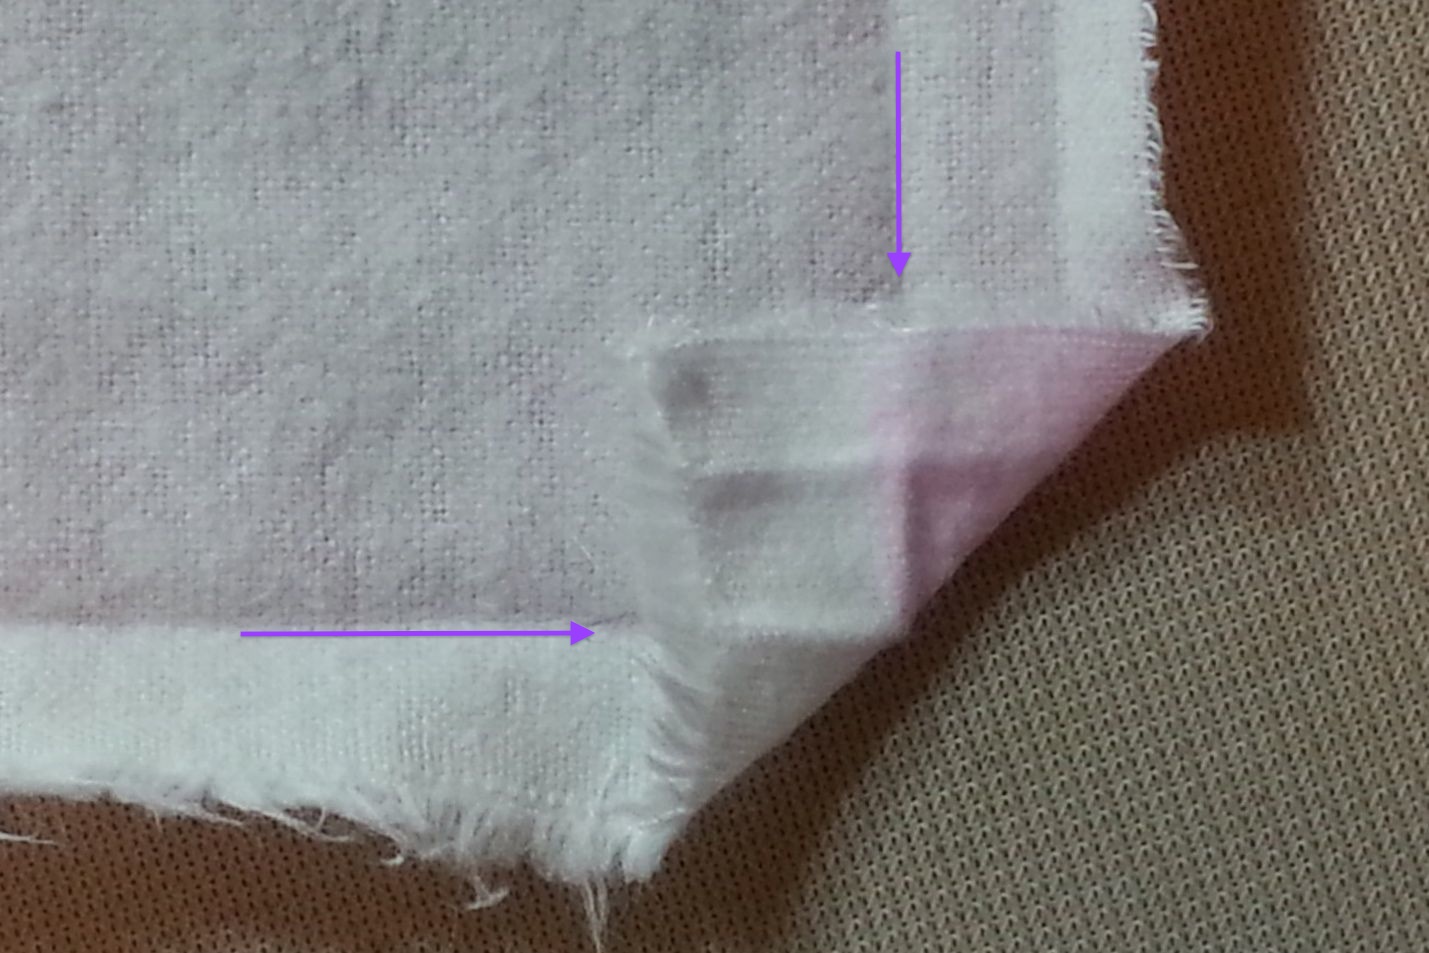
Step 2 Mitered Corner
6. Mitered Corners Step 3 Refold hems to original position forming point at corner. Press and repeat on other corners. Once you have done several mitered corners, you will be proficient enough to fold each corner while sewing the hem; stitch to within 3-4″ of the corner, fold and finger press the miter and continue stitching the hems in place.

Step 3 Mitered Corner
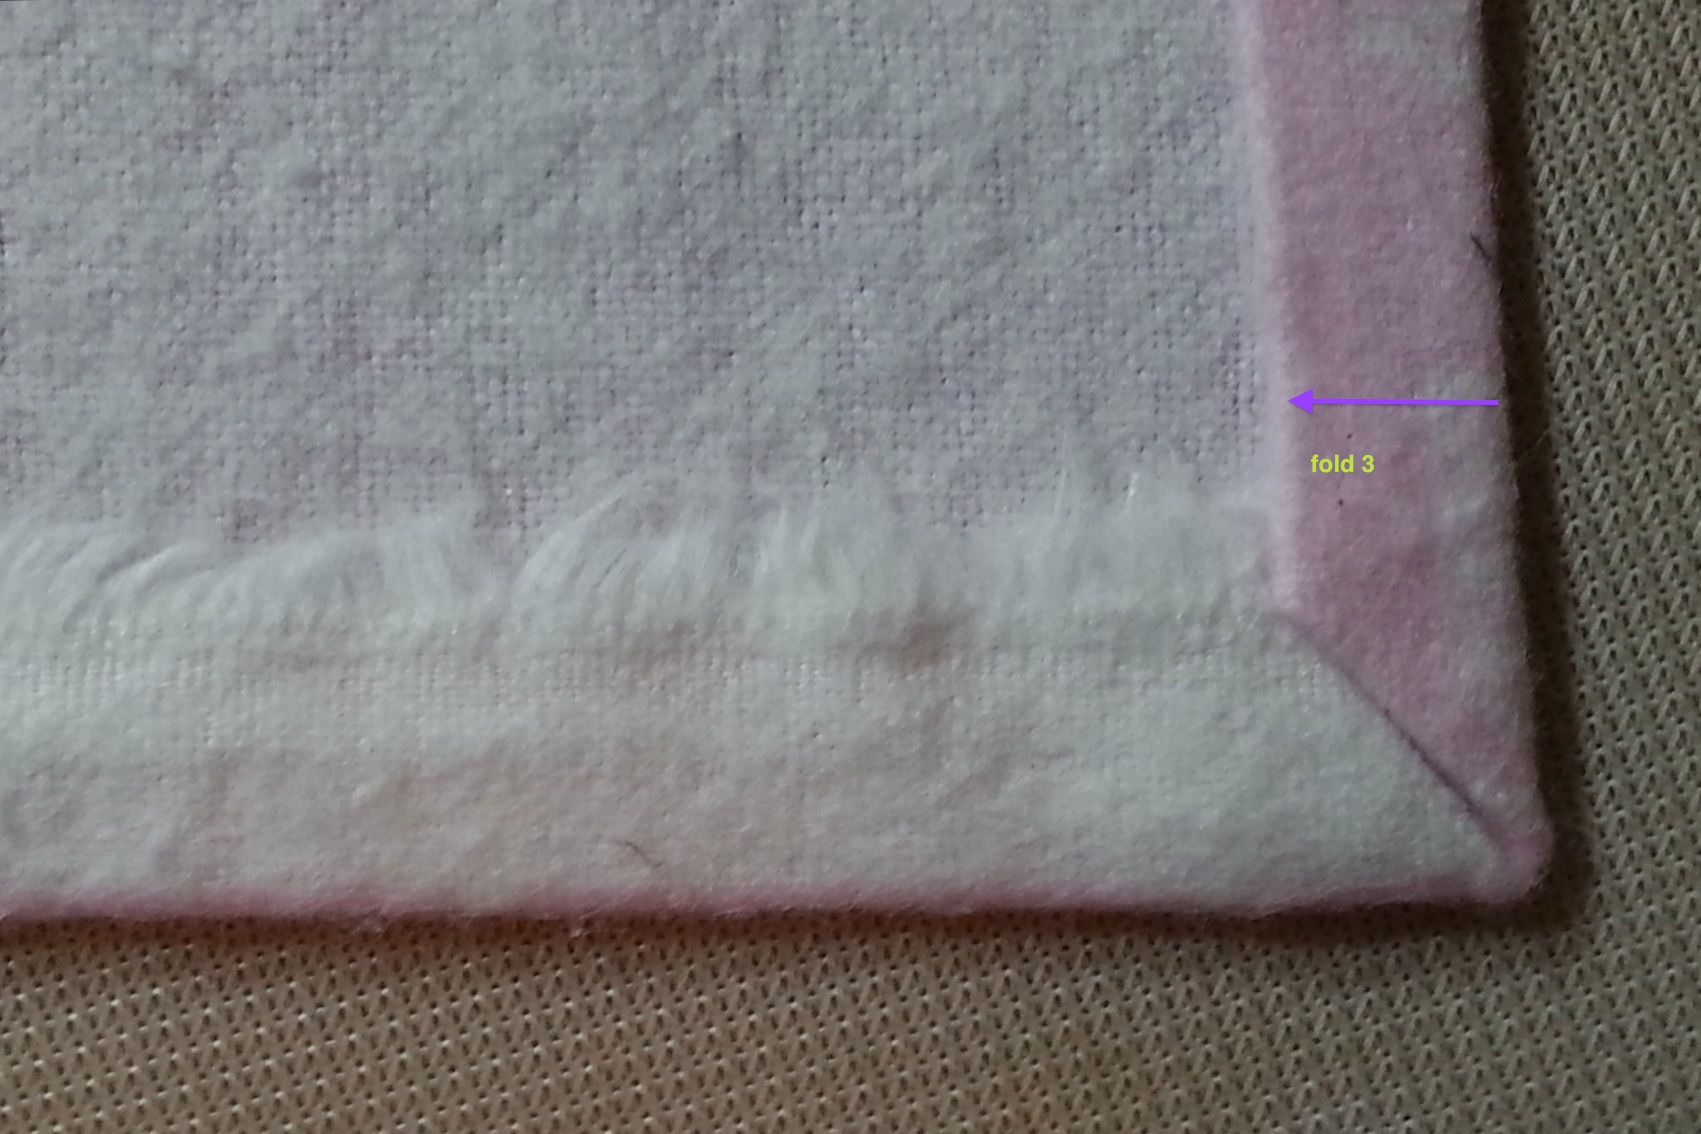
Finished Mitered Corner
7. Machine stitch hem from wrong side using the stitch guides on the pressure plate.
Tip: even though the hems are carefully measured, just following the fold may not make for a nice straight stitch line from the right side.

Machine Stitch Hem
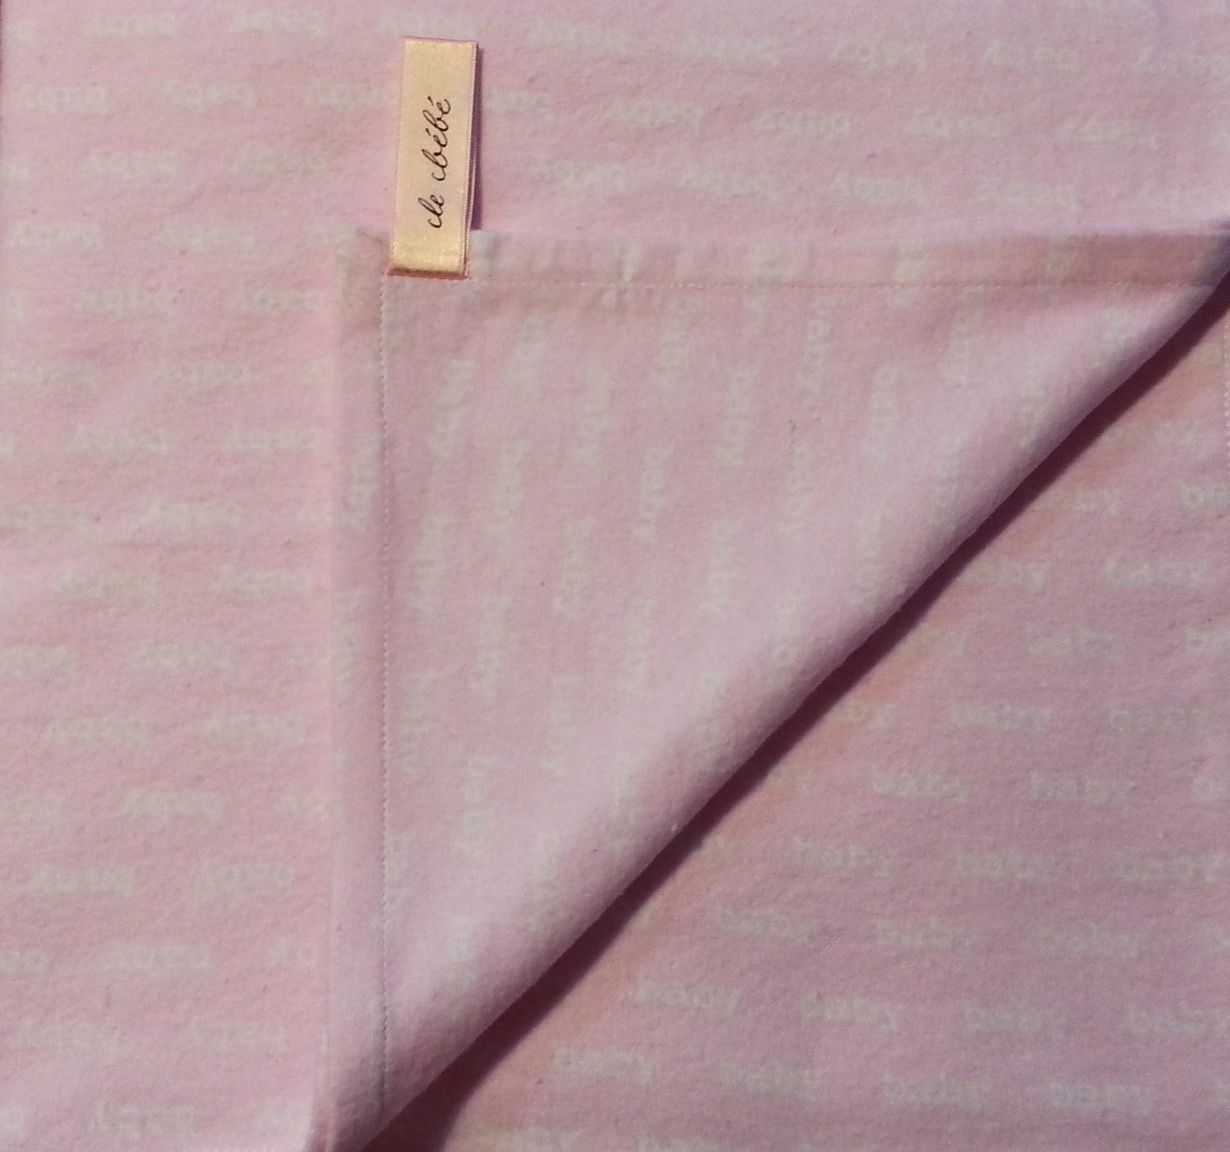
Now finish by sewing on one or more ribbon tags; babies/kids love the texture and the youngest baby will amaze you at how they search for a favorite. Save tons of money by making the small square ‘blankies’ with multiple ribbon tags. Good way to use up ribbon odds and ends too.
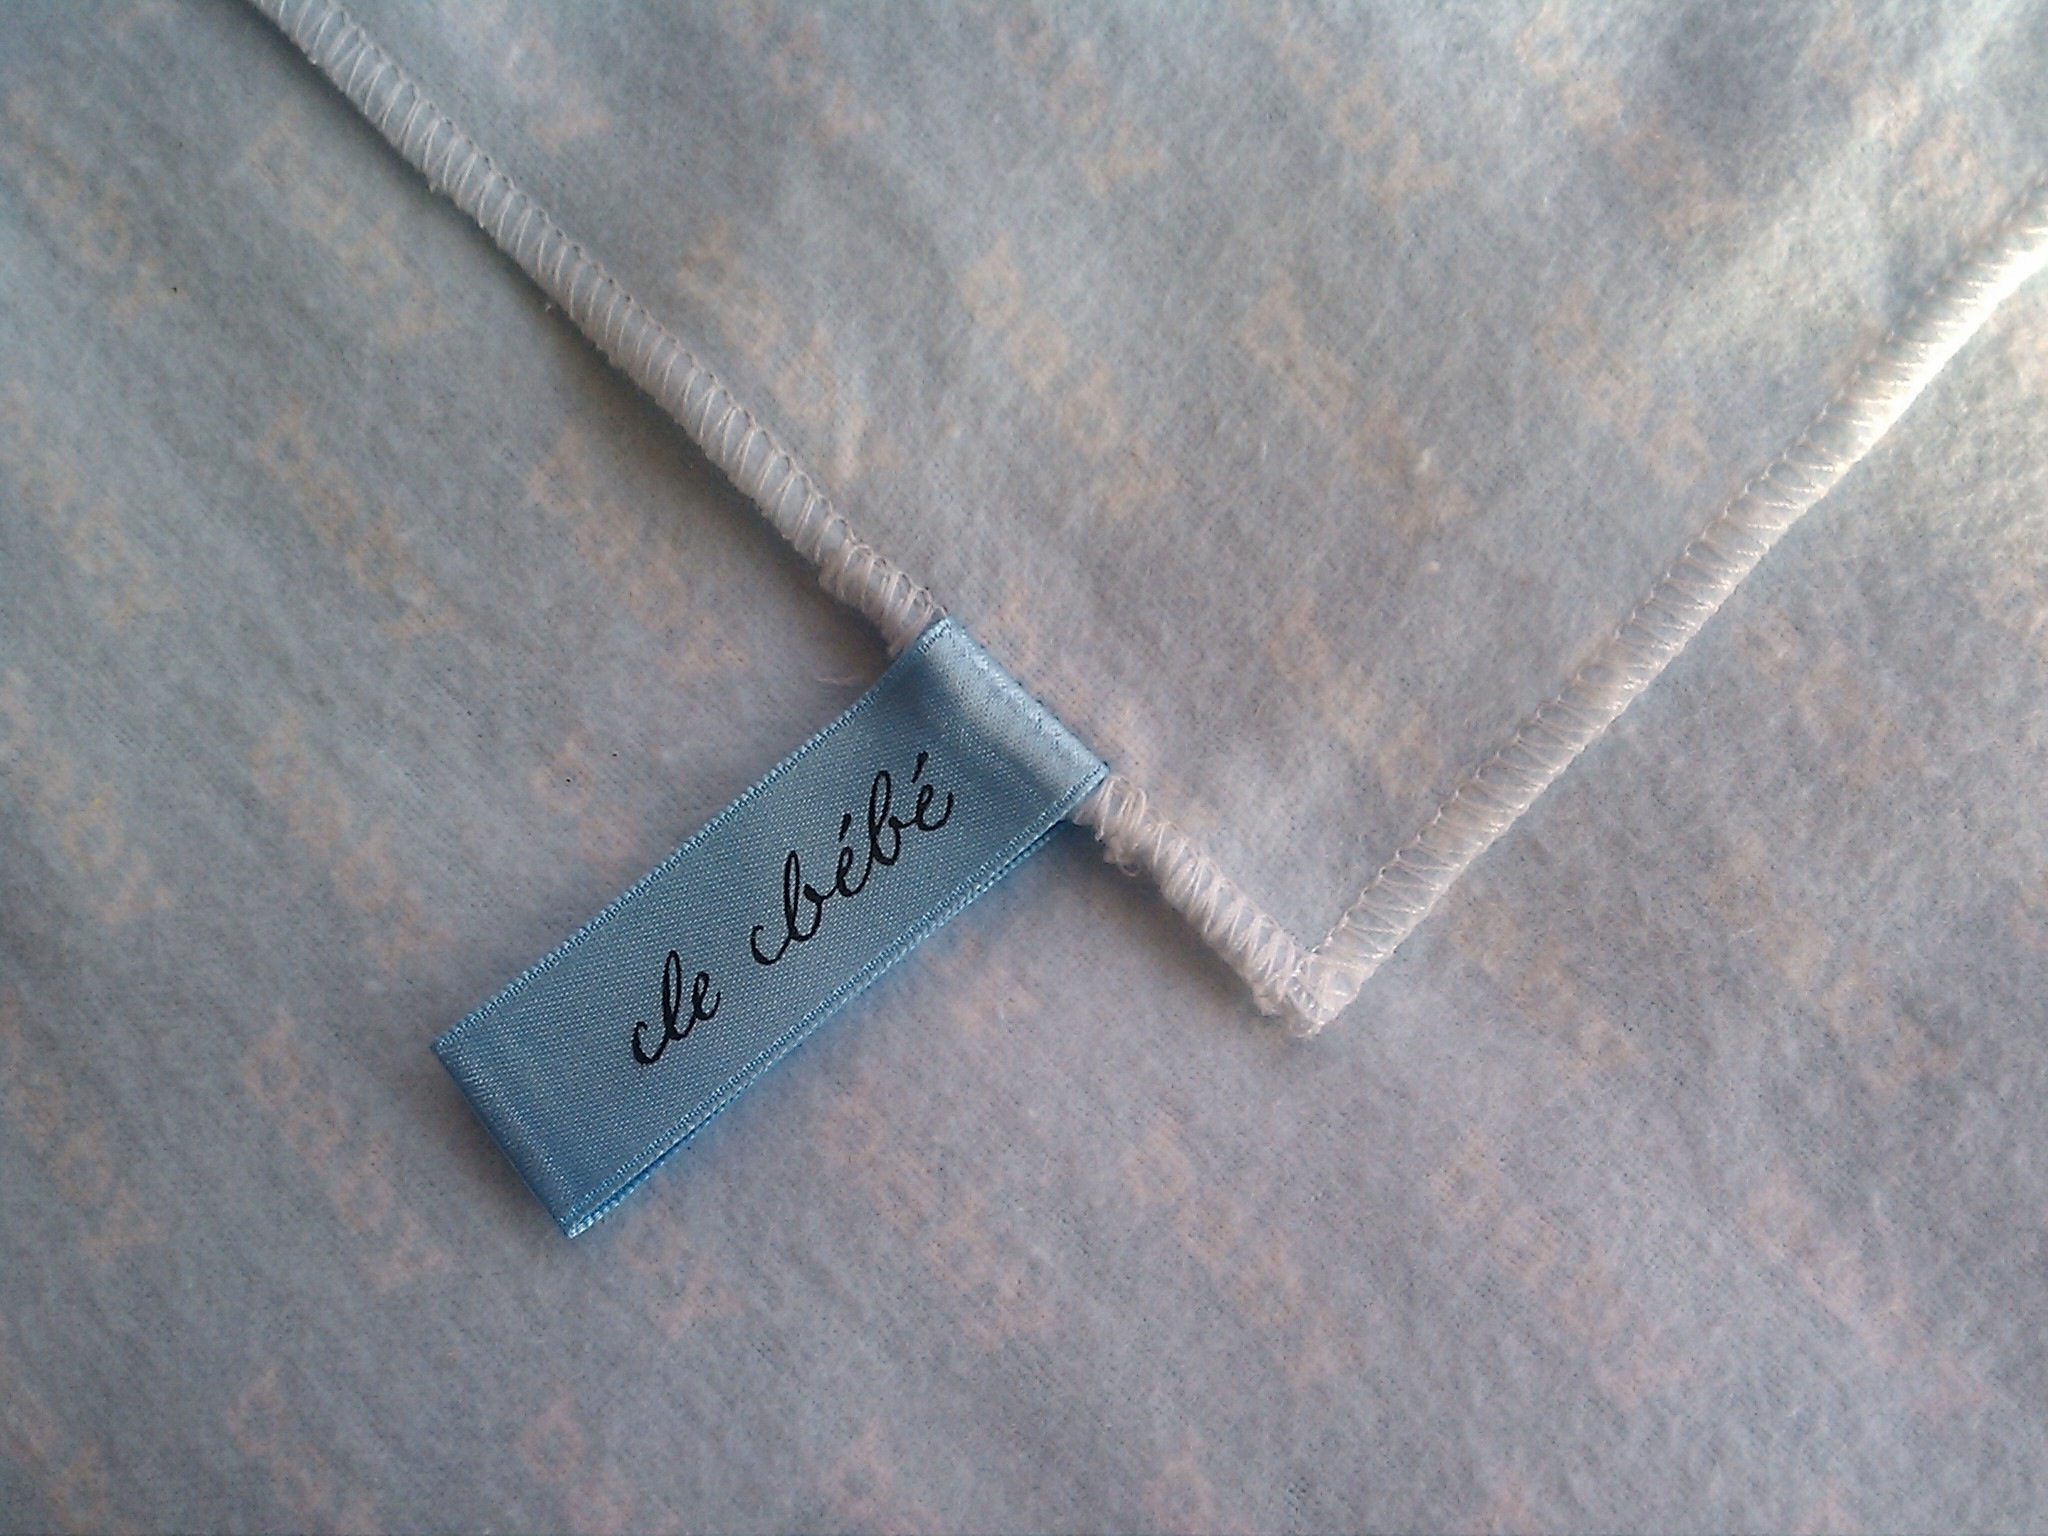
Ribbon tag
I used to just serge blanket edges as it is so quick and easy, but then decided it really looked ‘cheap’. It may take a bit longer (this took me about 45 minutes, including time to set up and thread machine and clear off the ironing board) but, to me, a much more satisfying, professional result. What do you think?
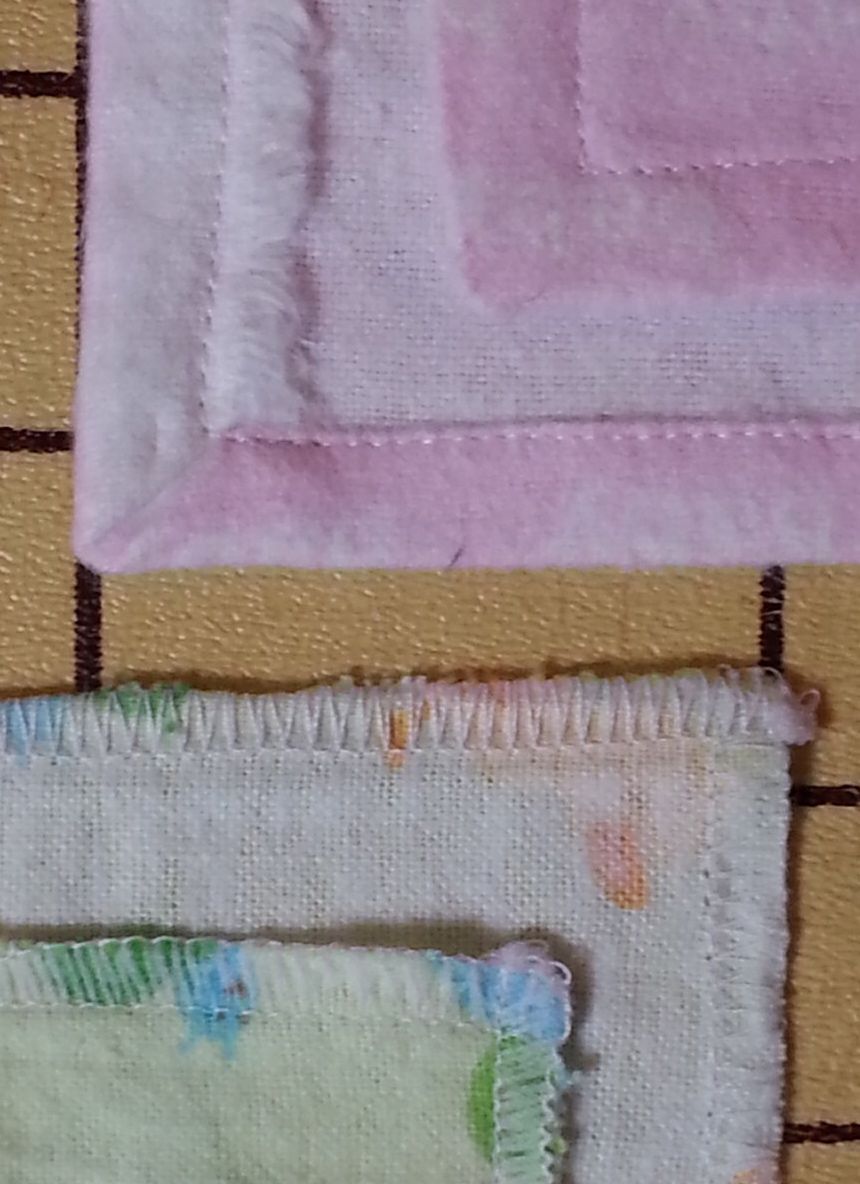
Hems–folded vs serged
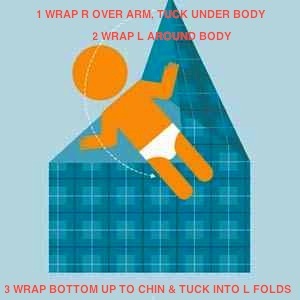
Wrap a Swaddle Blanket
*Final words: Prewash is really an oxymoron as the prefix ‘pre’ means before. So you are washing before washing?????? However, it is an accepted term in the sewing world and just means to wash away manufacturing residue and preshrink (there’s that oxymoron again why not just shrink something; oh well…) the fabric. Fabrics will shrink during laundry, especially cotton fabrics. This is why I recommend buying extra fabric to make 2-44-45″ X 44-45″ blankets.
**Here’s the math:
- 1.25 yds of 45″ wide fabric is needed to make a square 45″ blanket.
- Twice 1.25 = 2.5 + .25 = 2.75 yds; the extra .25 yd is shrinkage allowance
Hems will decrease the actual size but the result is a nearly square blanket; I don’t get hung up on whether the completed blanket is 44″ X 44″ or 44.5″ X 44″, or…And, neither should you.
Related Links
How to Sew Mitered Corners–several techniques. While on the website, sign up for the weekly sewing tips: http://www.coletterie.com
baby baby baby baby baby


