January 2016 Update
These skirts have become a staple in my wardrobe; they get worn at least once a week, even if just at home. Hey, it’s just as easy to reach for a skirt & T as leggings, pants! And, I can sew no matter what I’m wearing.
Turns out, the quilted skirt is a fave. It’s short- for me–just skimming the knee. Always wear with leggings as have ‘ugly’ legs.
Not Dead Yet Style just posted about ‘older’ and short skirts. I say Yay with qualifiers: varicose veins, chubby knees, wisdom spots, etc., need to be covered.
I am not a ‘skirt’ person; haven’t worn them on a regular basis since college days when they were a requirement at the College of Home Economics, University of Minnesota. Of course, we had work-arounds–roll up the jeans and pop a skirt over. Never did make much sense as this was Minnesota and tromping around campus in a skirt wasn’t the warmest. Please note, this was way before leggings and cuddleduds.
Now, for some reason, skirts are again appealing; maybe it’s the availability of leggings, whatever. I find myself drawn to them and even wear for days at home.
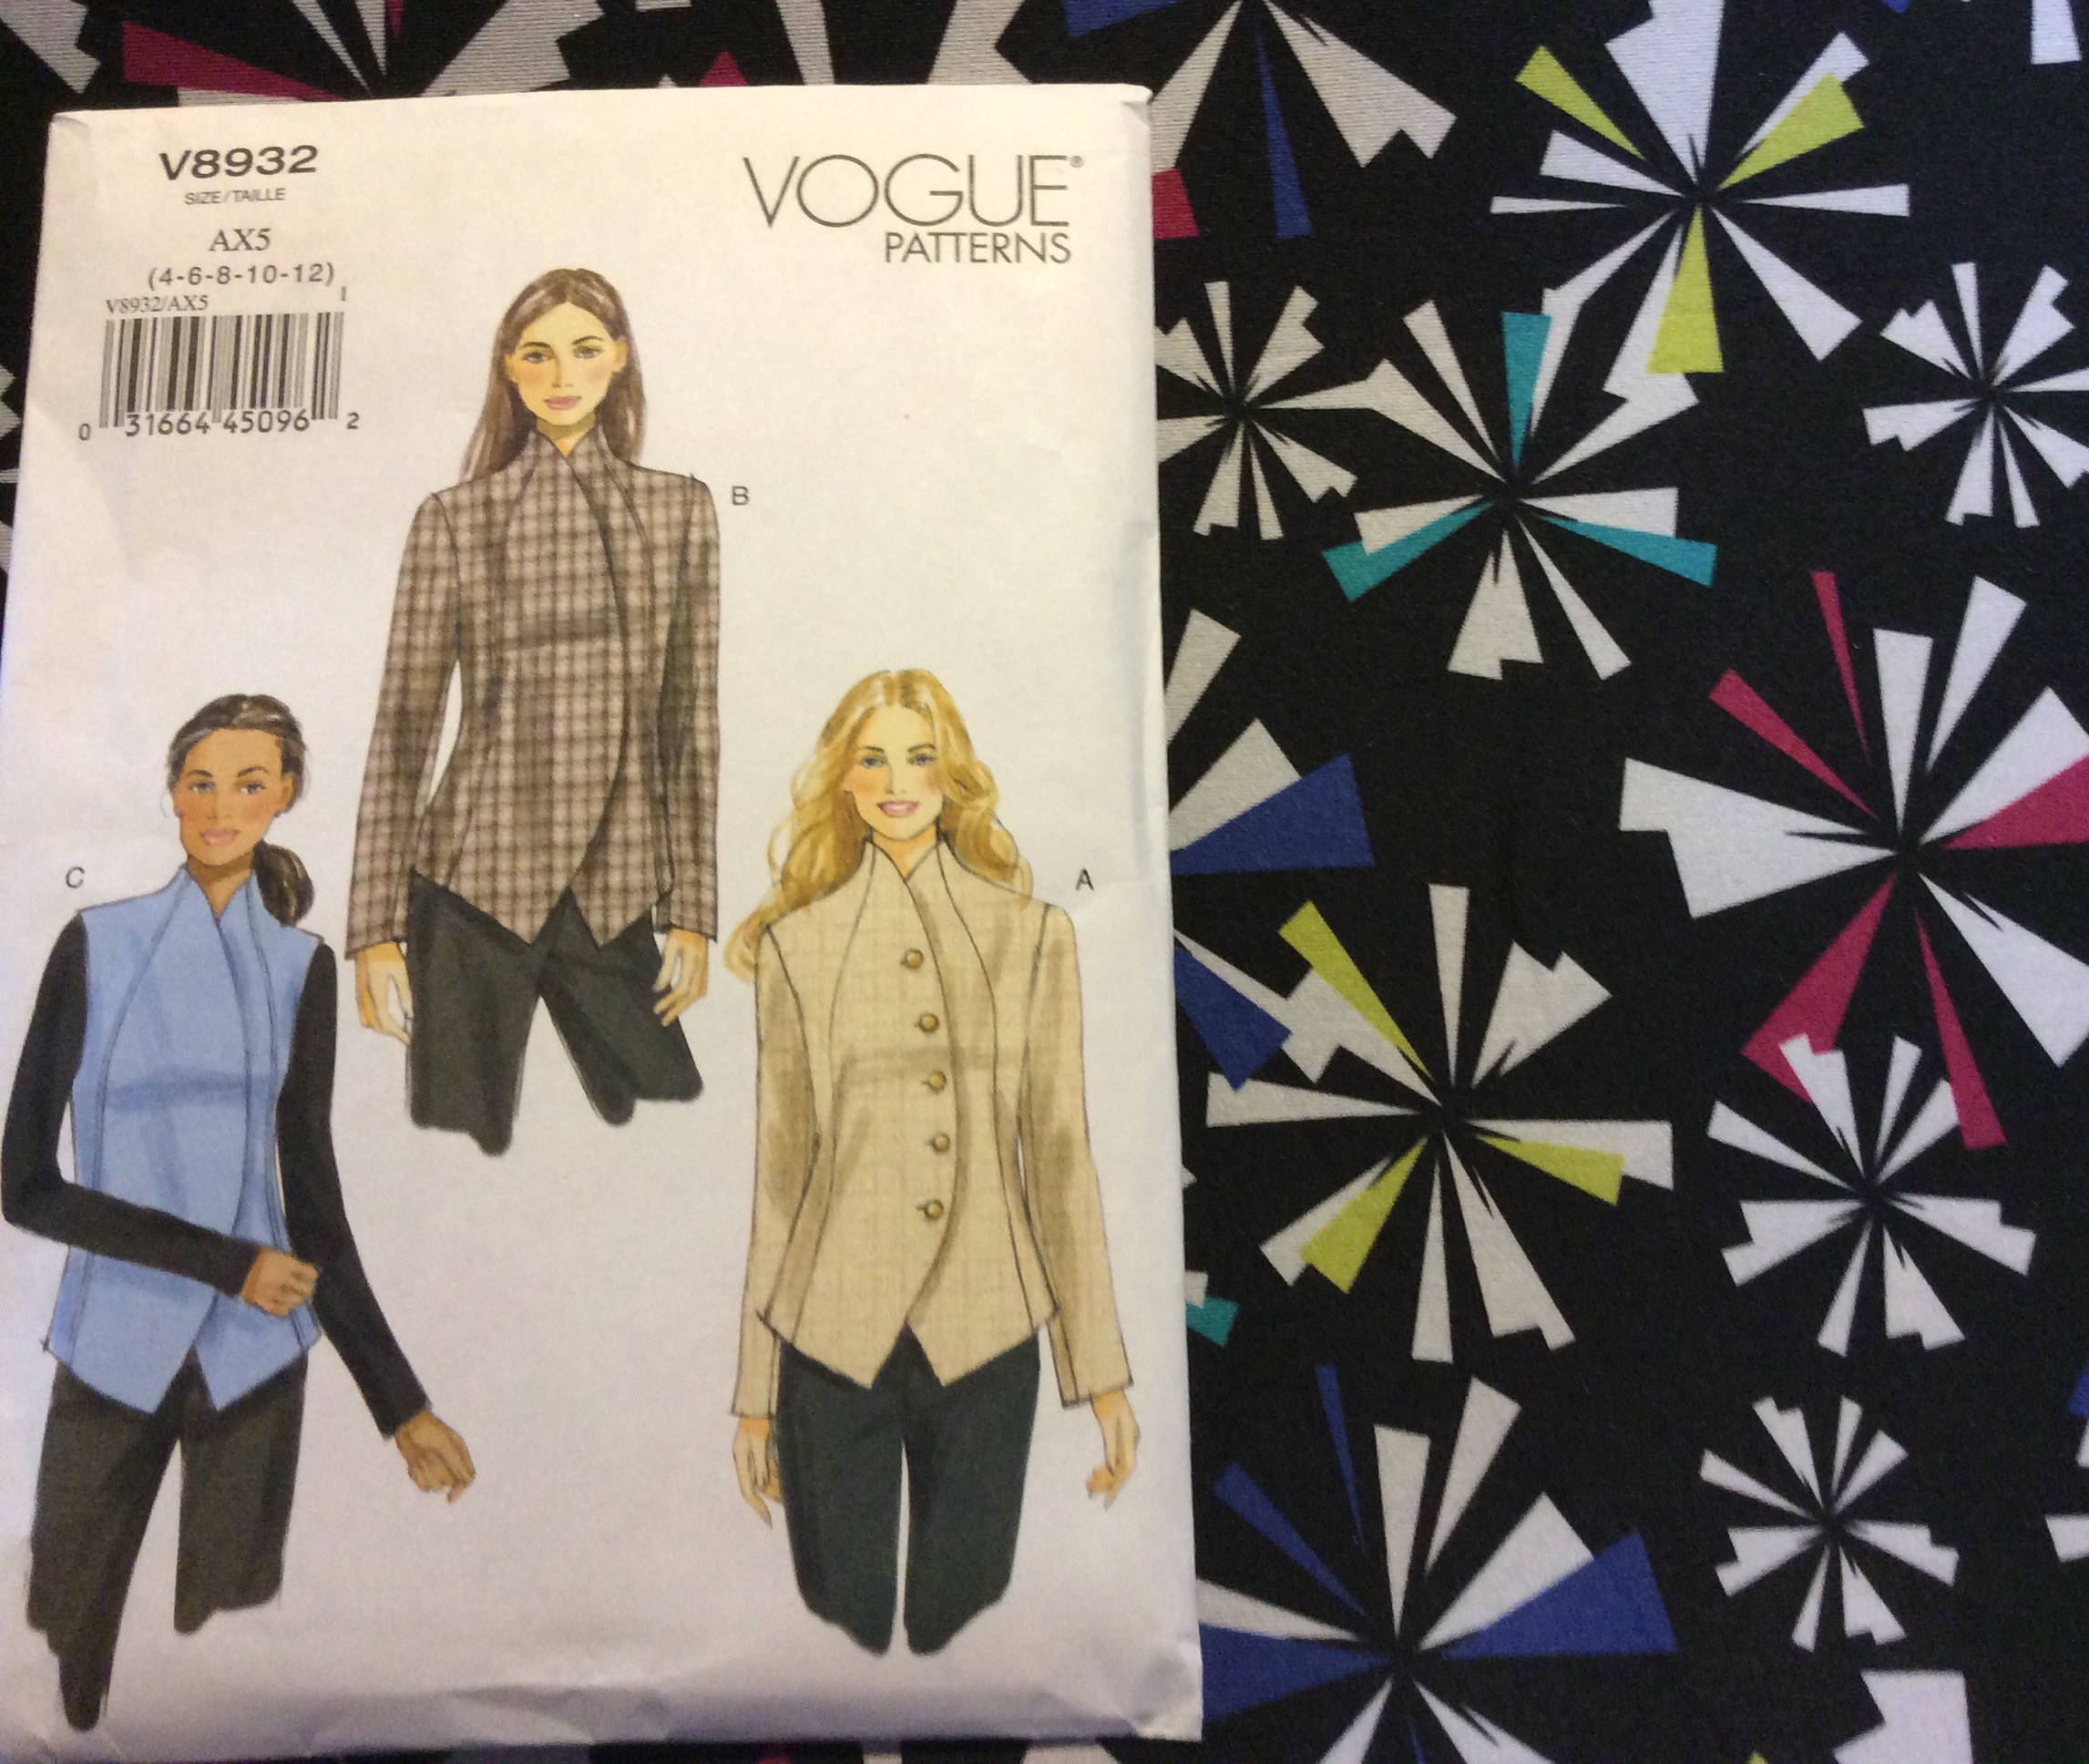
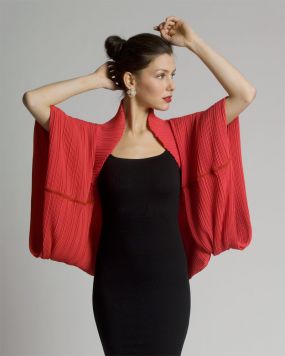
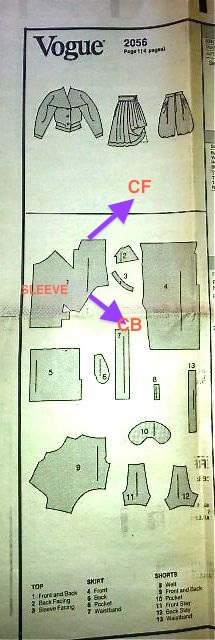
My current fave patterns are both Vogue, and both, of course, are out of print but should still be available.
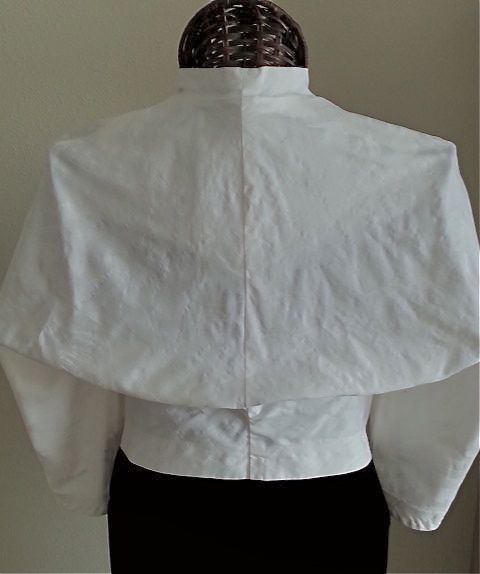
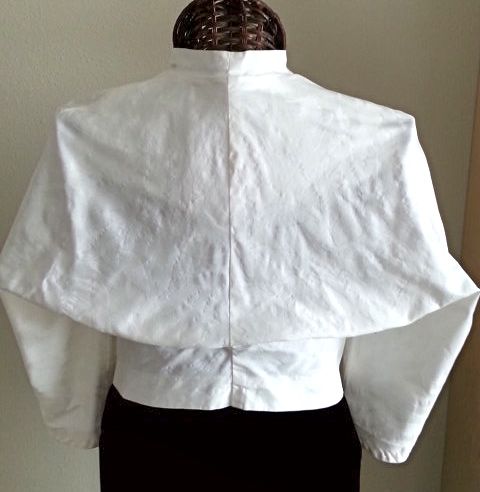
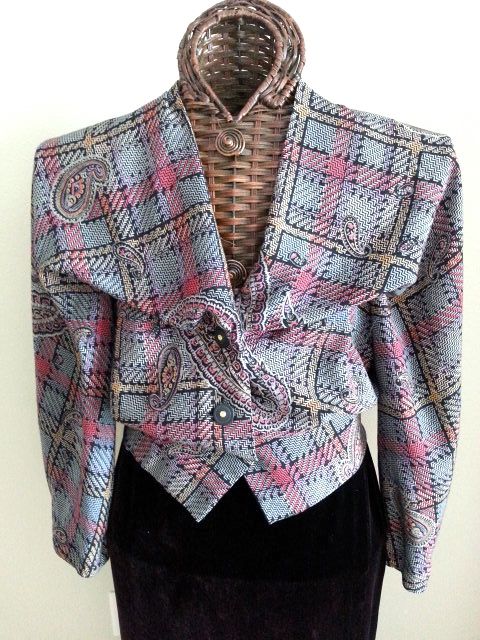
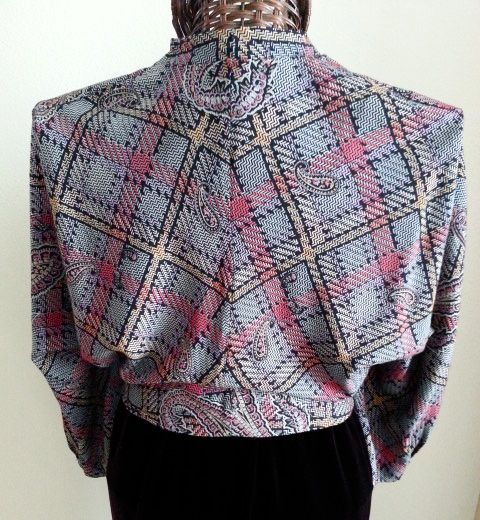
Vogue 8637
Here are two versions of V8637.
V8637

V8637
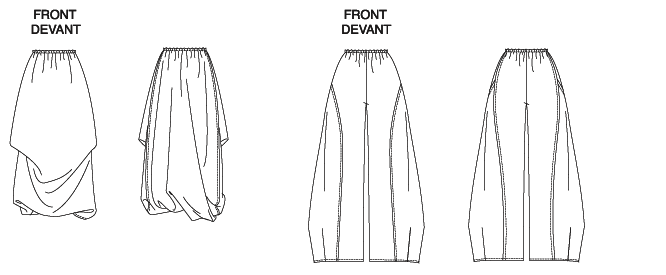
V8637 Pattern Sketch
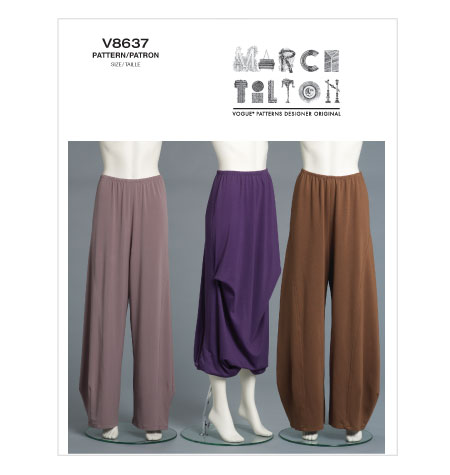
Vogue 8637
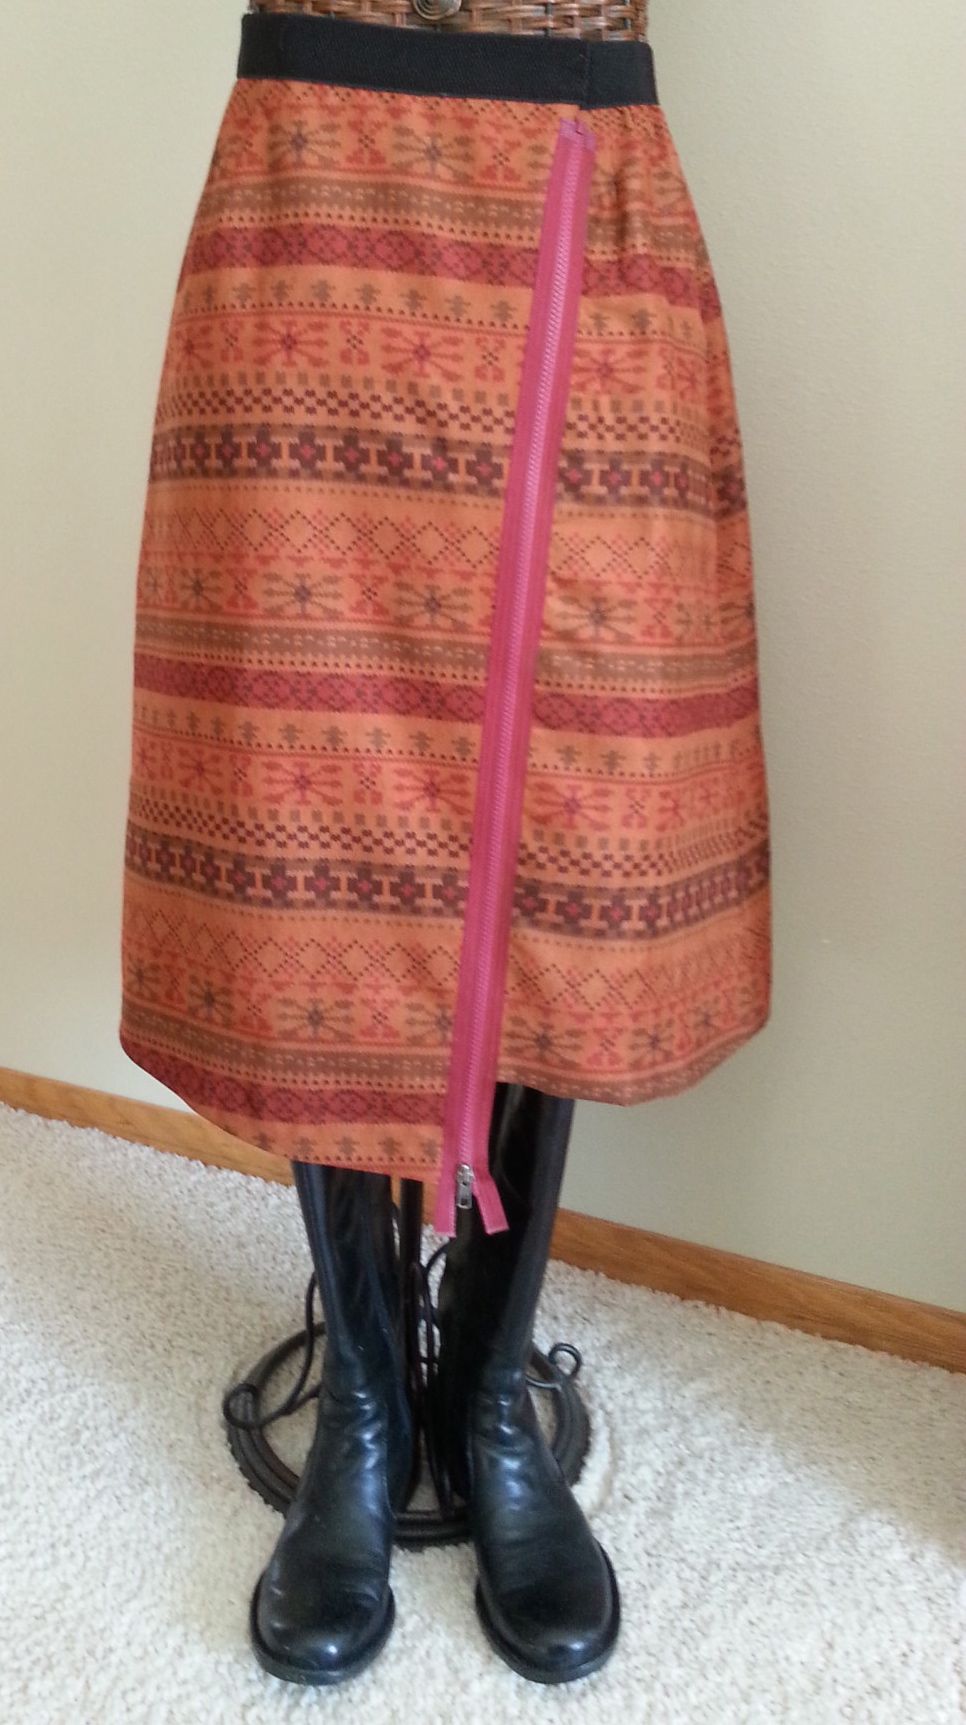
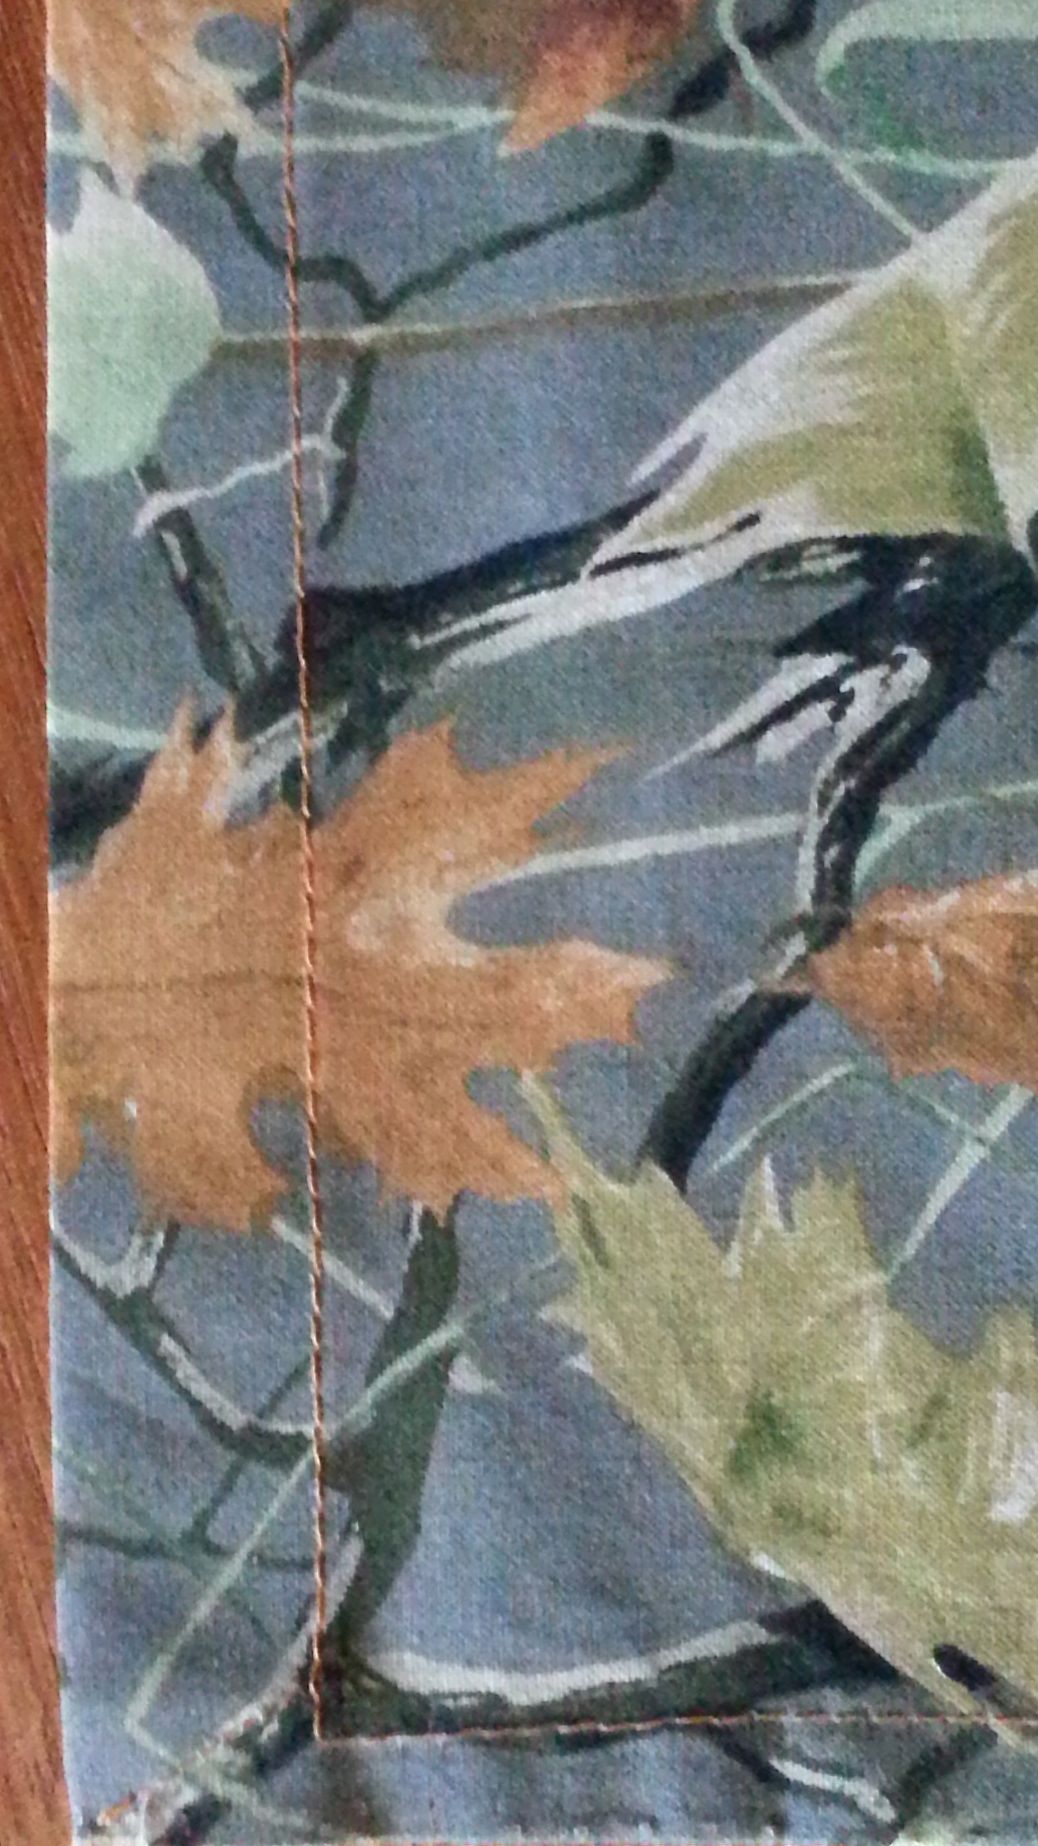
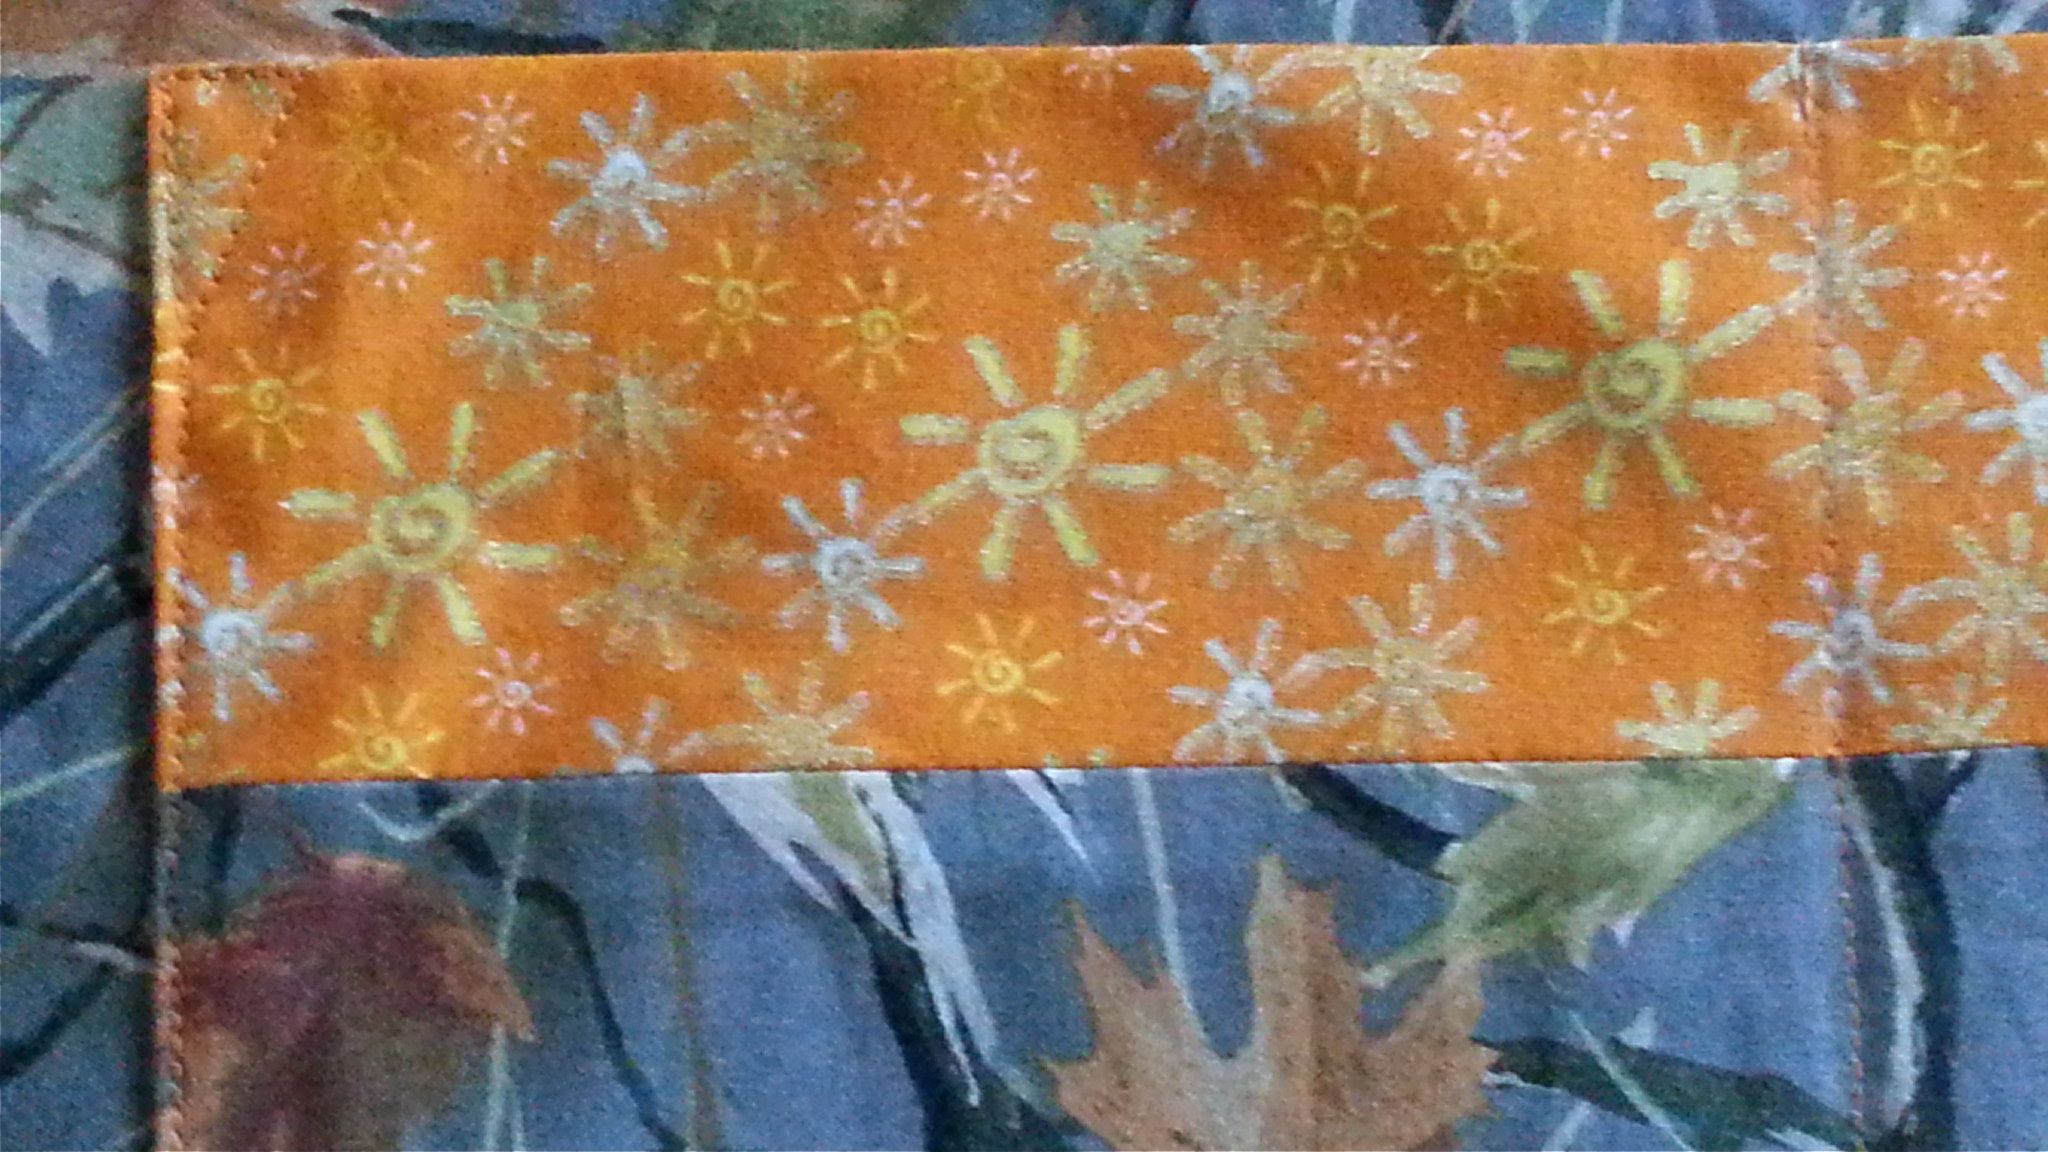
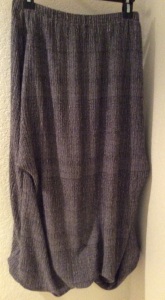
This skirt pattern is for knit fabrics but discovered by accident that it will work for a woven that has a bit of ‘give’. Both fabrics are textured wovens and drapey.
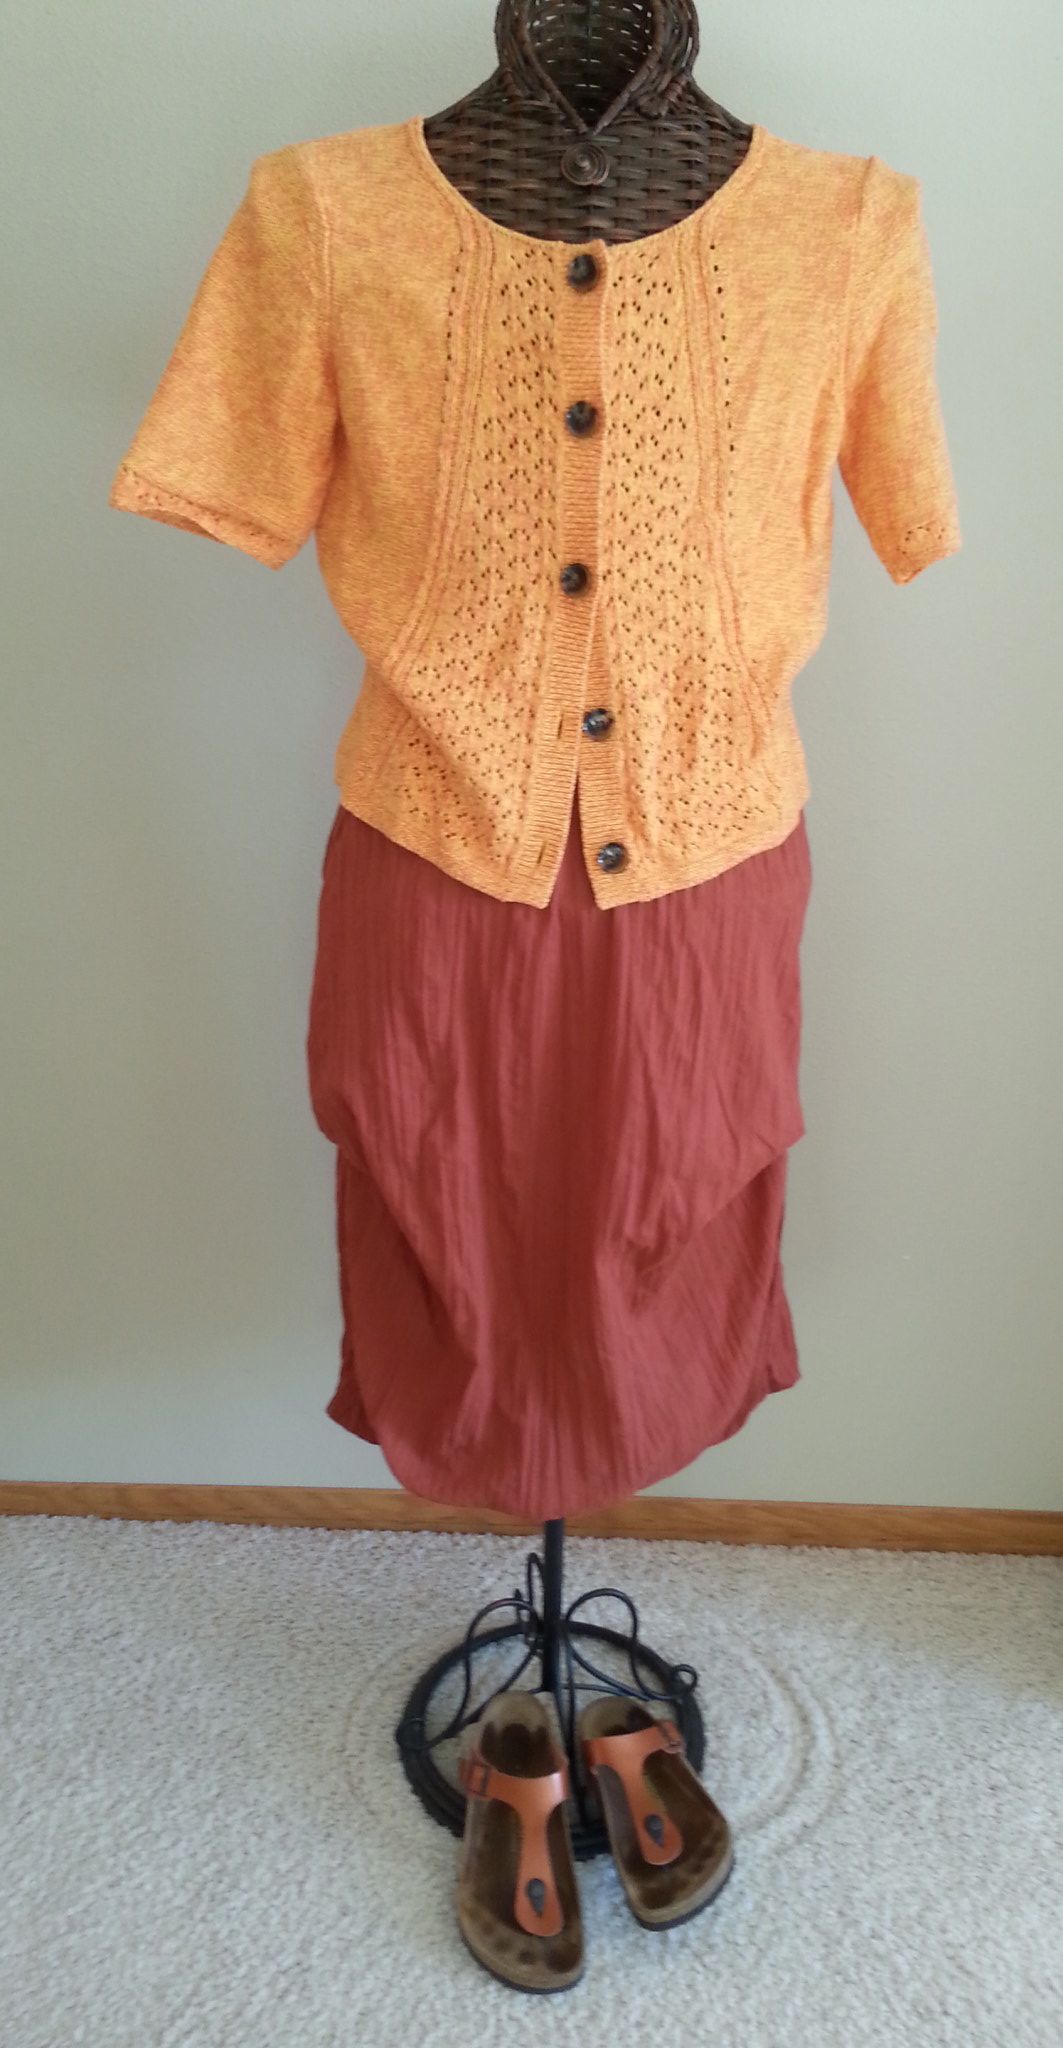
The rust was lanquishing in the stash until I realized it was a good coordinate for the orange sweater. Had just purchased the Marcy Tilton skirt pattern and decided to see if a woven would work, which it did.
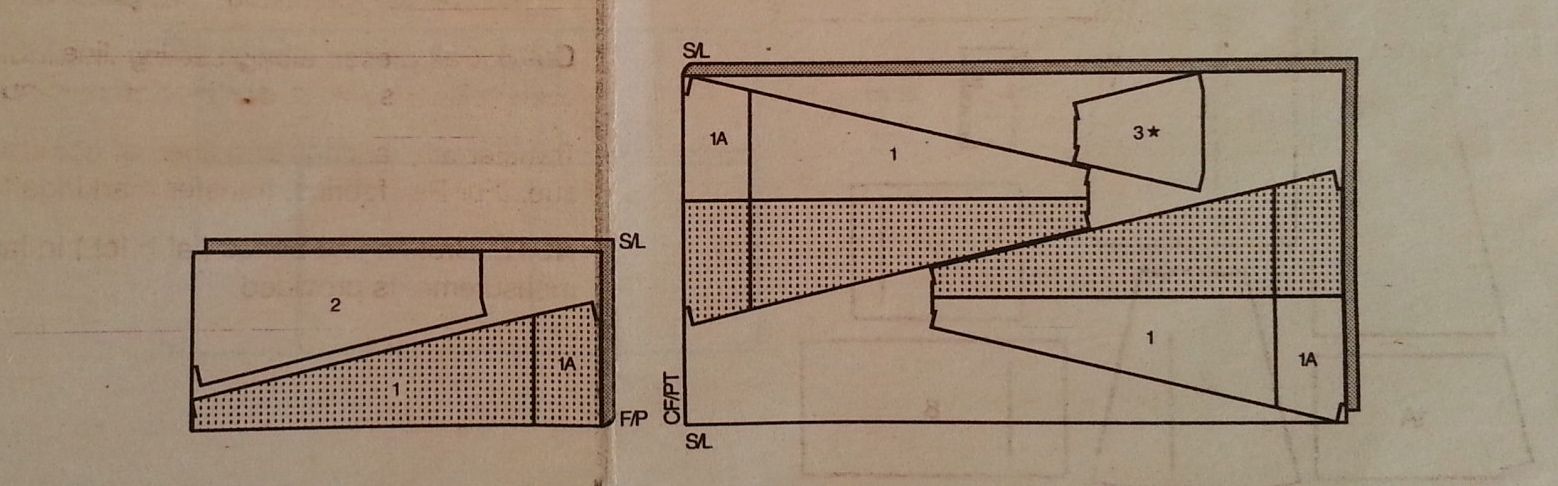
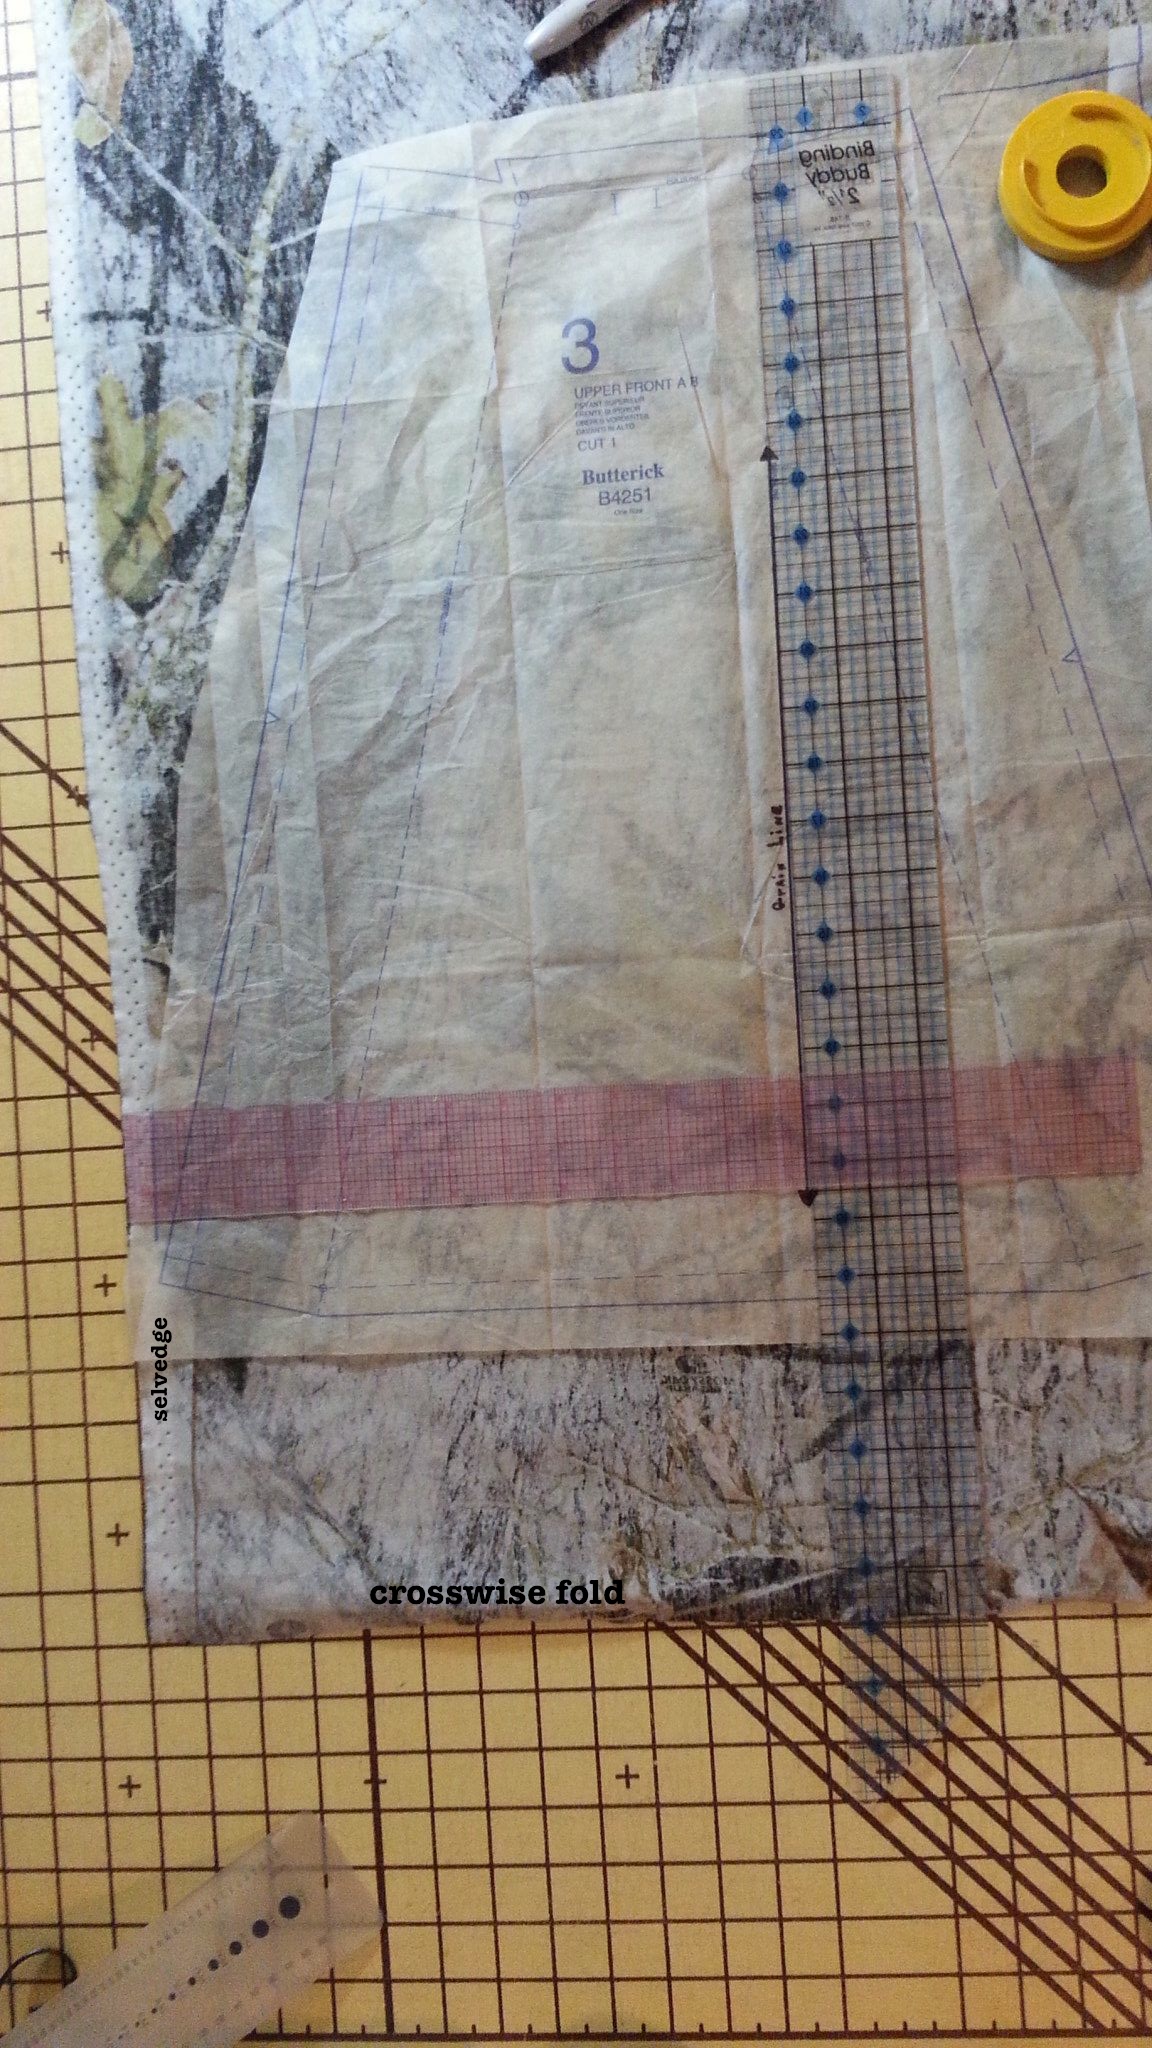
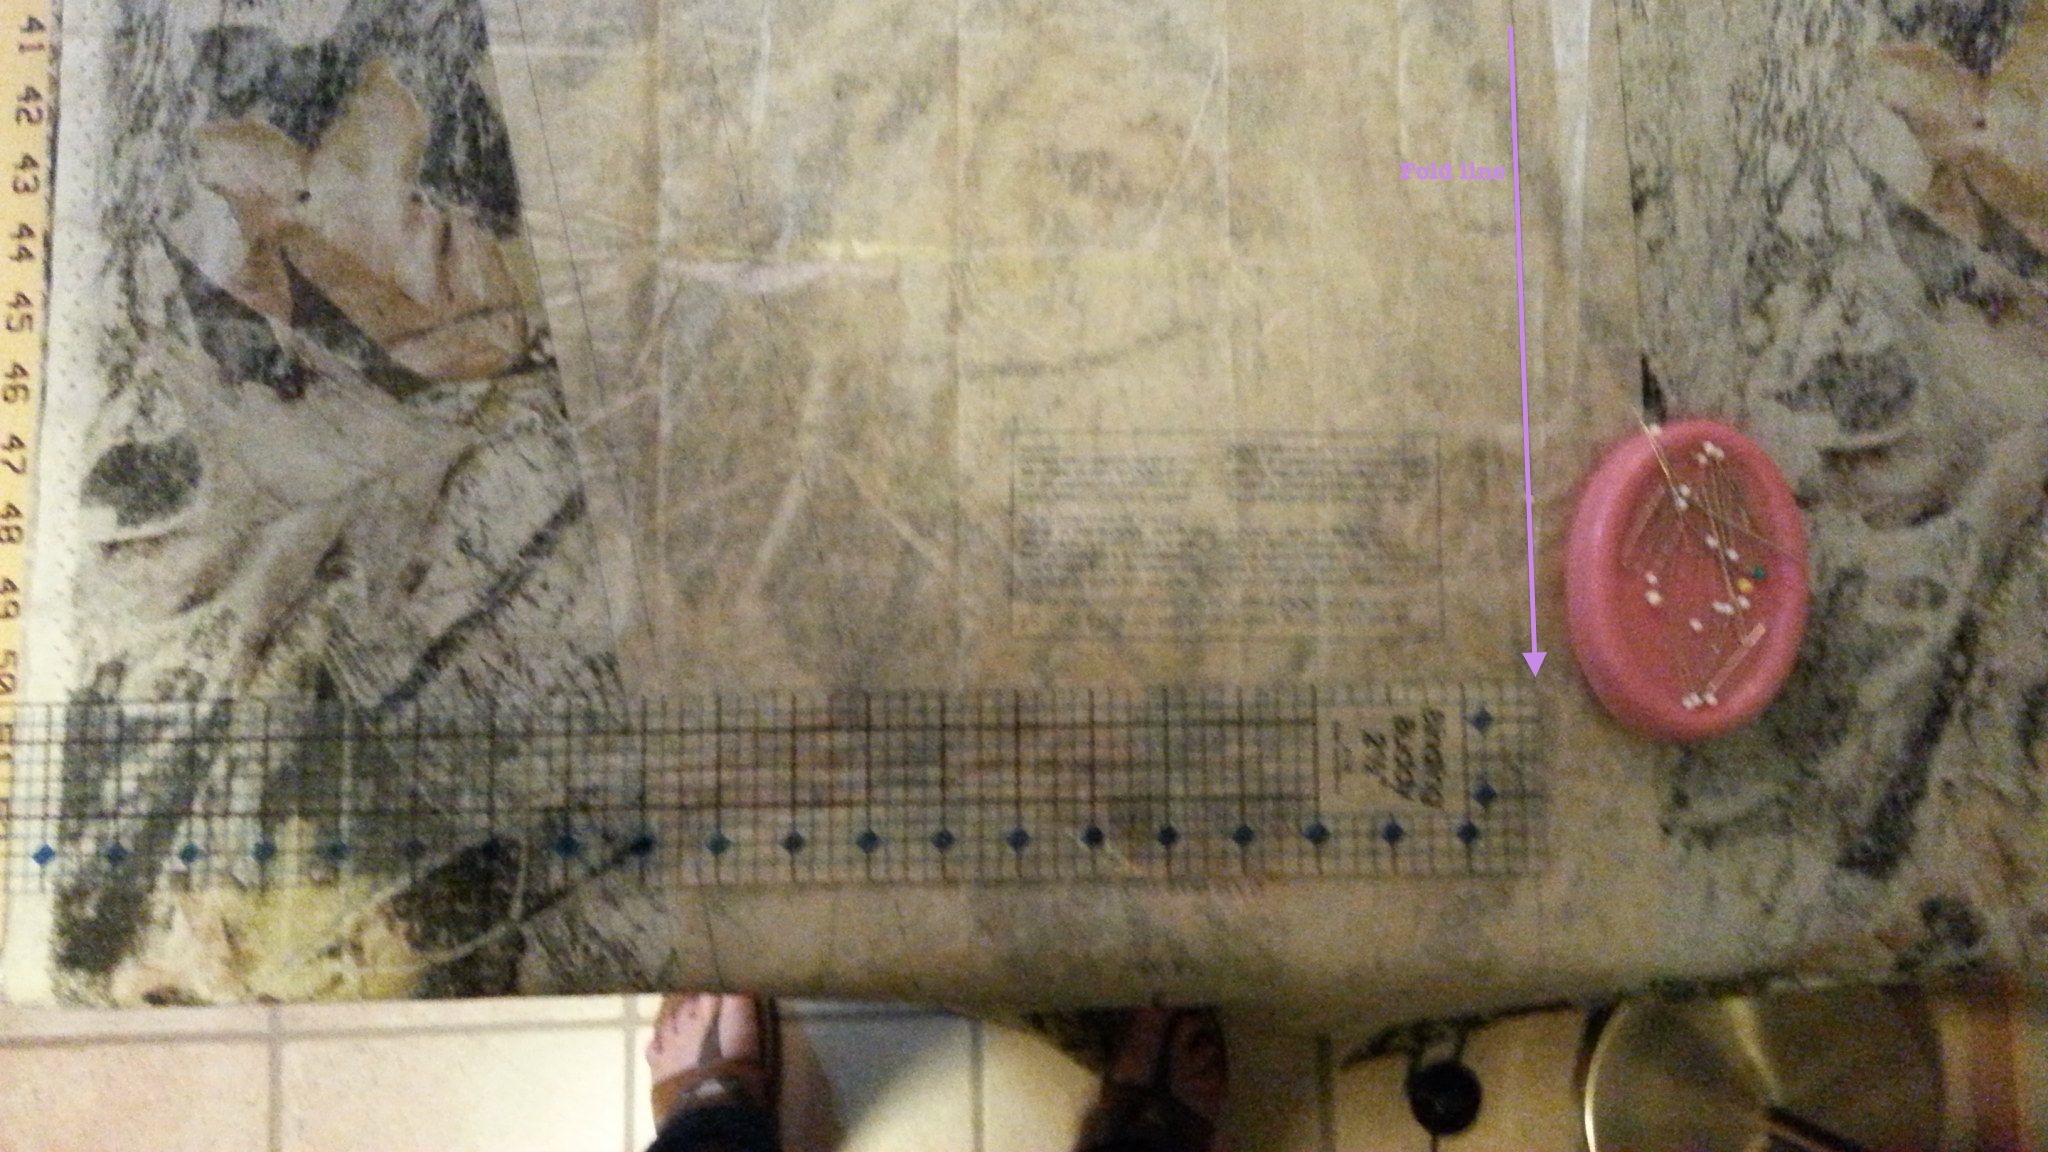
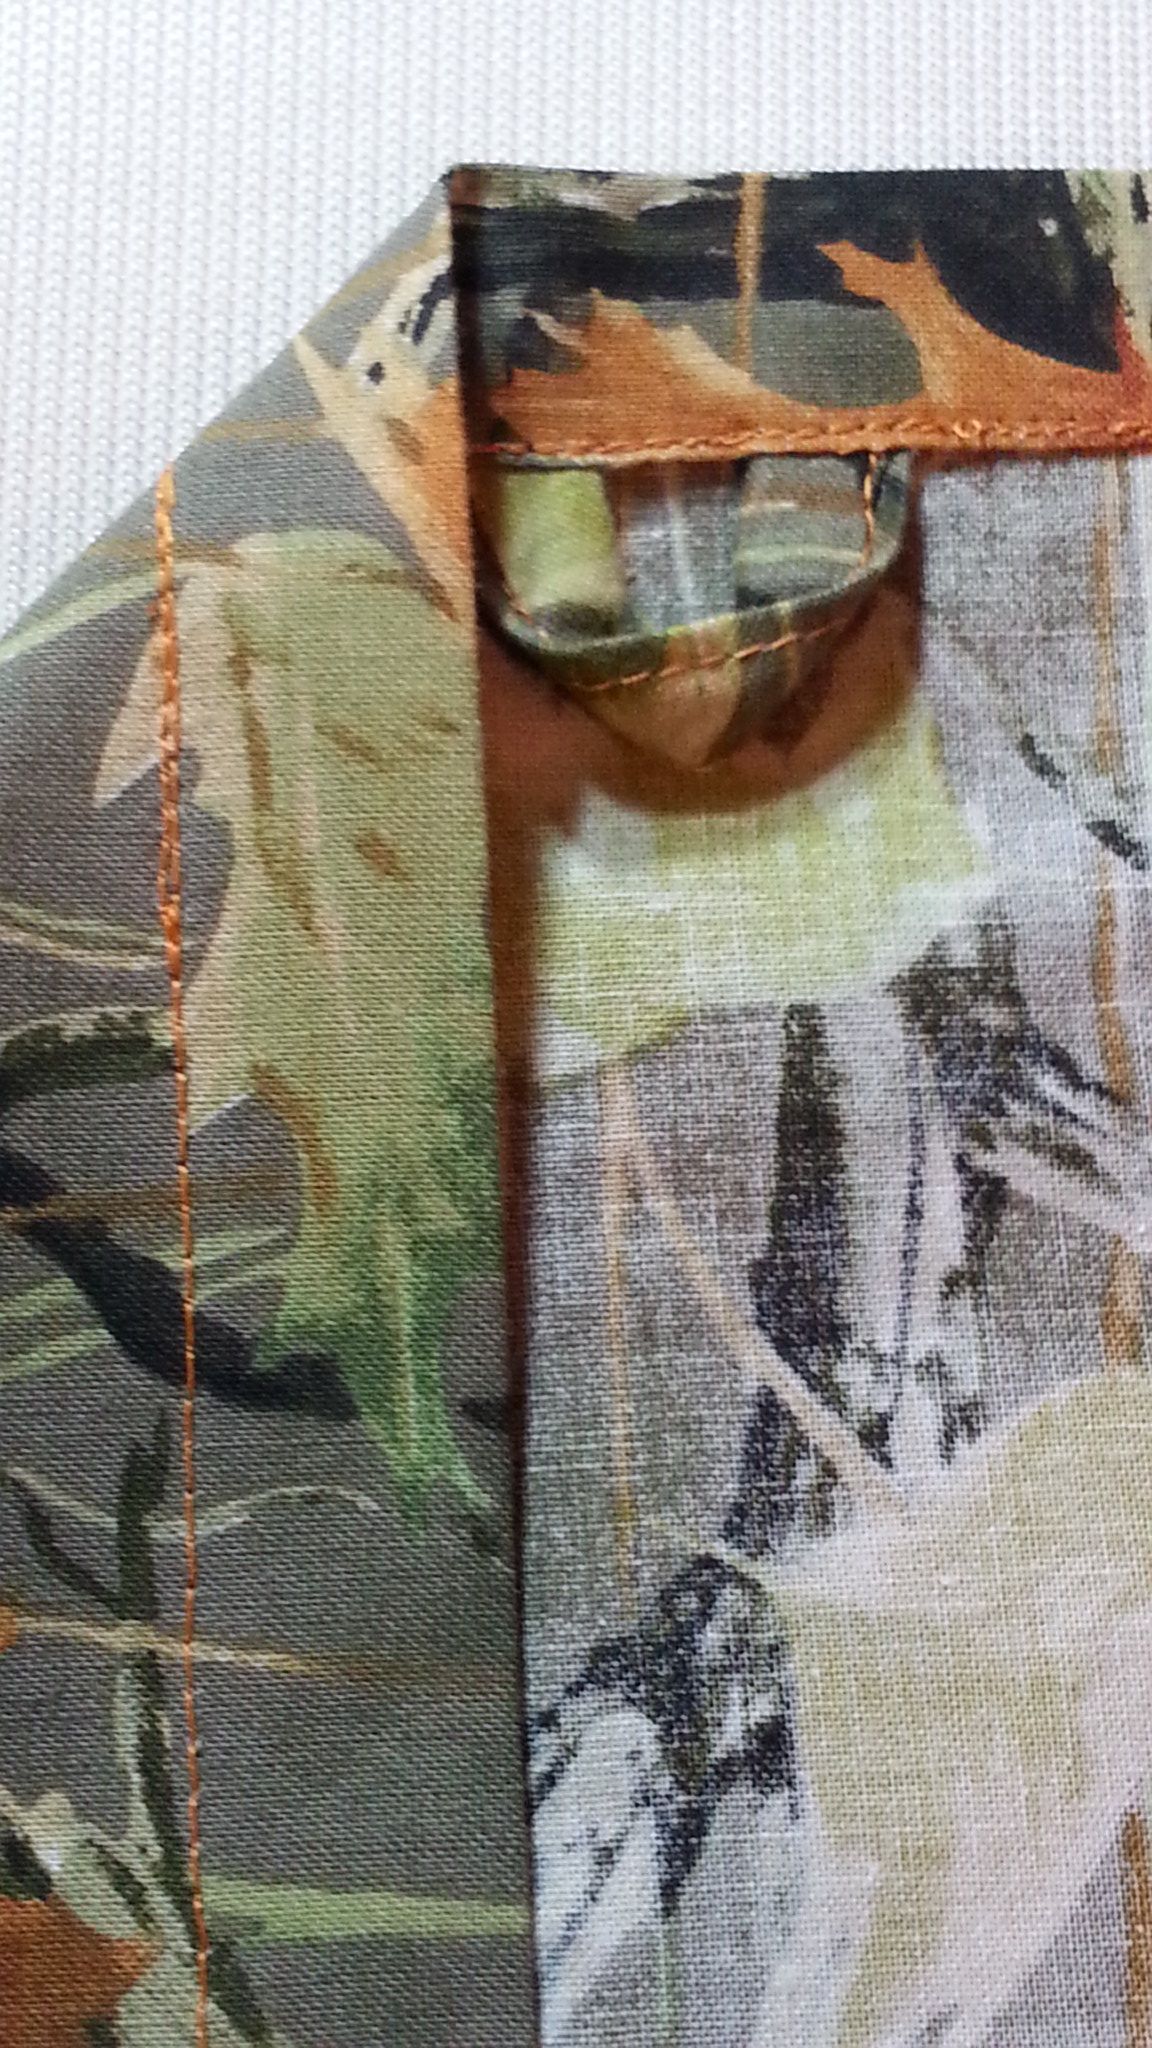
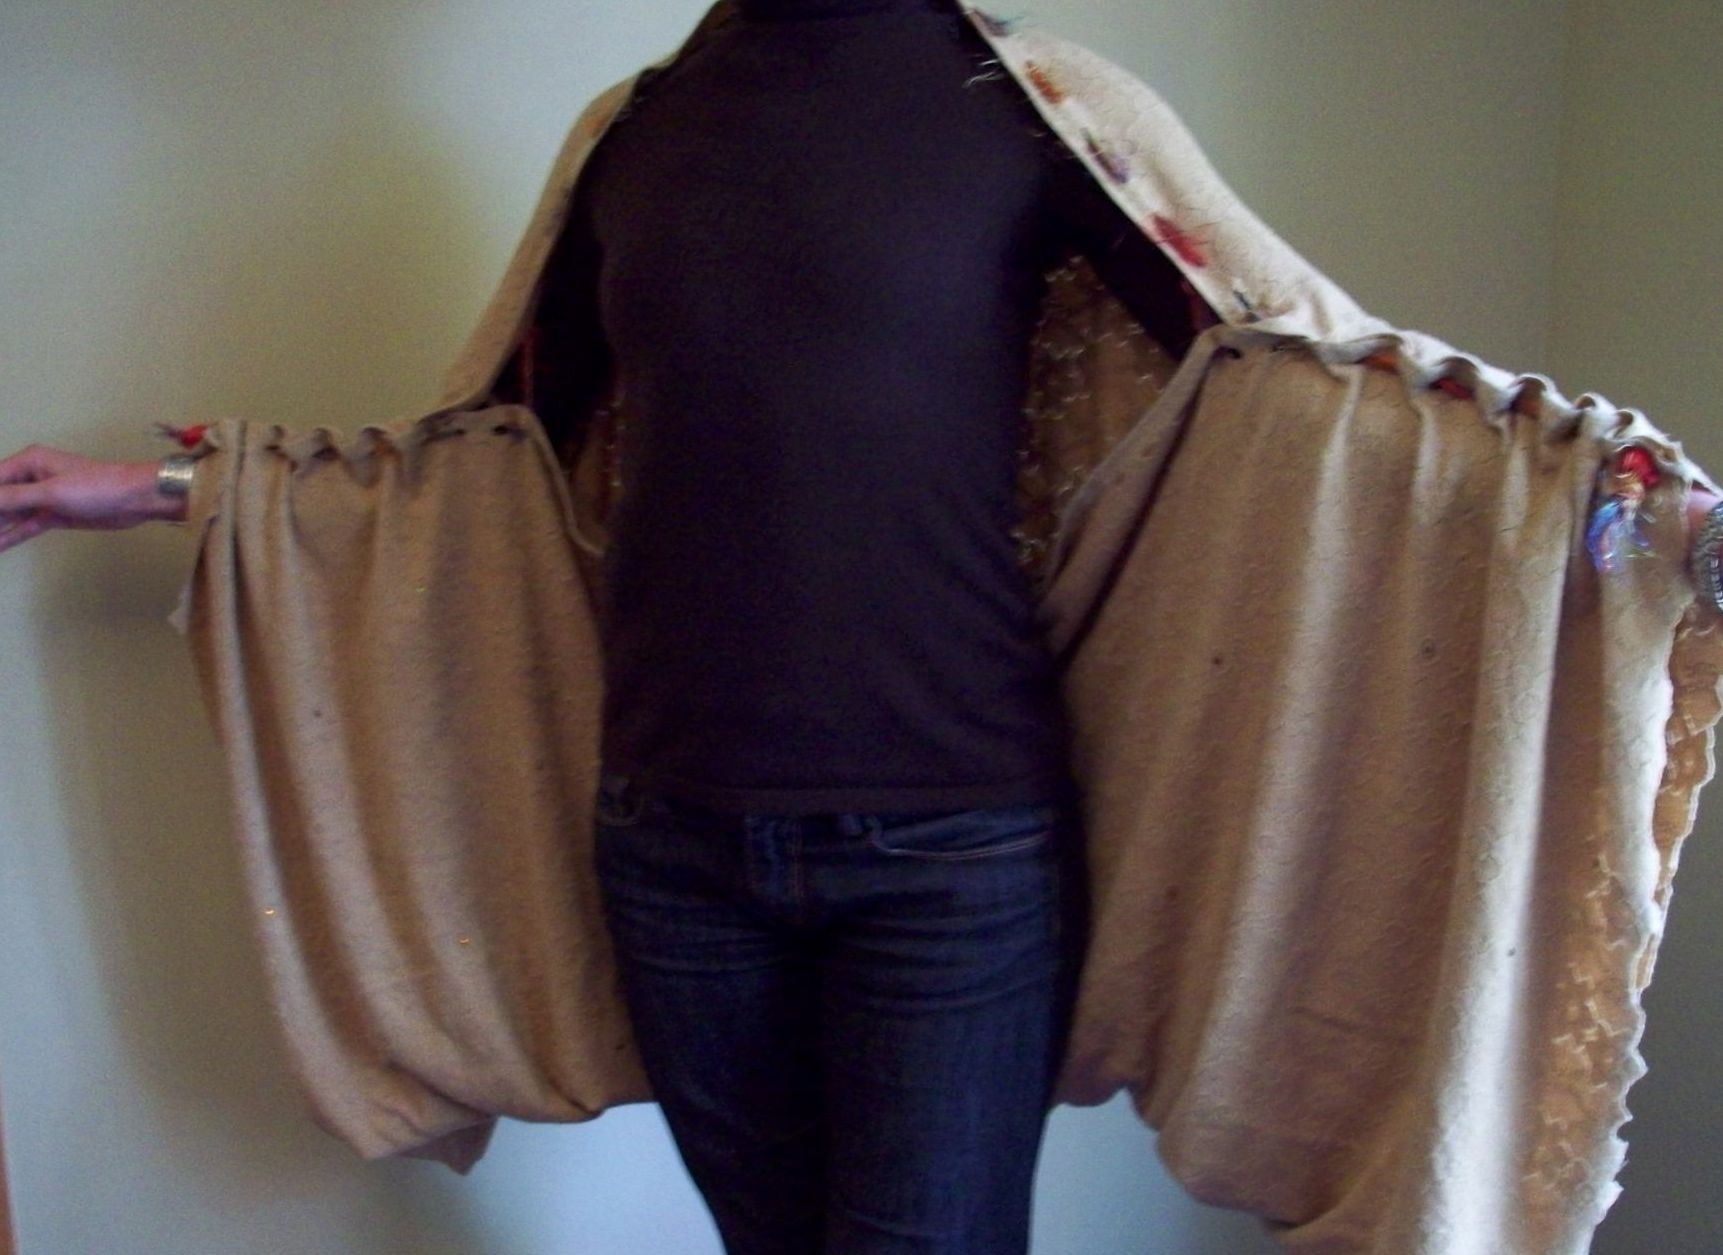
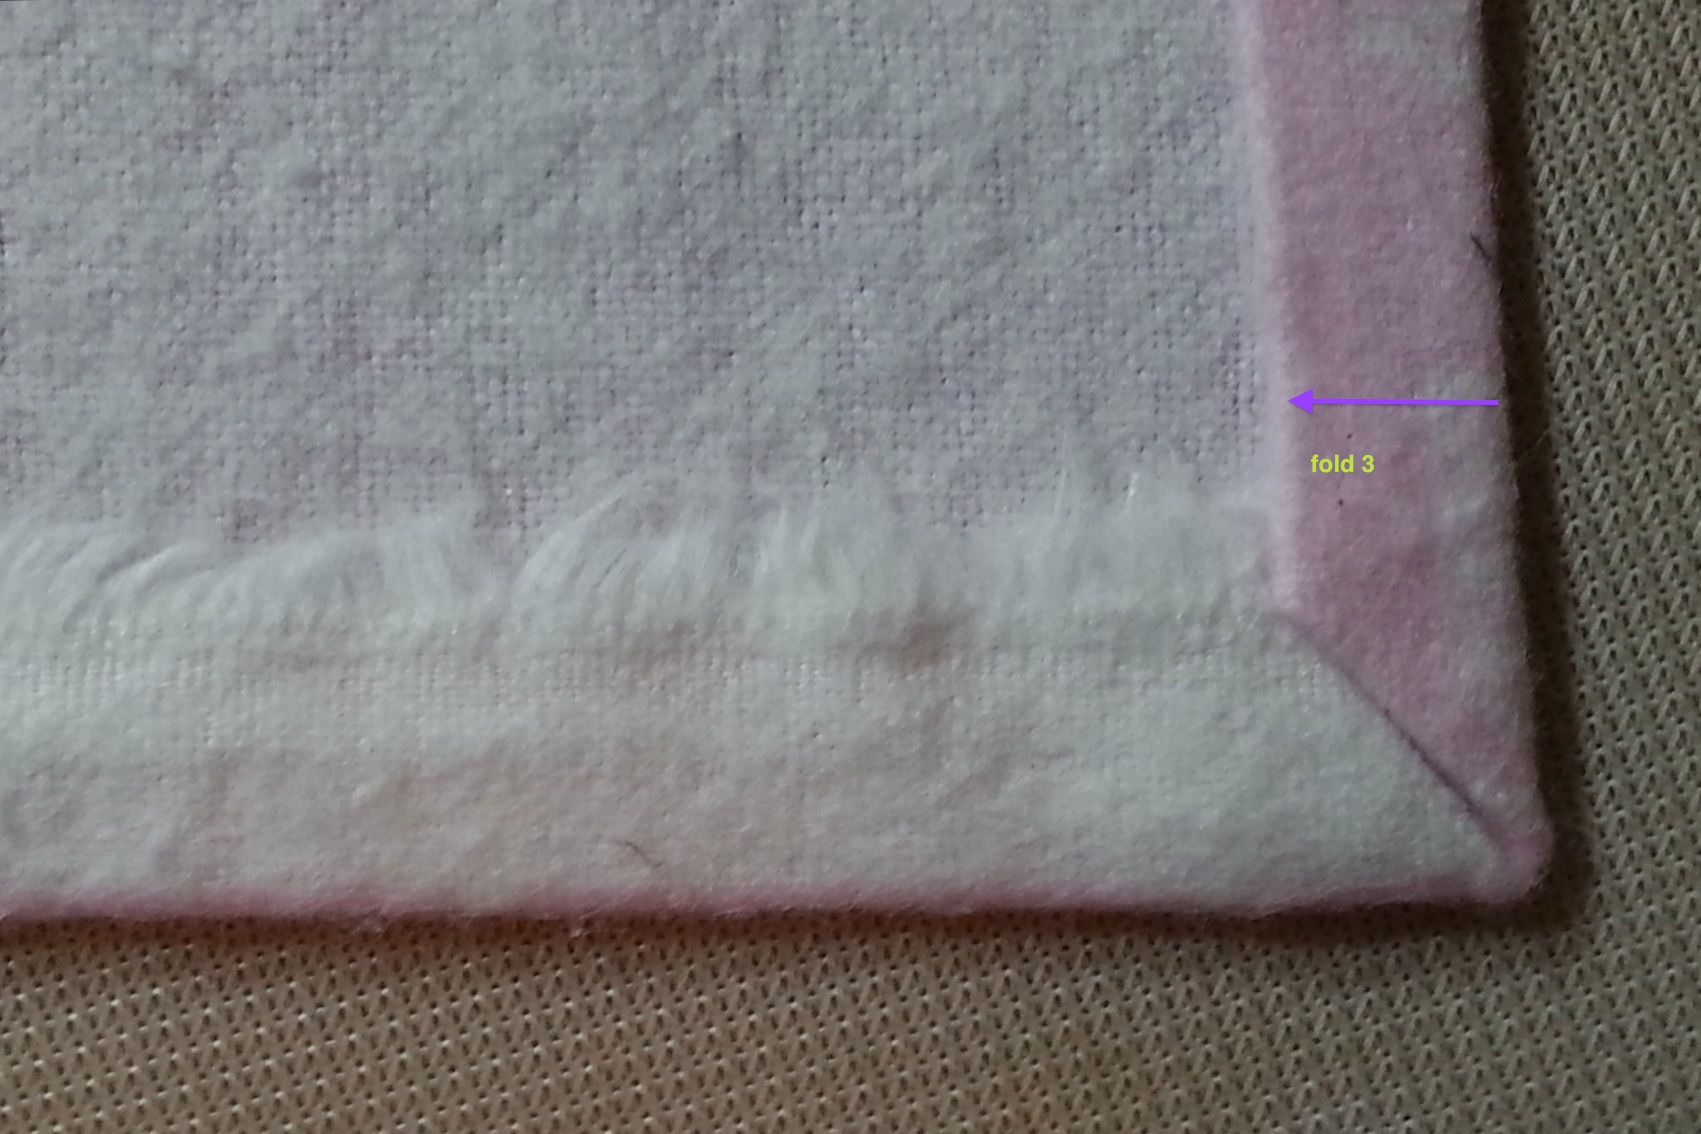
The design features deep tucks on each side of the front and the hem has sewn-in tucks which is then turned under by several inches and held in place by 1/2″ long tacks in about four places. The hem allowance is offset, i.e., seams, center front, center back, do not match to the garment; this creates the interesting folds. Be sure to accurately mark where the hem allowance should be tacked as while not difficult, can be confusing.
The rust is probably cotton/poly with a scrunched, crinkled texture that I am guessing is heat set as it holds its texture through the wash process. It is also light weight and cool for summer wear. The texture allows enough stretch for an elastic waist plus the design is oversized through the hip and hem. This skirt is shorter than the pattern due to available fabric; it just covers the knee. Knees are not my best feature, but it is short enough for warm weather wear.
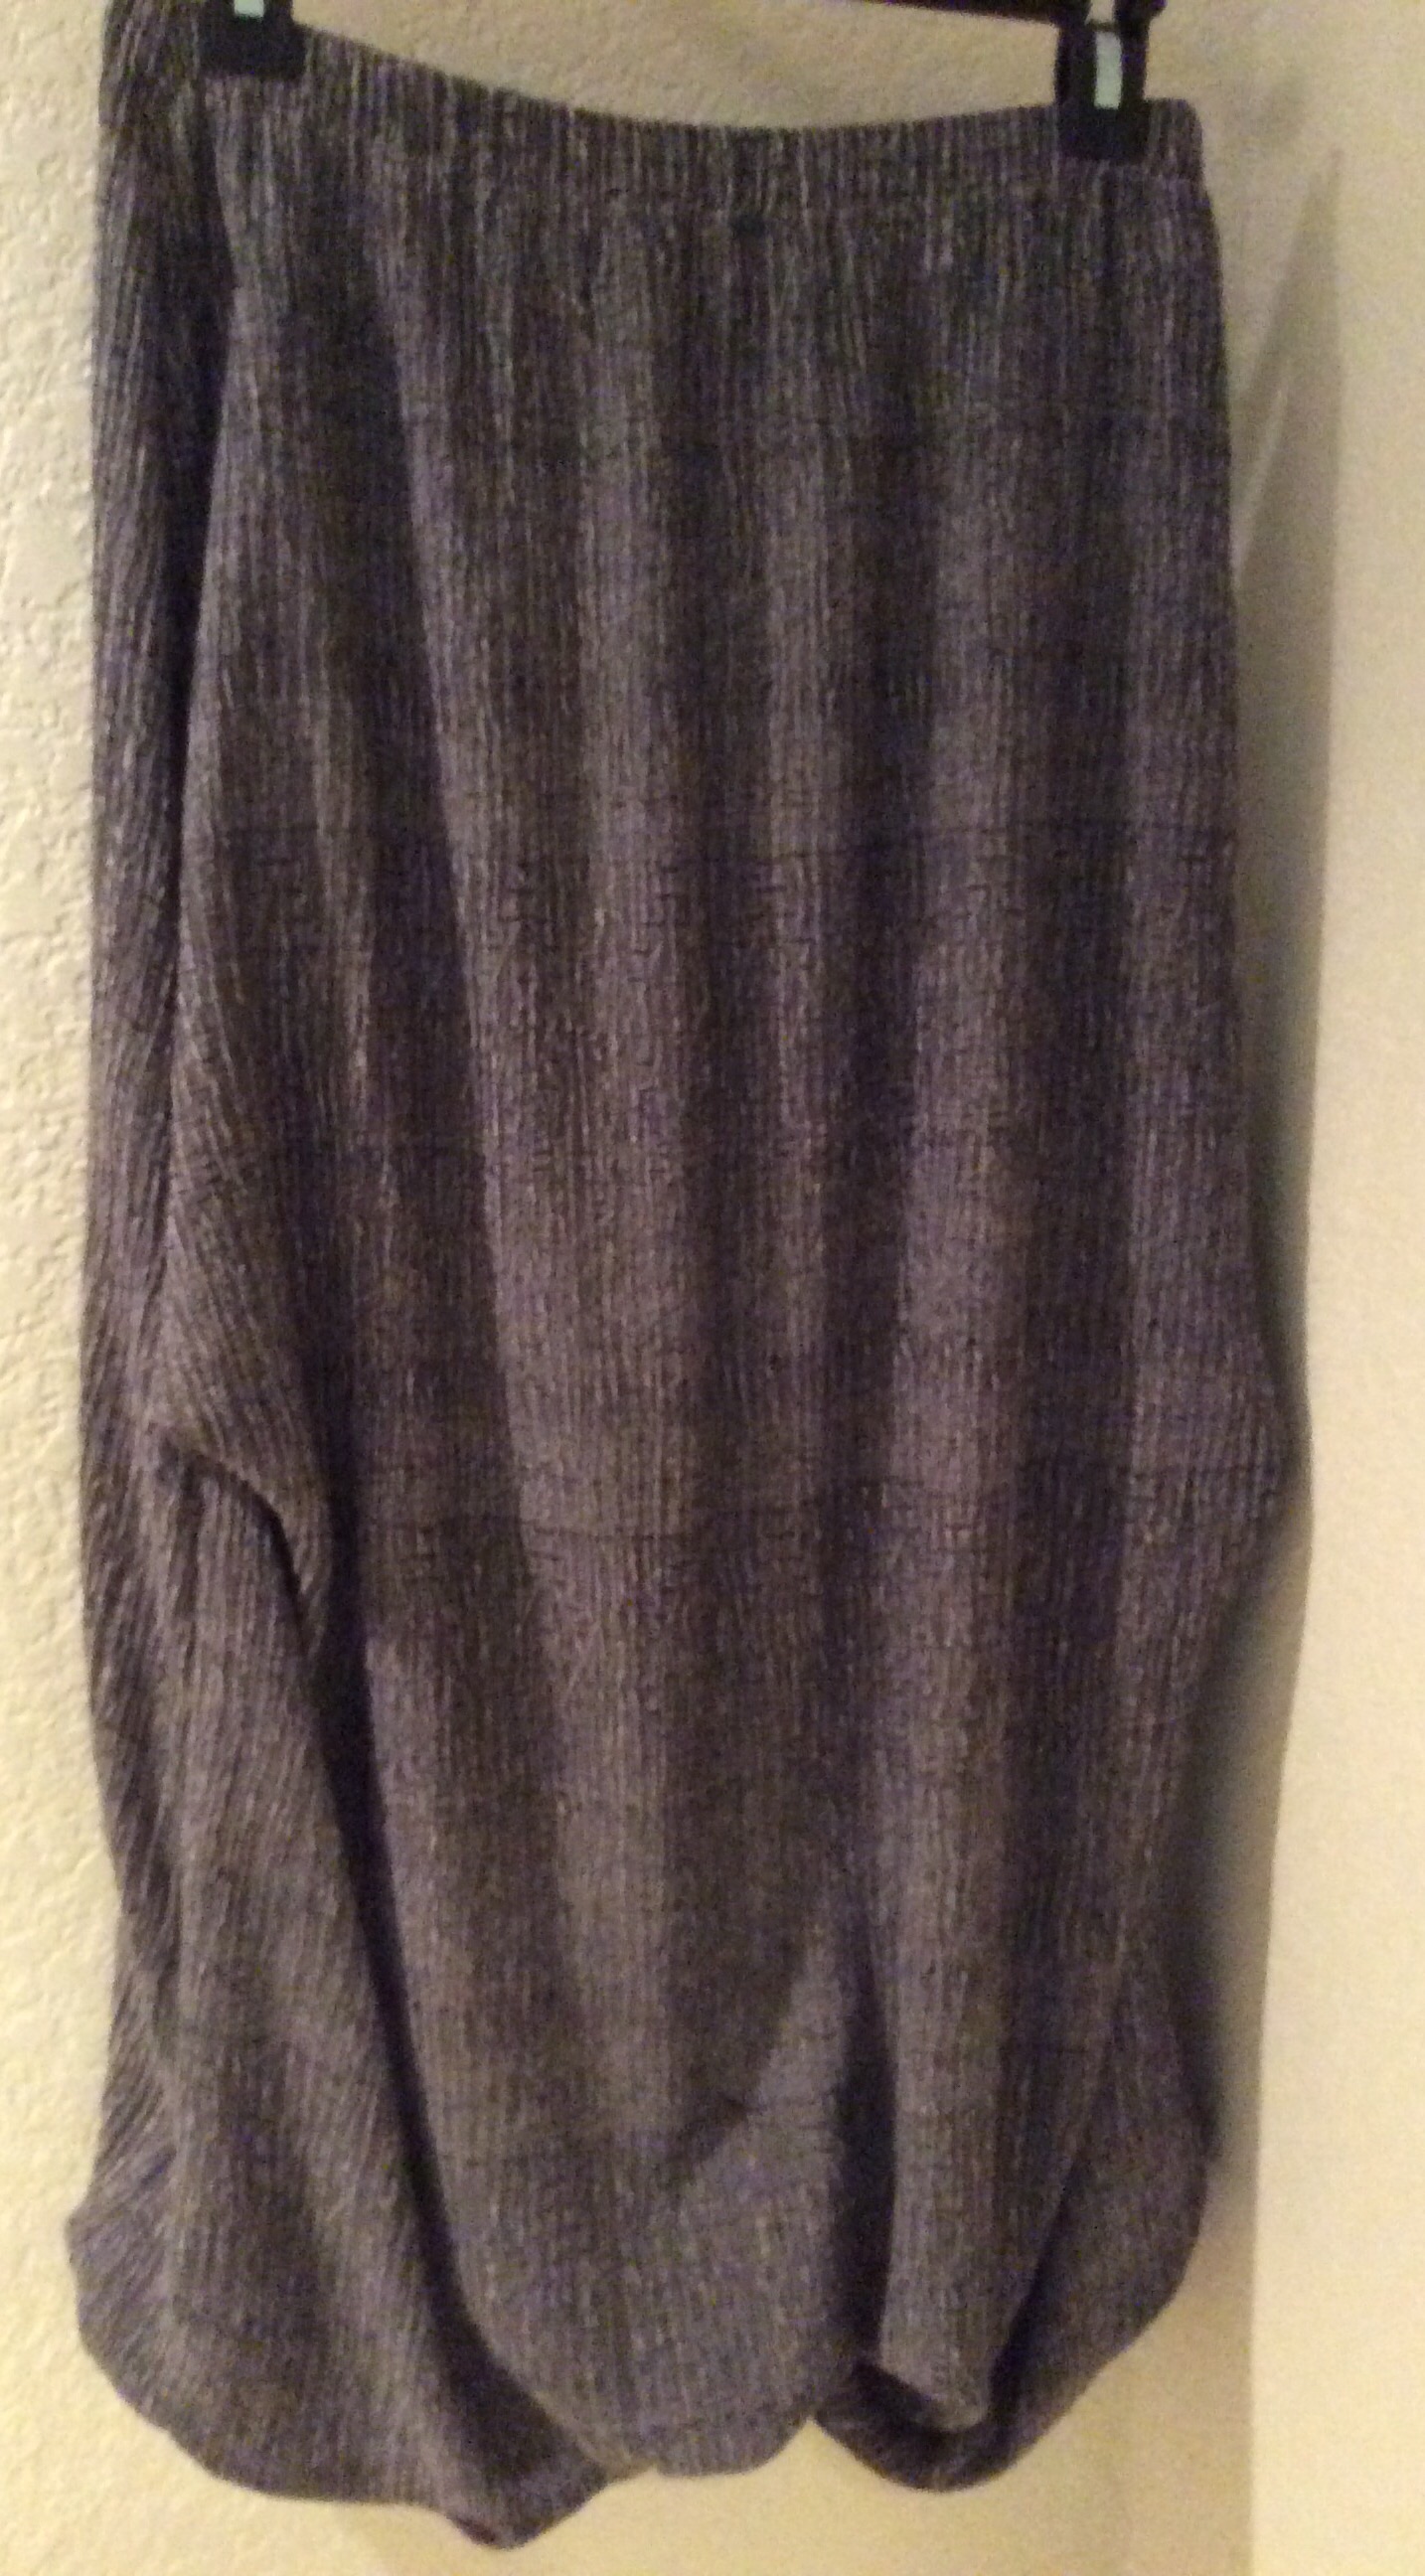
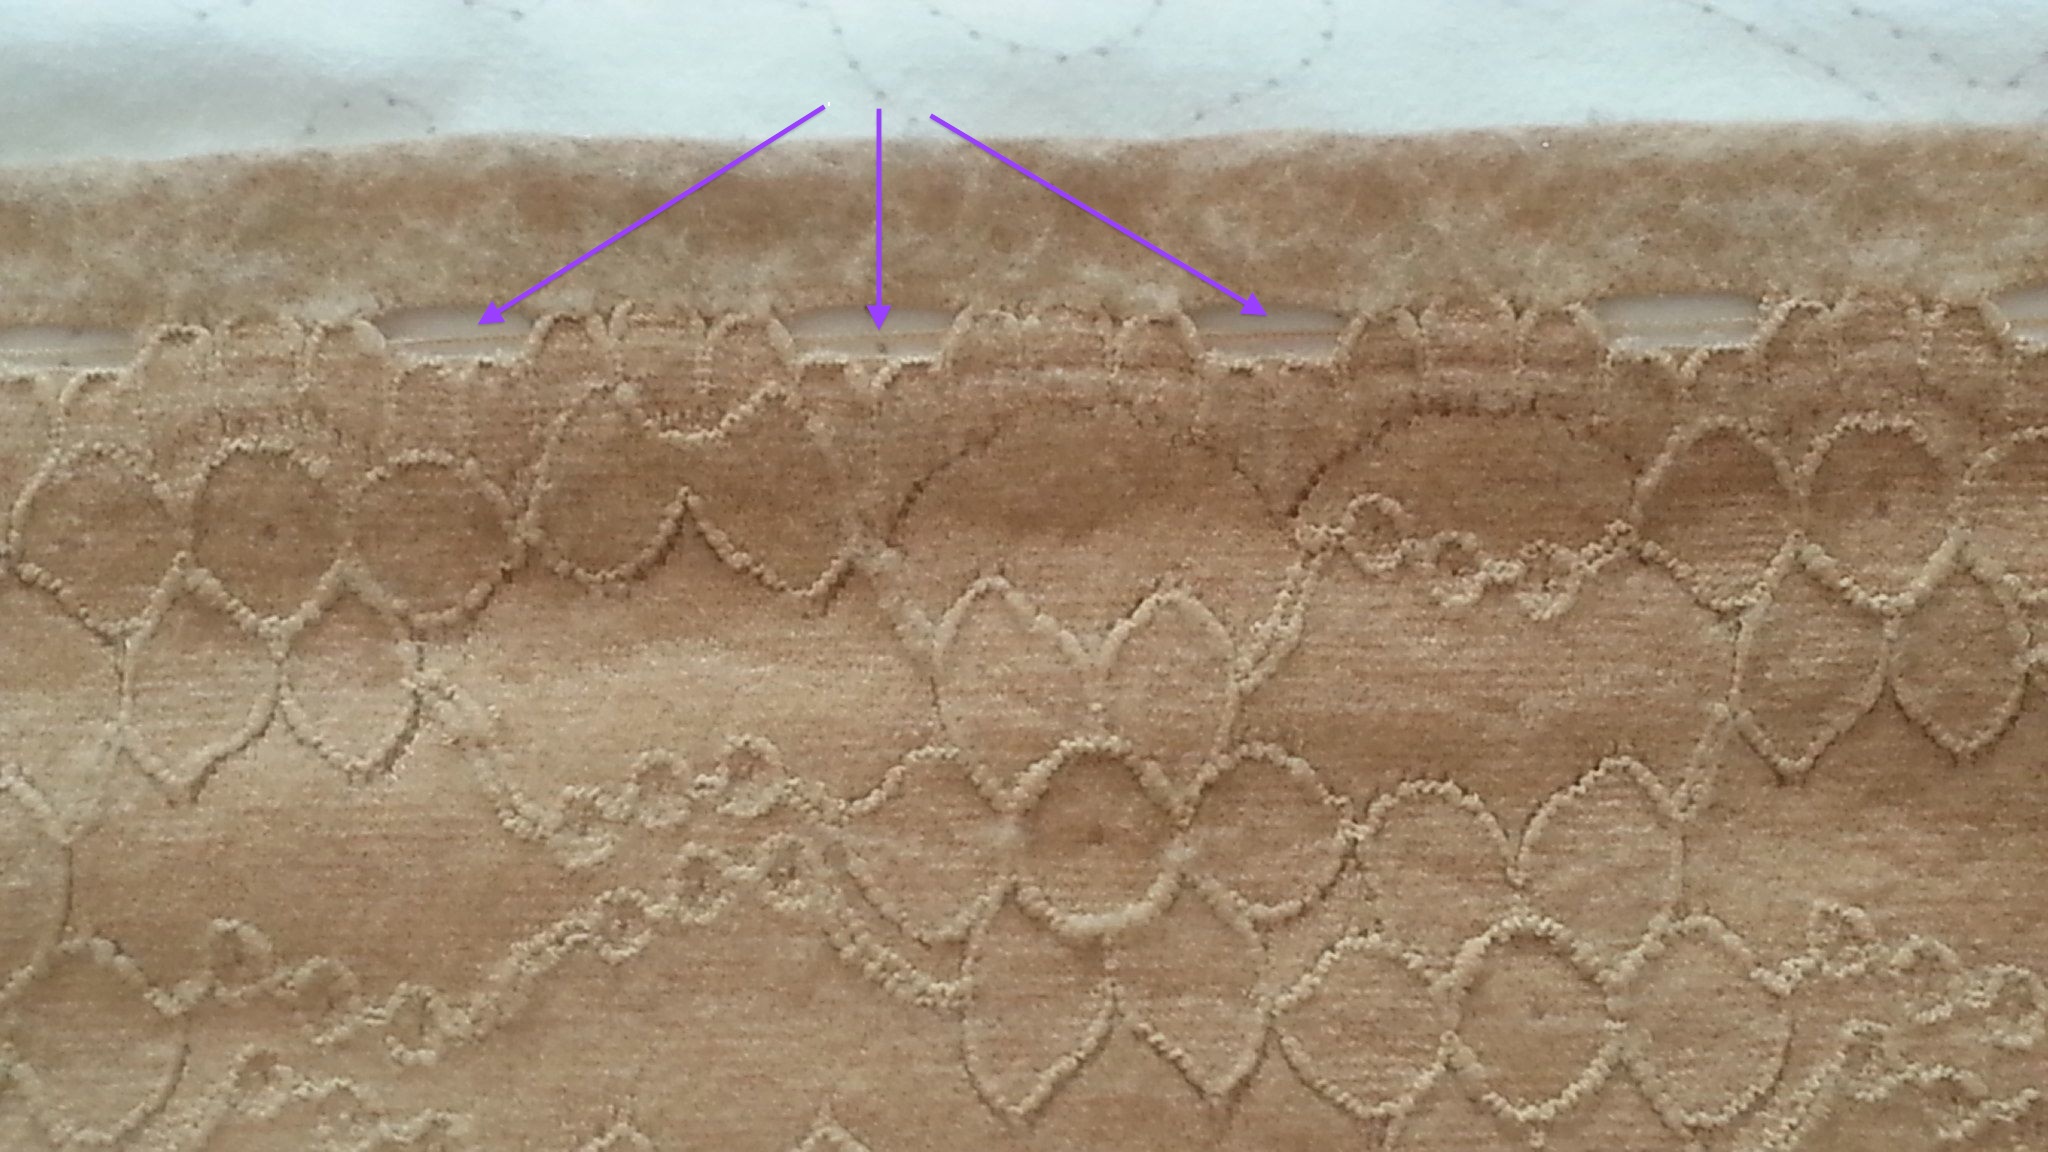
The black fabric has a subtle woven-in design and is also textured, but probably due to the weave. The fabric cannot be pressed flat and has a lot of stretch. Fiber is probably cotton/poly. The texture is permanent and the fabric is a lot heavier than the rust. Both fabrics travel well; just twist and wrap like a skein of yarn. This skirt I wear in the Fall and Winter with capri leggings and/or Cuddl Duds plus boots.
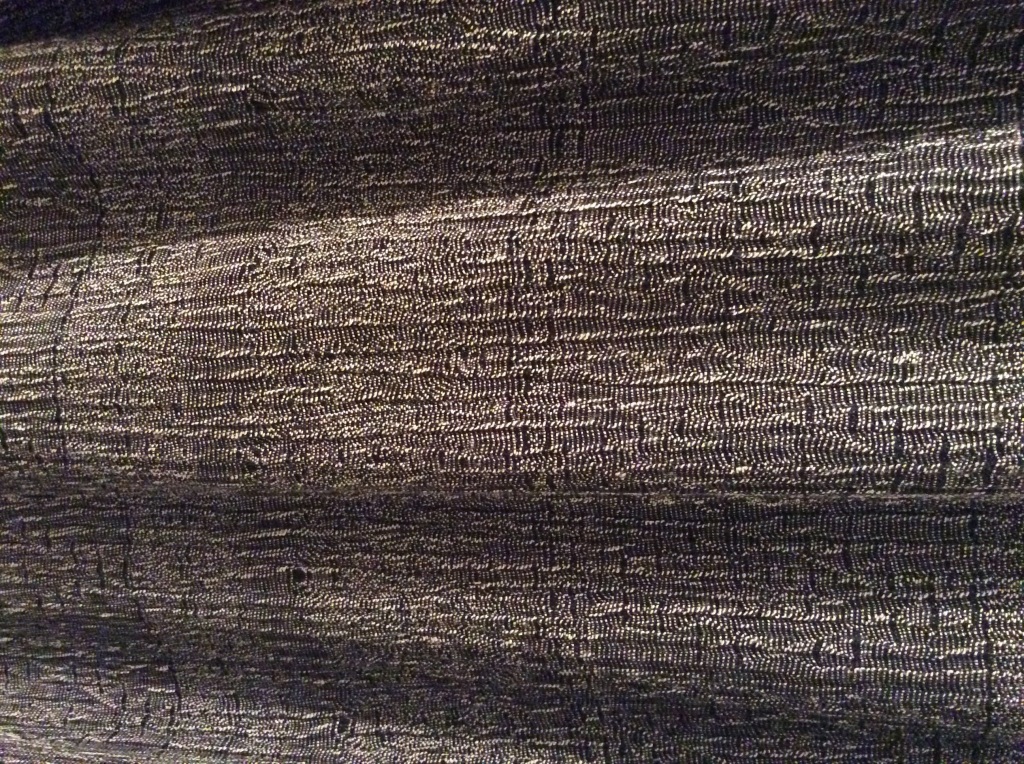
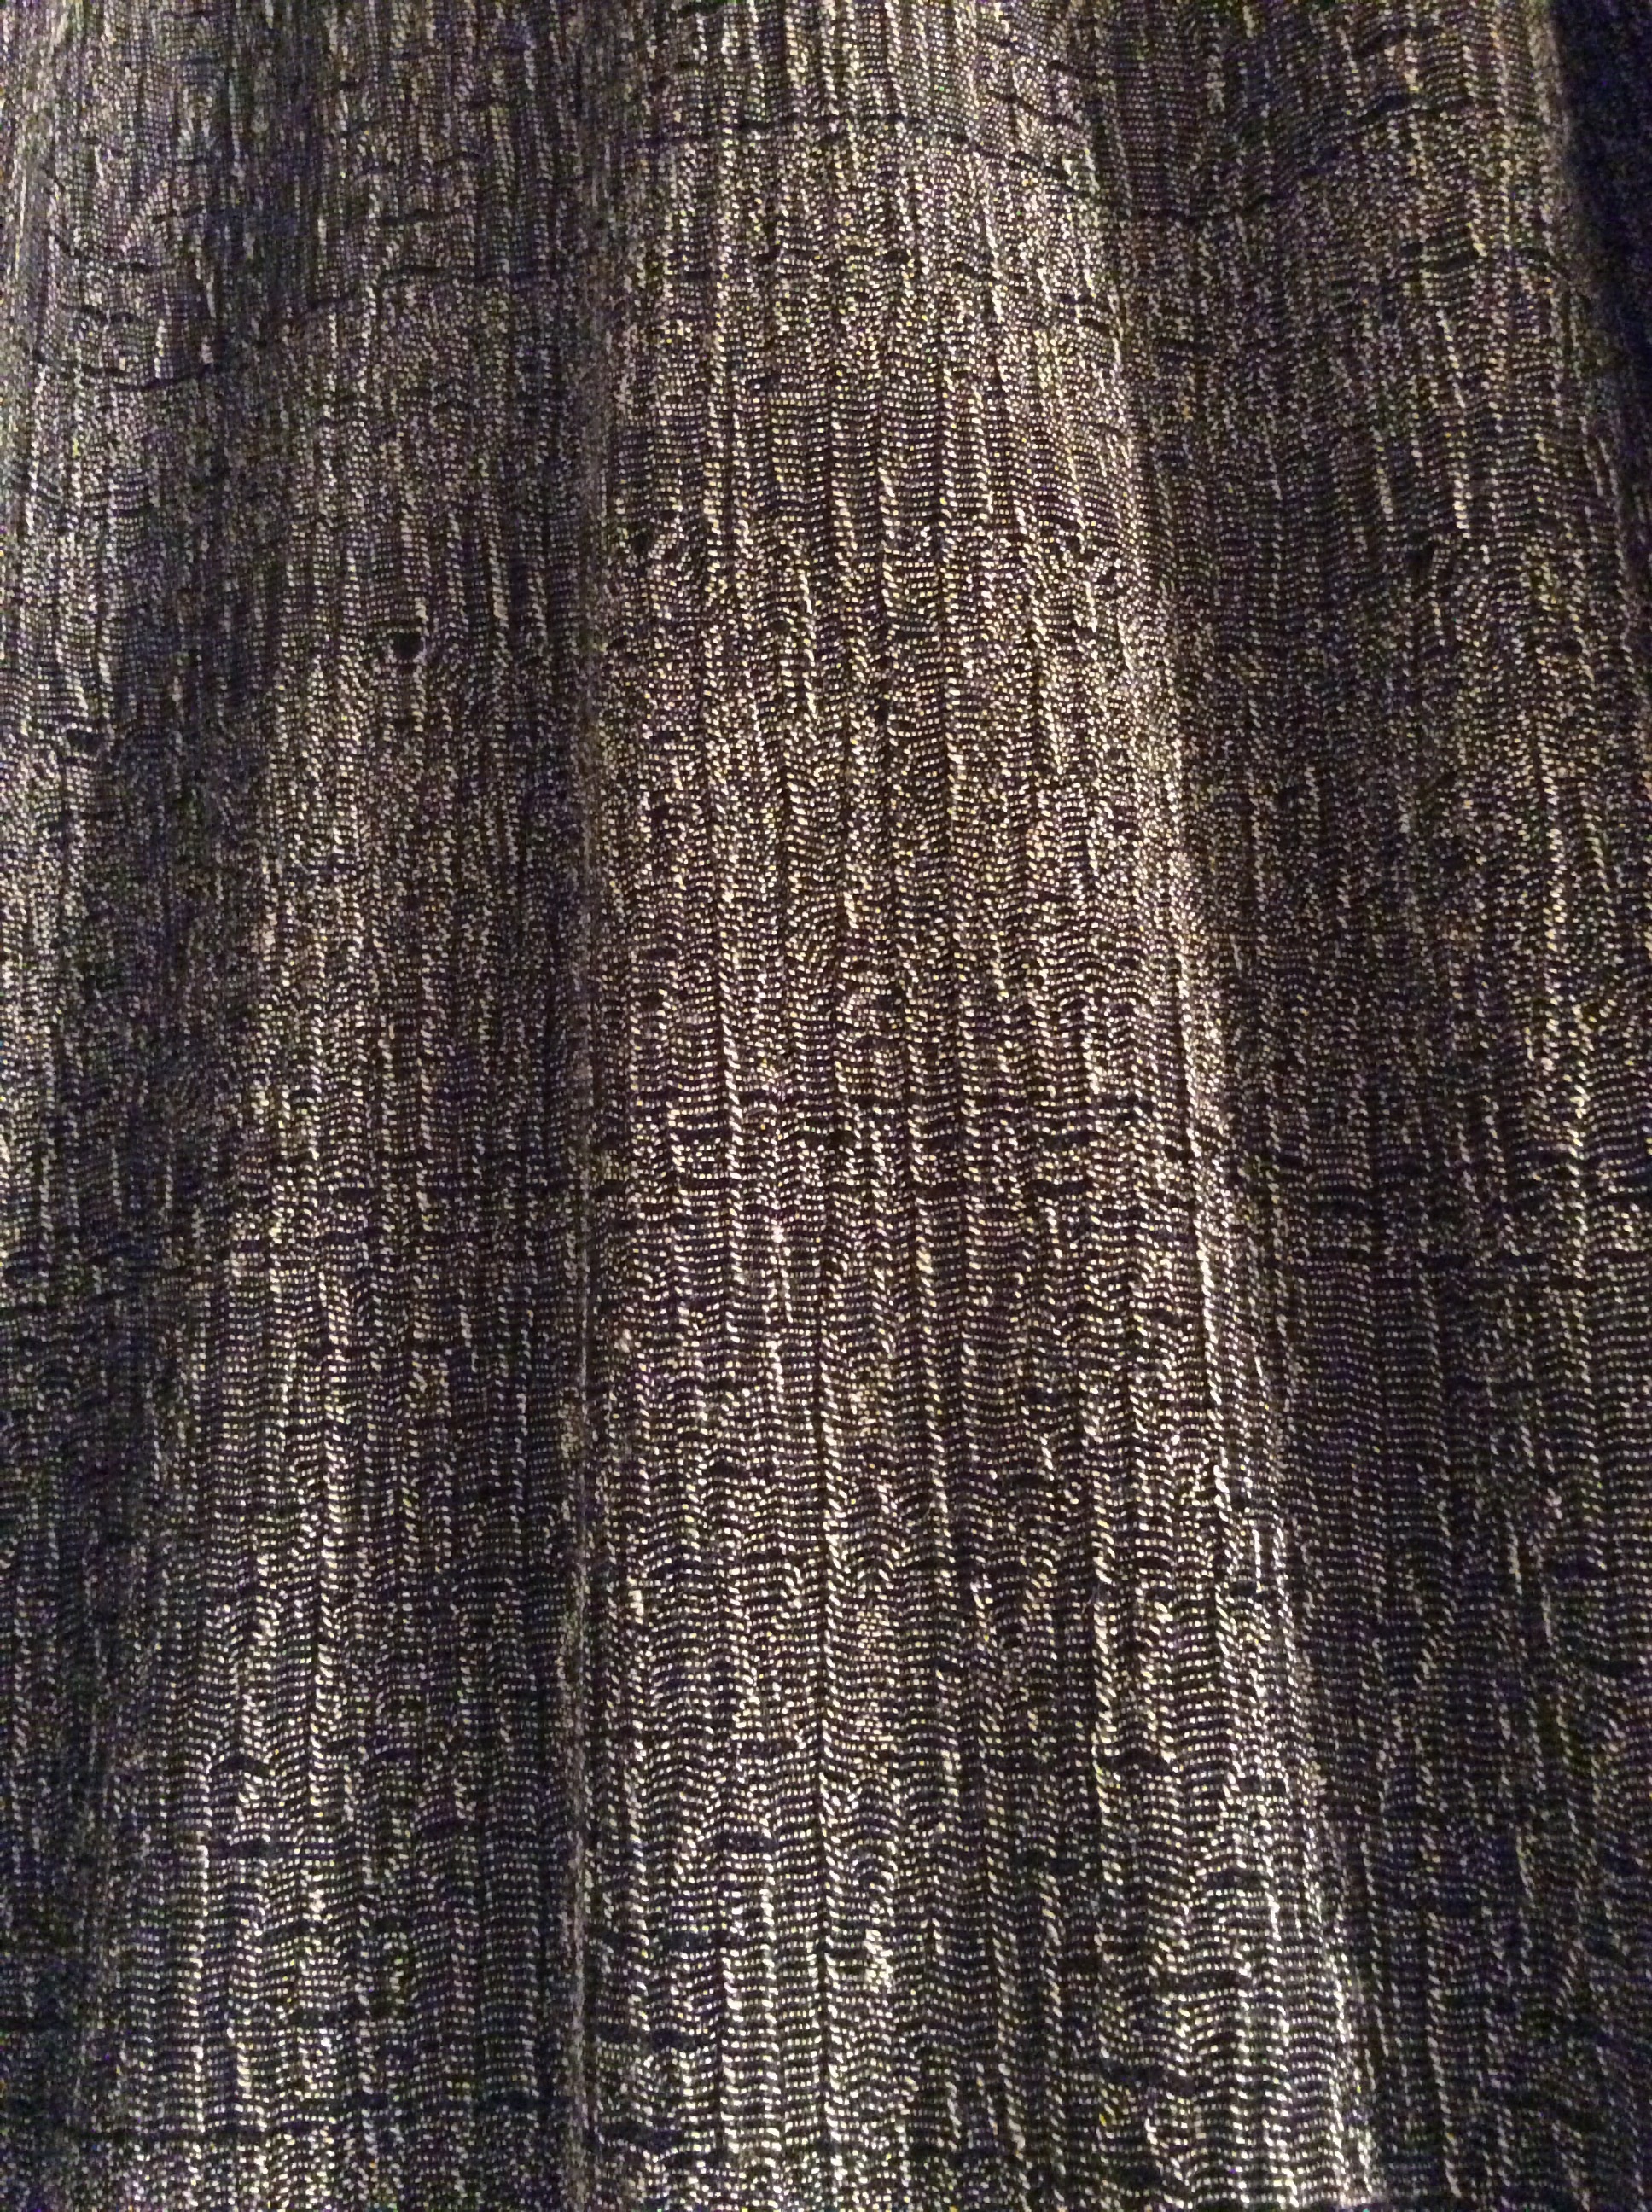
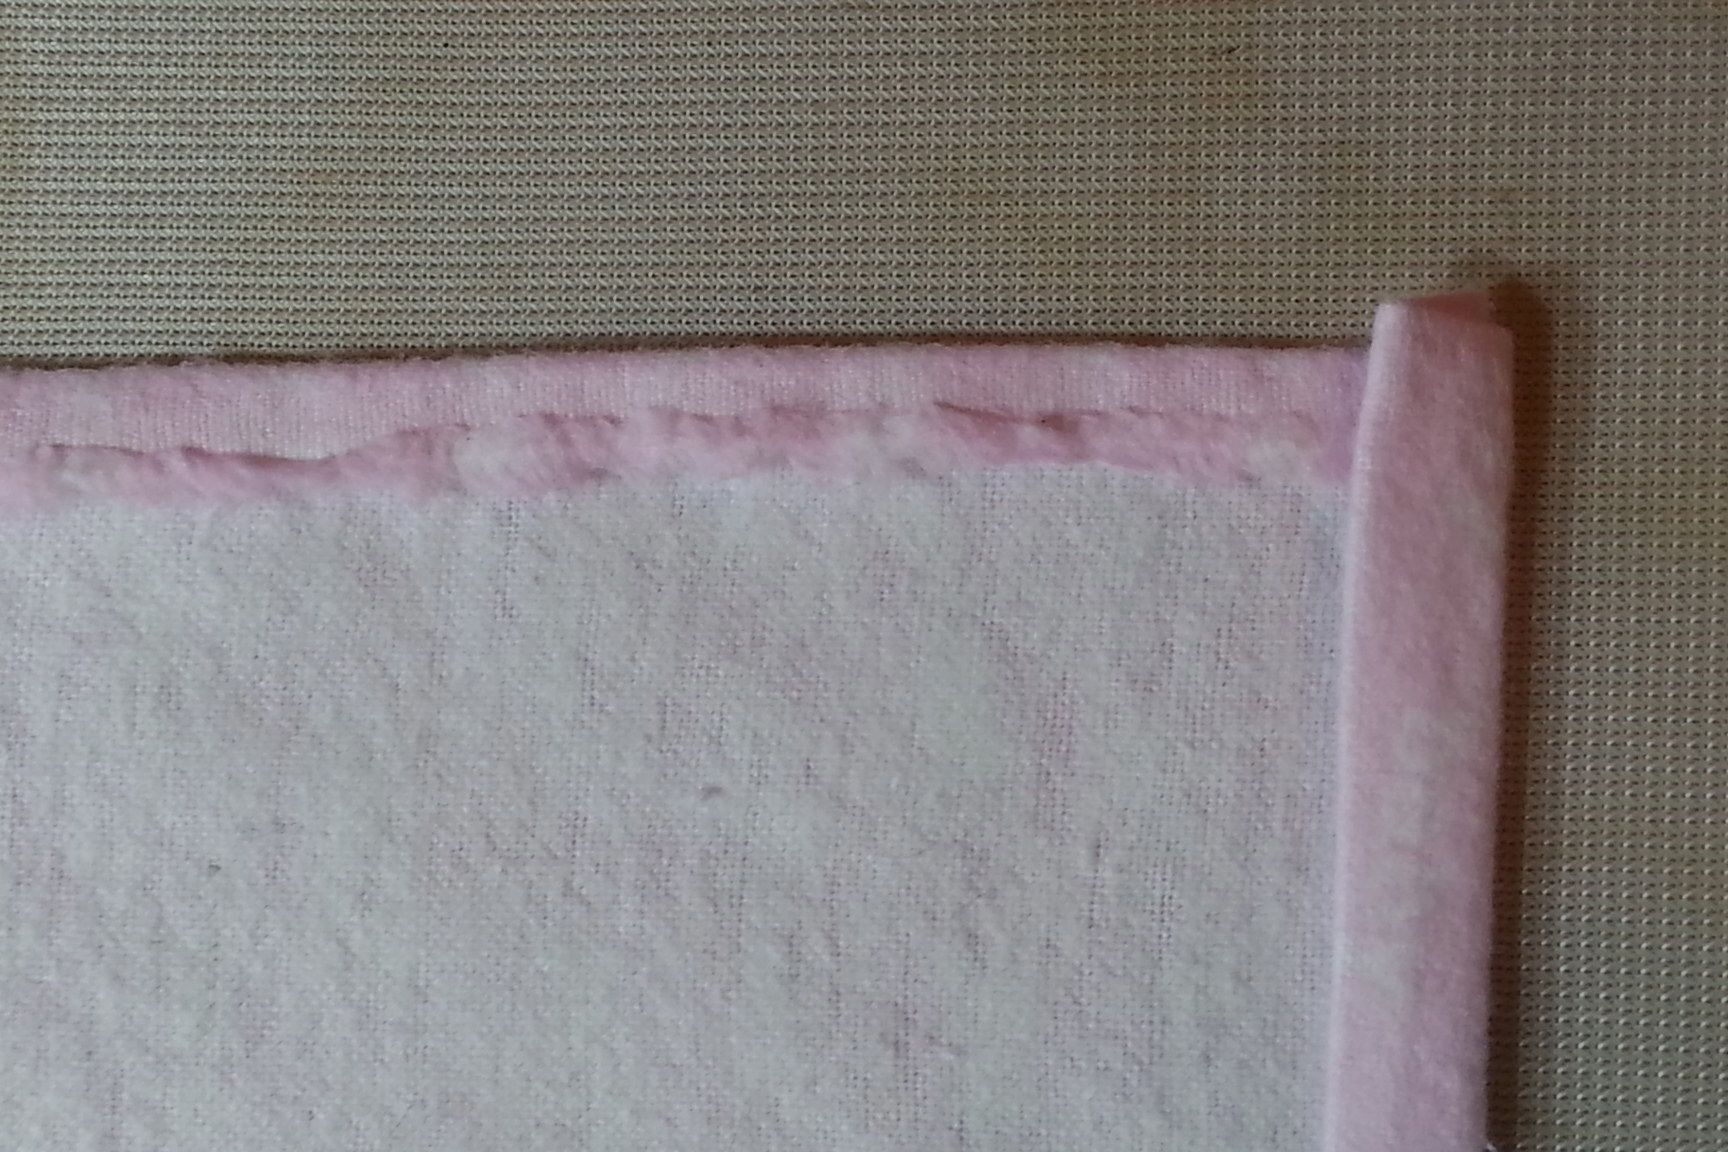
Closeup of texture
Because this skirt is mid-calf, I followed the pattern instructions and bound the hem edge in a knit. It provides some stretch for wearing ease. The rust skirt hem finish is serged as the shorter length doesn’t need the walking ease.
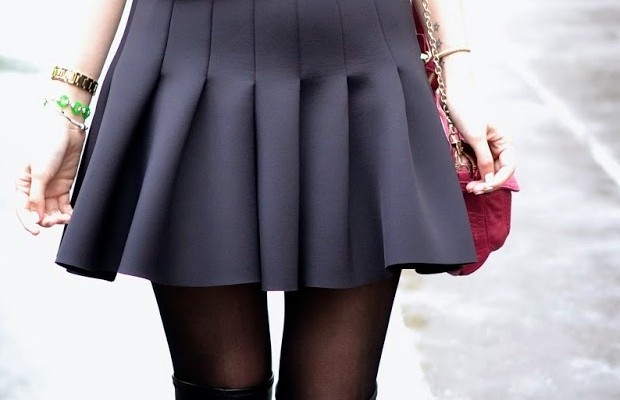
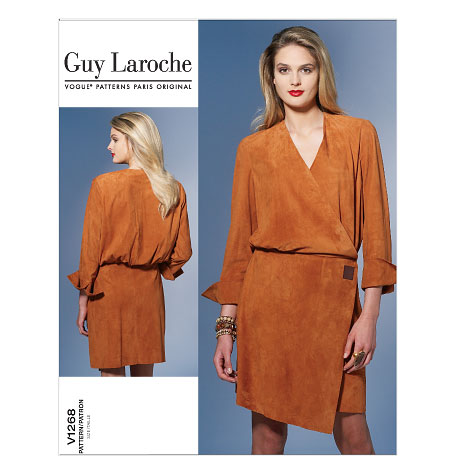
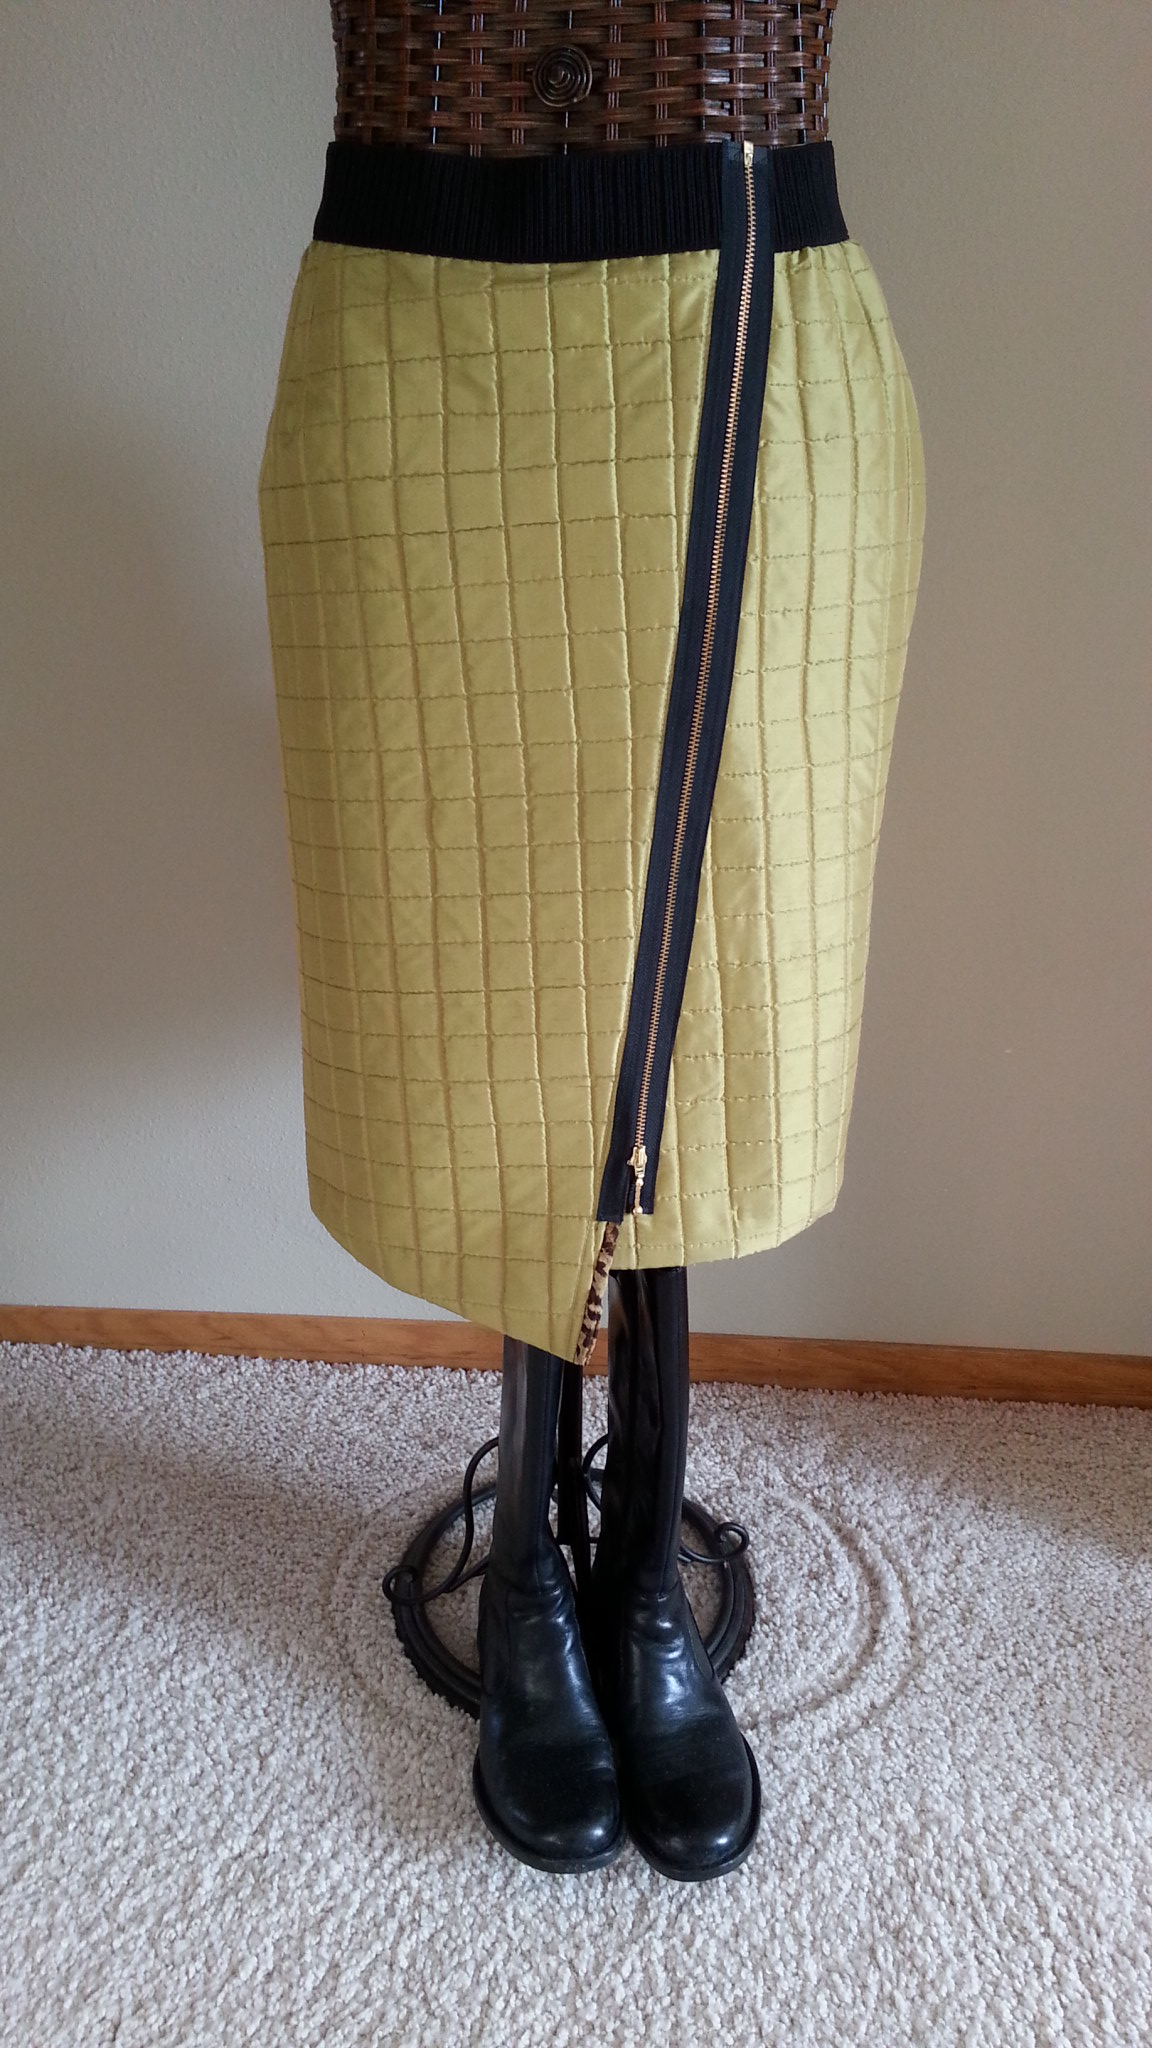
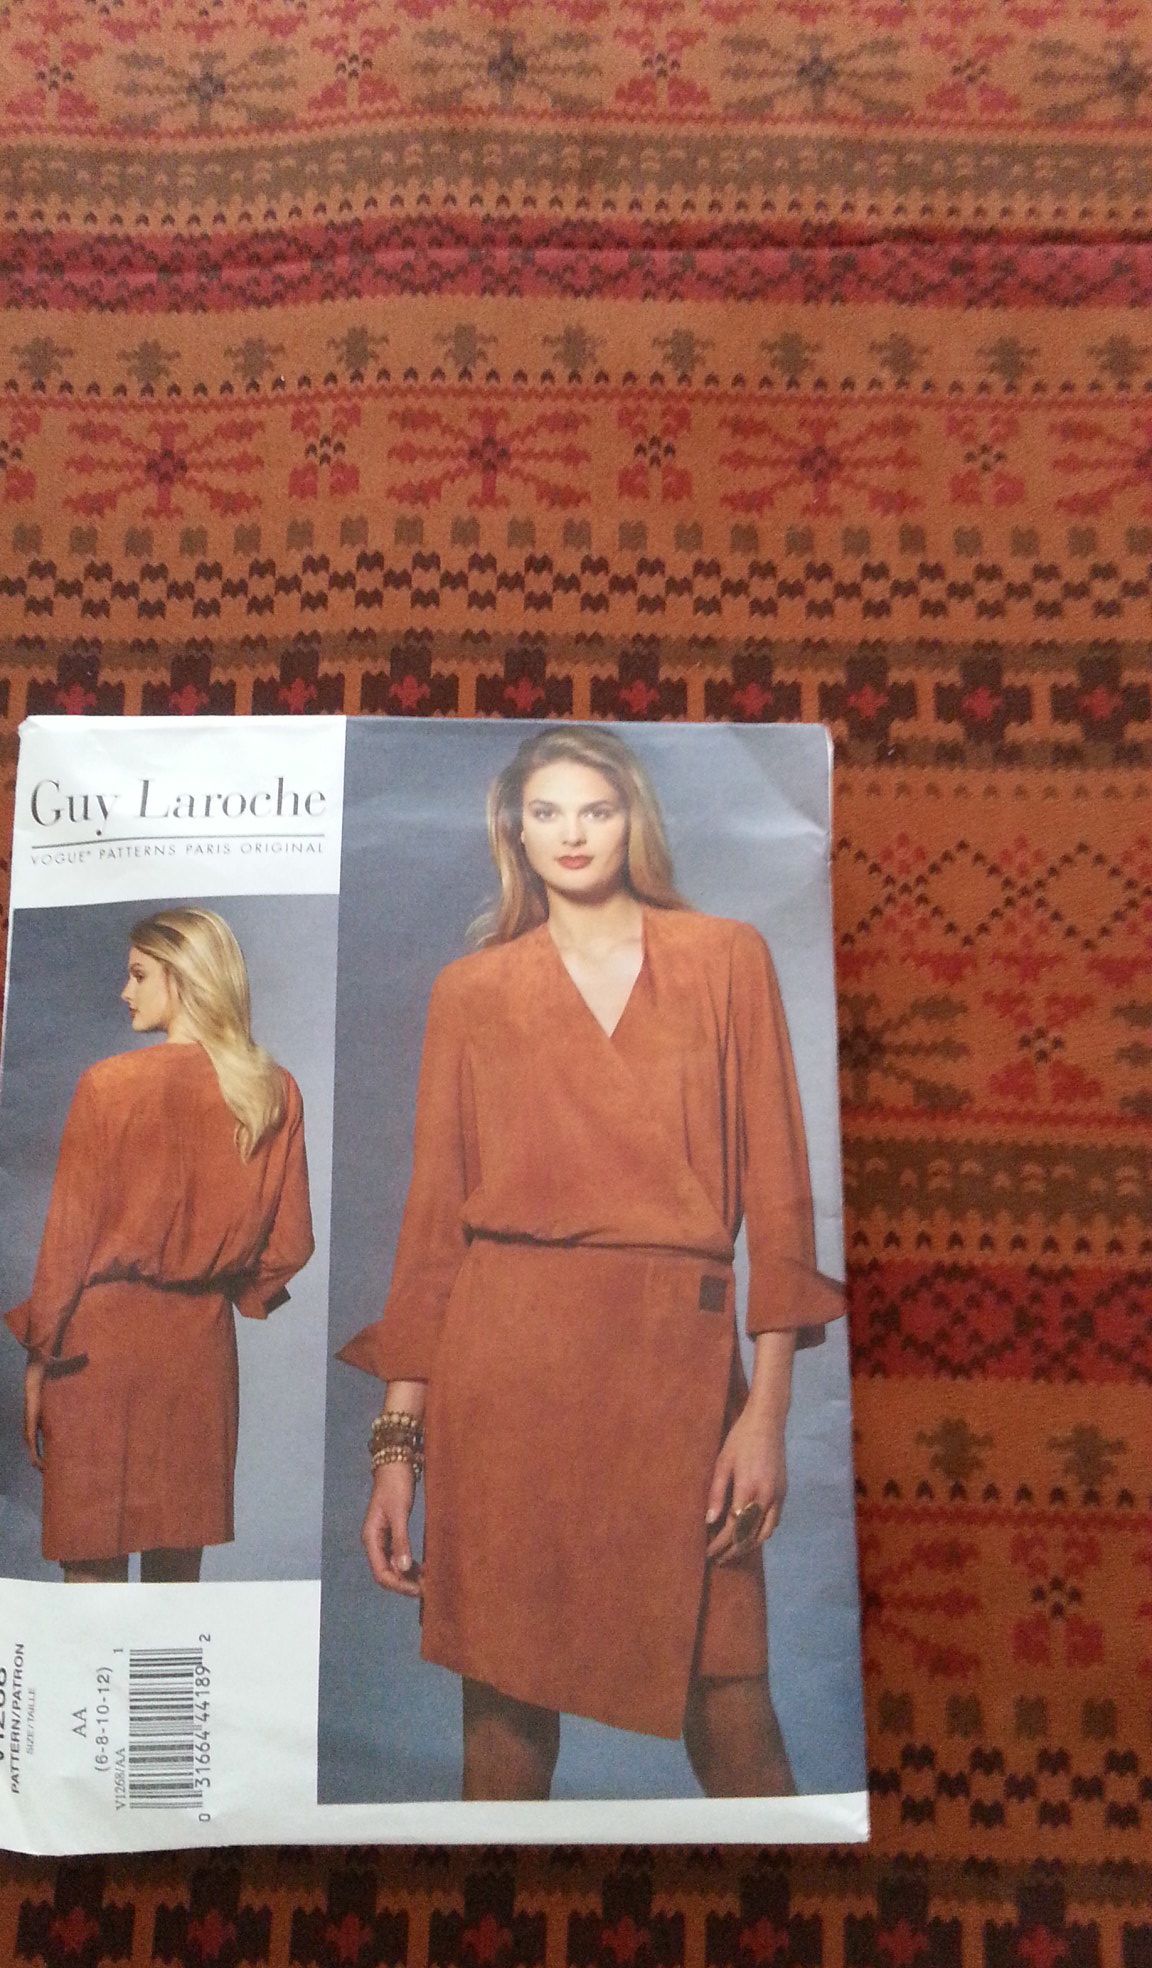
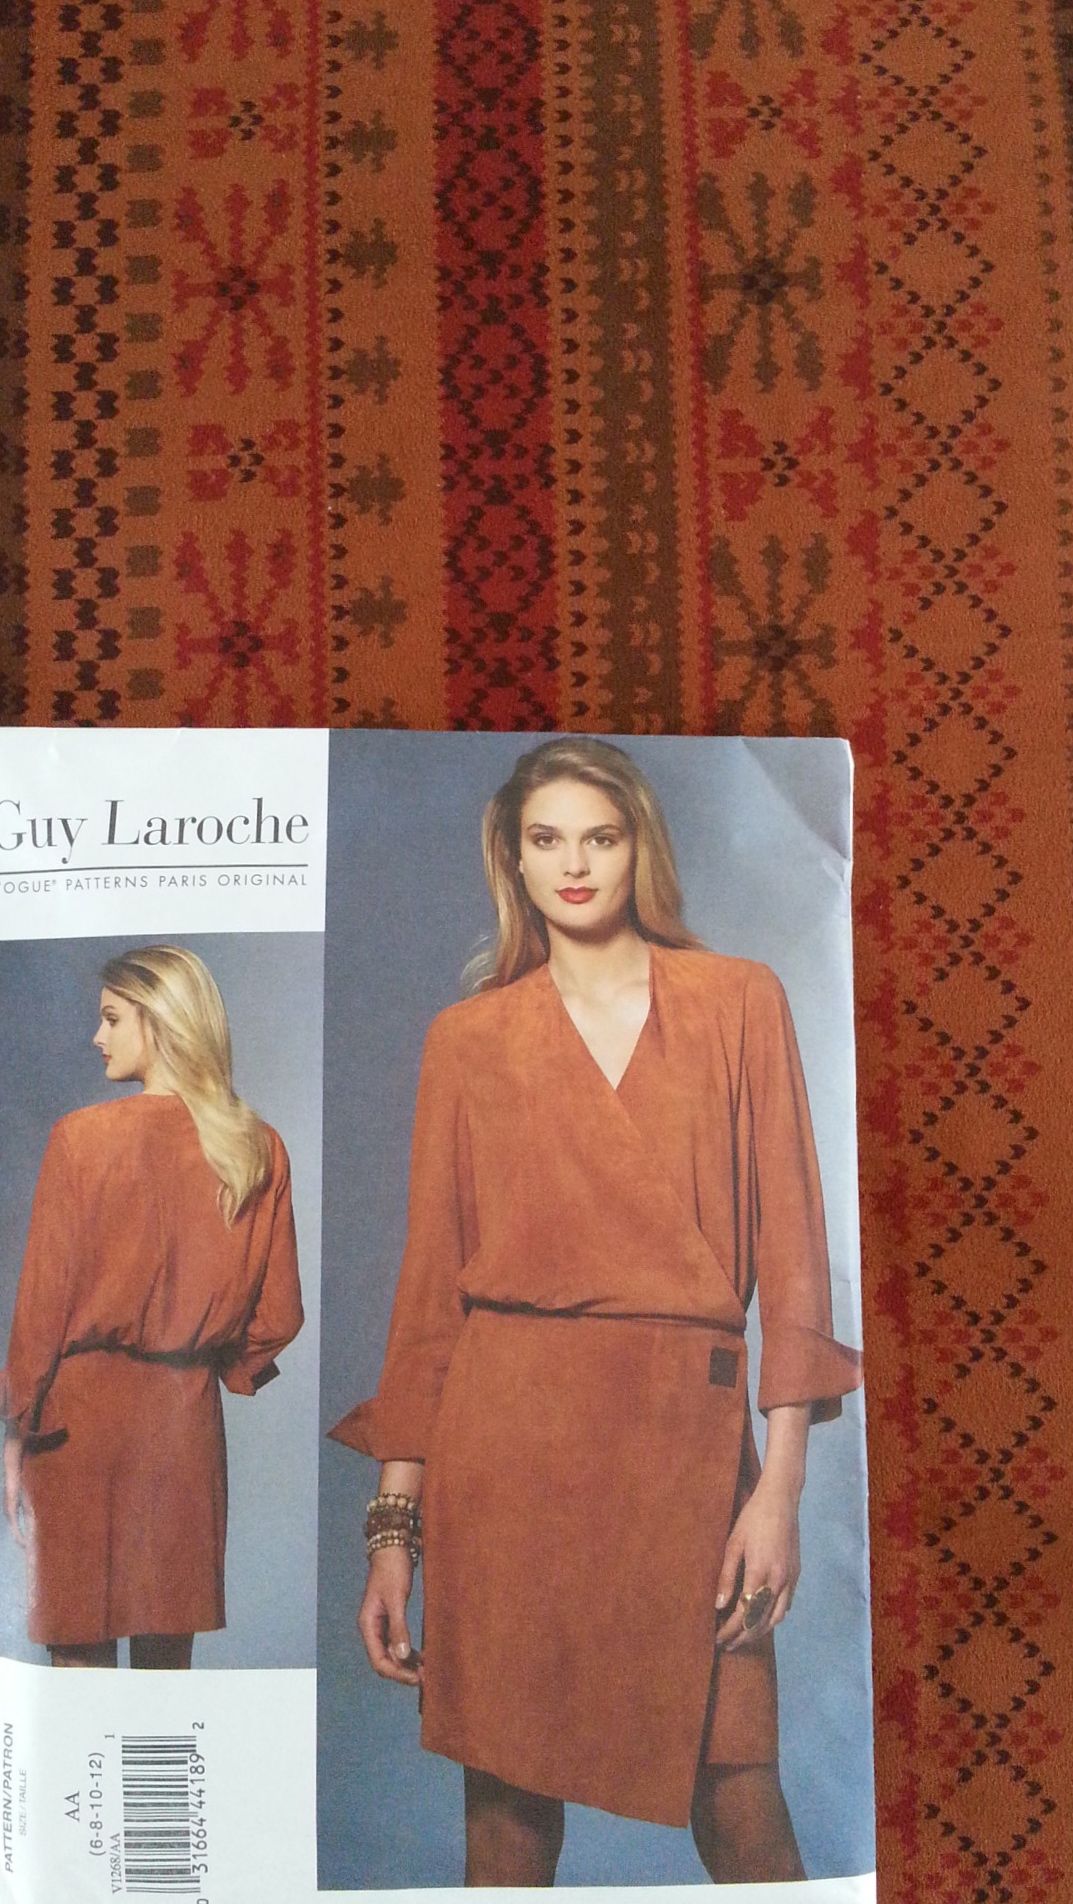
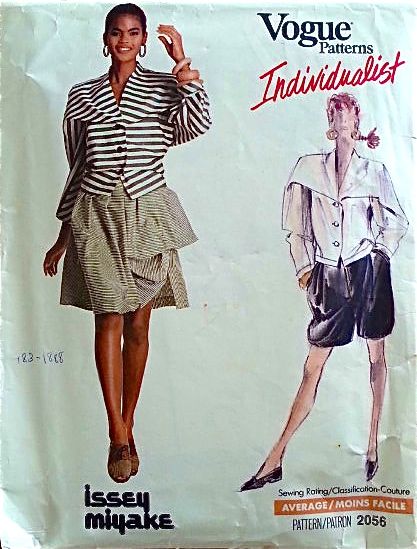
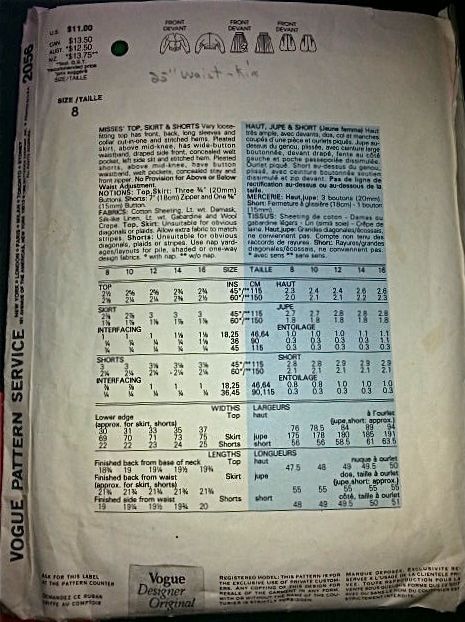
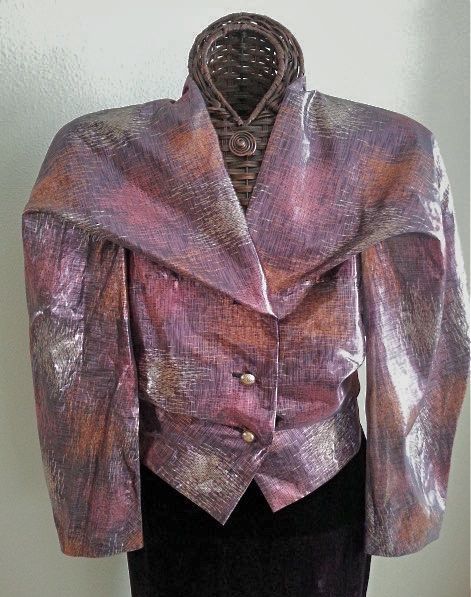
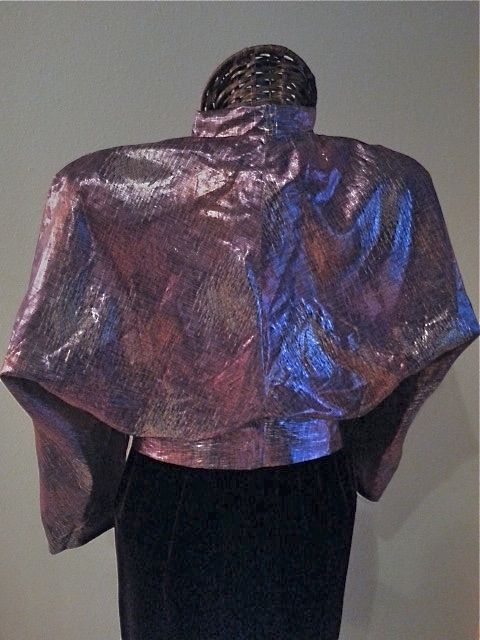
Vogue 1268
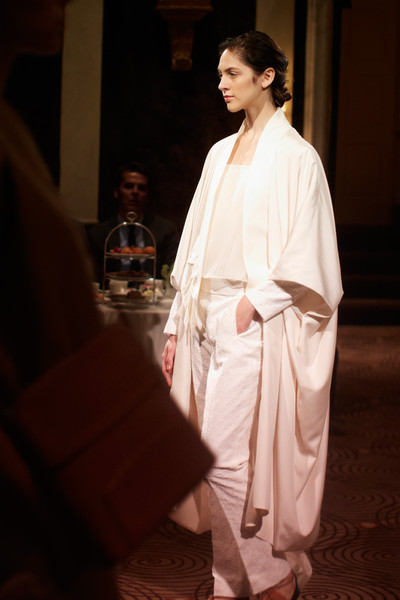
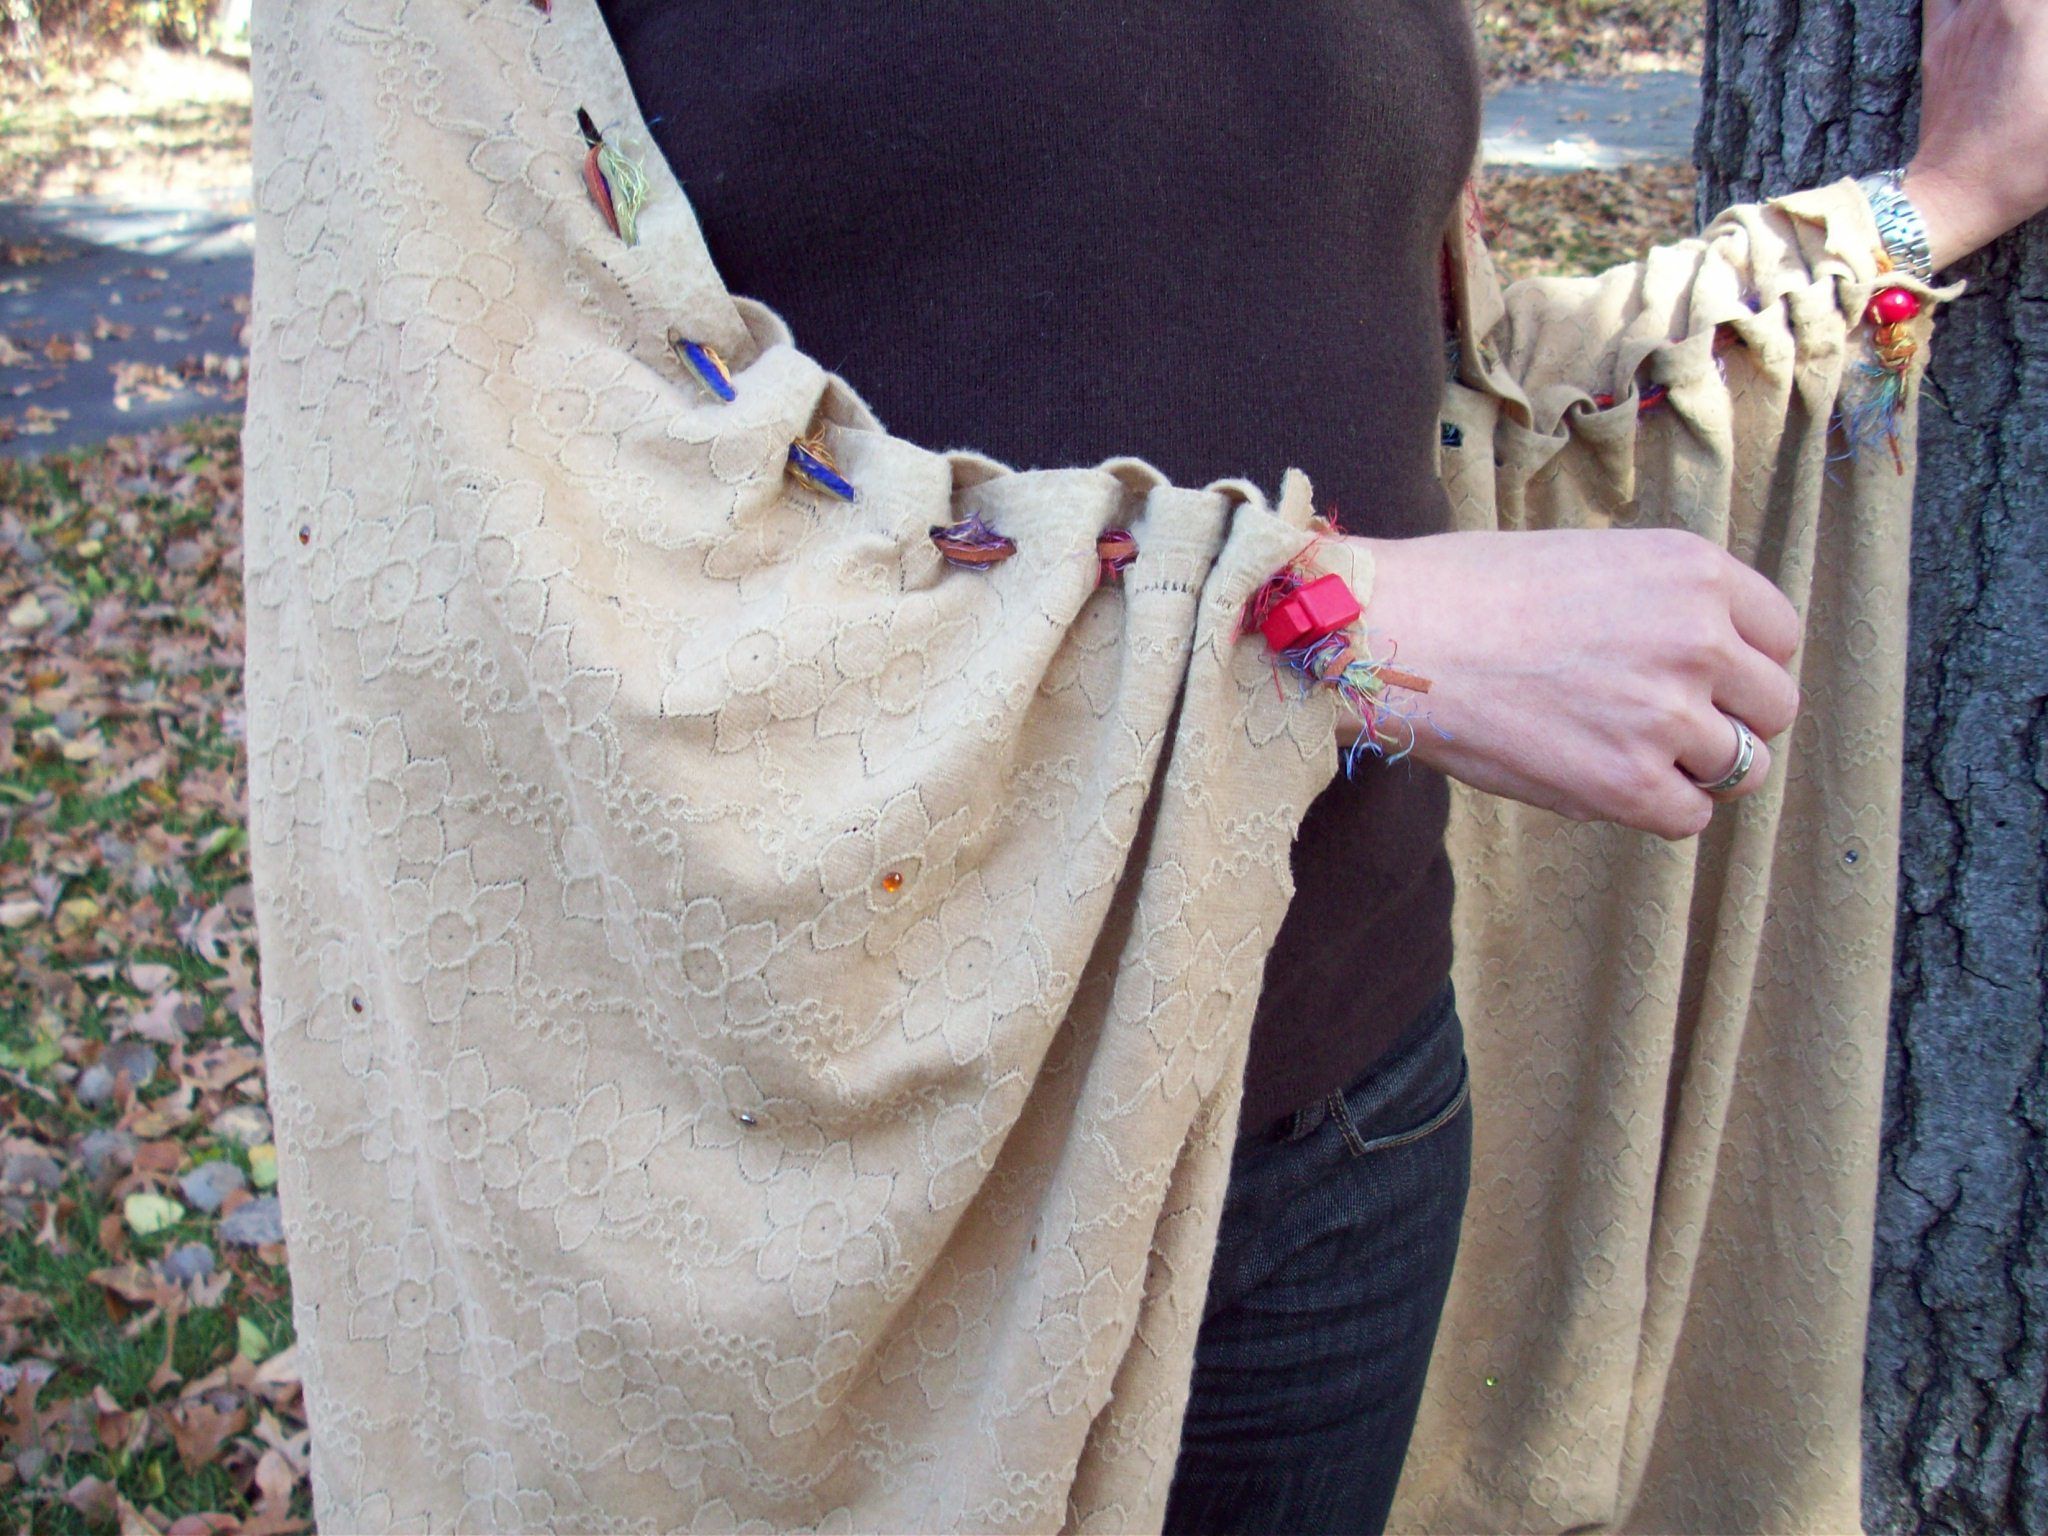
The other skirt pattern I have taken to is Vogue 1268. It is actually a dress but I always make separates for the greater wearing options. In a previous post, said I would make the top first, but decided to make the skirt as already had a coordinating top in my wardrobe.
The skirt is only 18″ long, much too short for my wearing comfort, even with leggings and boots. Lengthened it to mid-calf and tapered the side seams from the hip (9″ below waist) to hem. The flared hem is too much fabric even though the fabric, a faux suede with a knit back, is soft. The altered hem width is the same as the hip width.
The other alteration was to eliminate the center back seam; the pattern was placed on the fold so matching the fabric design was unnecessary.
Inspiration
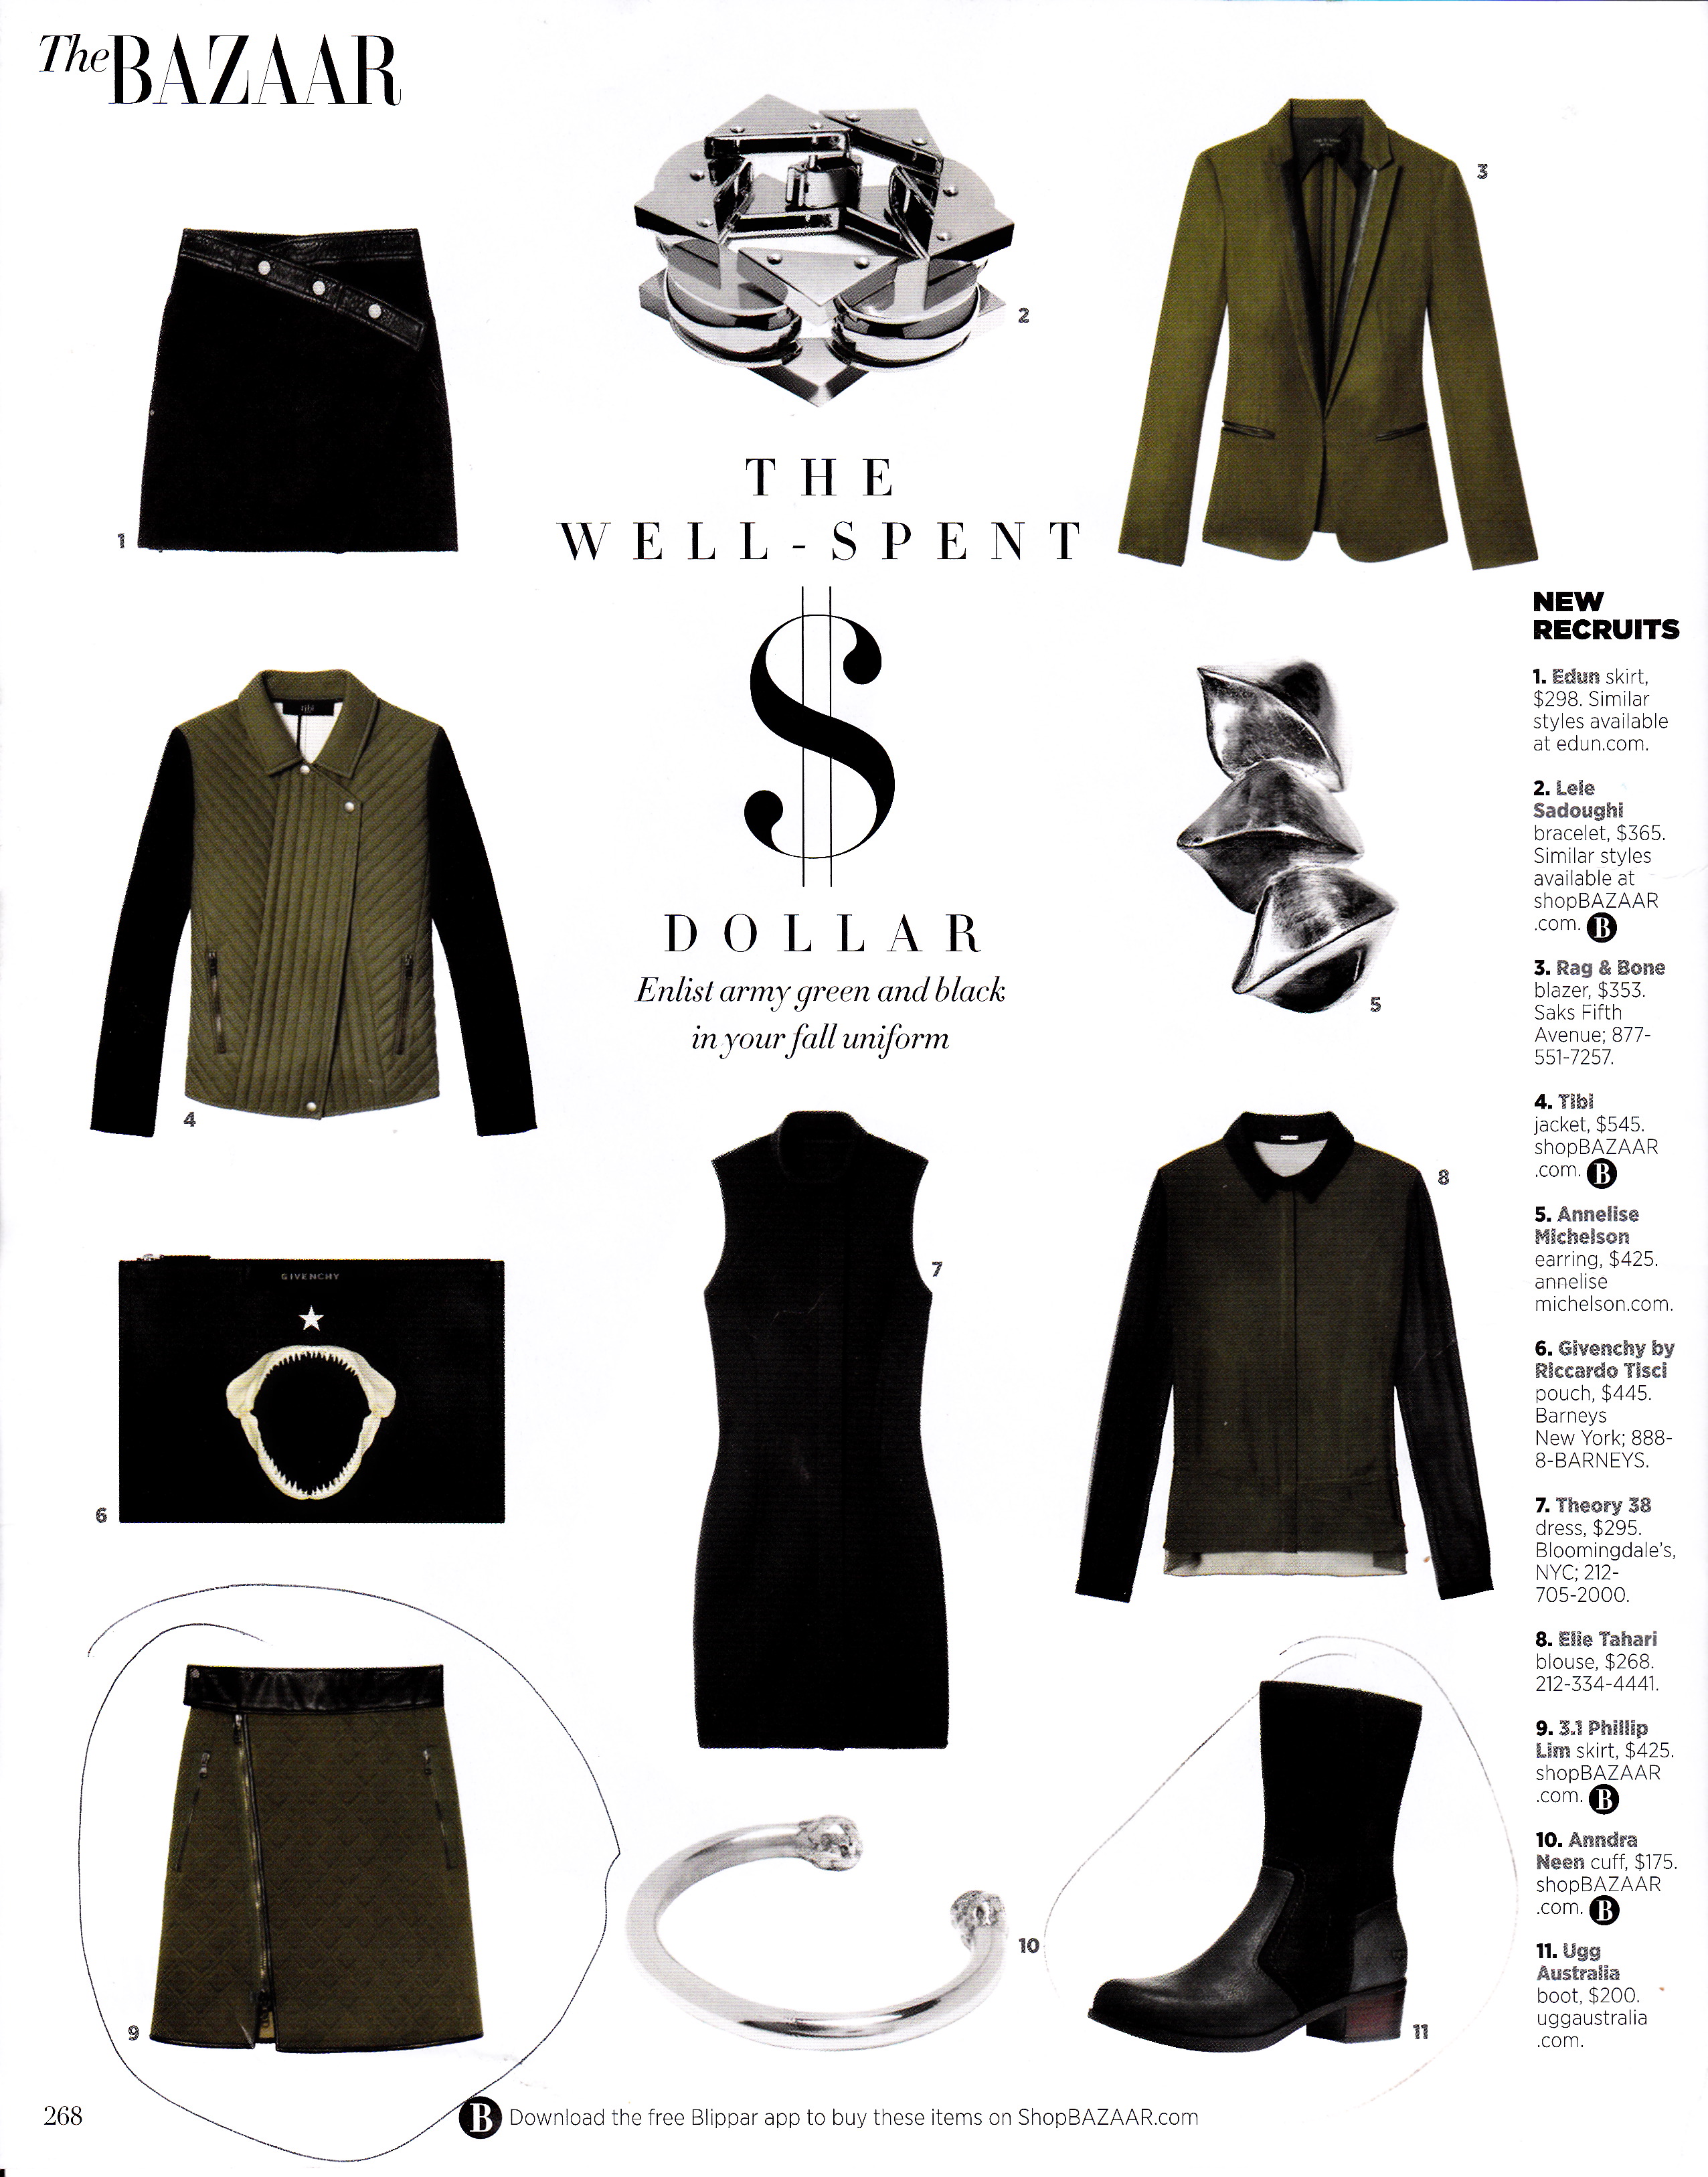
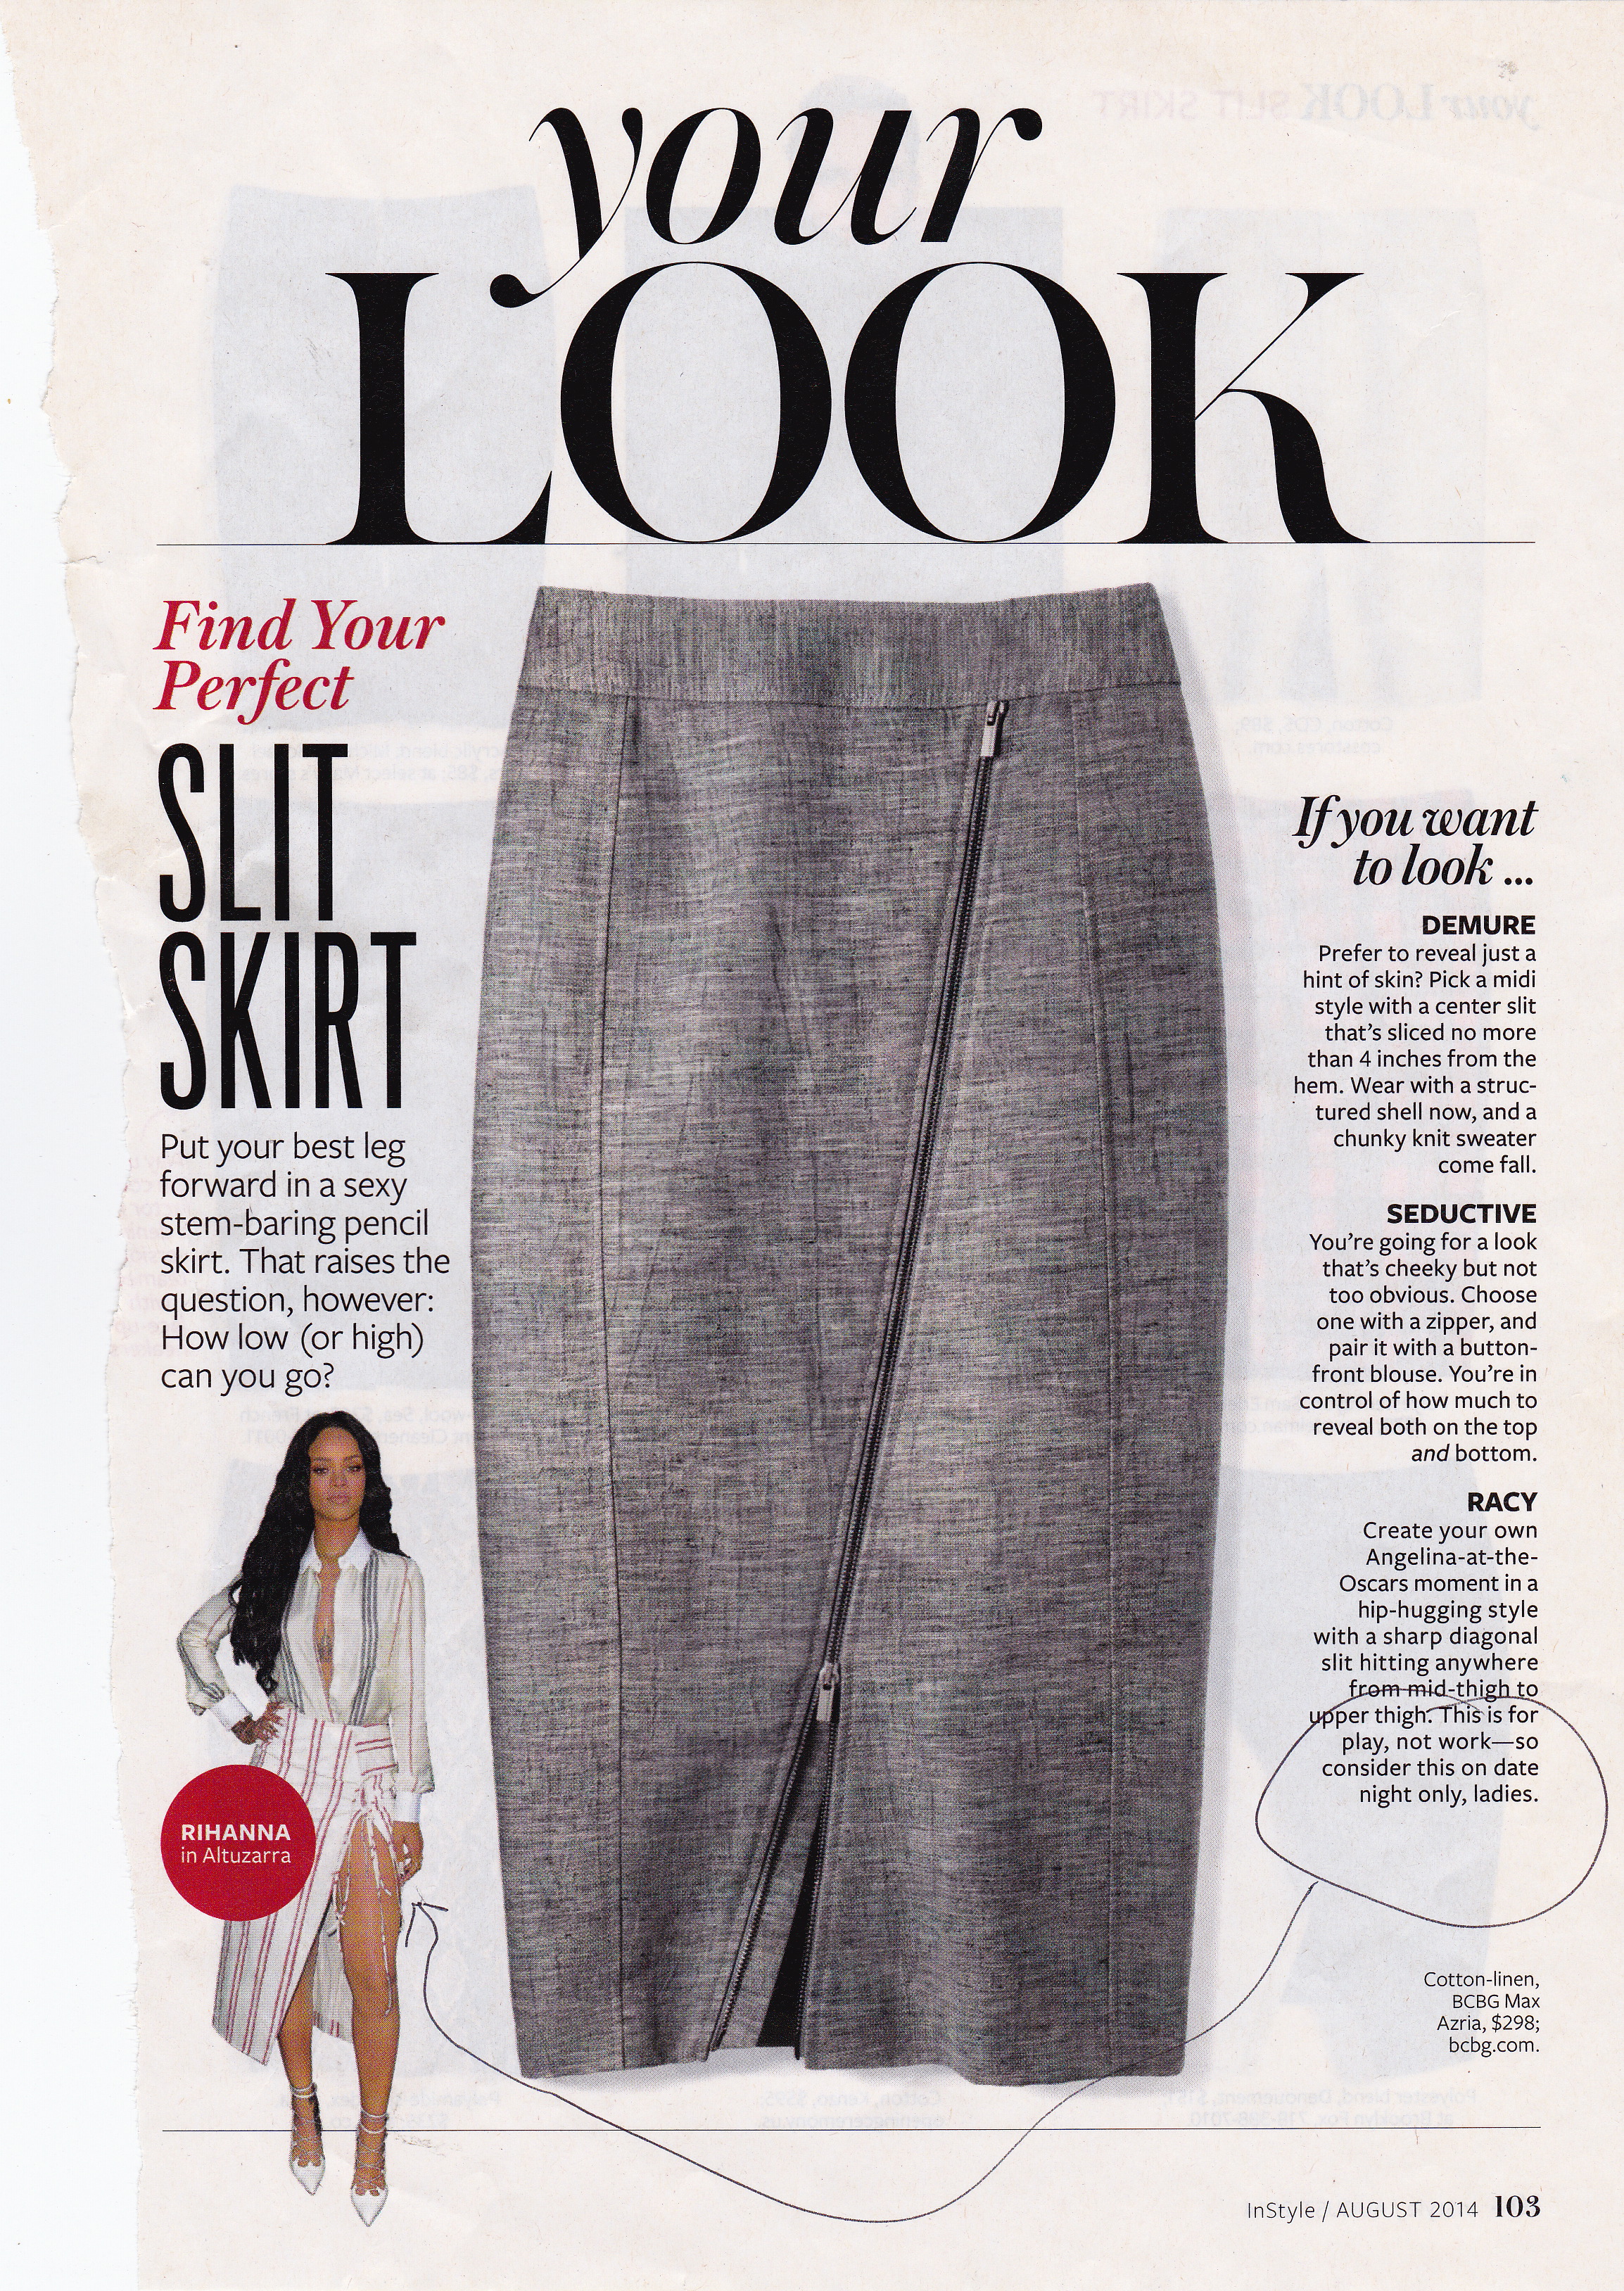
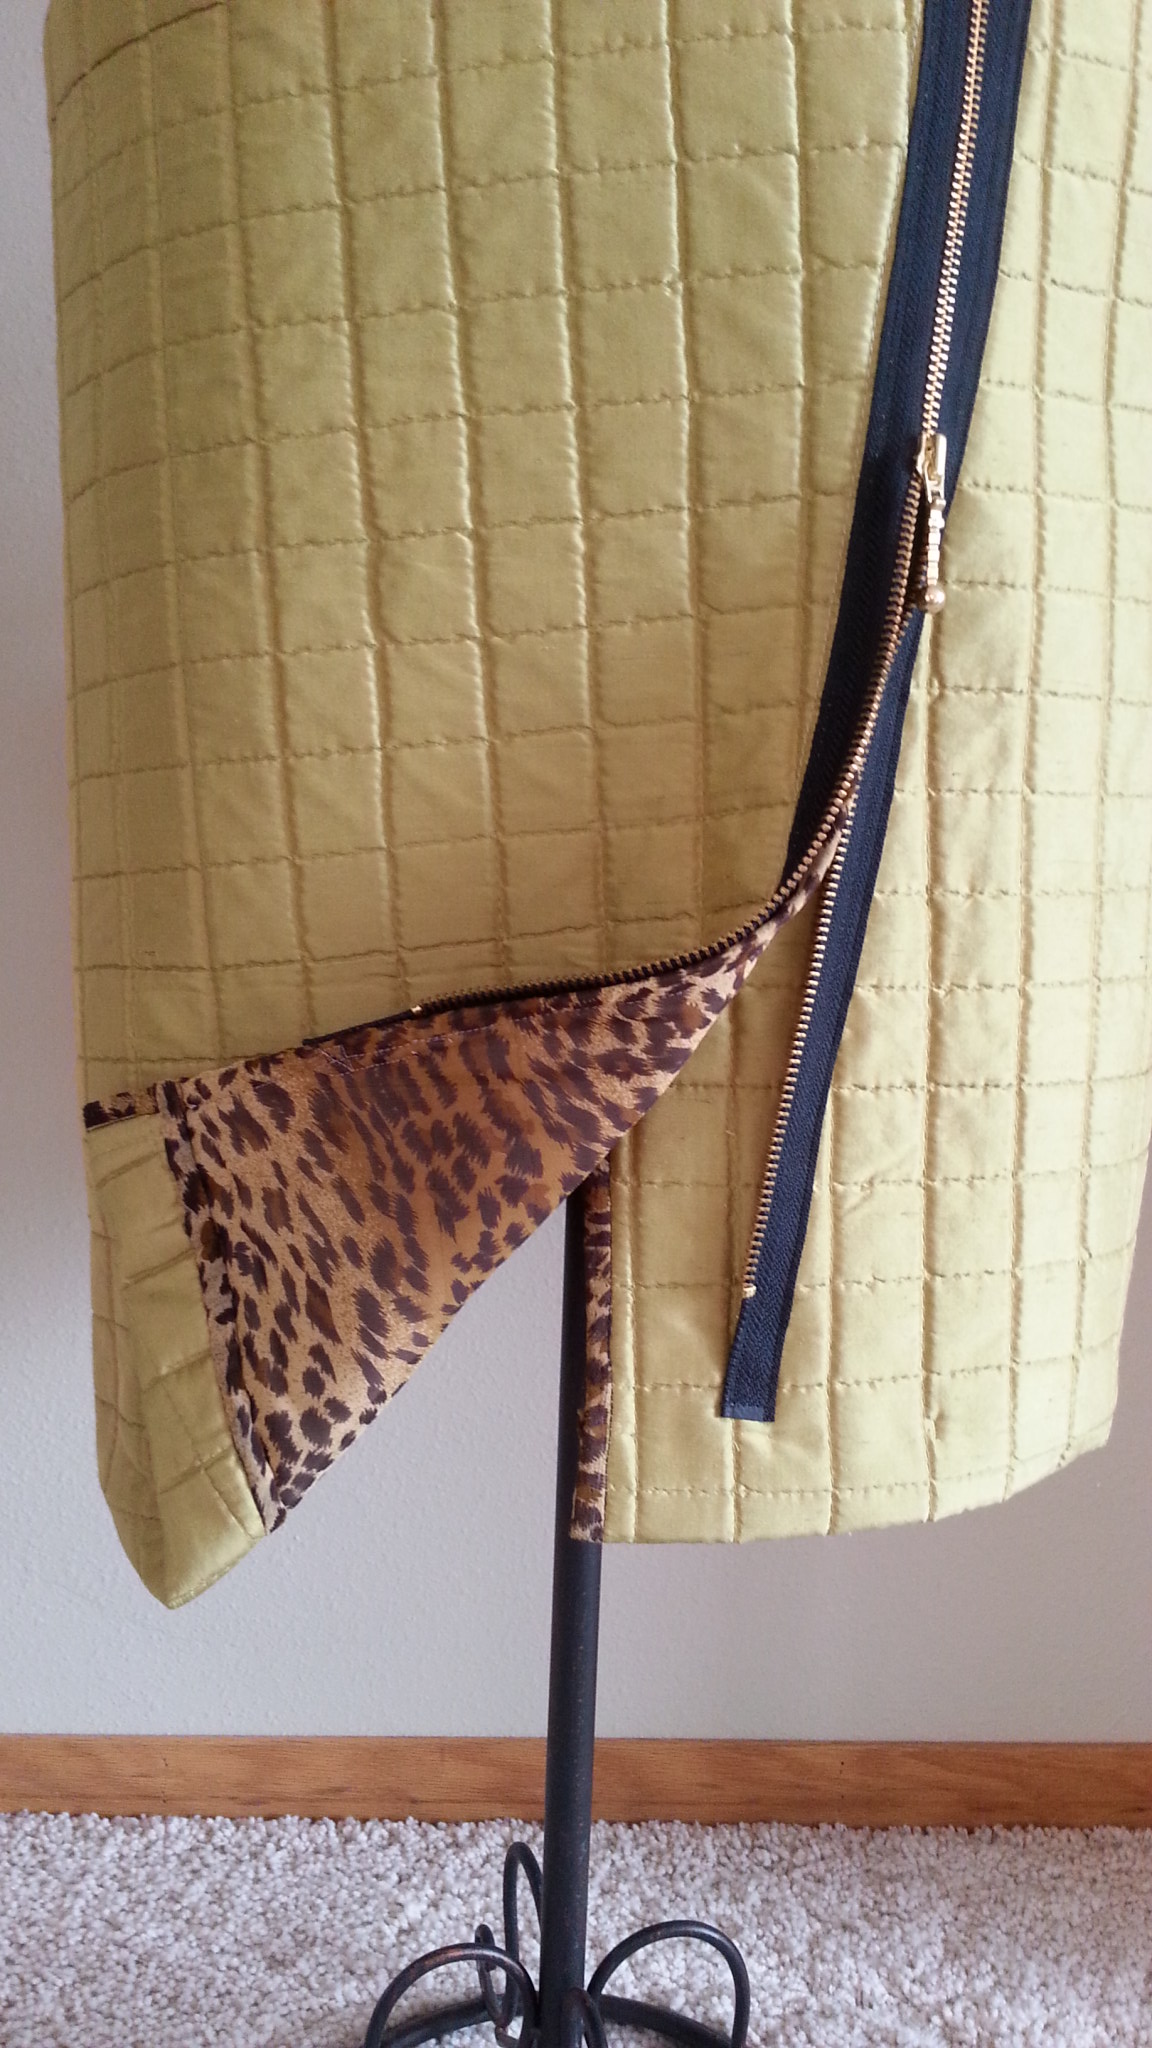
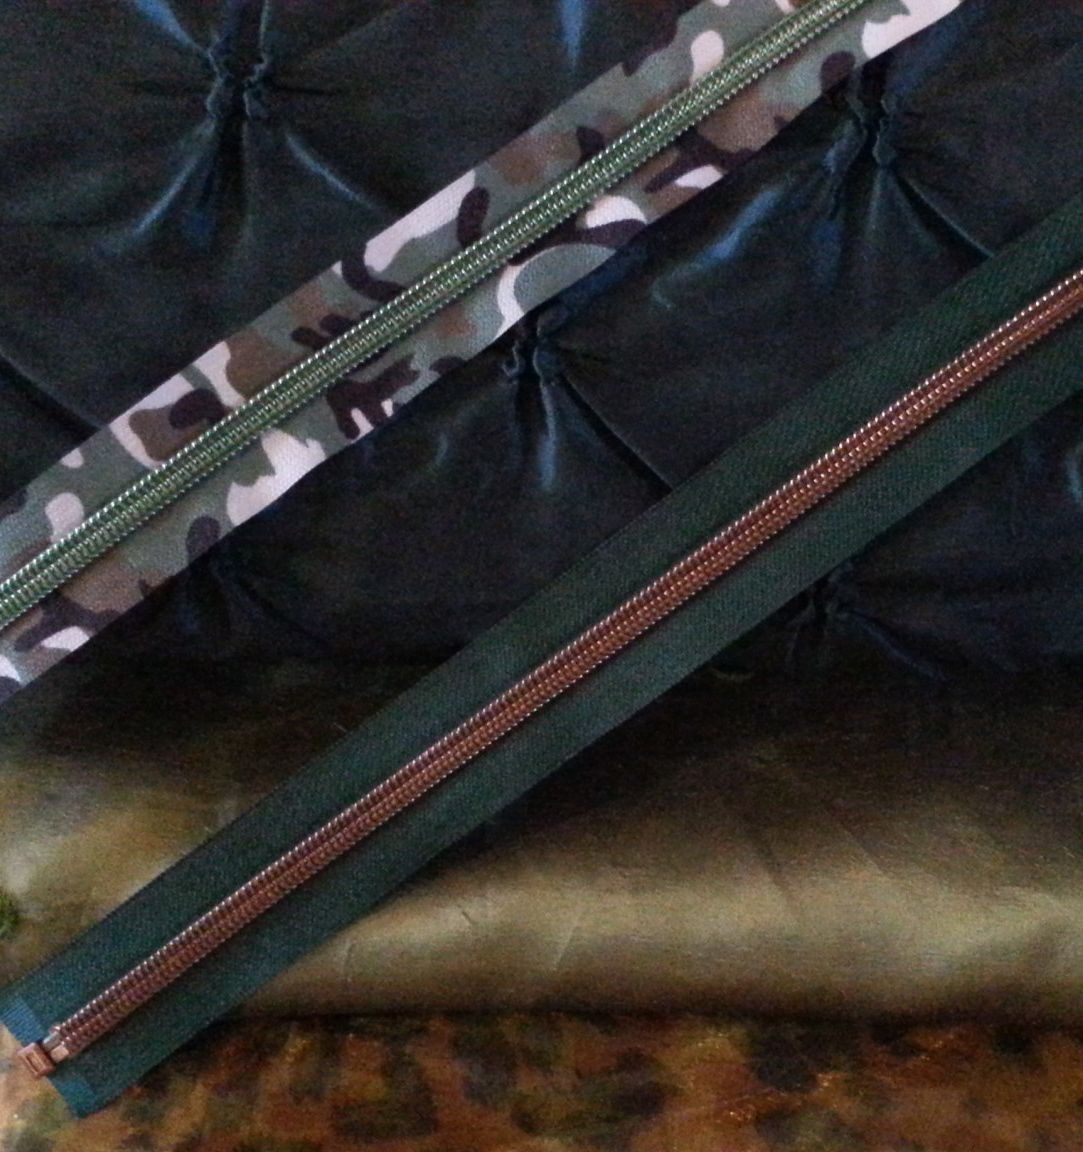
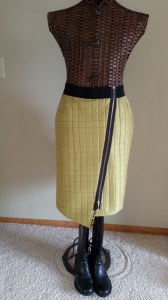
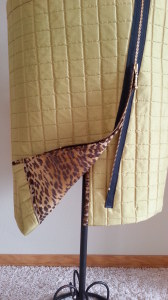
Had collected several RTW skirt ideas with zippers and decided to close the wrap with a separating zipper; the ‘bottom’ of the zipper is at the waist so the opening can be adjusted at the hem if wanted. Plus, no matter how well fitted a wrap skirt, am never comfortable sitting in one; the zipper controls just how much leg can be exposed.
The zippers are exposed–topstitched on the right side of the garment; it’s the fashion and eliminates the need for precise seam allowances along the zipper tape, e.g., see the RTW pencil skirt below and note exact visible zipper width from top to bottom.

3.1 Phillip Lim Zipped Skirt
Angle Zipped Pencil Skirt
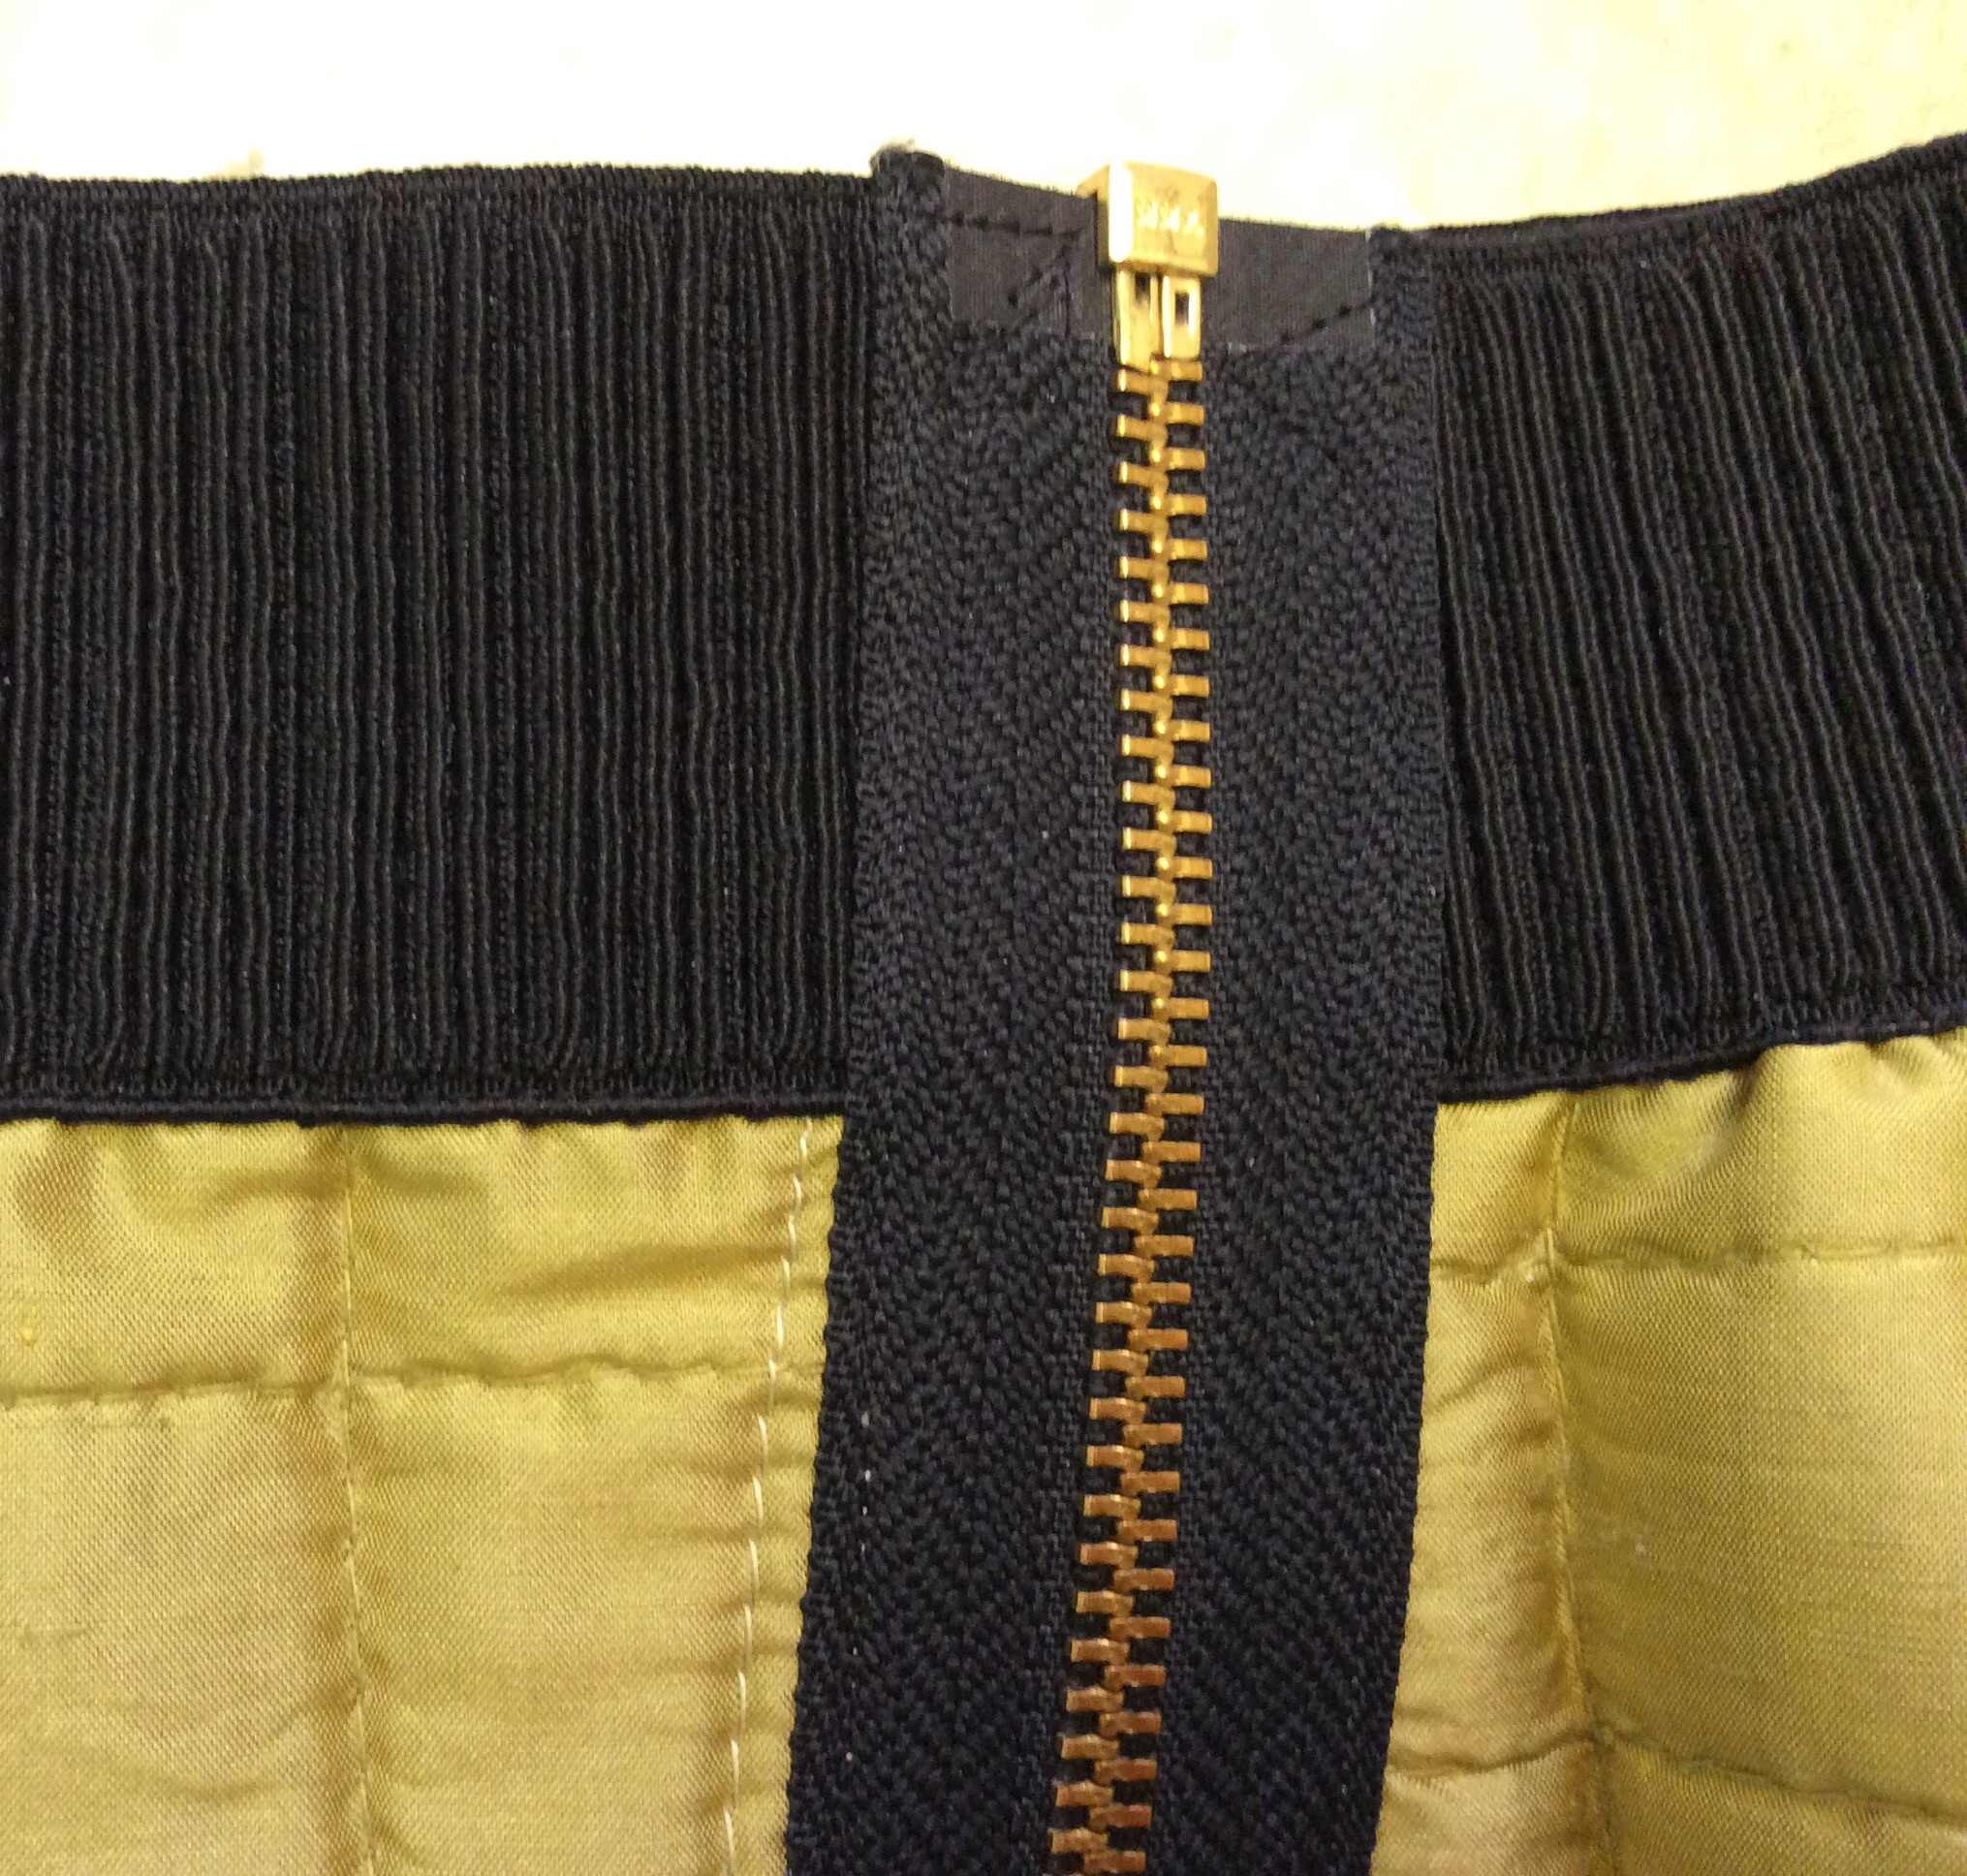
The waist is finished with wide, firm elastic topstitched over the seam allowance. Because the skirt is fitted and has a zipper opening, there is little waist ease, thus no additional waistline bulk that could be created by ‘gathering’ the skirt to the much smaller elastic.

Elastic Waistband and Exposed Zip
This elastic is applied just as any other by dividing garment and elastic into quarters and matching the pin-marked quarters. The garment waist is stay-stitched at 1/2″ from the cut edge (if using a 5/8″ seam allowance) and is a guide for the elastic placement. Place elastic on right side of fabric so bottom edge just covers the stay-stitching, stretch the elastic to fit the garment and topstitch in place.
Nowadays, all of the sewing I do has an elastic waist, whether it is a covered elastic as in the previous skirts, elastic in the back and/or sides, or topstitched. I find it much more comfortable and the fashion for wearing tops over bottoms is the perfect solution for disguising a thickened middle, as well as the waistband finish.
These skirts are meant to be worn with tops tucked in so the elastic is part of the garment design.
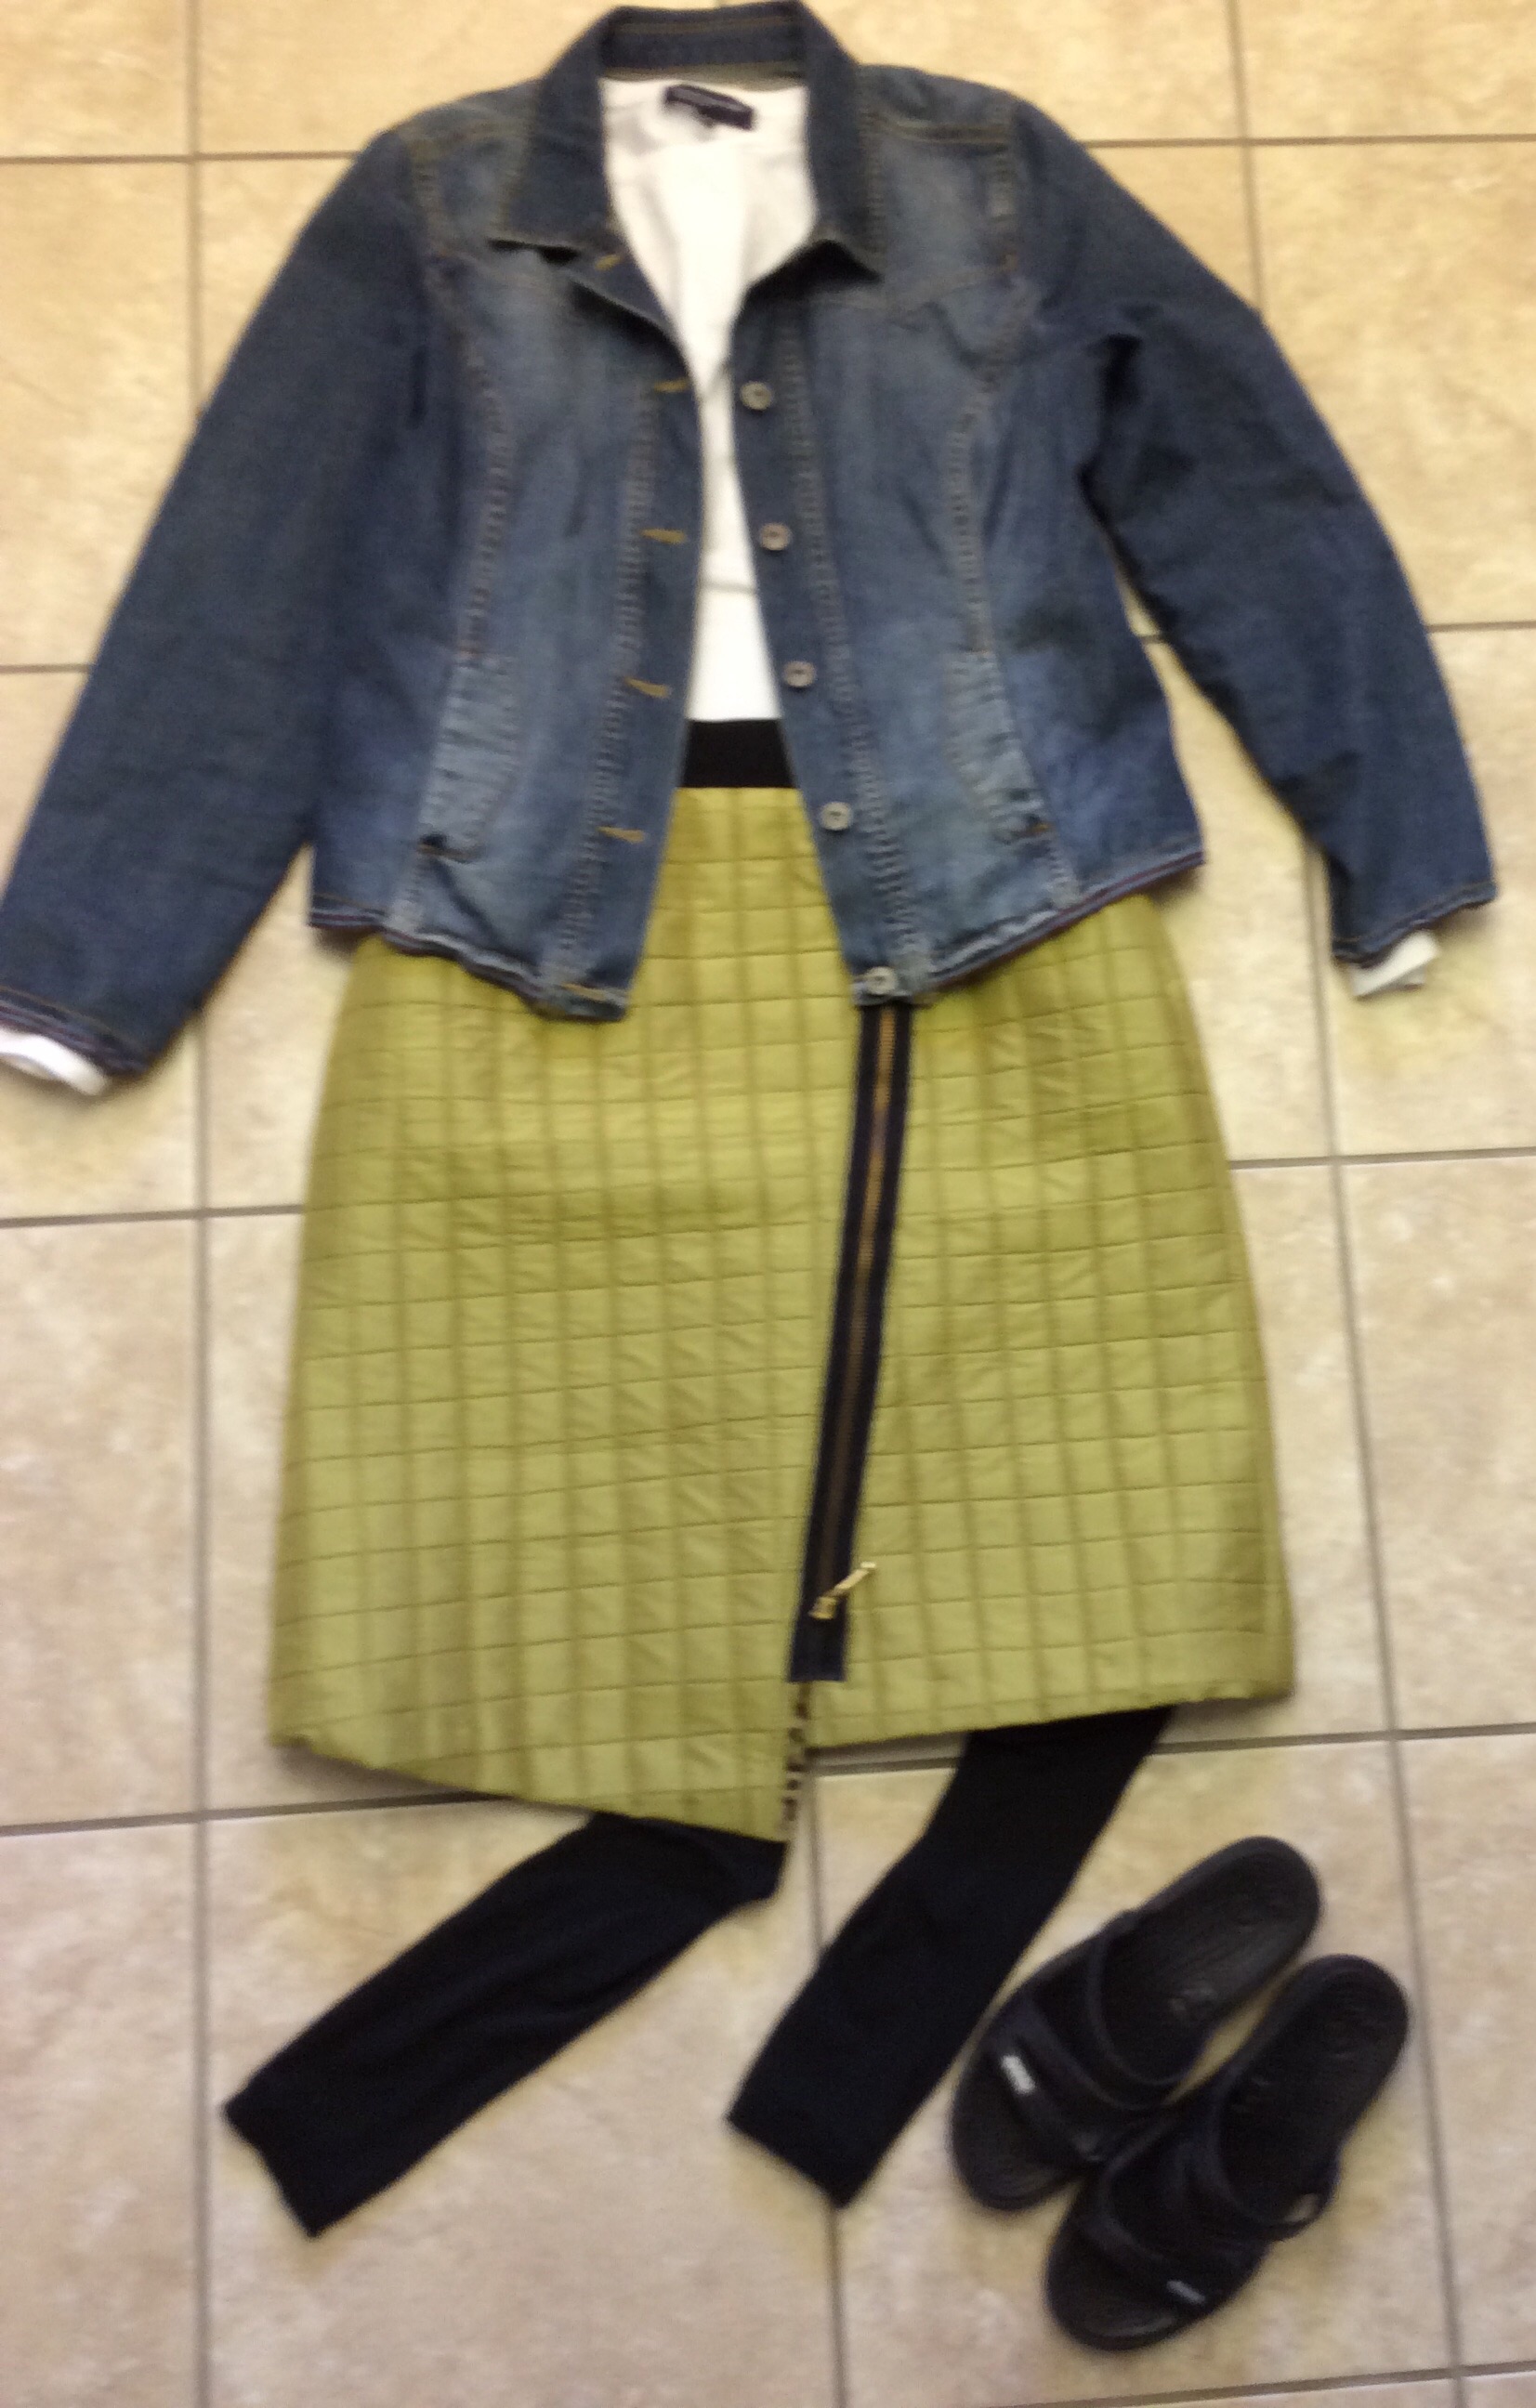
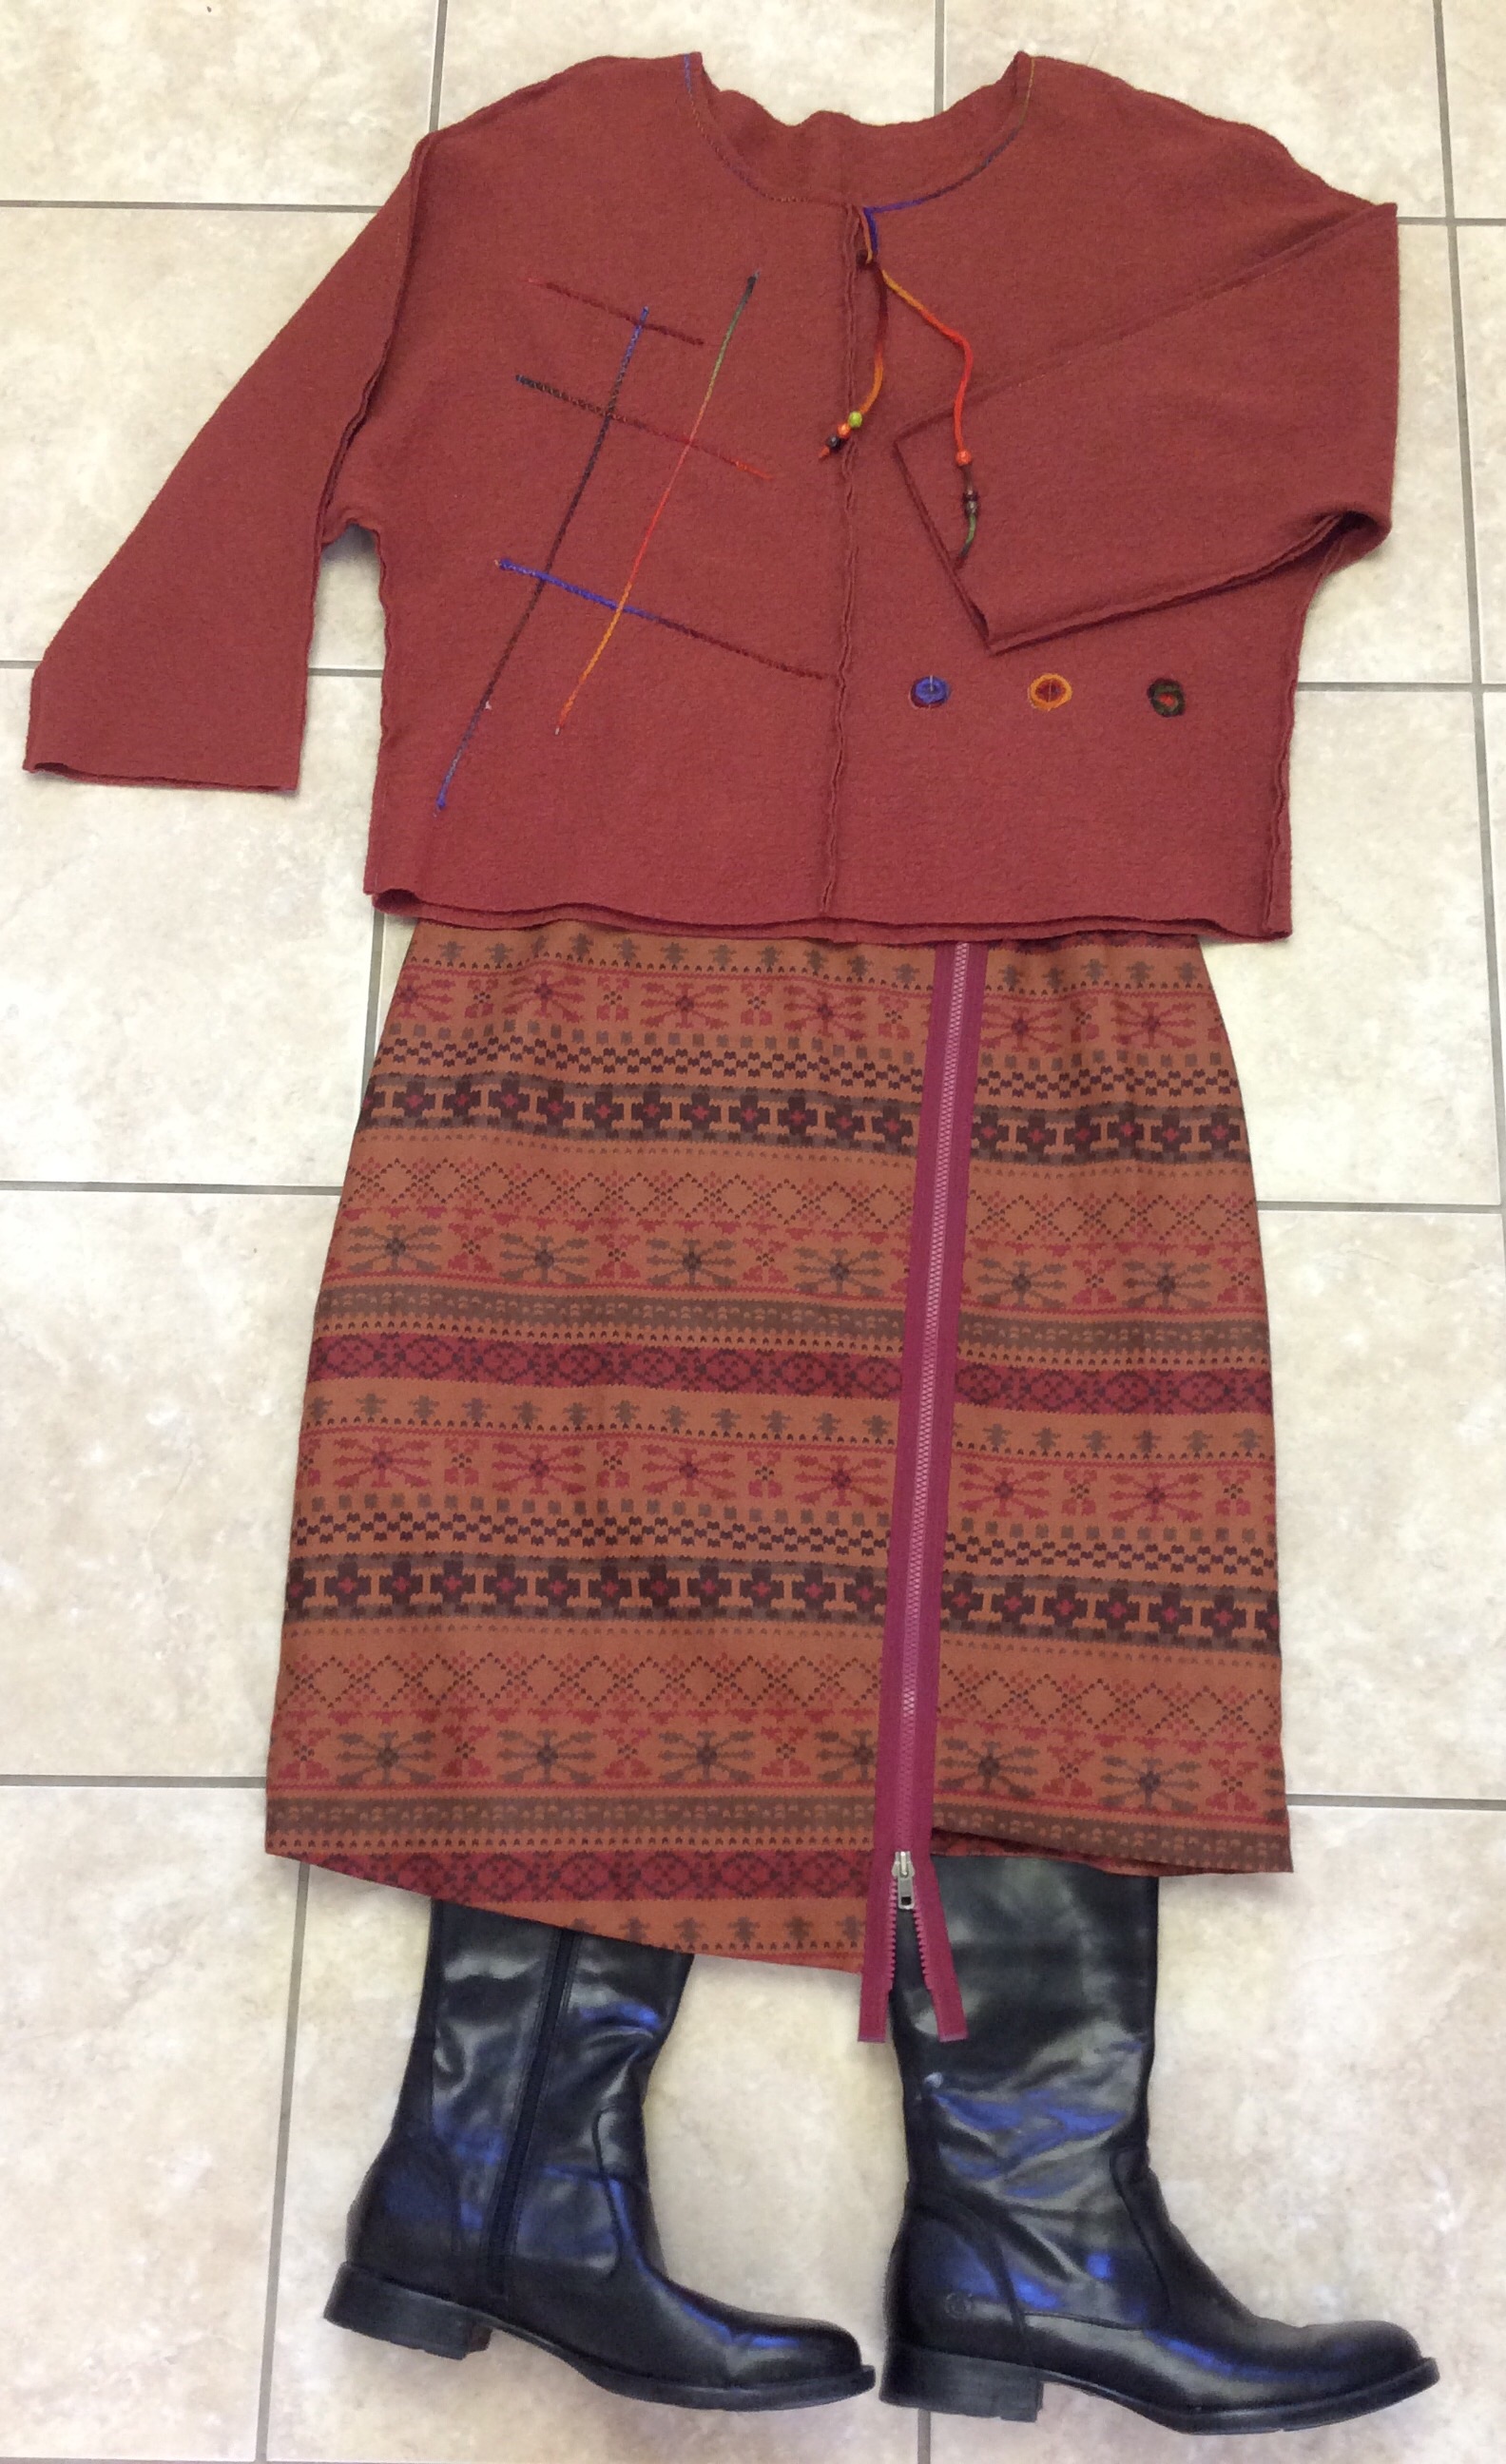
All that being said, here are the two versions, the Aztec print and a pea green quilted silk.

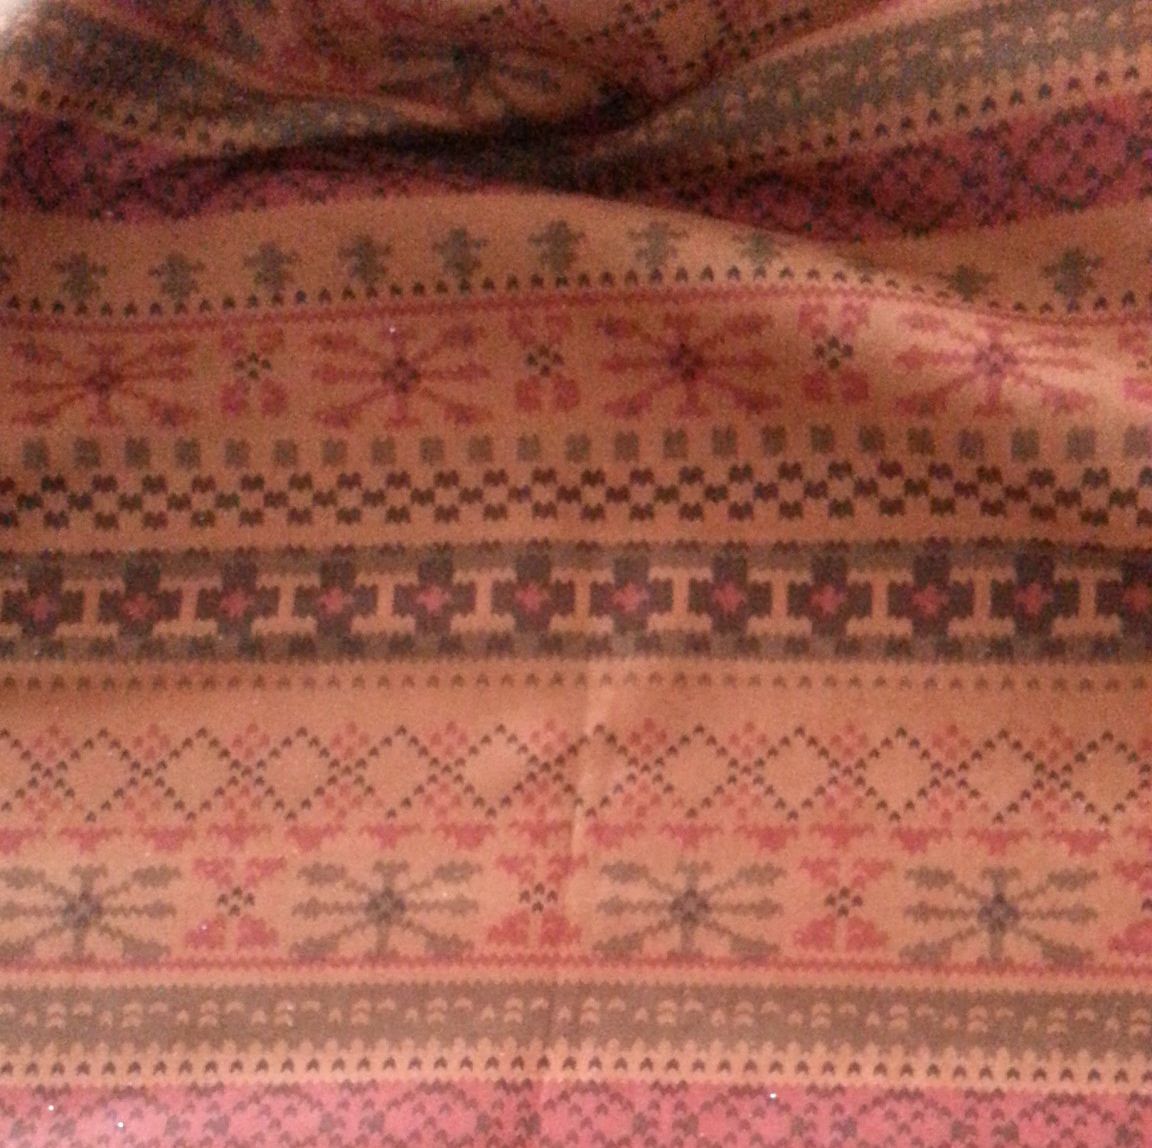
Mid-Calf Aztec Skirt
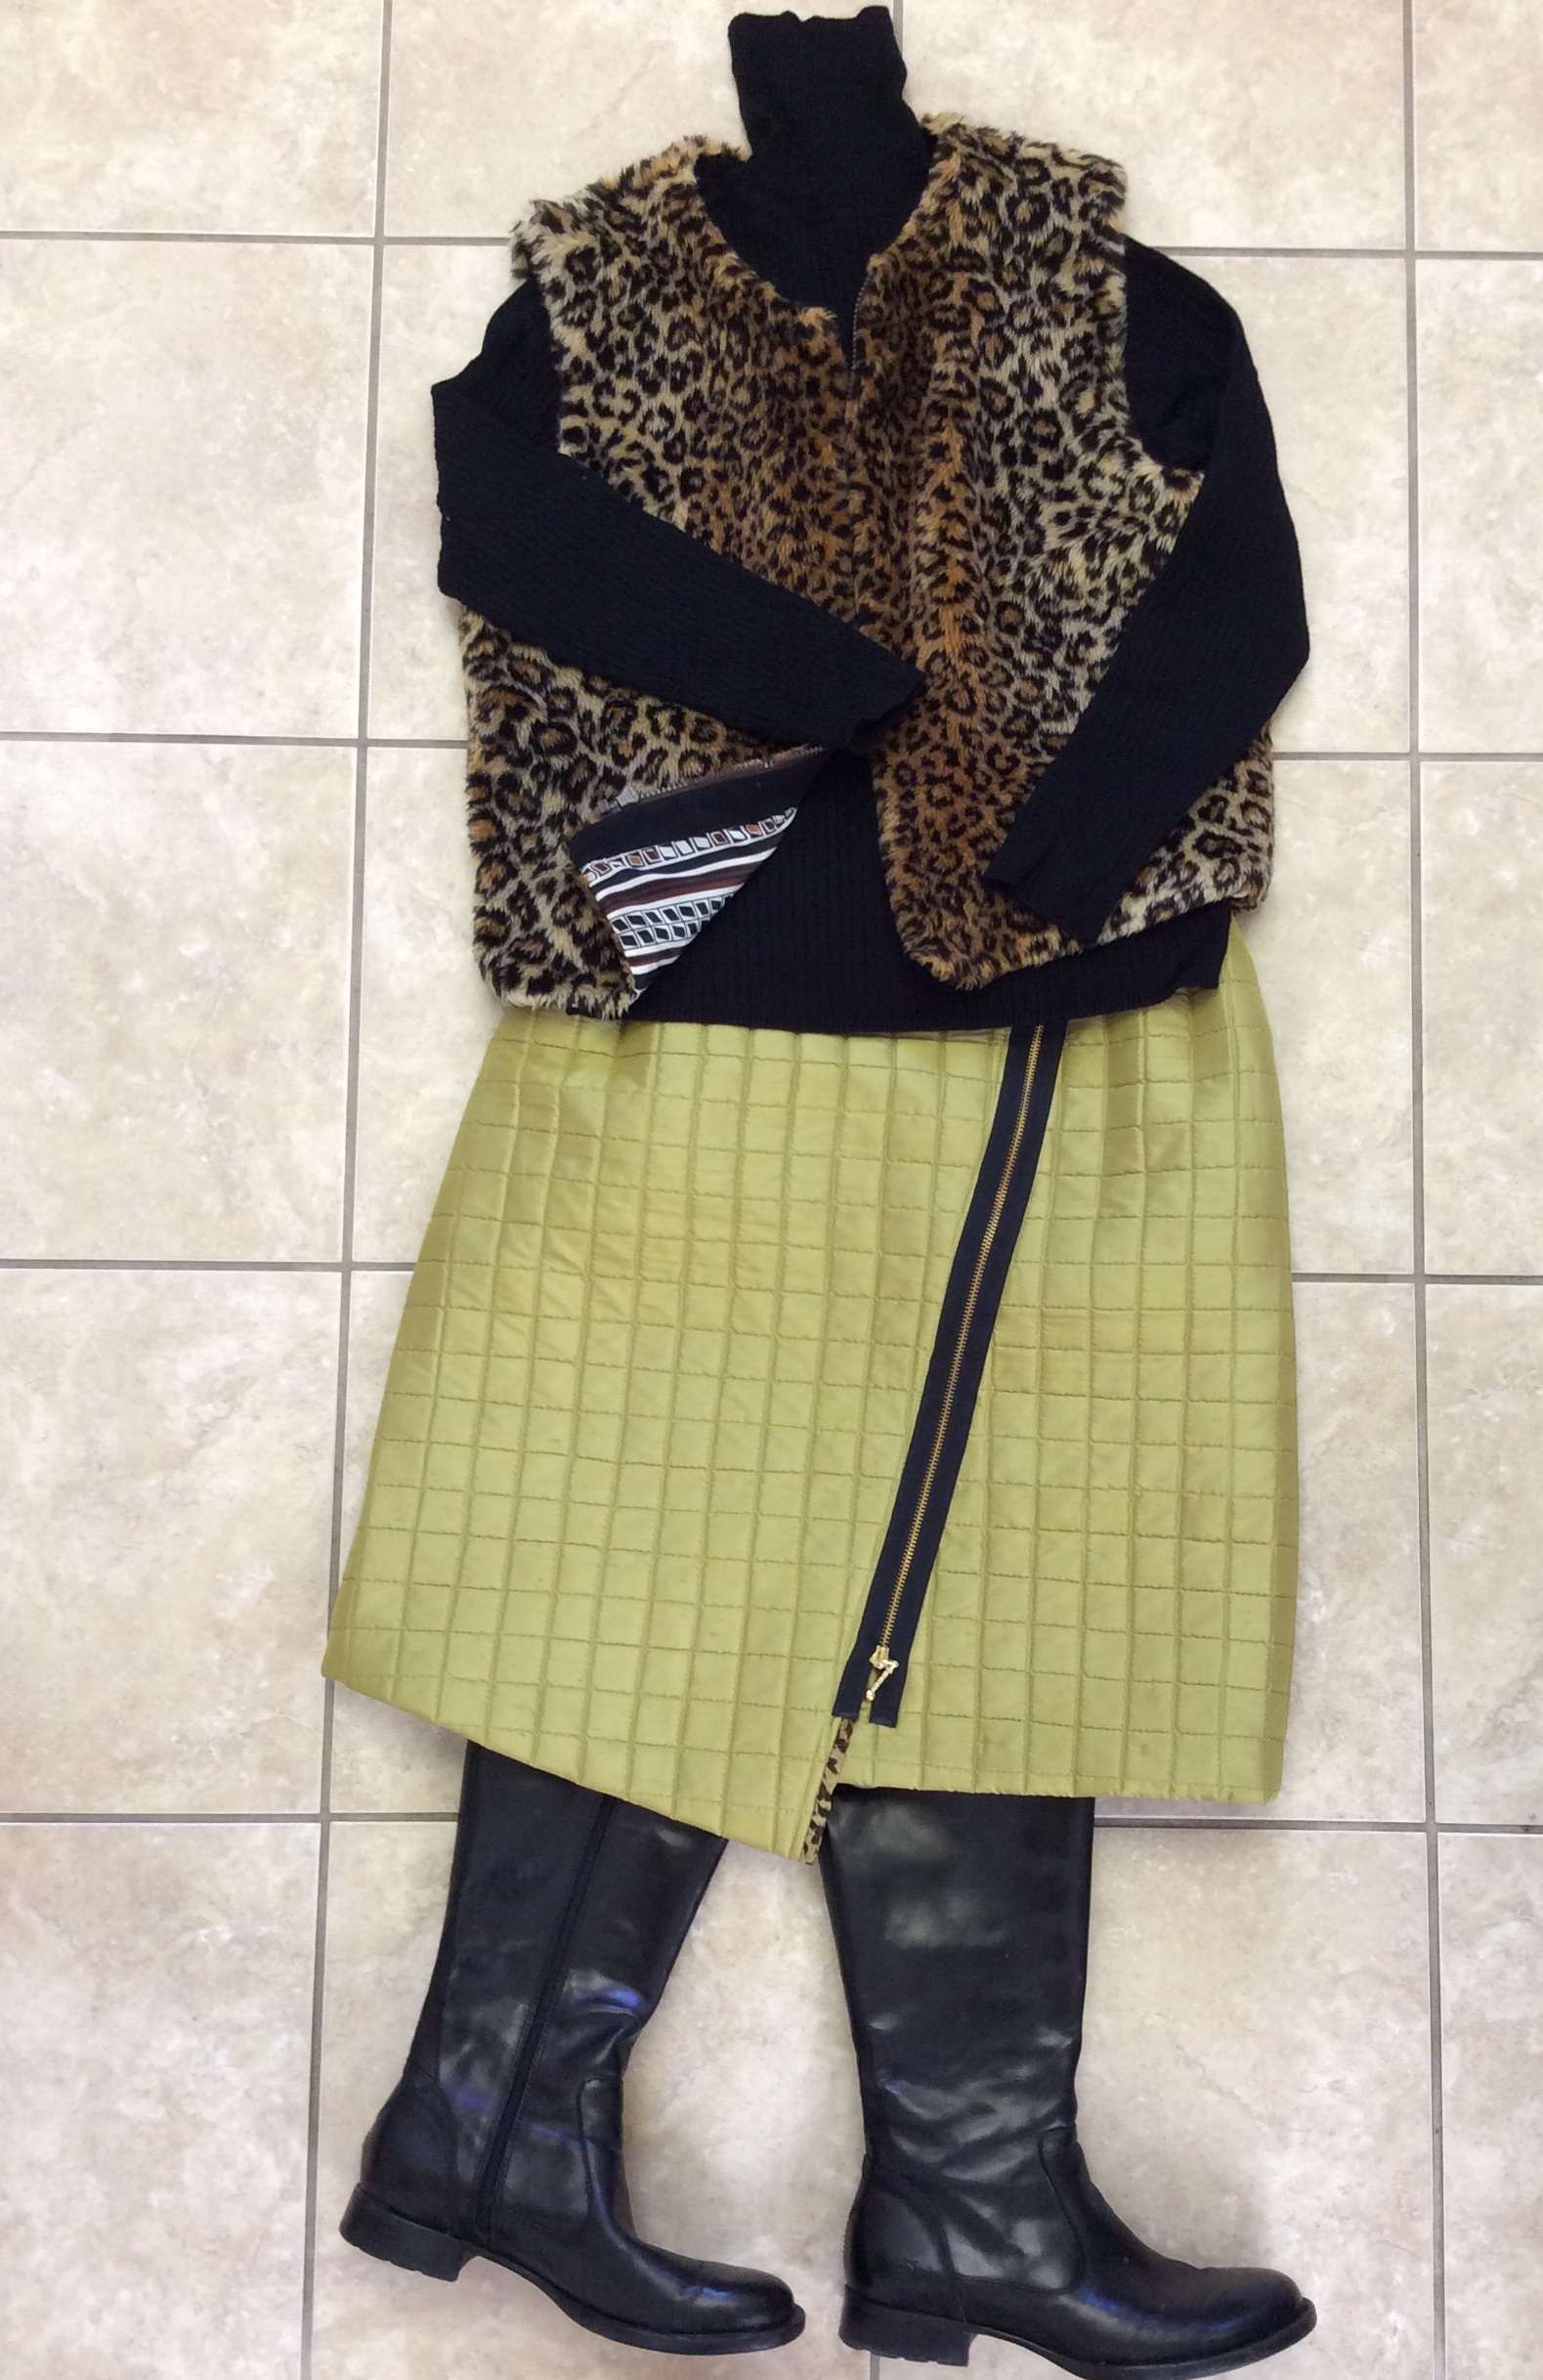
Pea Green Quilted Skirt
More Inspiration
The quilted version is inspired by a RTW in a Title Nine catalog.
Title Nine Quilted Skirt

Title Nine Quilted Skirt
This skirt length is just below the knee and made from a quilted silk in my favorite pea green. This color is stunning with black, brown, navy, red, brite blue, hot pink…Have worn this color for over 20 years.
The final skirt is far from the above look. Well, it is just Inspiration!

Quilted Silk V1268
Quilted Skirt and Lining
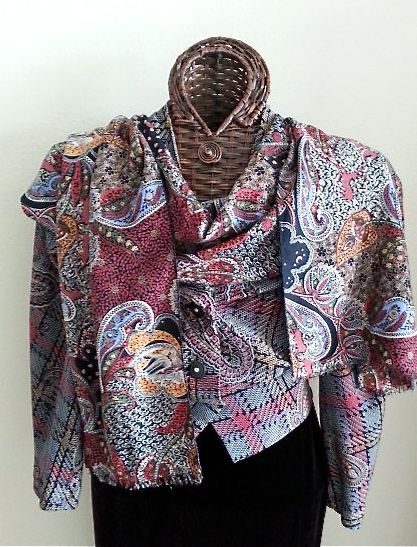
Street Looks with items already in my wardrobe
I must have a latent sense of what is in my wardrobe as I never shop with a specific color, design in mind. Just buy what I like. Since I am consistent in what I like, it makes sense that the closet will hold coordinating items.
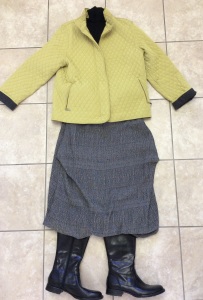
V8637 with RTW Pea Green Jkt
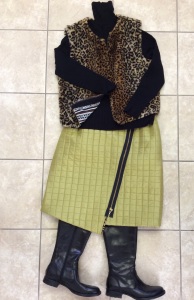
Faux Fur Vest made 10+ years ago
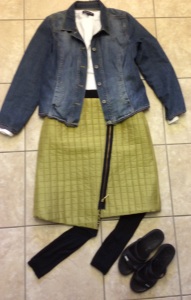
…jean jacket, capri leggings, sandals

Light weight boiled wool and rayon top. Fabric from Satin Moon, San Francisco
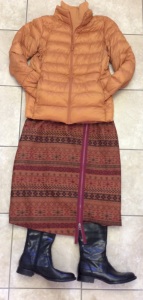
Puffer jacket and T-neck from Uniglo
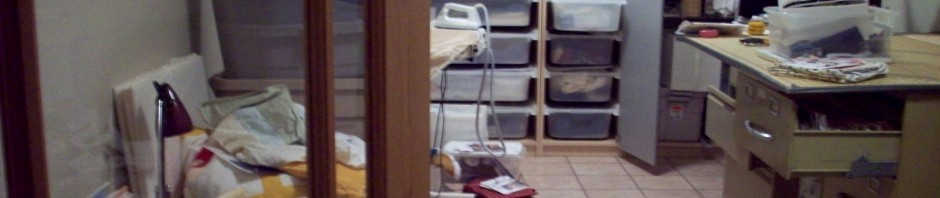
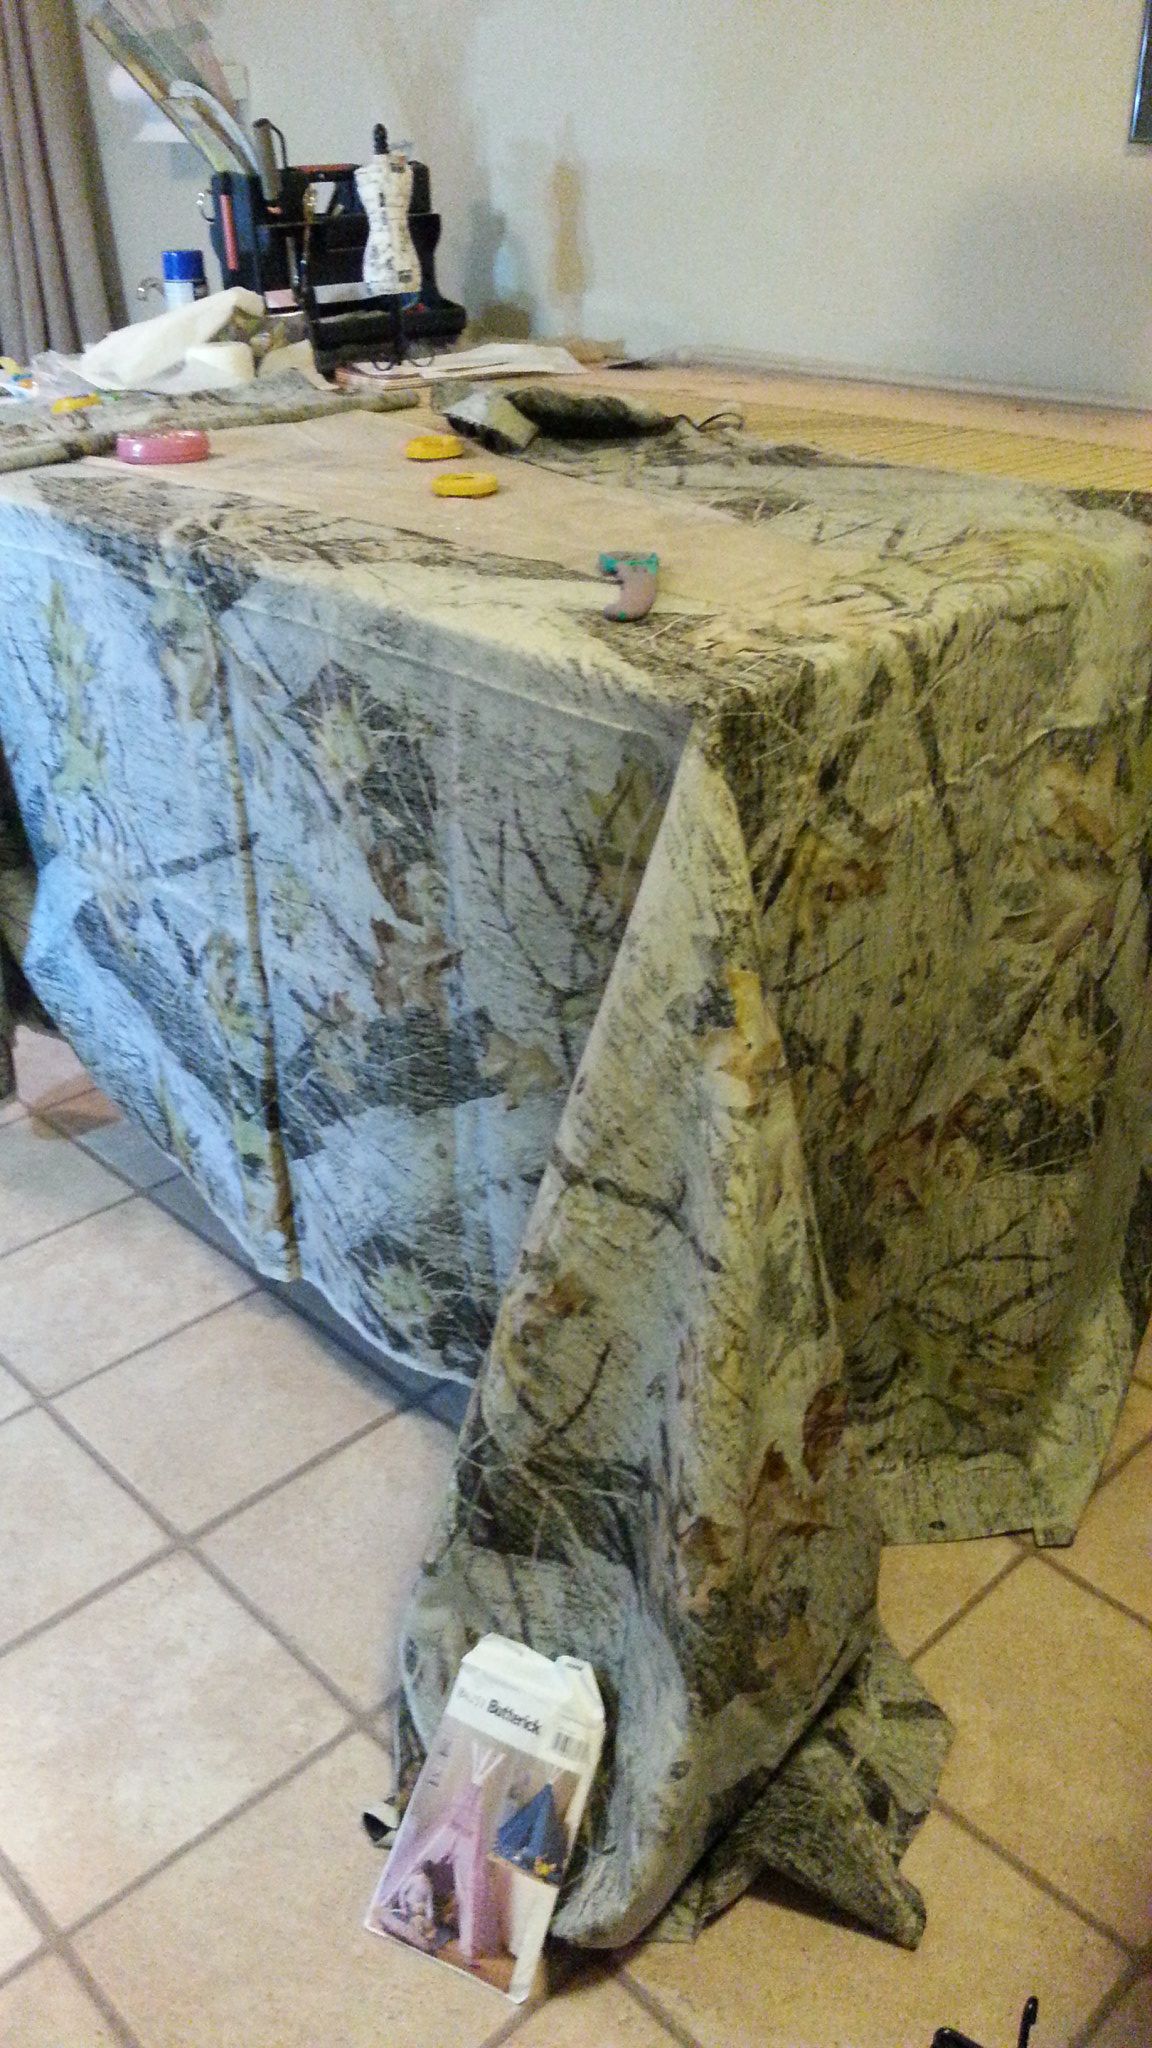
Until/if there is a ‘possil cue’ in my life, the photo studio will need to be the kitchen floor. Thanx for bearing with the studio limitations,
What’s happening in your sewing room?
Are the fabrics scurrying around behind your back to find suitable match mates? And the tools, are they partying when you are gone and then ending up hidden under whatever is on the cutting table as you came back unexpectedly. Mine do that all the time. I would never leave tools scattered willy-nilly. Well, almost never… 😉
Happy sewing!