3D Spacer Mesh
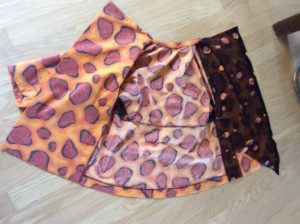
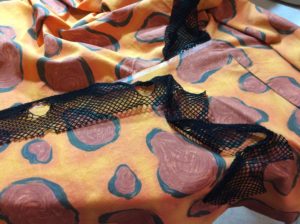
3D Spacer Mesh is a double layer of a smooth polyester knit with open ‘holes’ backed by a lattice open weave. It’s 3D (dimensional) –scant 1/8″ thick, has a slight stretch in both directions, and is quite firm as was probably intended for laptop, iPad covers. Have also seen it used in shoe uppers.

3D Spacer Mesh
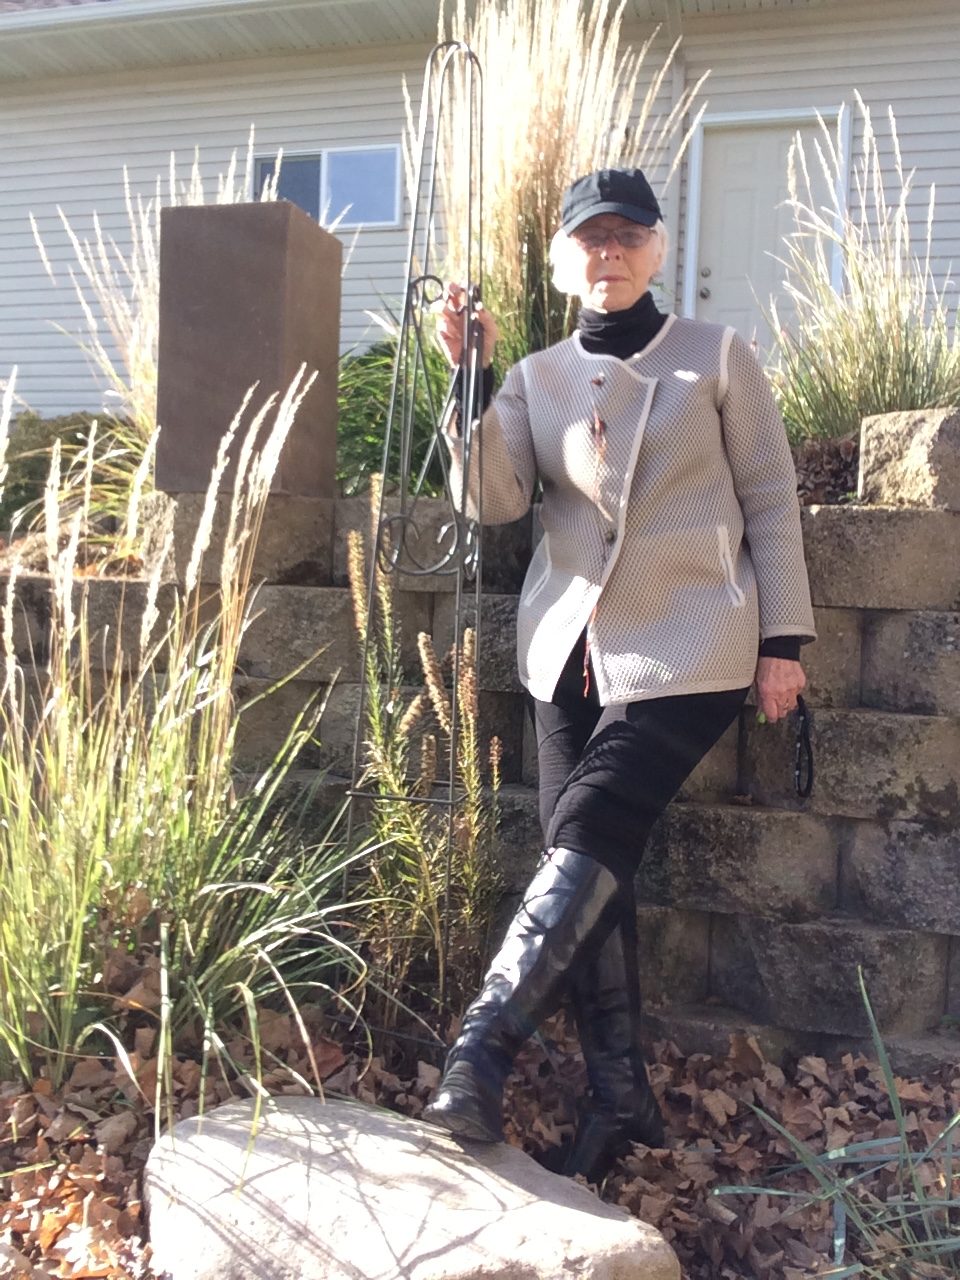
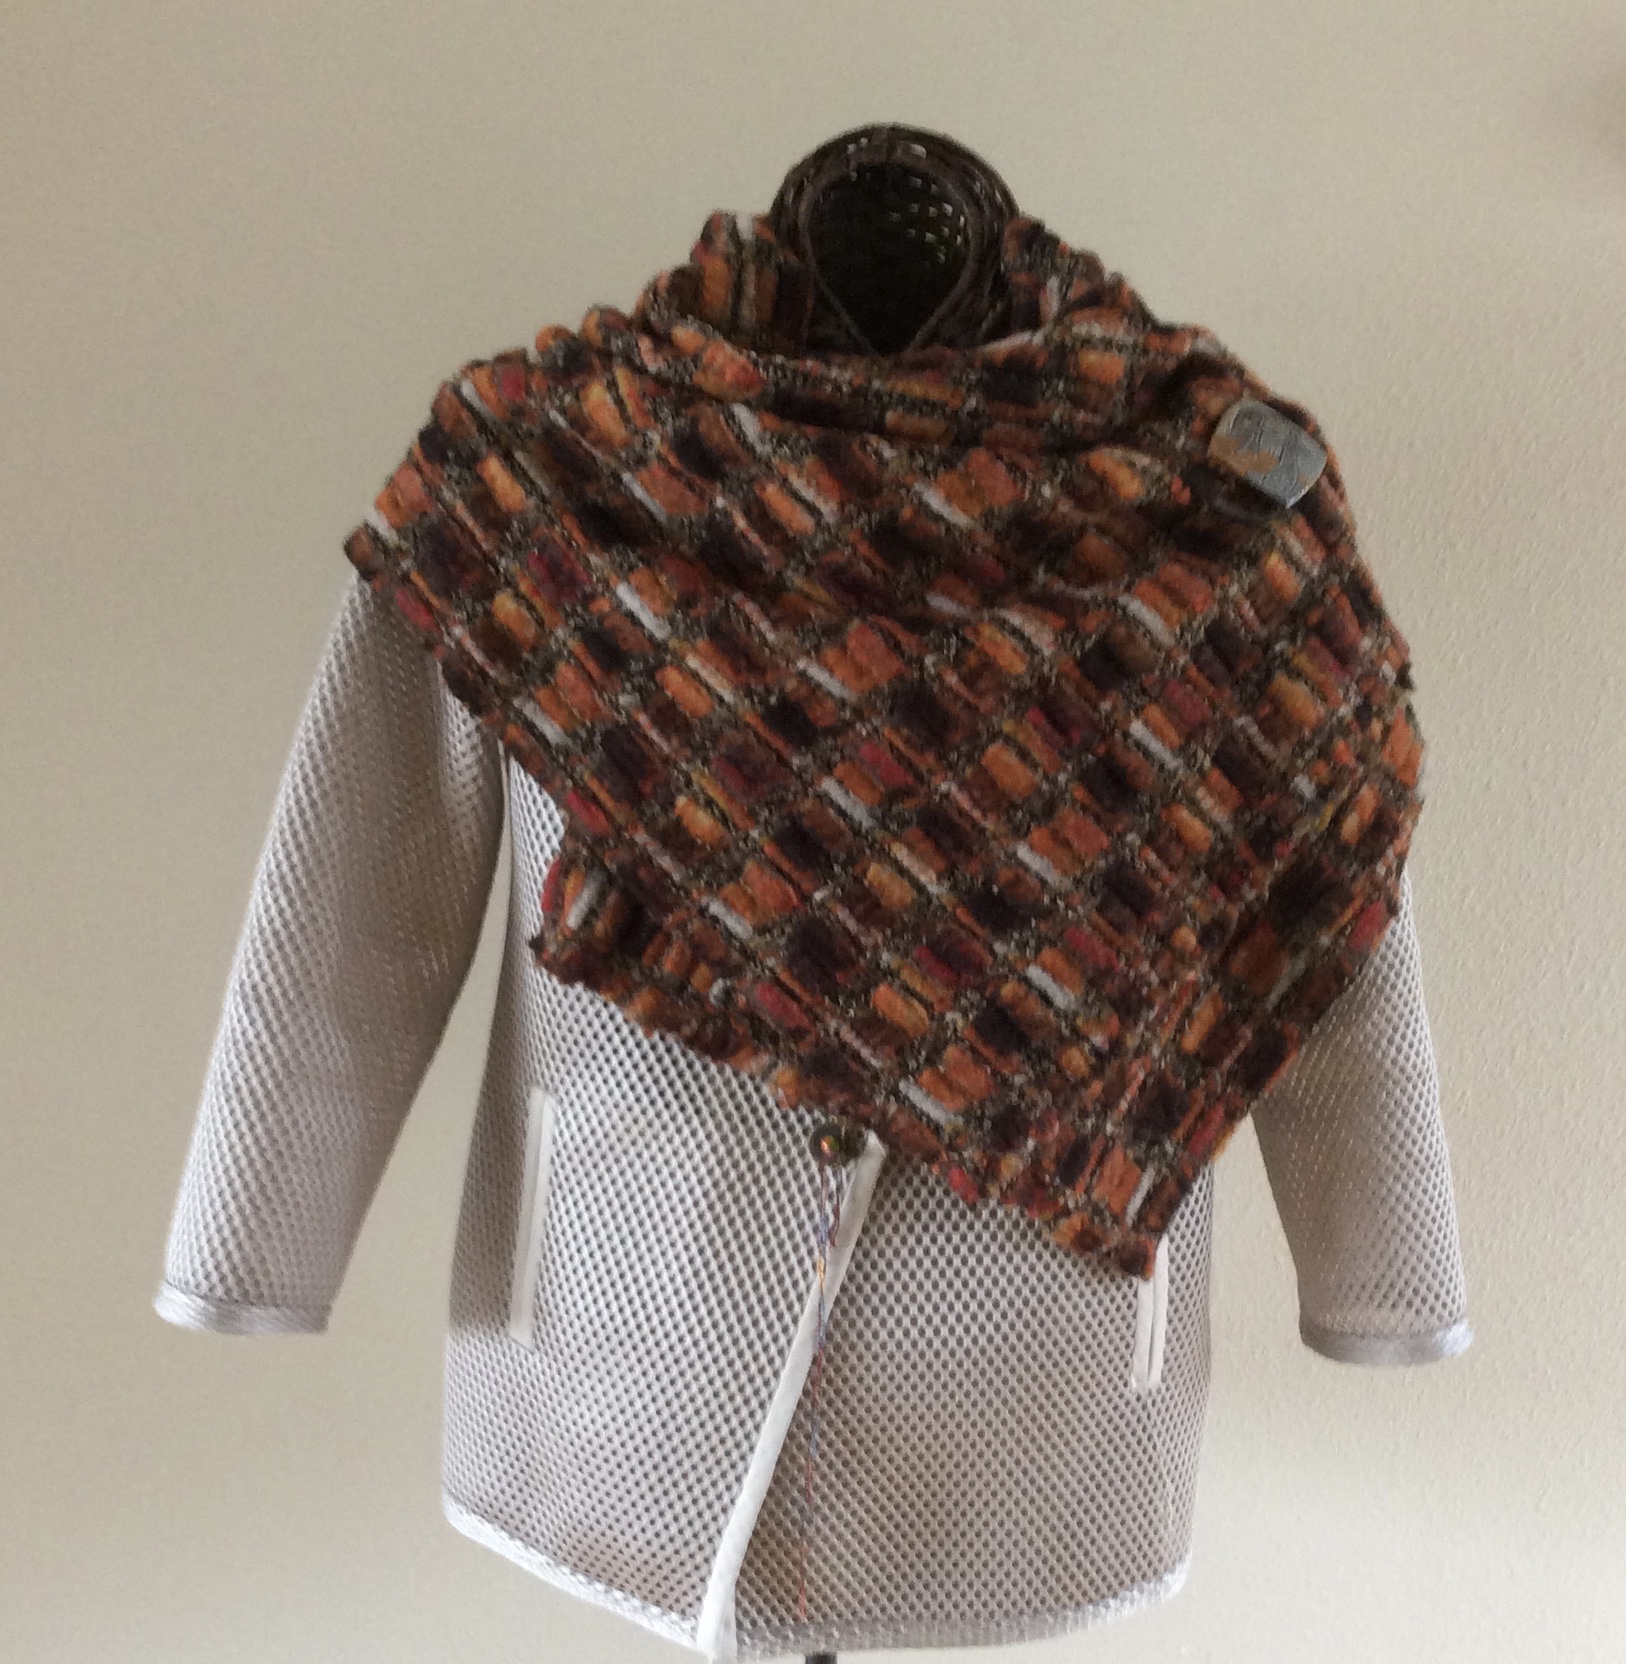
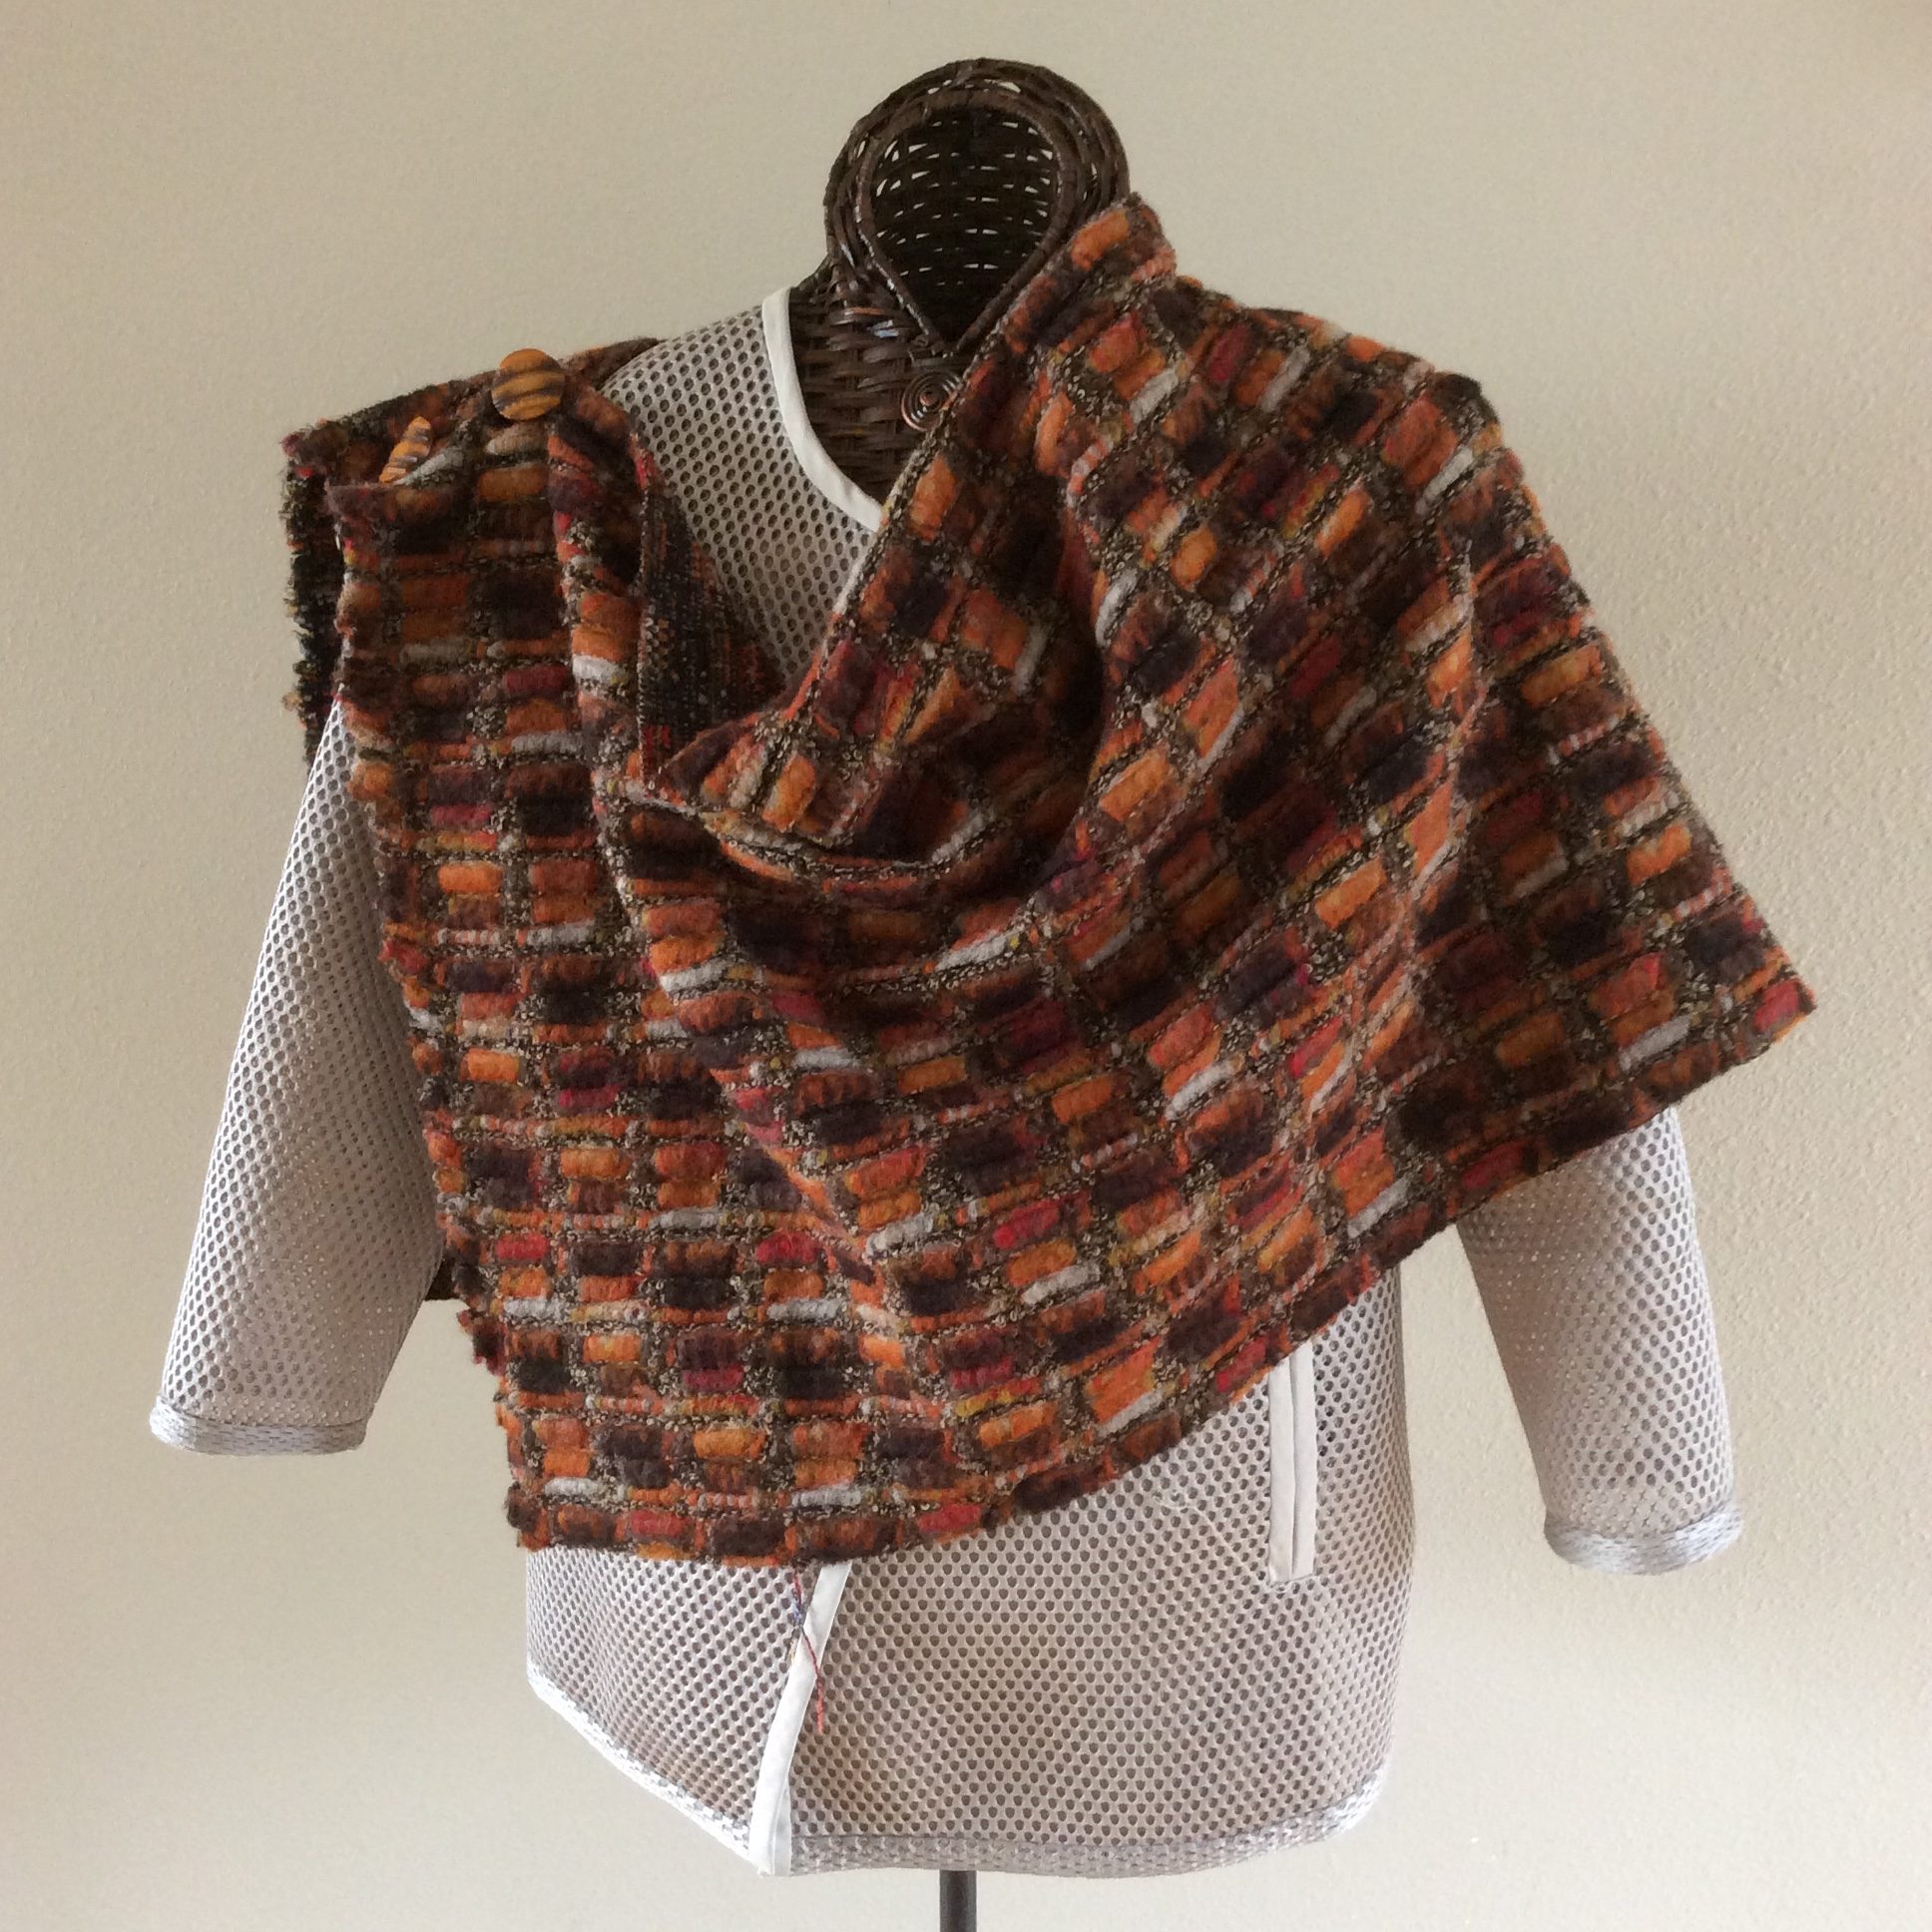
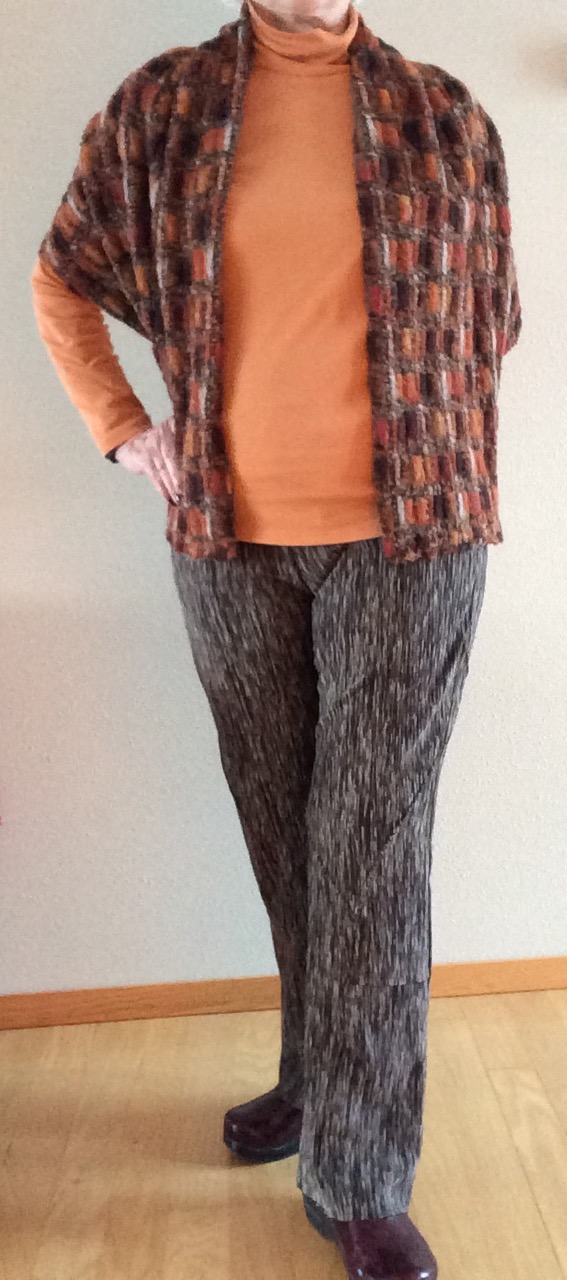
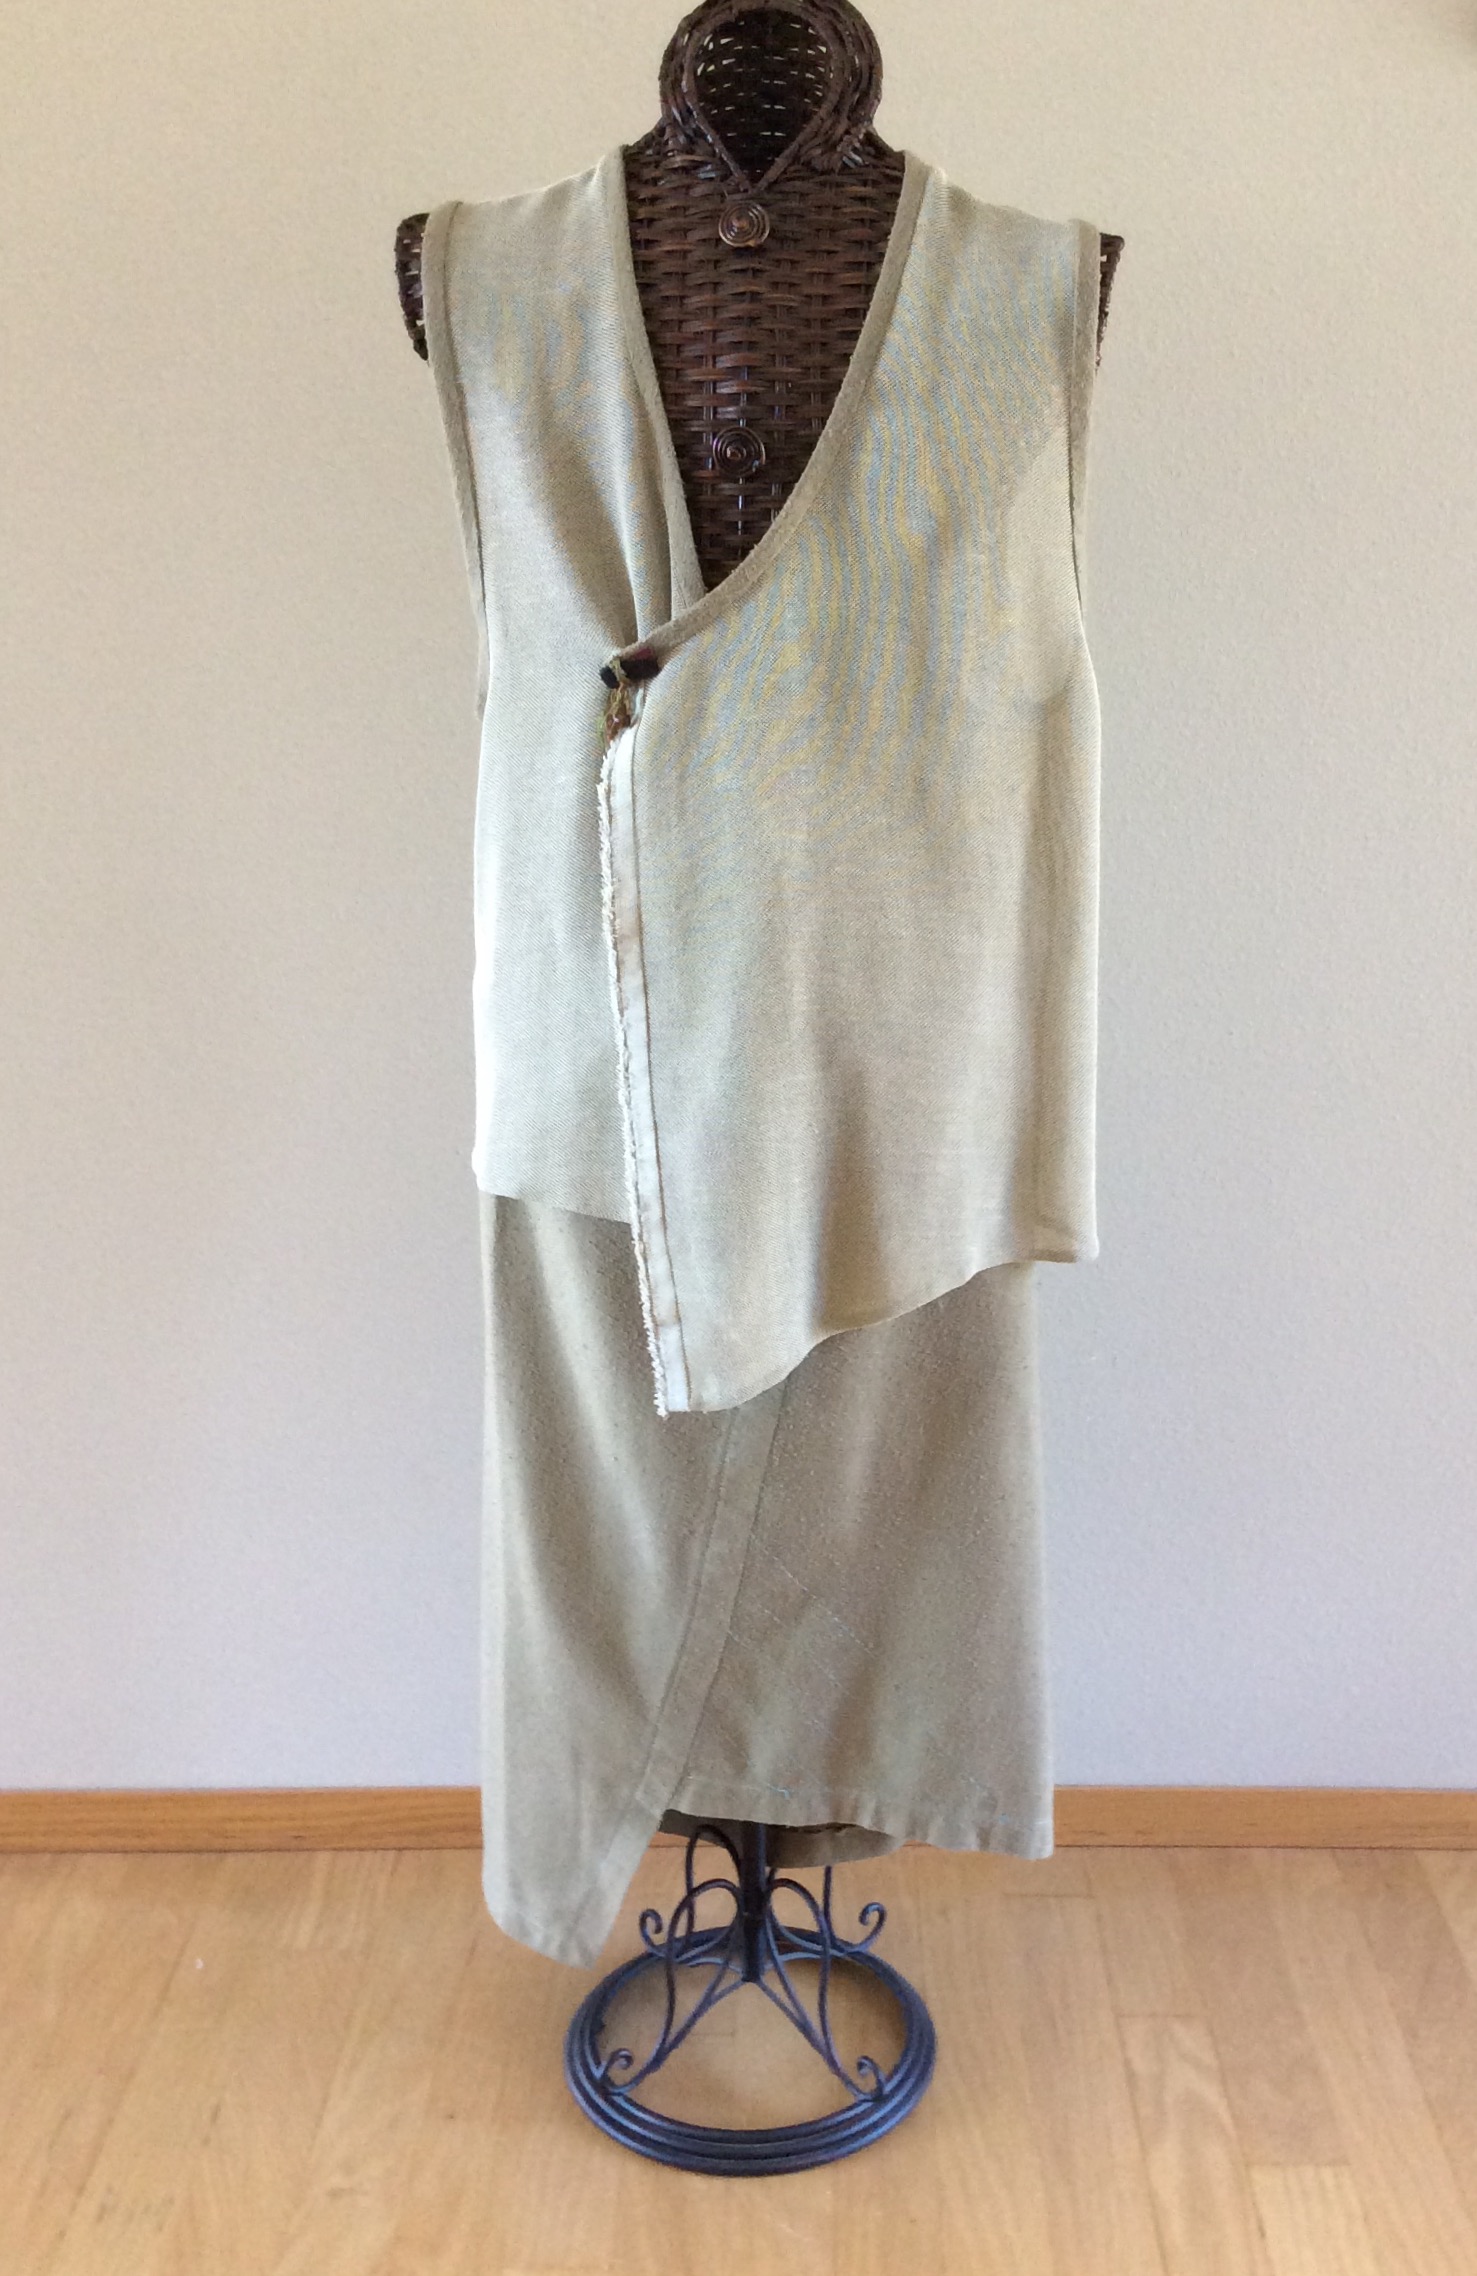
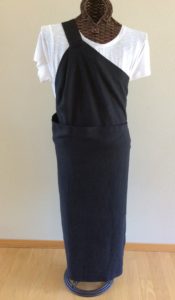
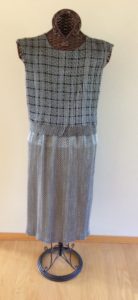
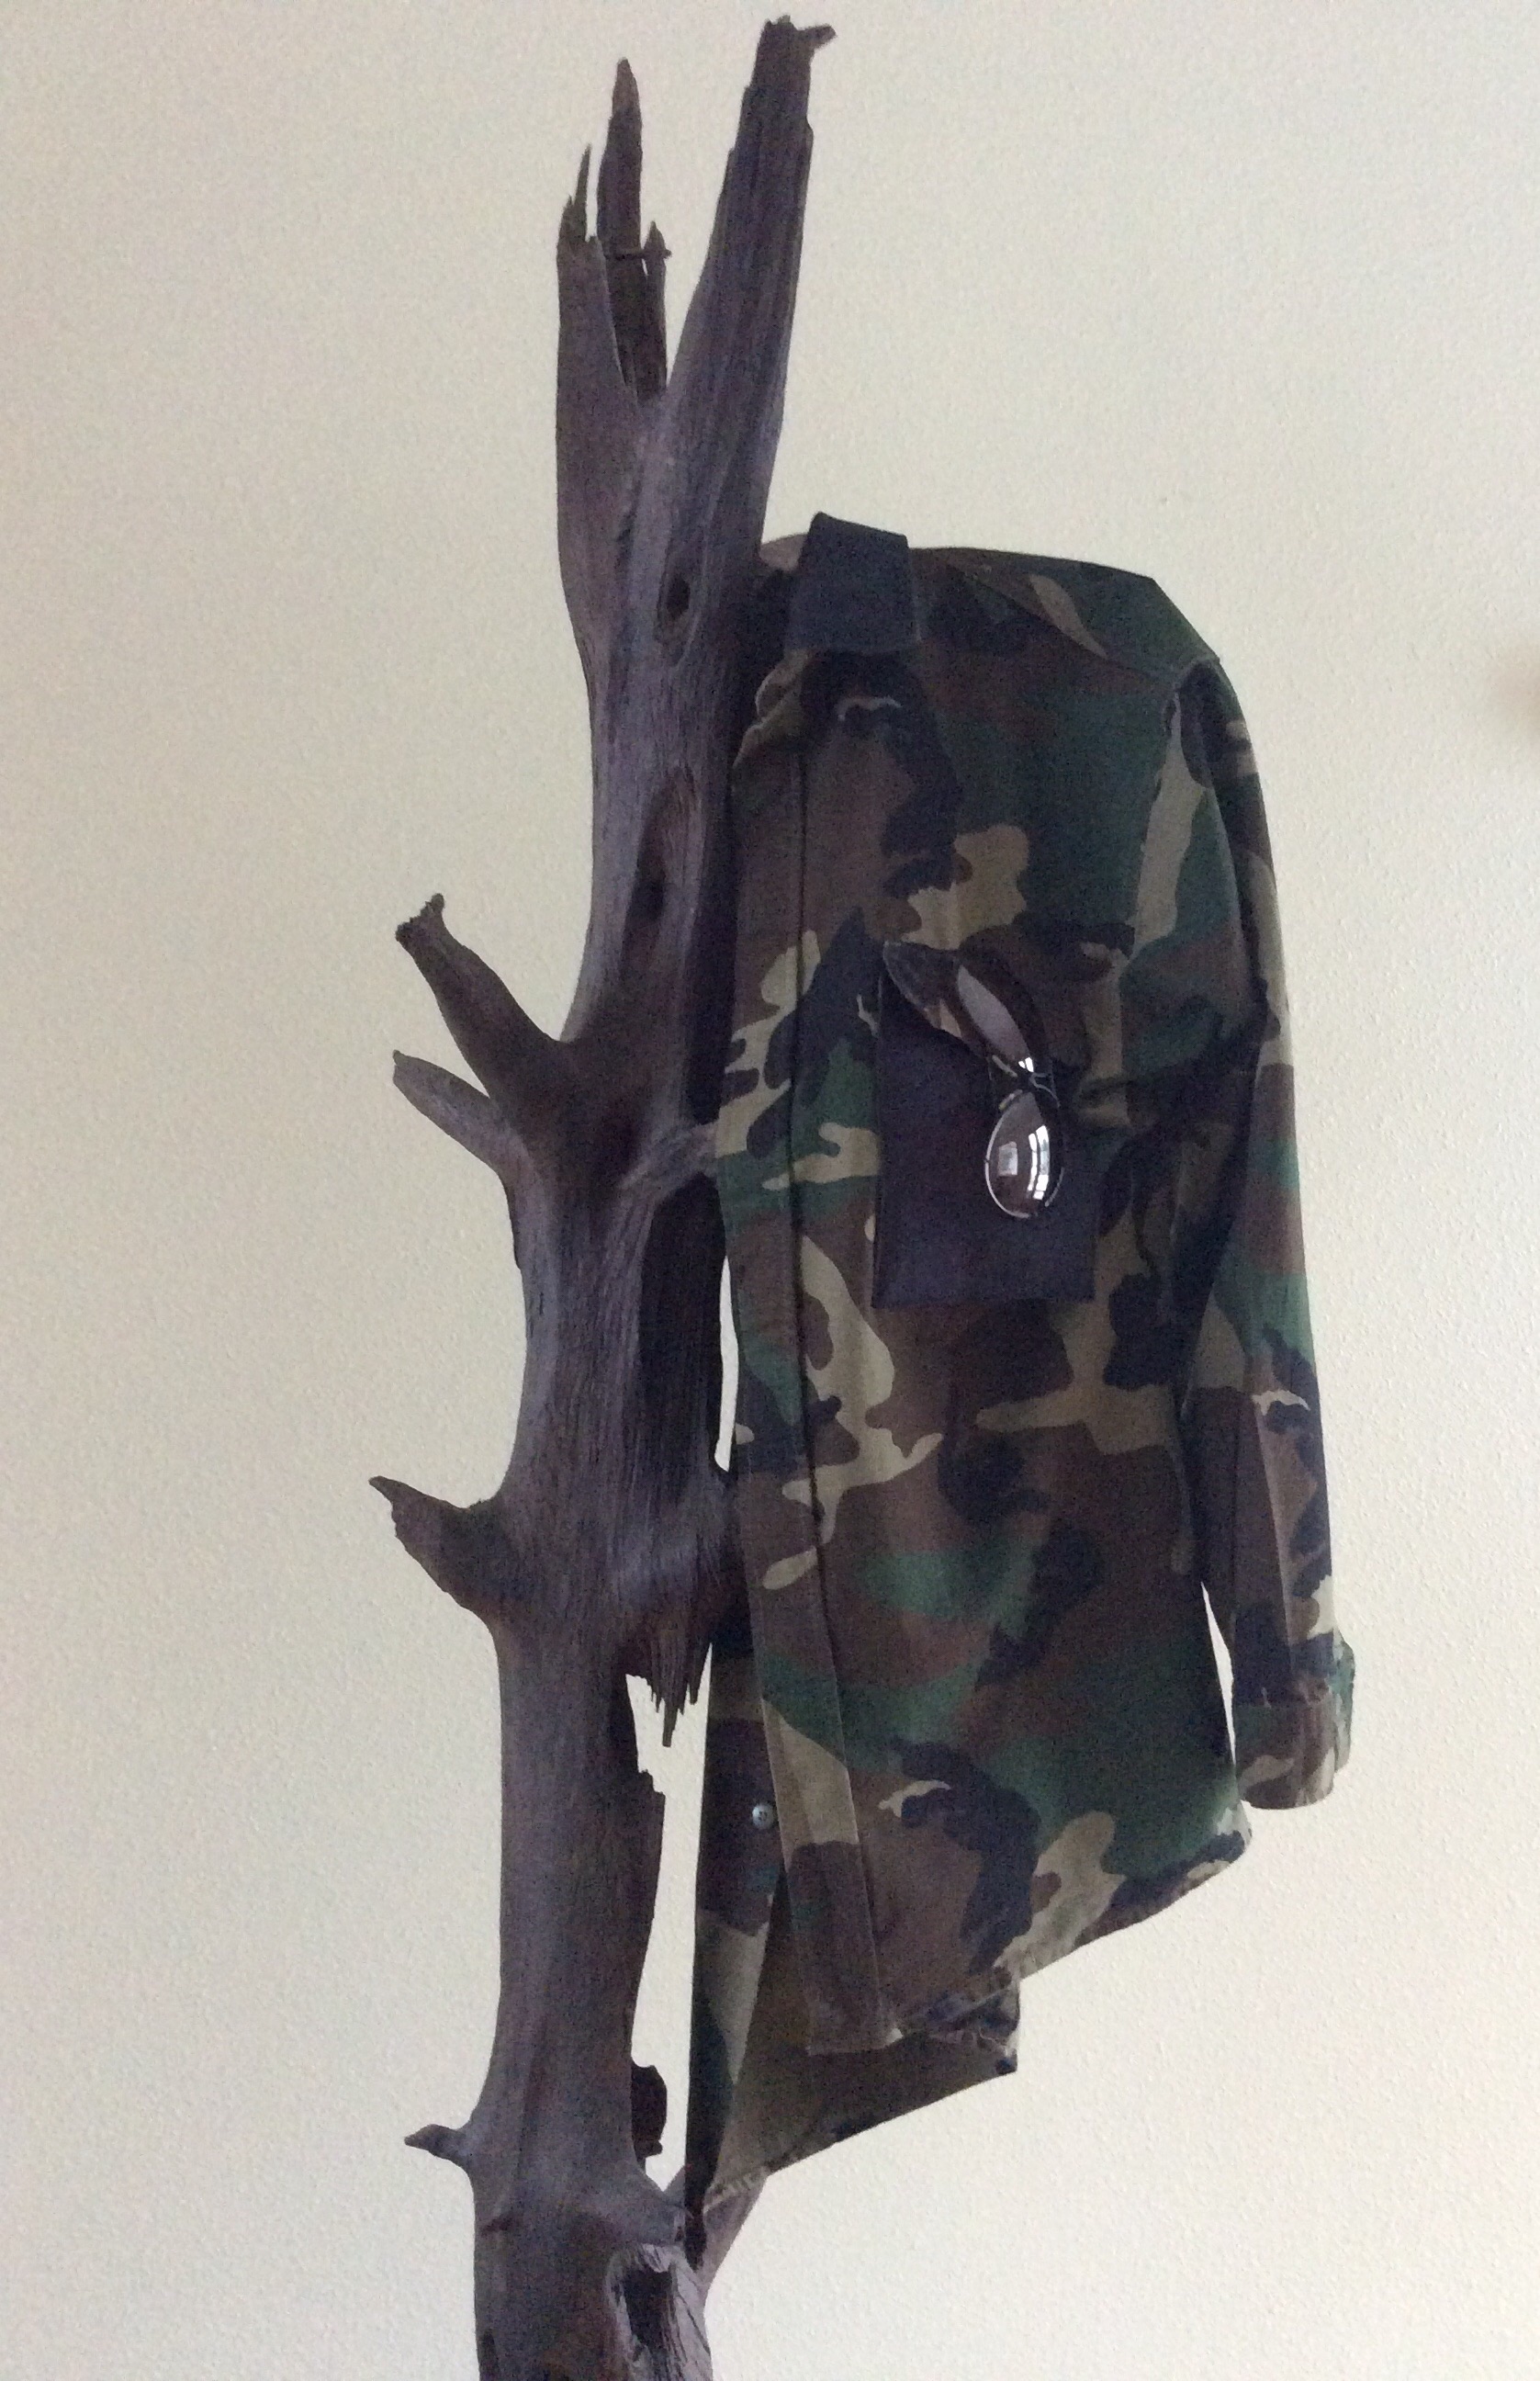
3D Spacer Mesh Jacket
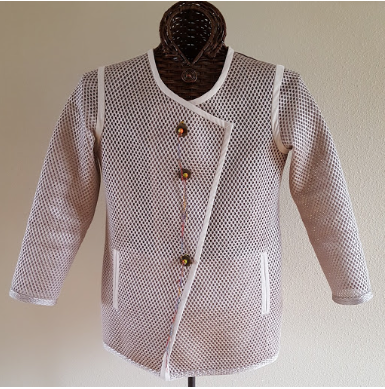
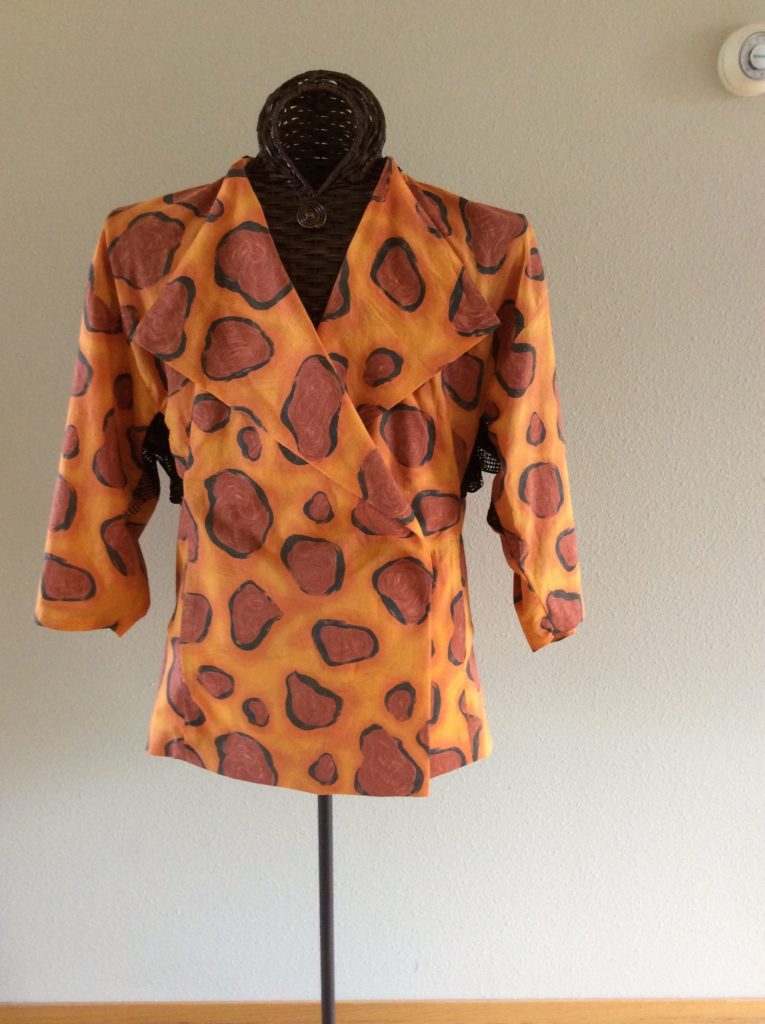
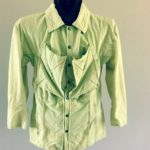
Neucarol’s 3D Spacer Mesh Jacket
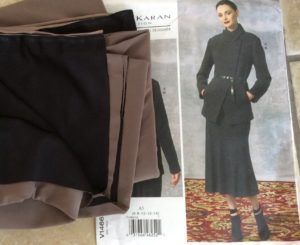
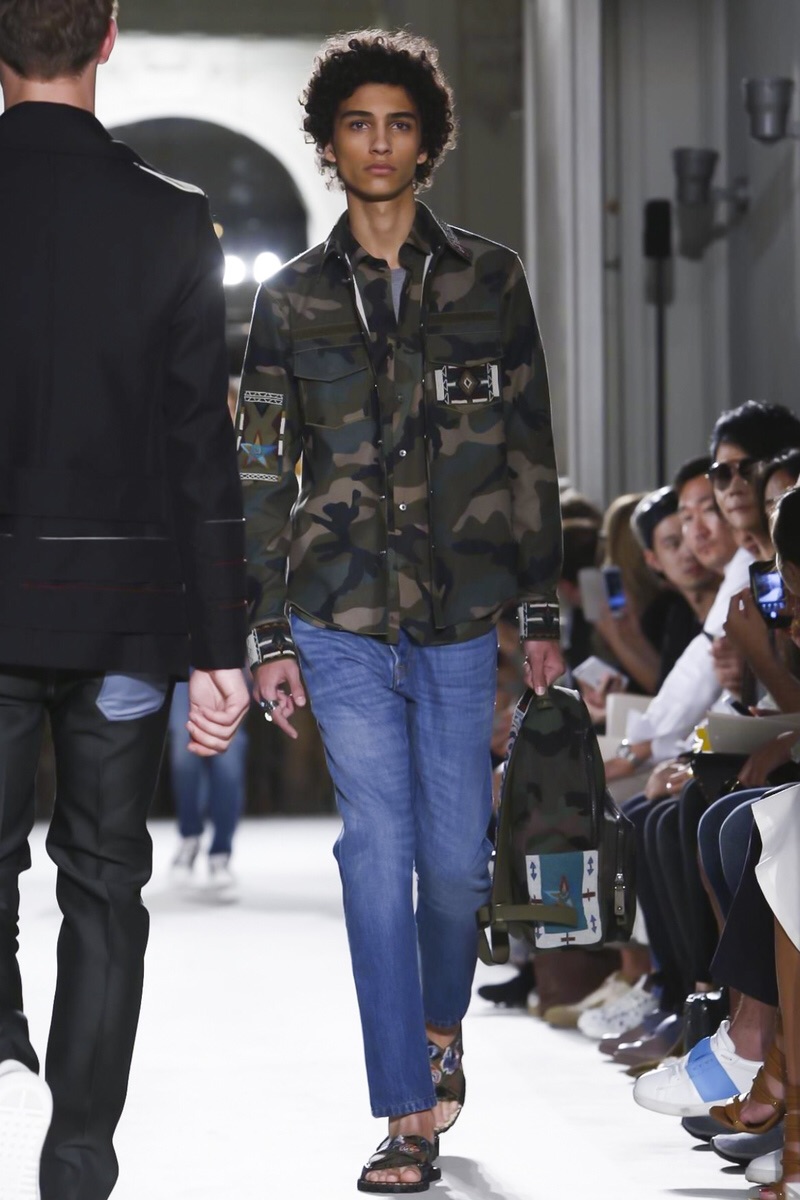
I spotted the fabric at Mood Fabrics and instantly recalled a RTW I had just seen at Saks Fifth Avenue. The link to the Mood Mesh is similar to what I bought, but don’t see the exact fabric online. This link is to a slightly different spacer mesh fabric.
 Even at Saks, the RTW wasn’t that well made, but was intrigued by unusual use of the fabric. So, the mesh and a coordinating nylon fabric for binding came home with me.
The binding fabric is a very smooth microfiber–nylon or poly. It is so firmly woven, considered leaving the binding inside edge raw. In the end, did a double-fold.
Sampling
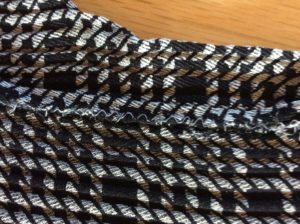
This is the sample testing a butted seam and several binding options.
A butted seam eliminated bulk and covered it with double-fold bias strip. The strip is folded right sides together and the raw edge machine stitched to the garment. When folded over the seam, the trim is centered over the butted seam and covered the raw edges.
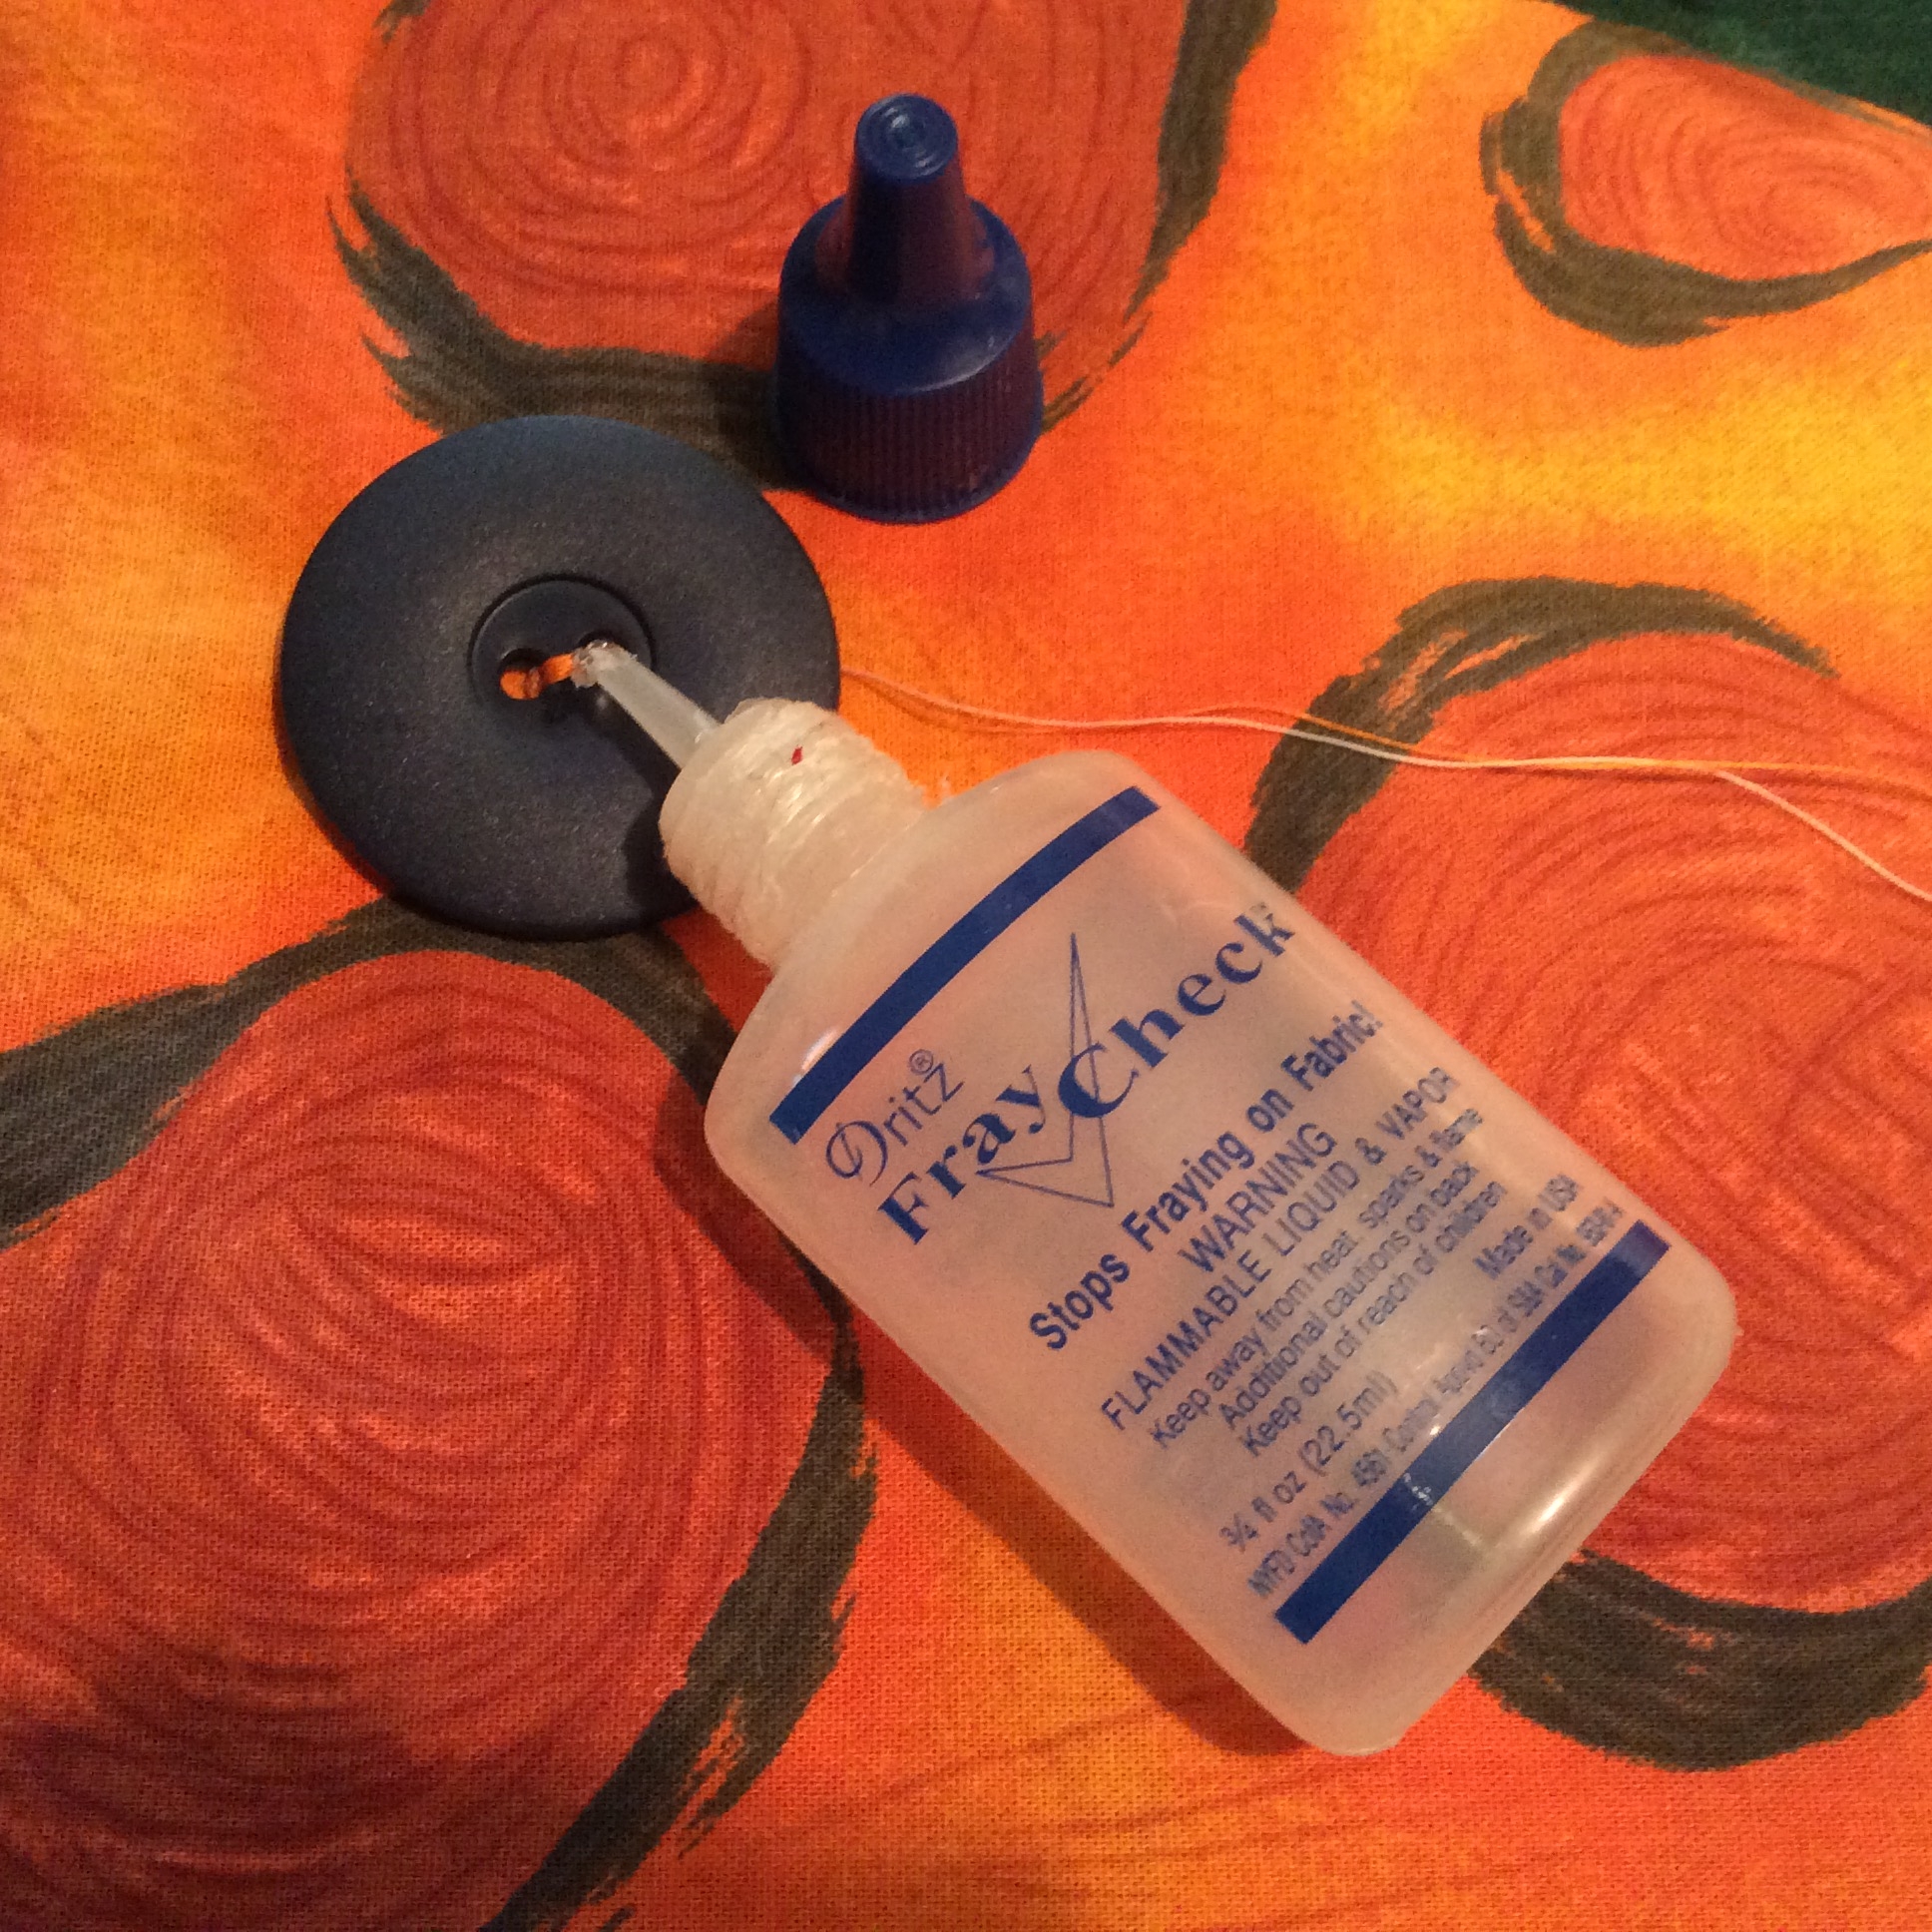
Tested top-stitching the trim but preferred a simple, plain finish. Therefore, the folded edge of the trim is glued in place with Steam-a-Seam.
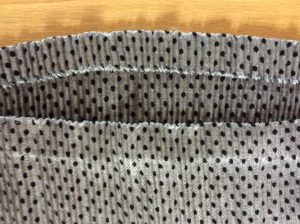
The edges were bound in the same double-fold binding and glued on the inside of the garment.

Sample right side

Sample wrong side
Design
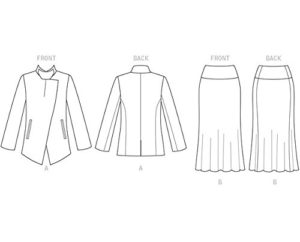
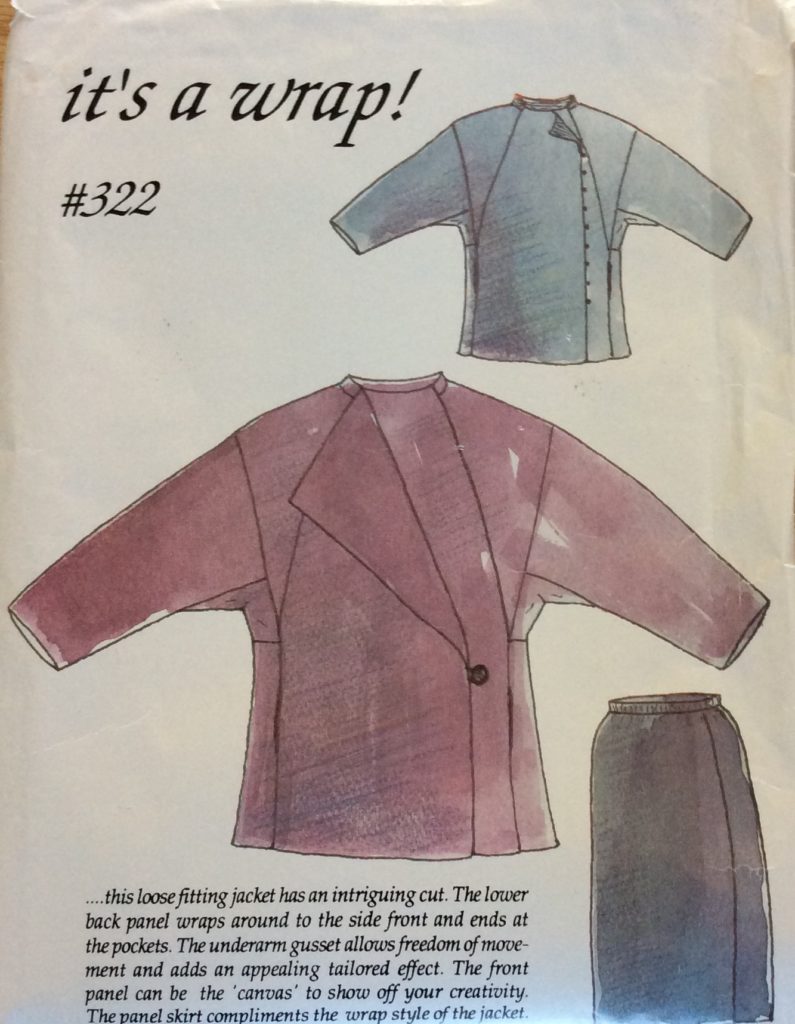
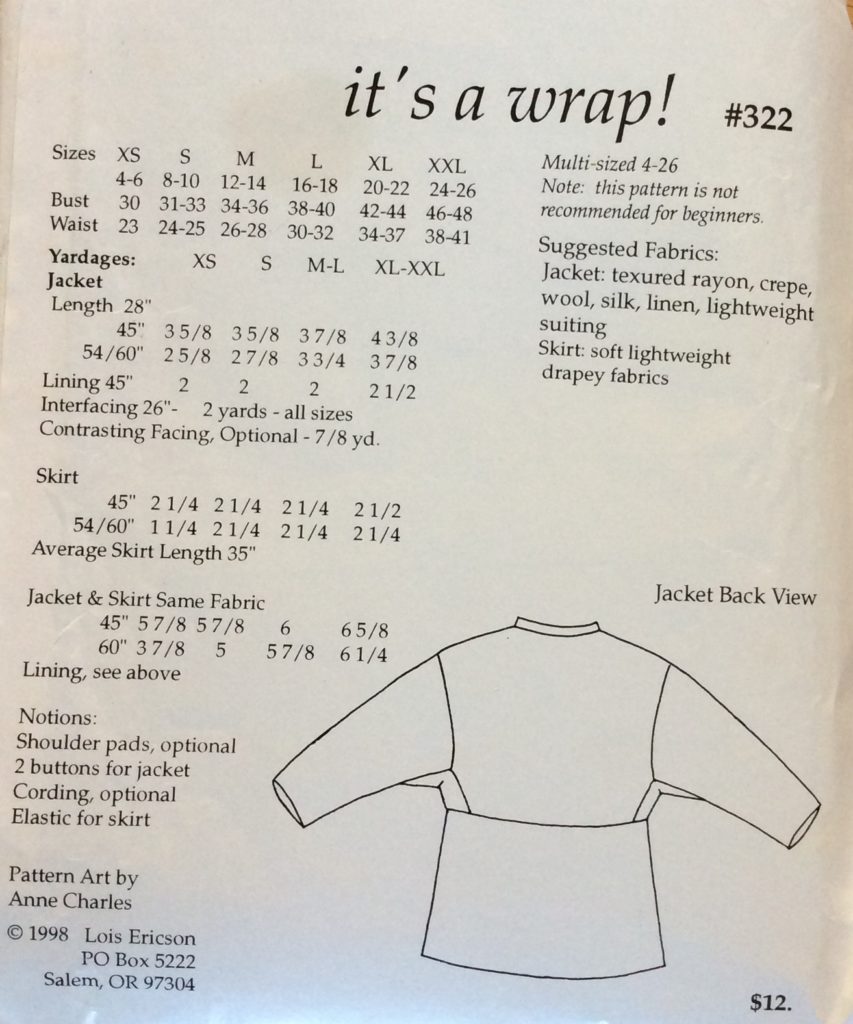
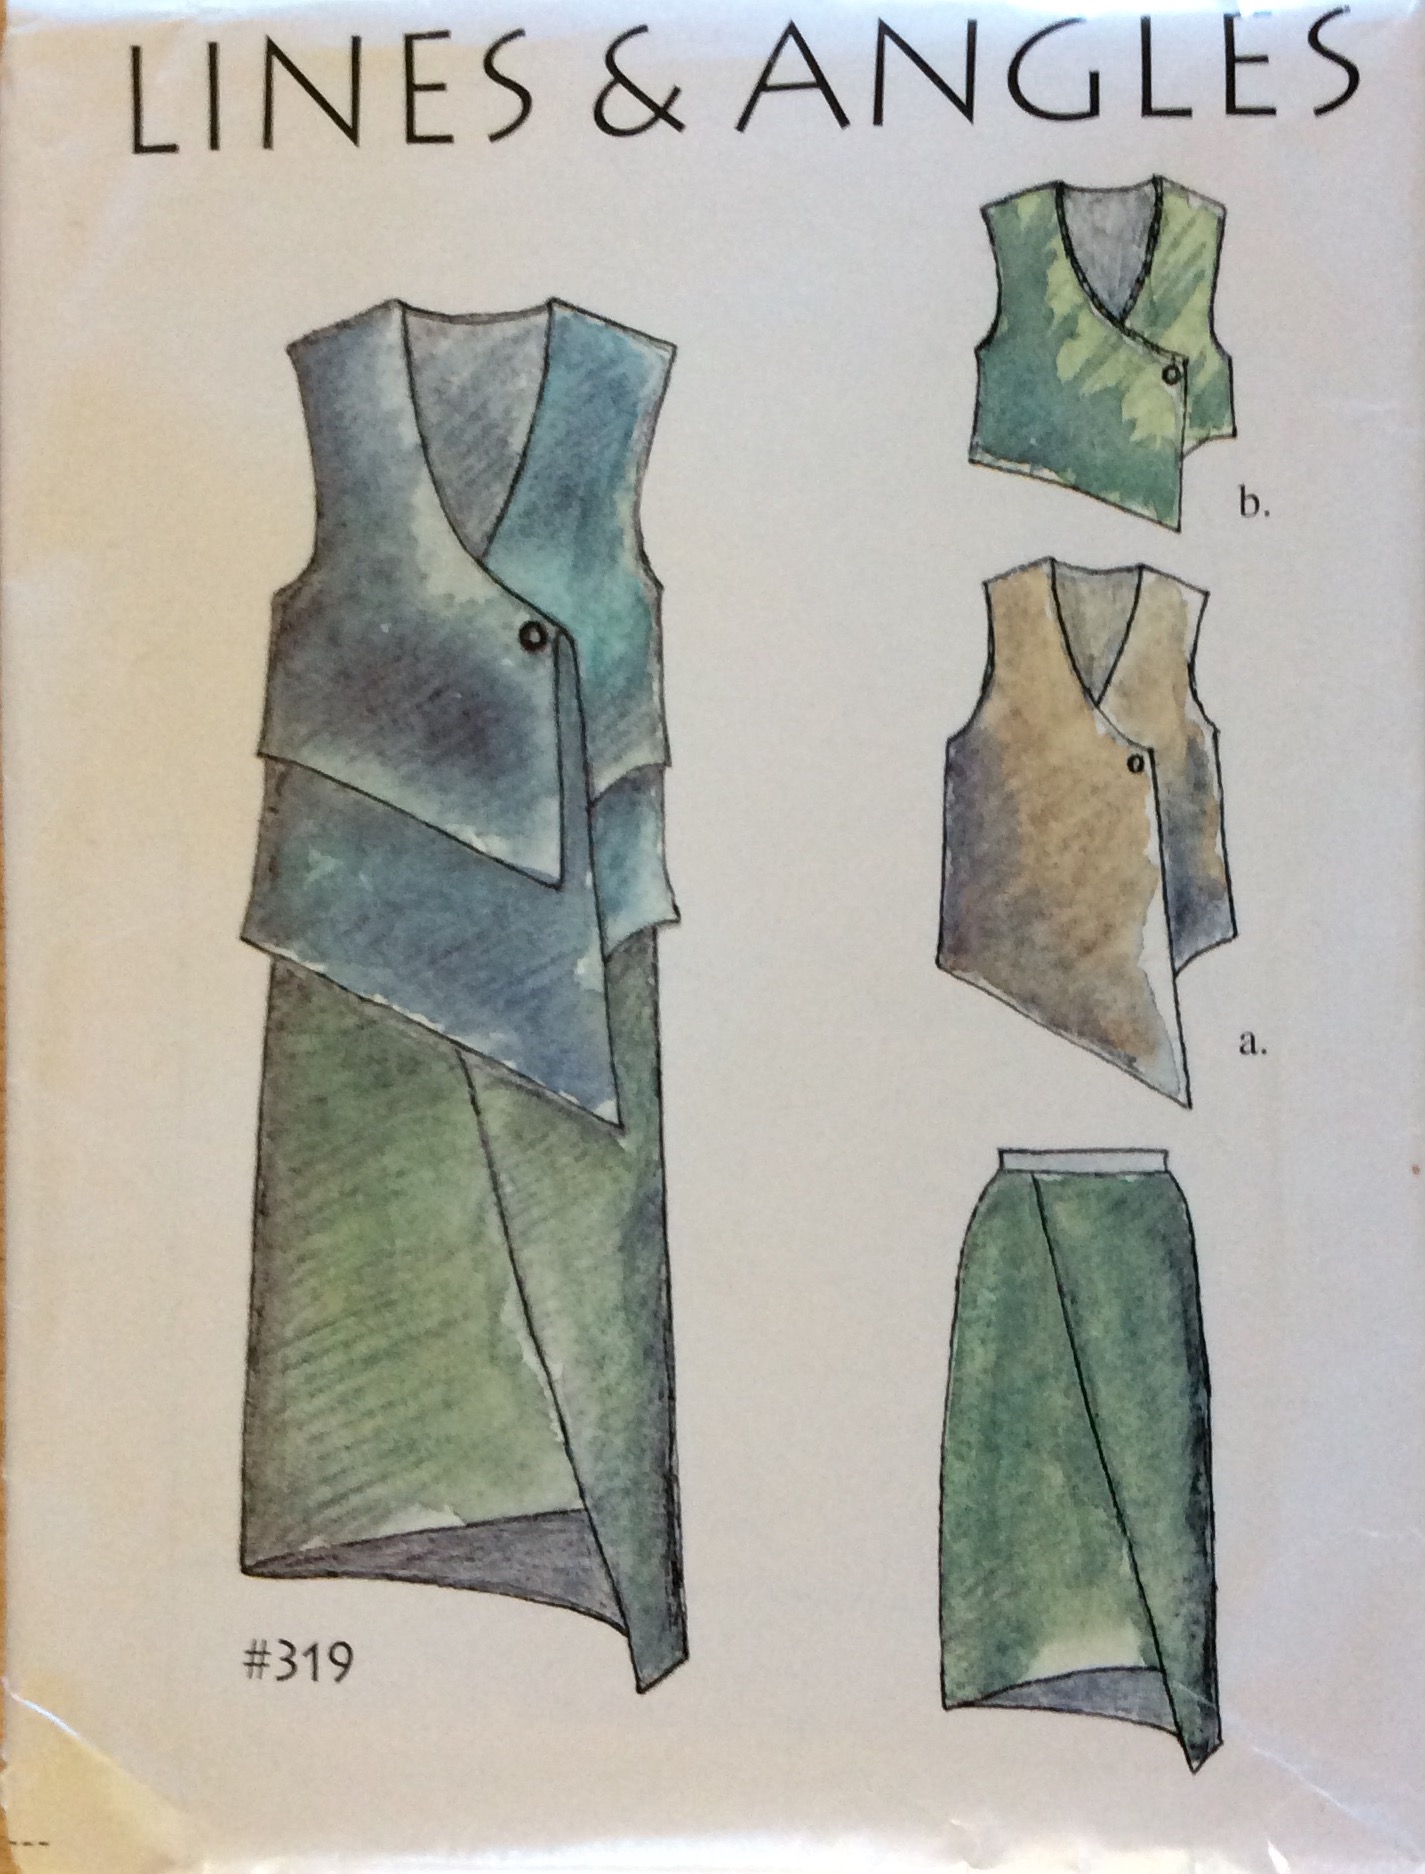
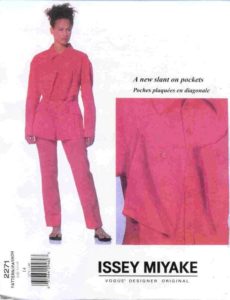
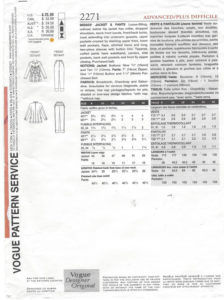
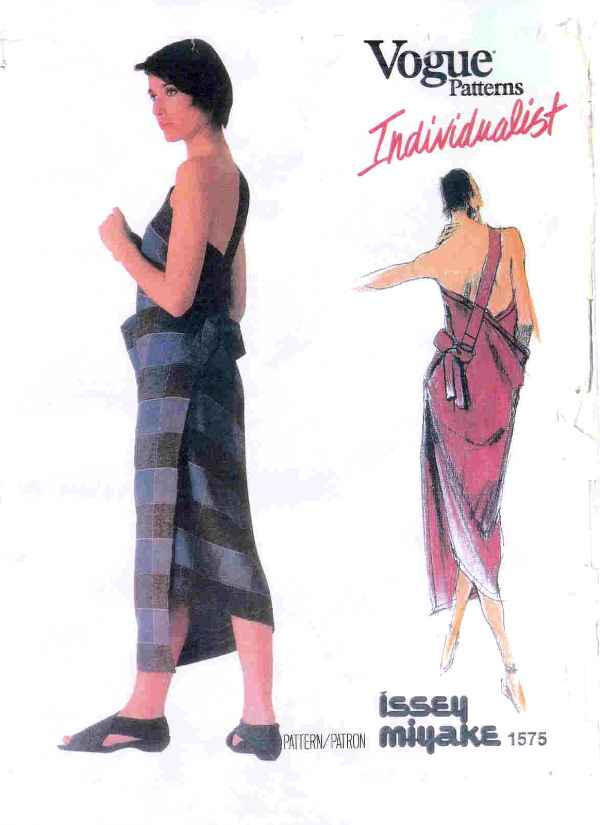
The jacket is based on OOP Vogue 8676 and Simplicity 1499. Had used the Vogue pattern and liked the fit–especially the high armholes and the slight waistline shaping at the side seams.
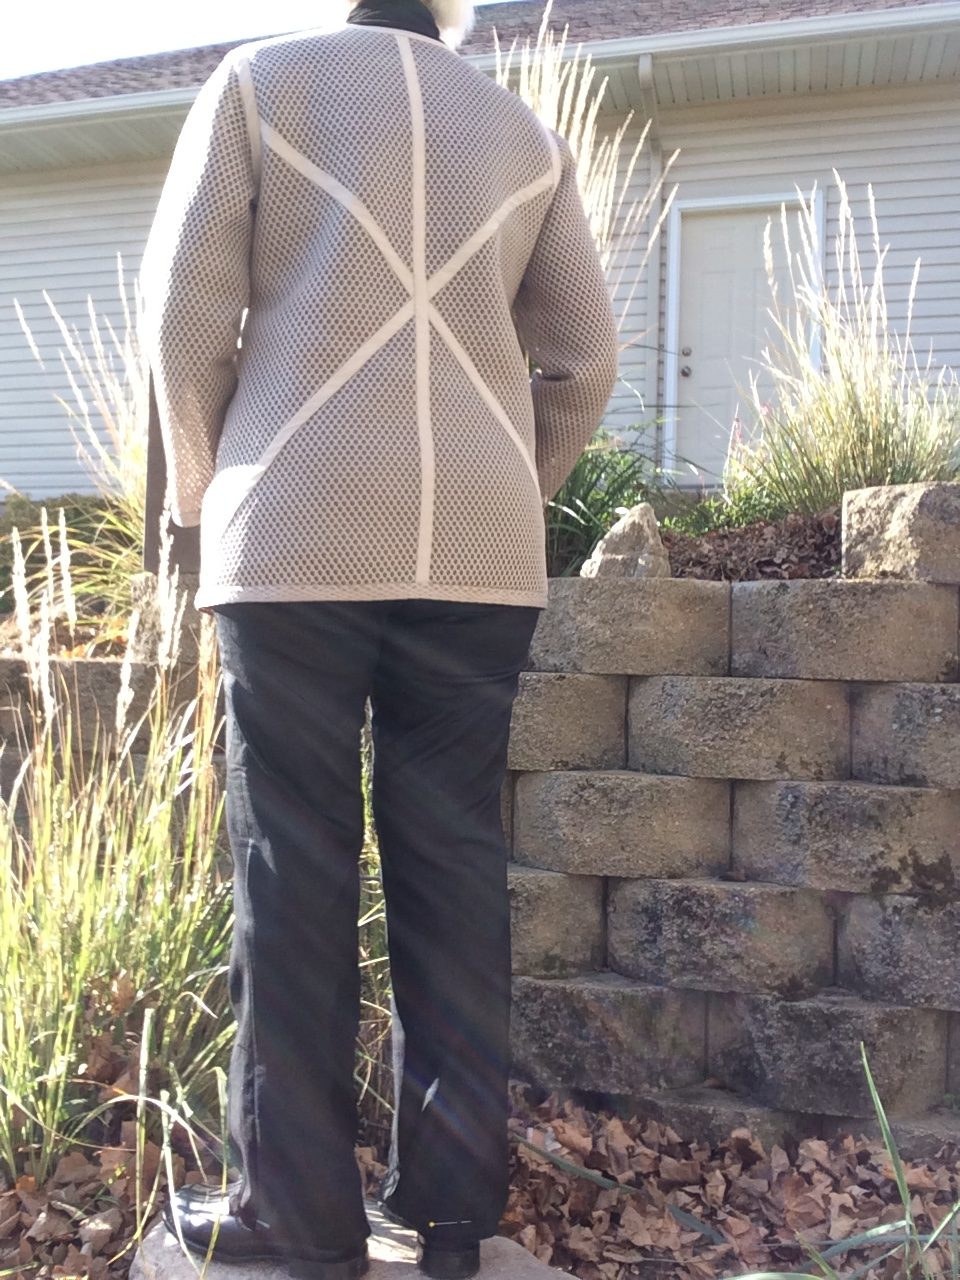
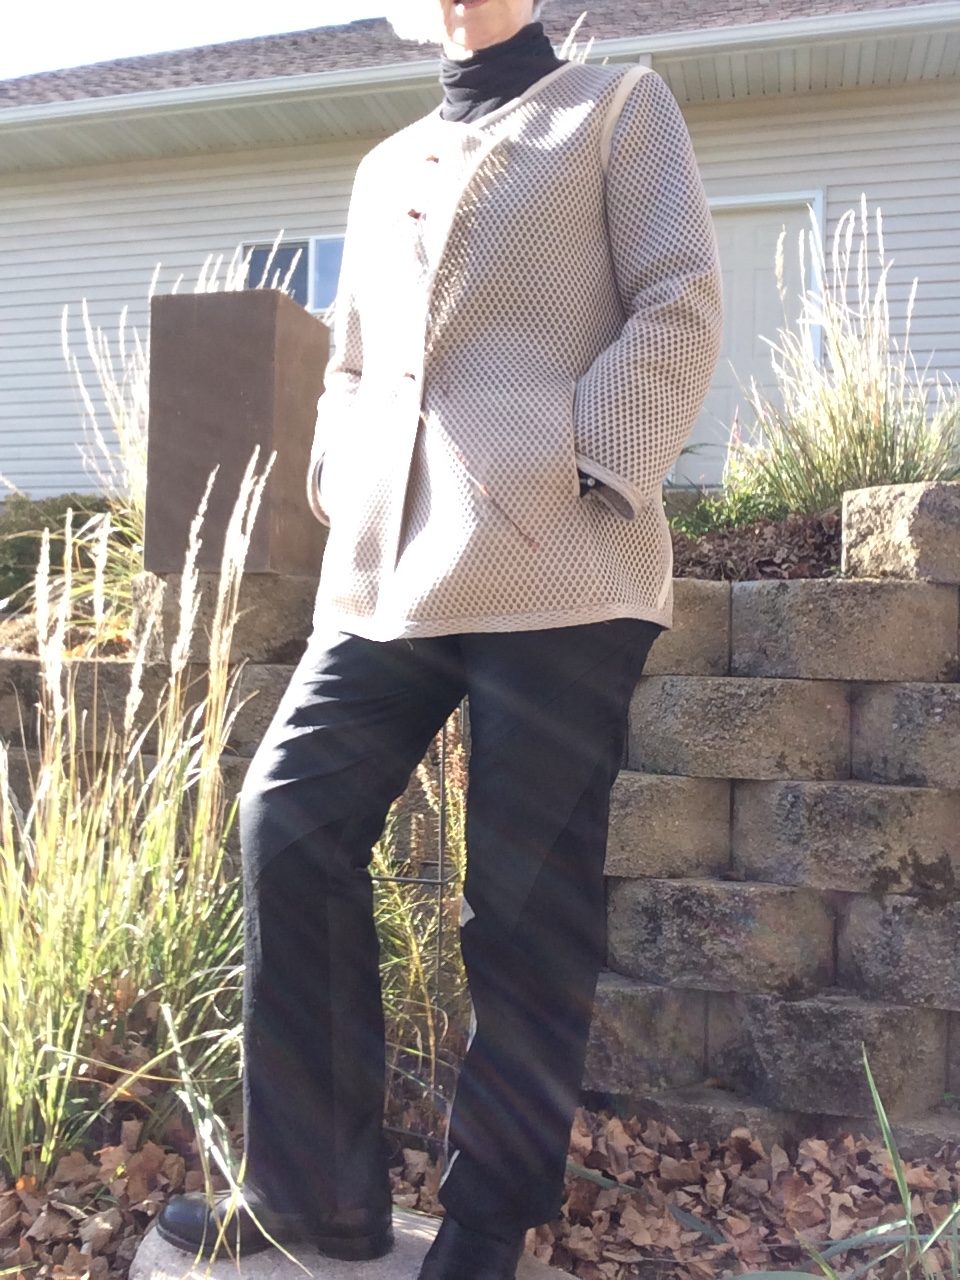
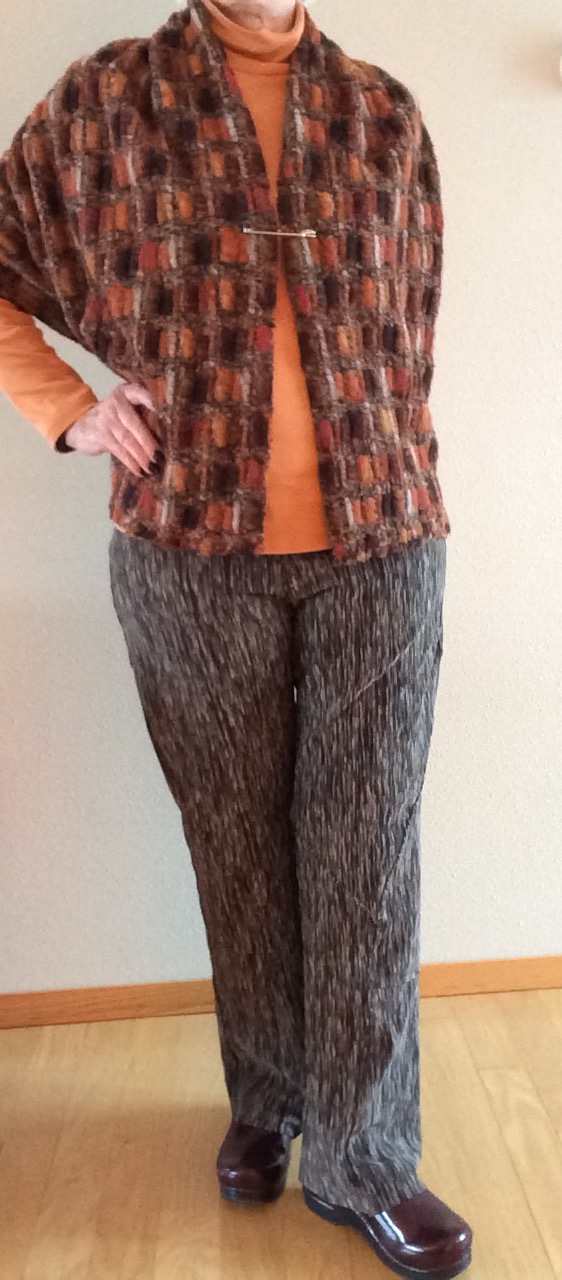
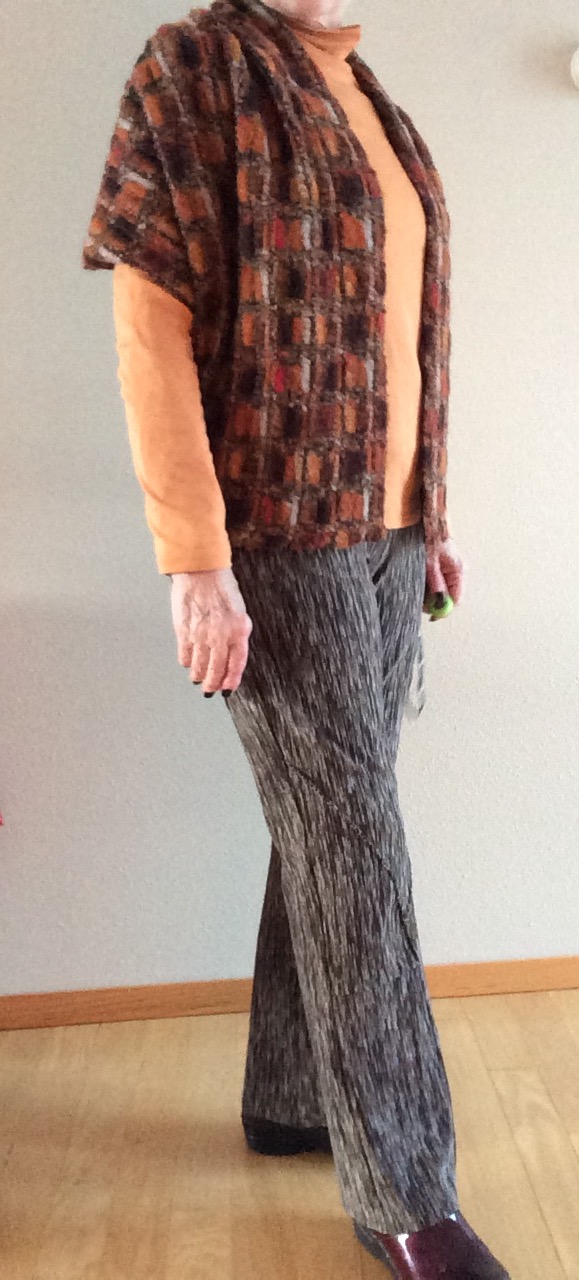
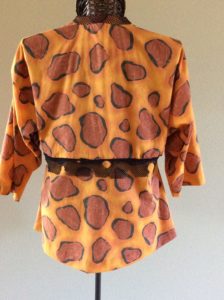
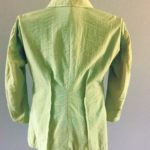
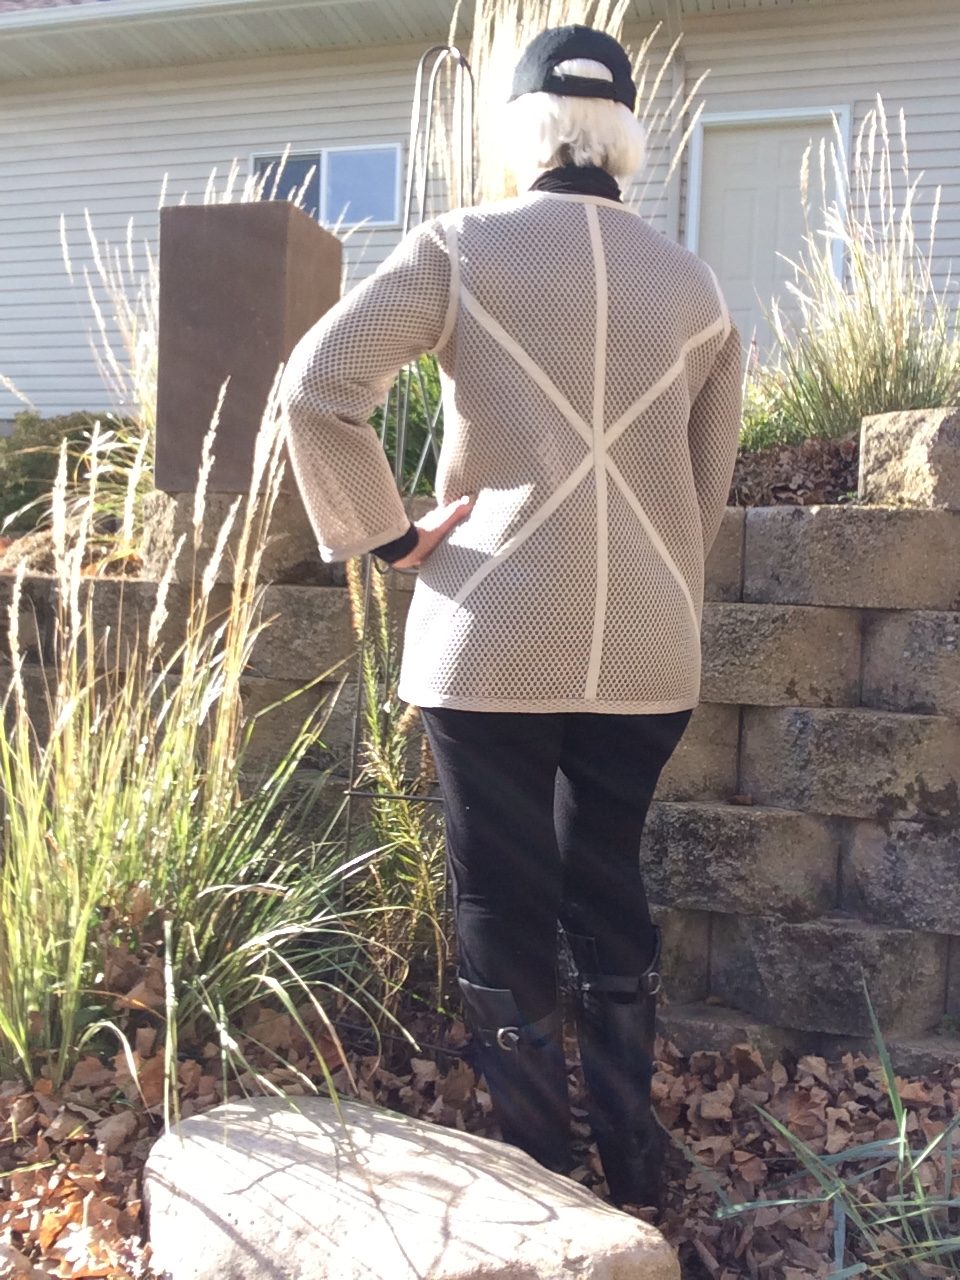
The side seam shaping is readily seen in the finished garment.
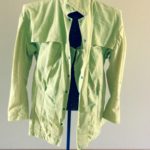
Simplicity 1499 was used for the asymmetric zipped front.
The rest of the design was influenced by the RTW design.
The RTW Princess seams were eliminated–didn’t need the fit nor the extra trim work. It would have provided an in-seam pocket space; in the end, a welt pocket worked well.
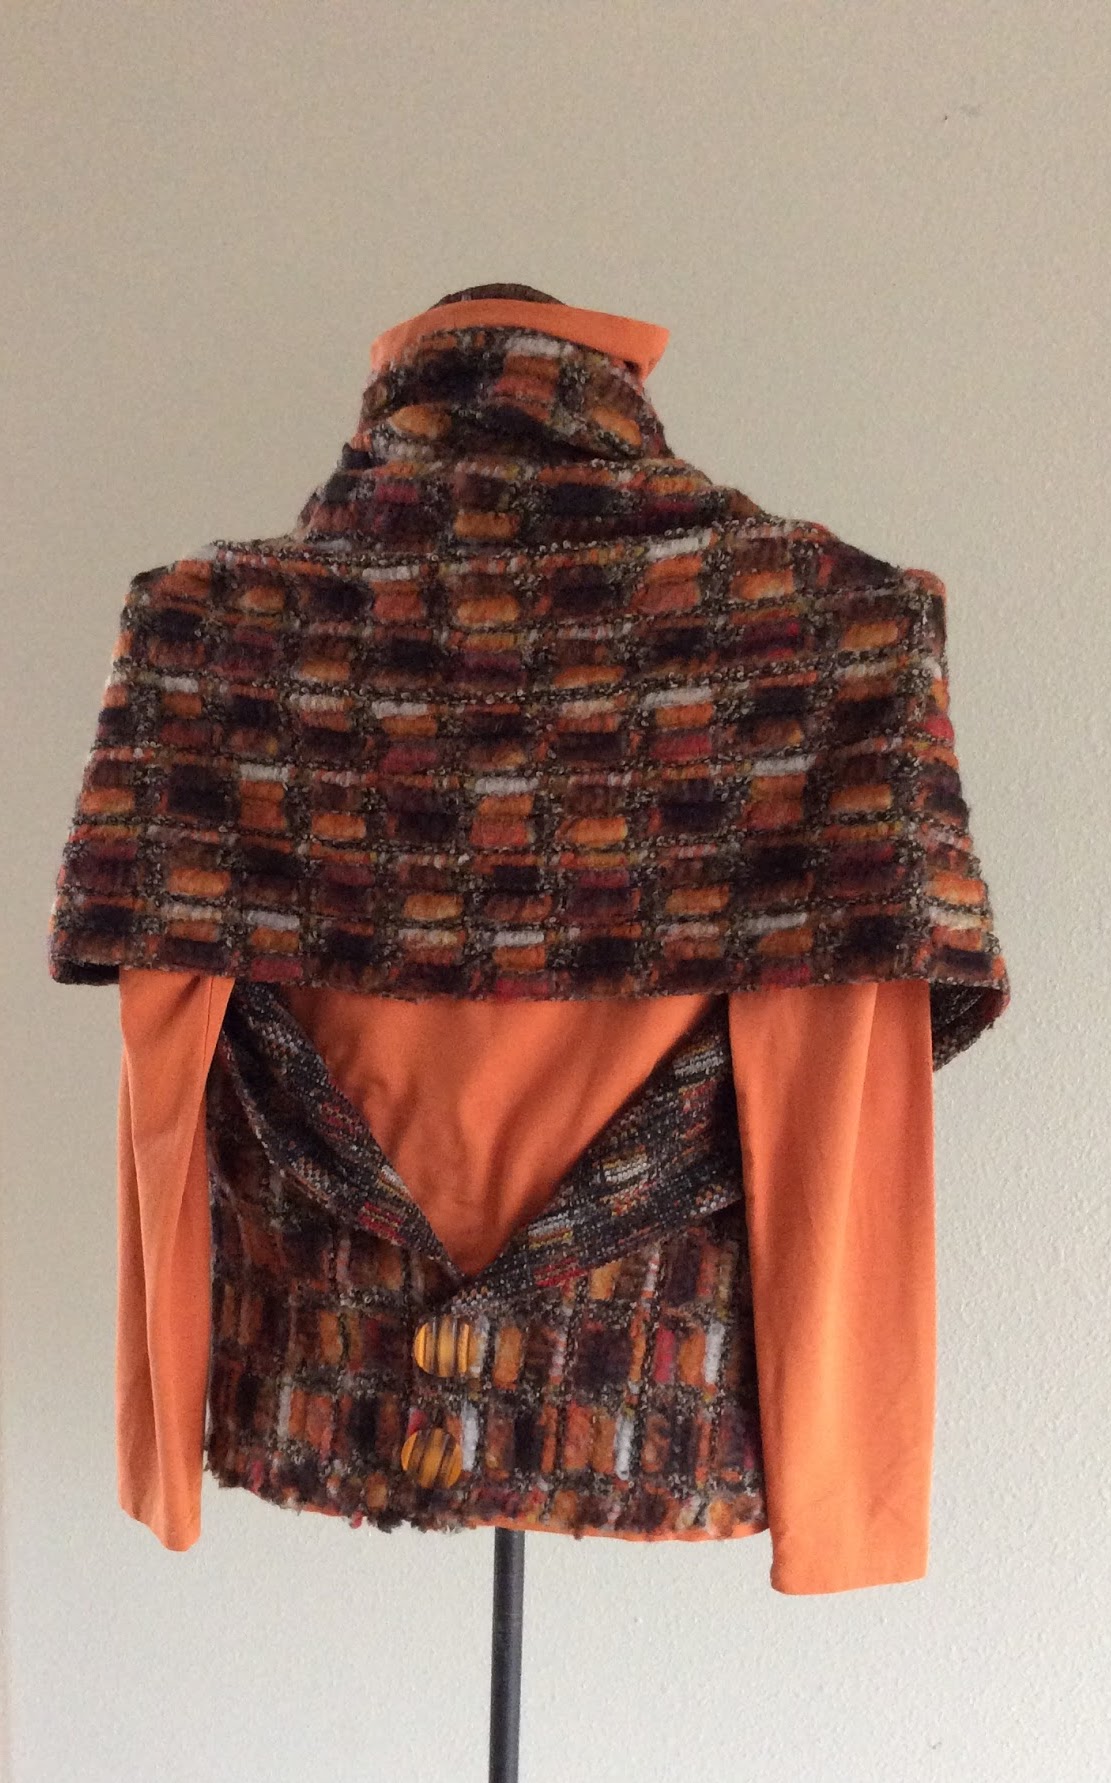
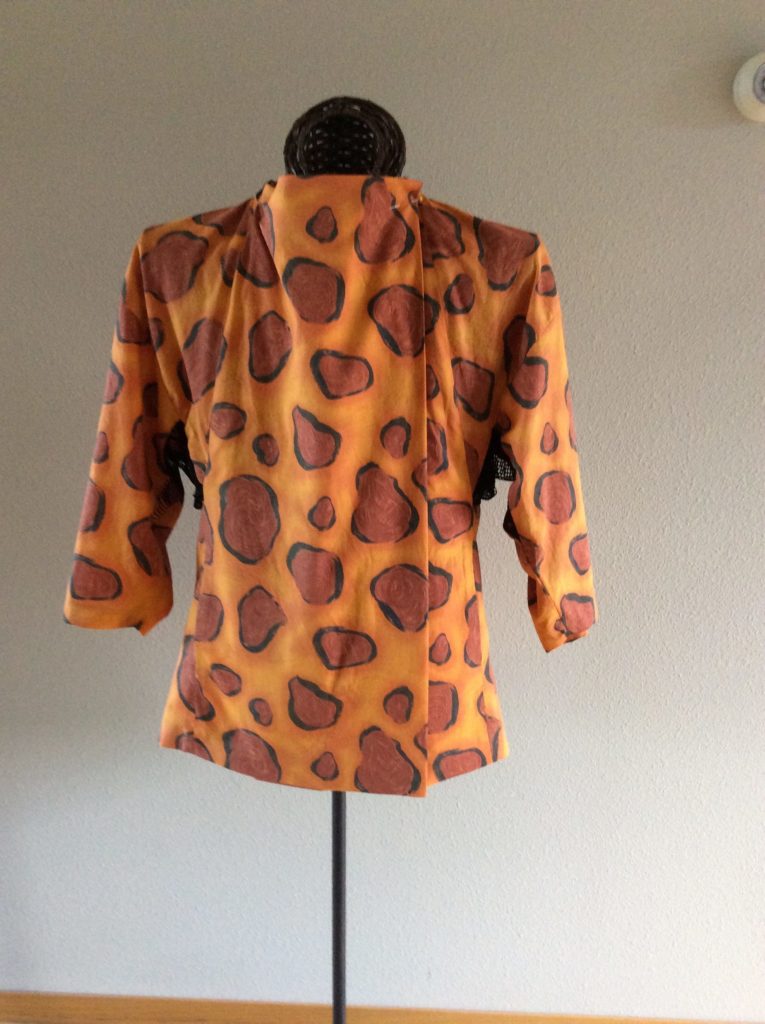
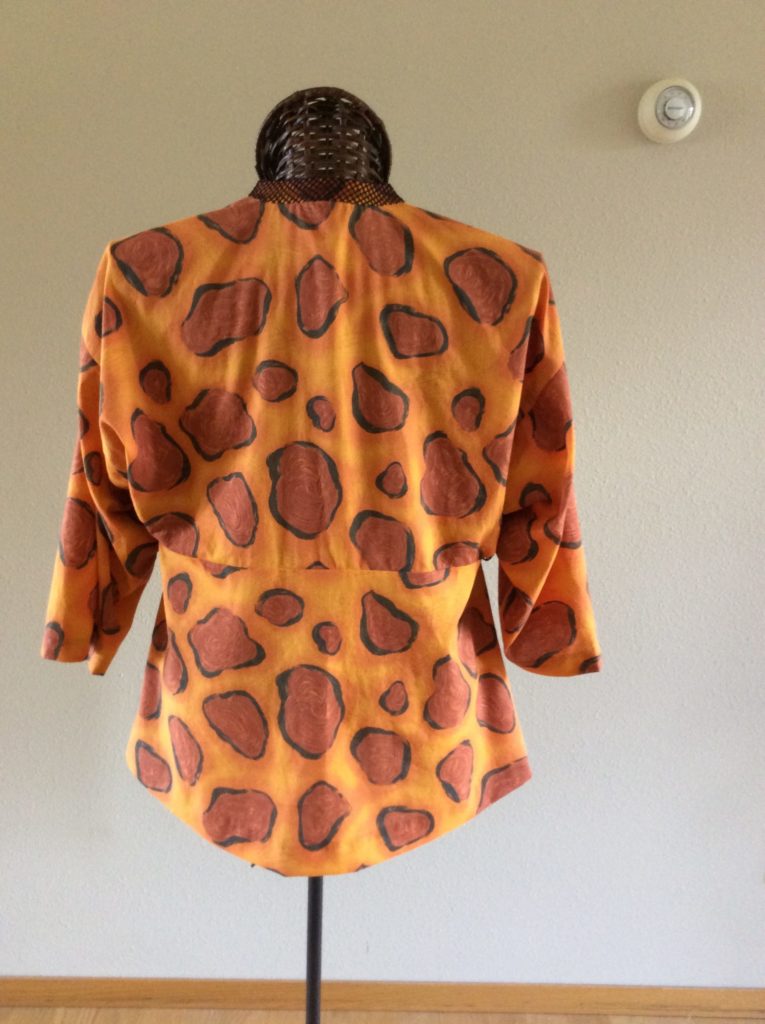
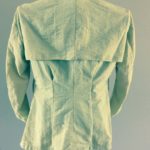
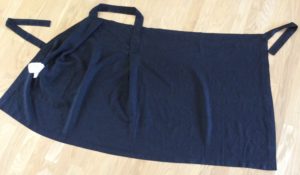
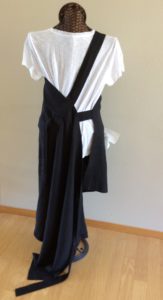
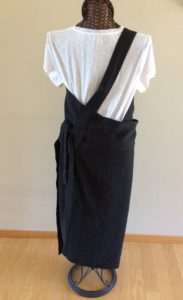
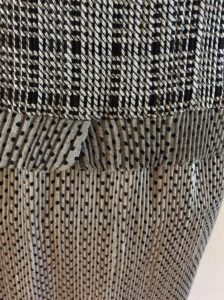
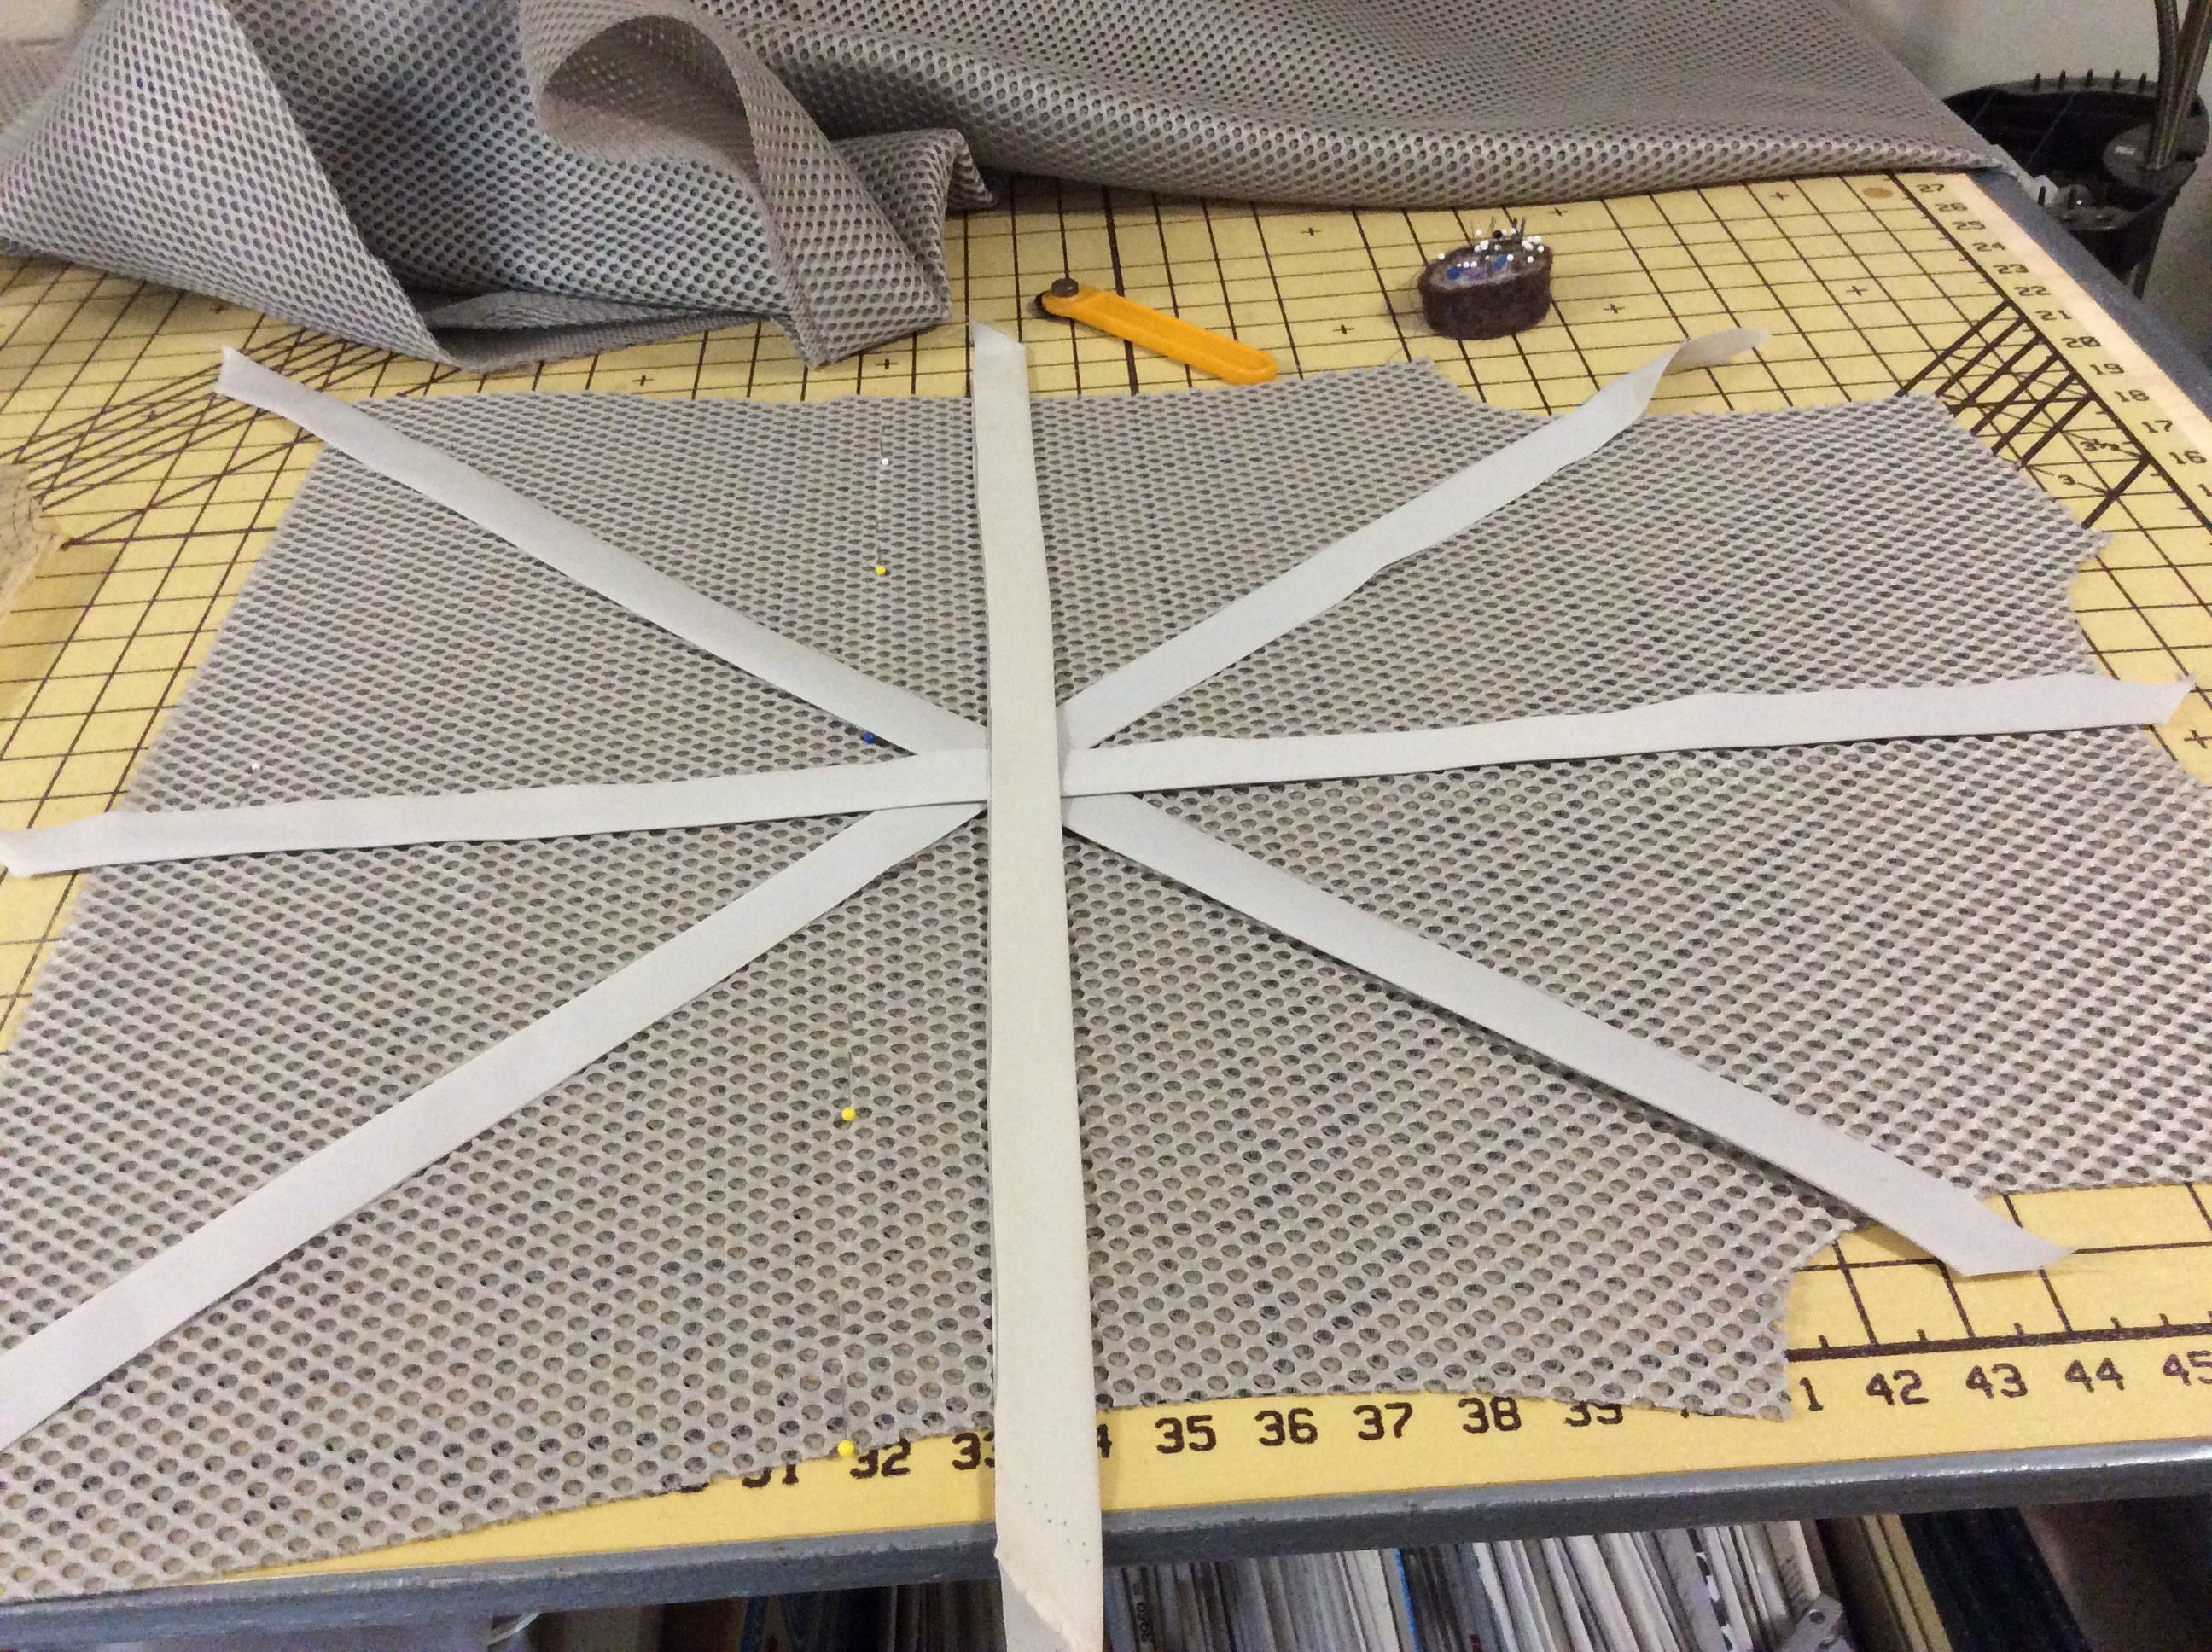
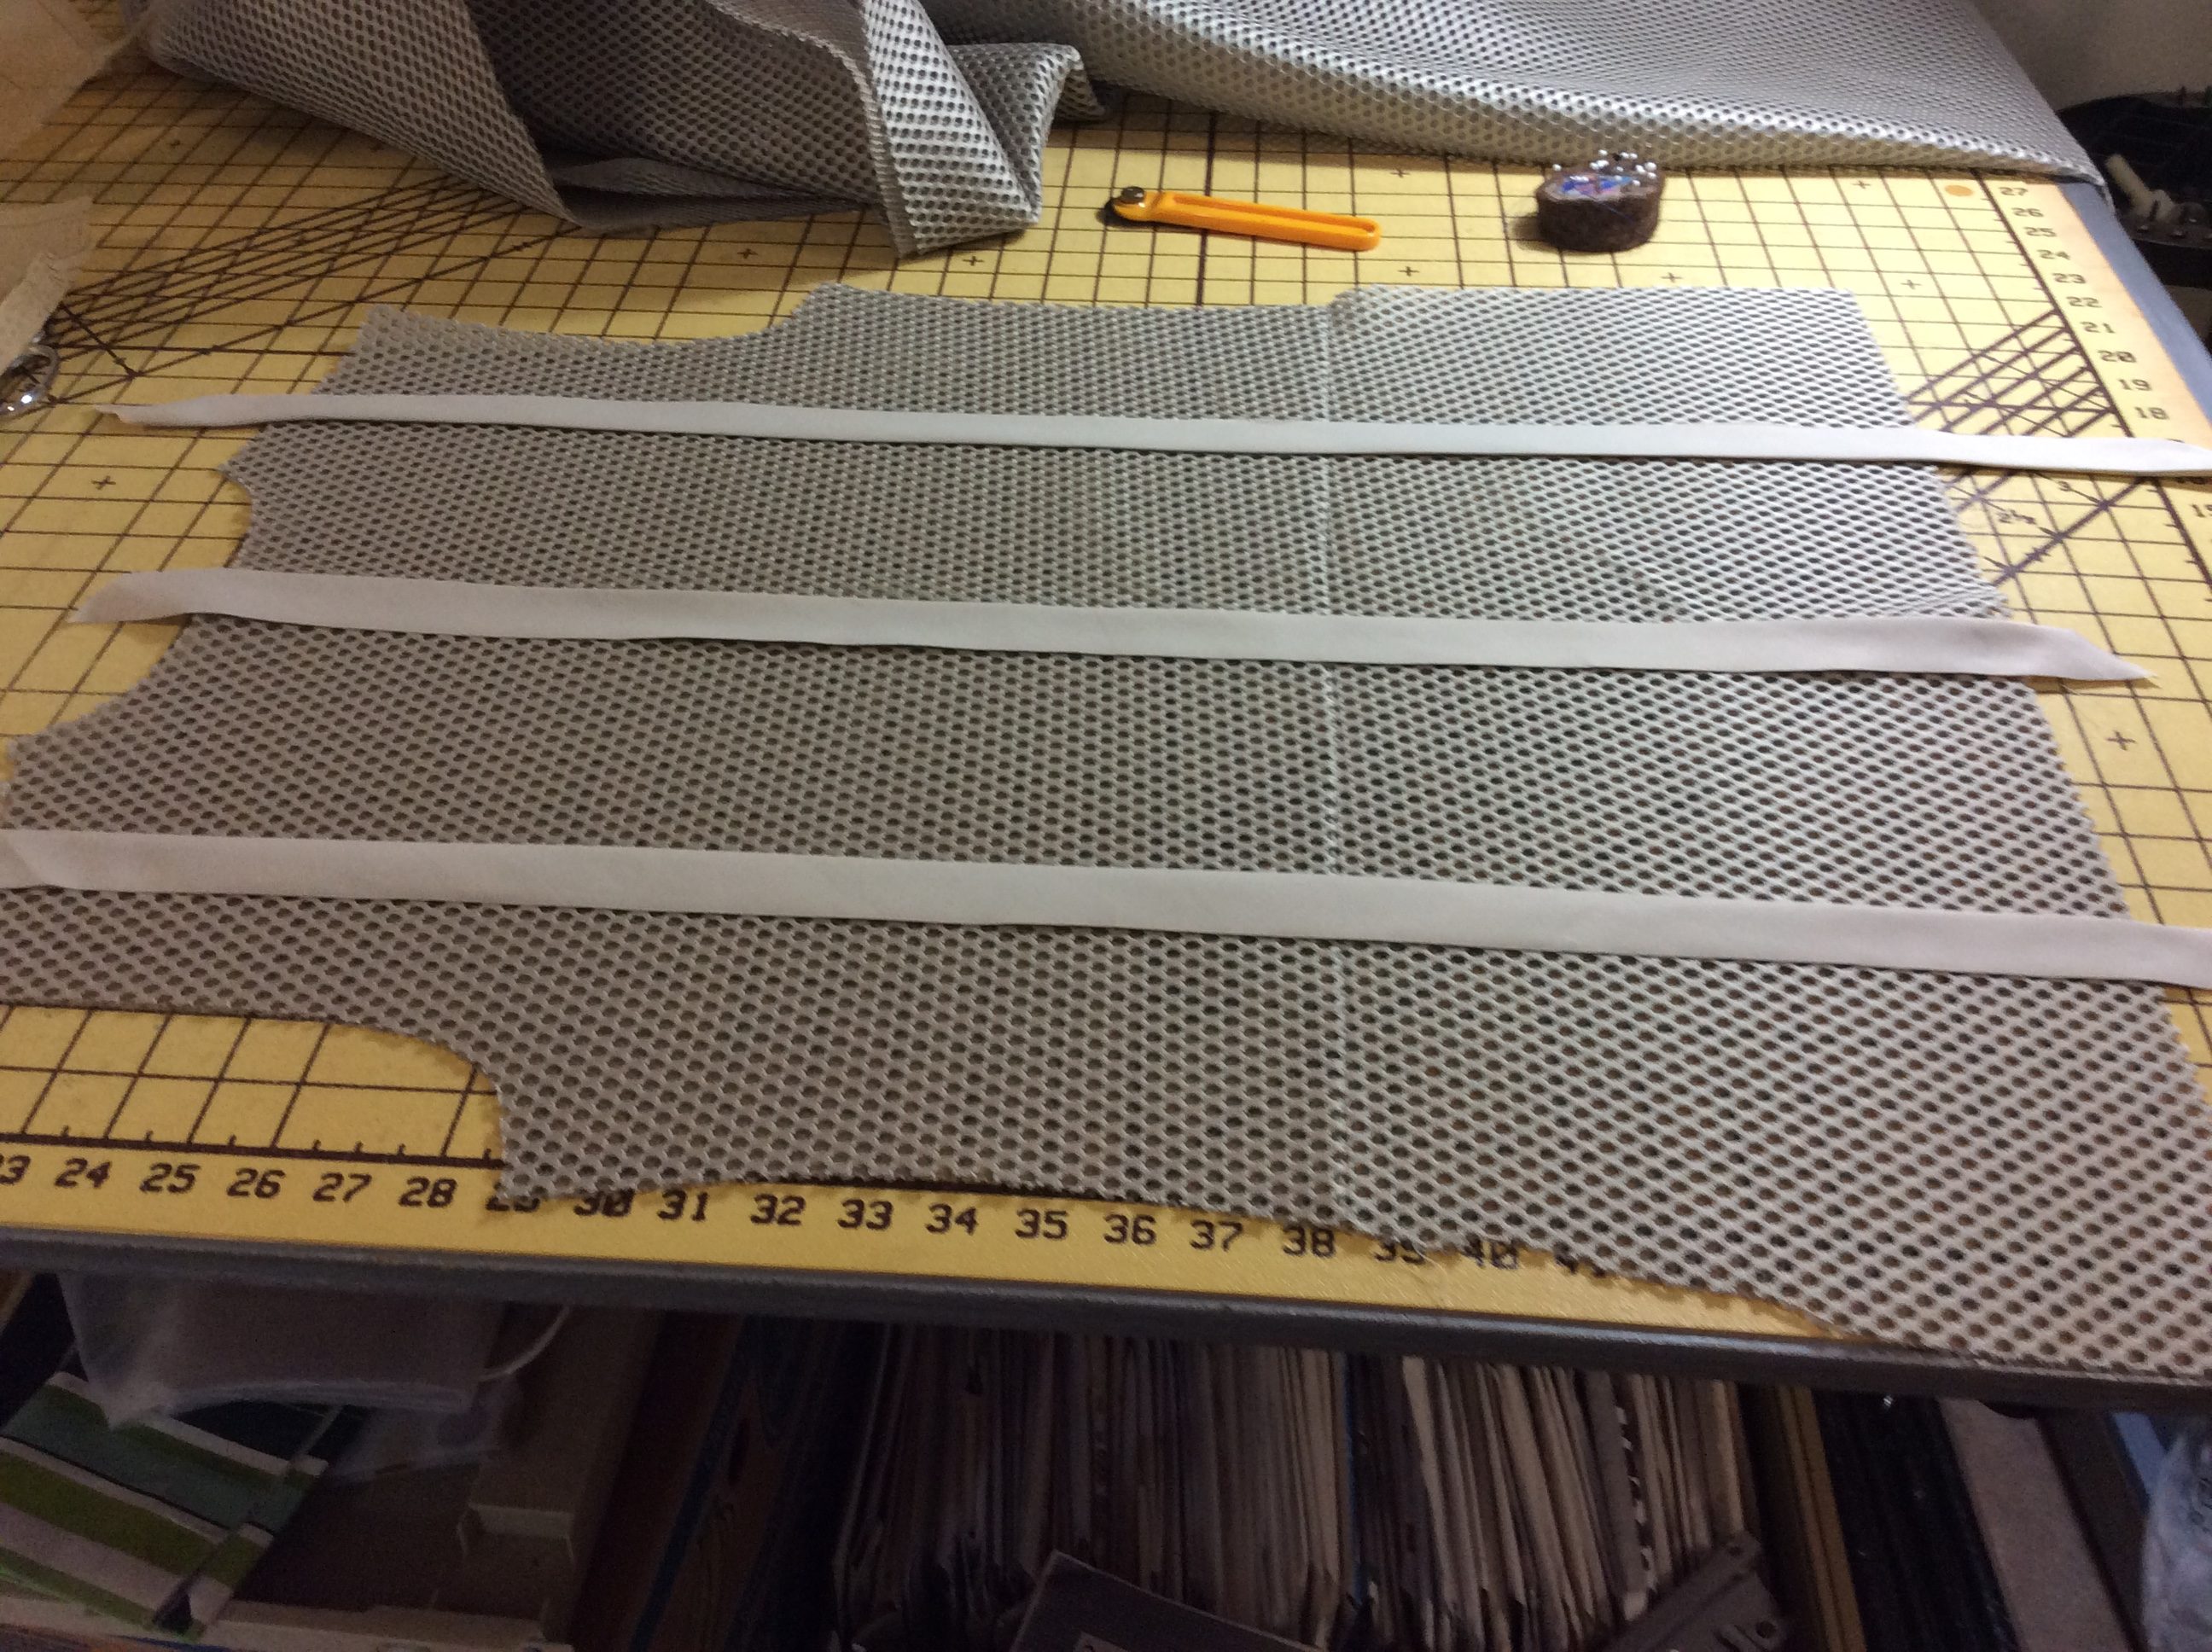
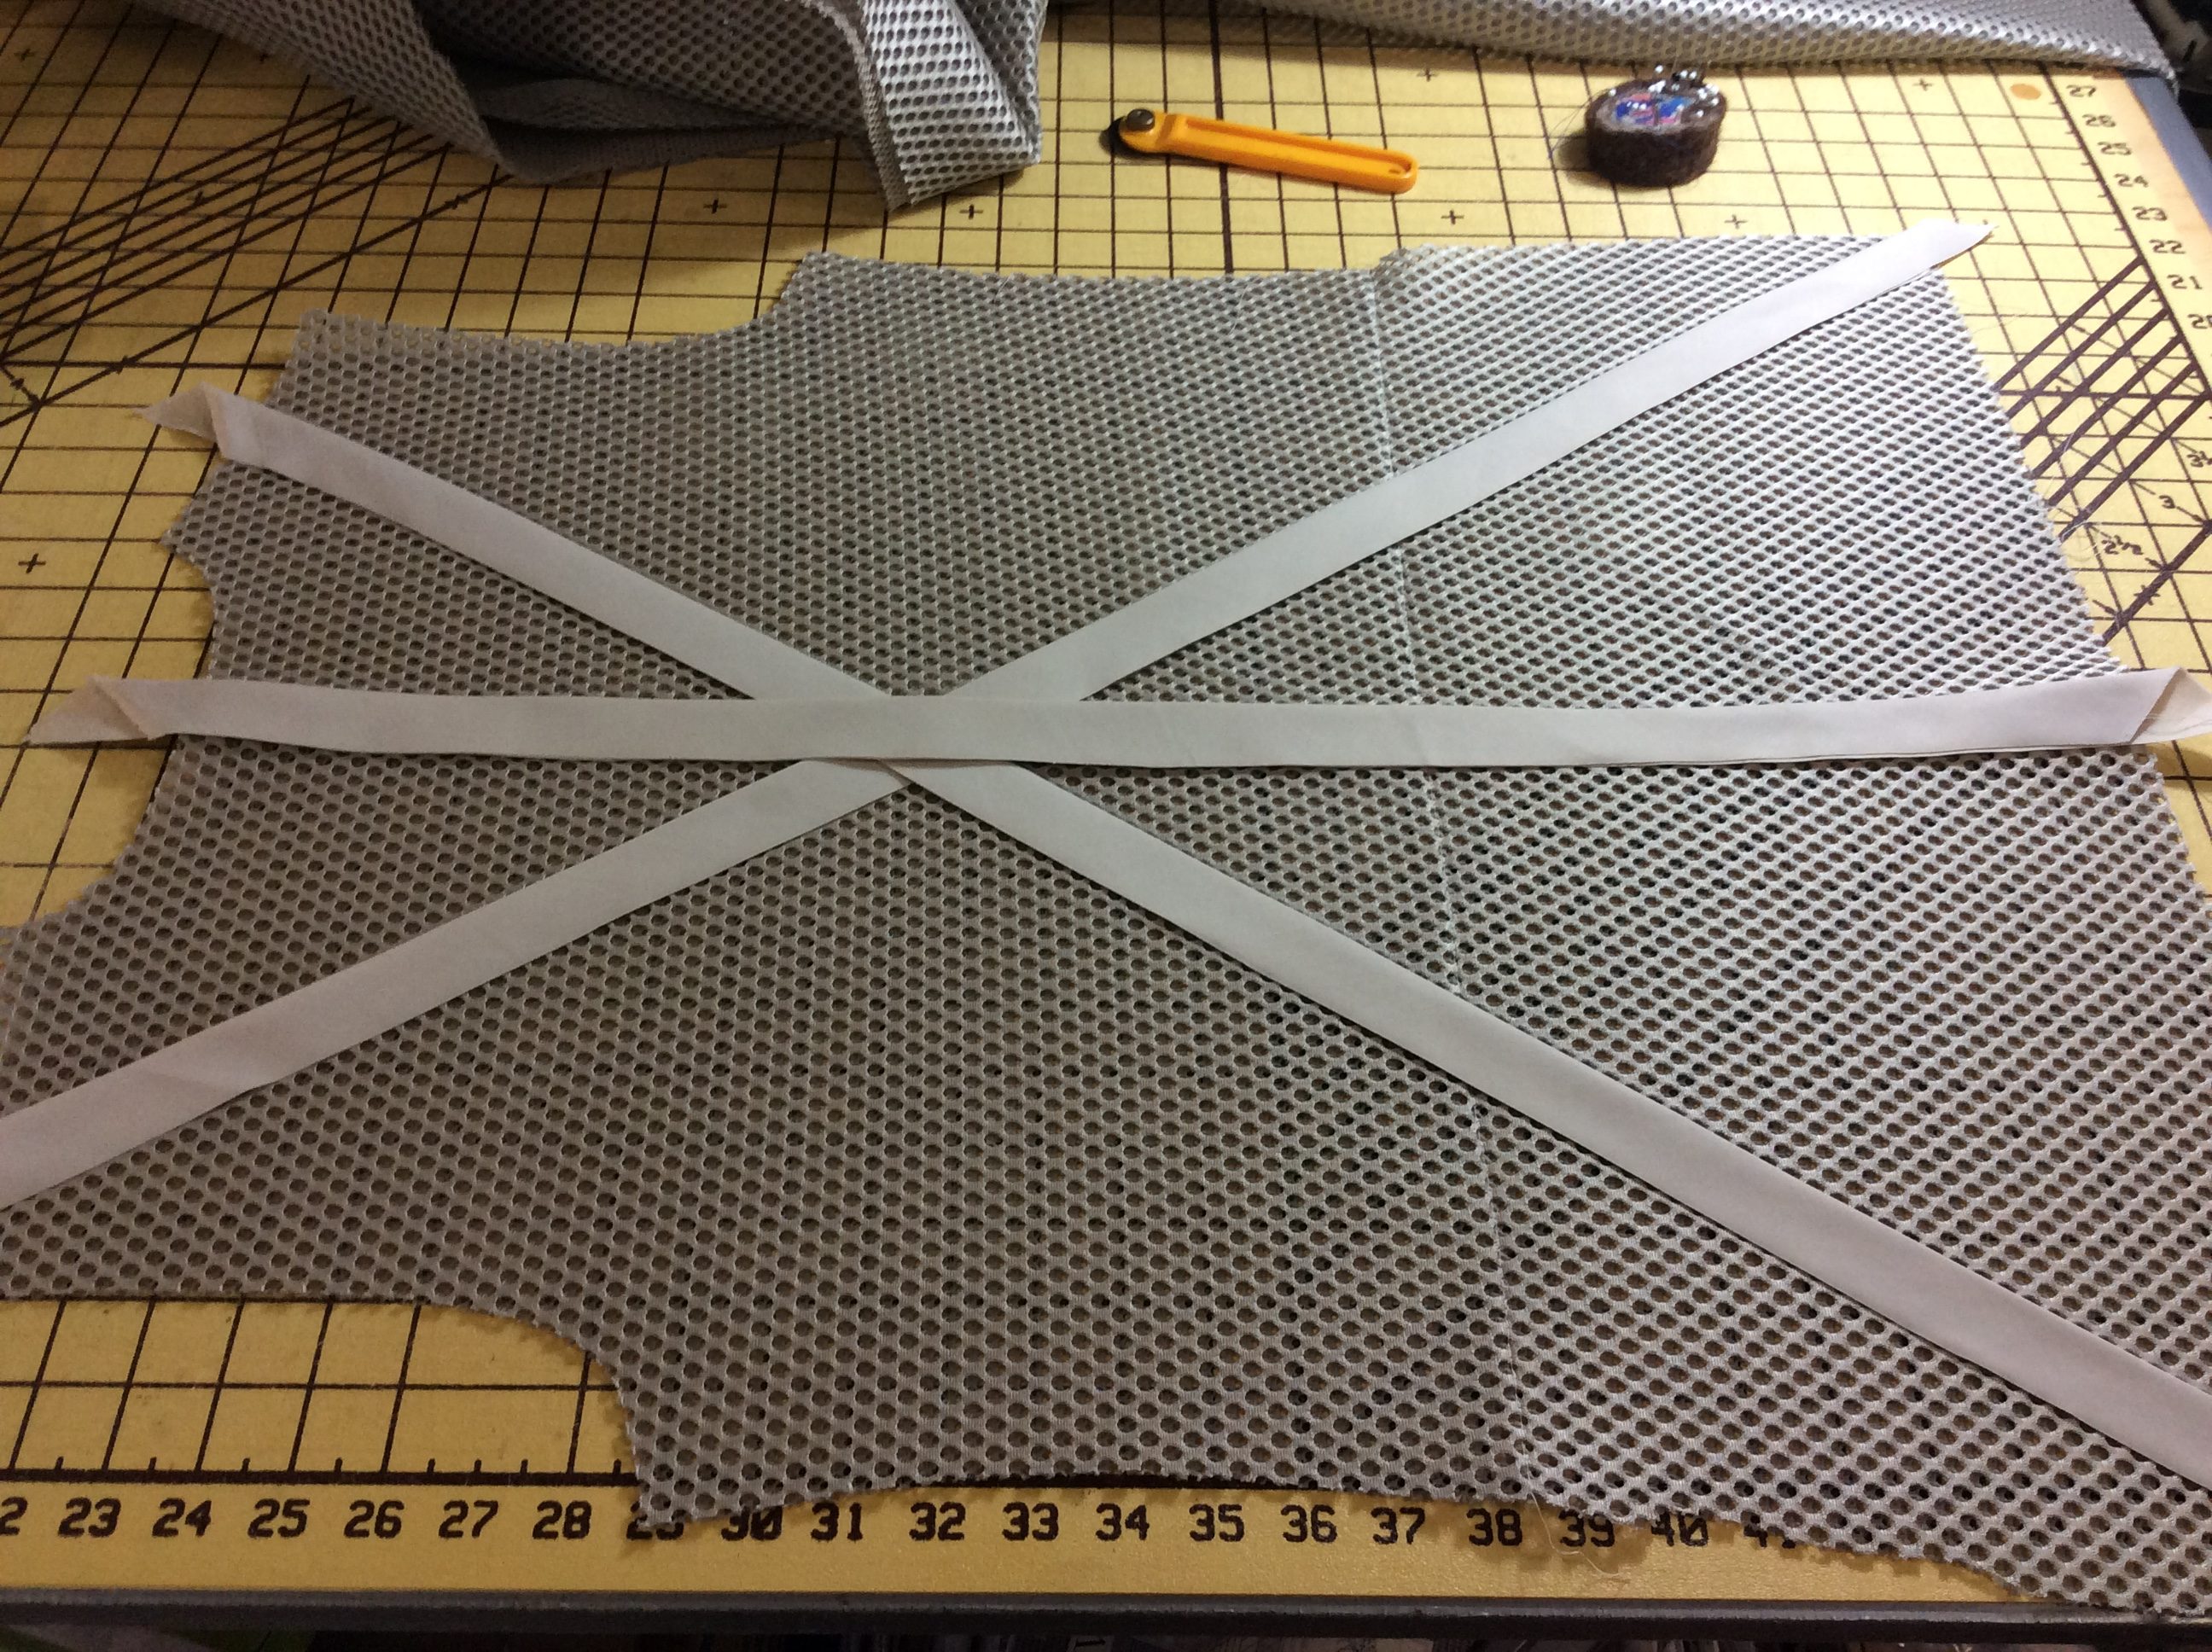
The back is one piece–simple–trimmed in strips of trim.
-
- Play 1
-
- Play 2
-
- The Winner
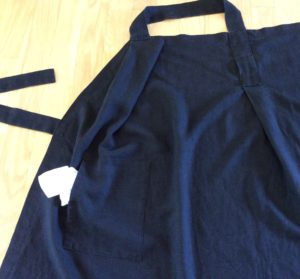
Pockets and Selvedge Hem Finish
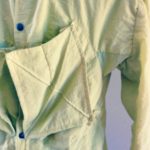
The 3D Mesh is more opaque than the RTW so there is less show-through of pocket bags and trim–a Good Thing.
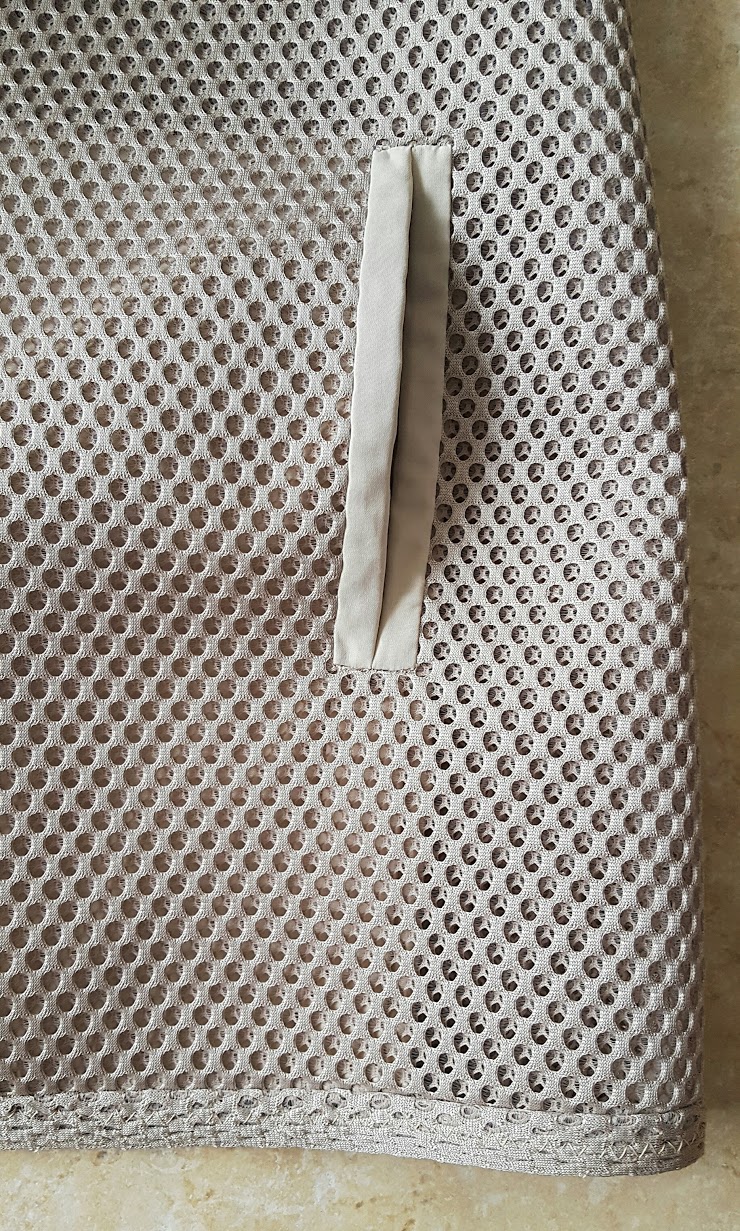
Welt pockets worked extremely well as the mesh was firm enough to provide a substantial fill for the binding.
The pocket bag is a rectangle finished on two sides with a french seam. The bag extends to the center front and is enclosed in the binding. The bag bottom extends to the hem and is caught in the zigzag stitch that secures the jacket lower edge to the selvedge used as the hem finish.
-
- Welt Pocket
-
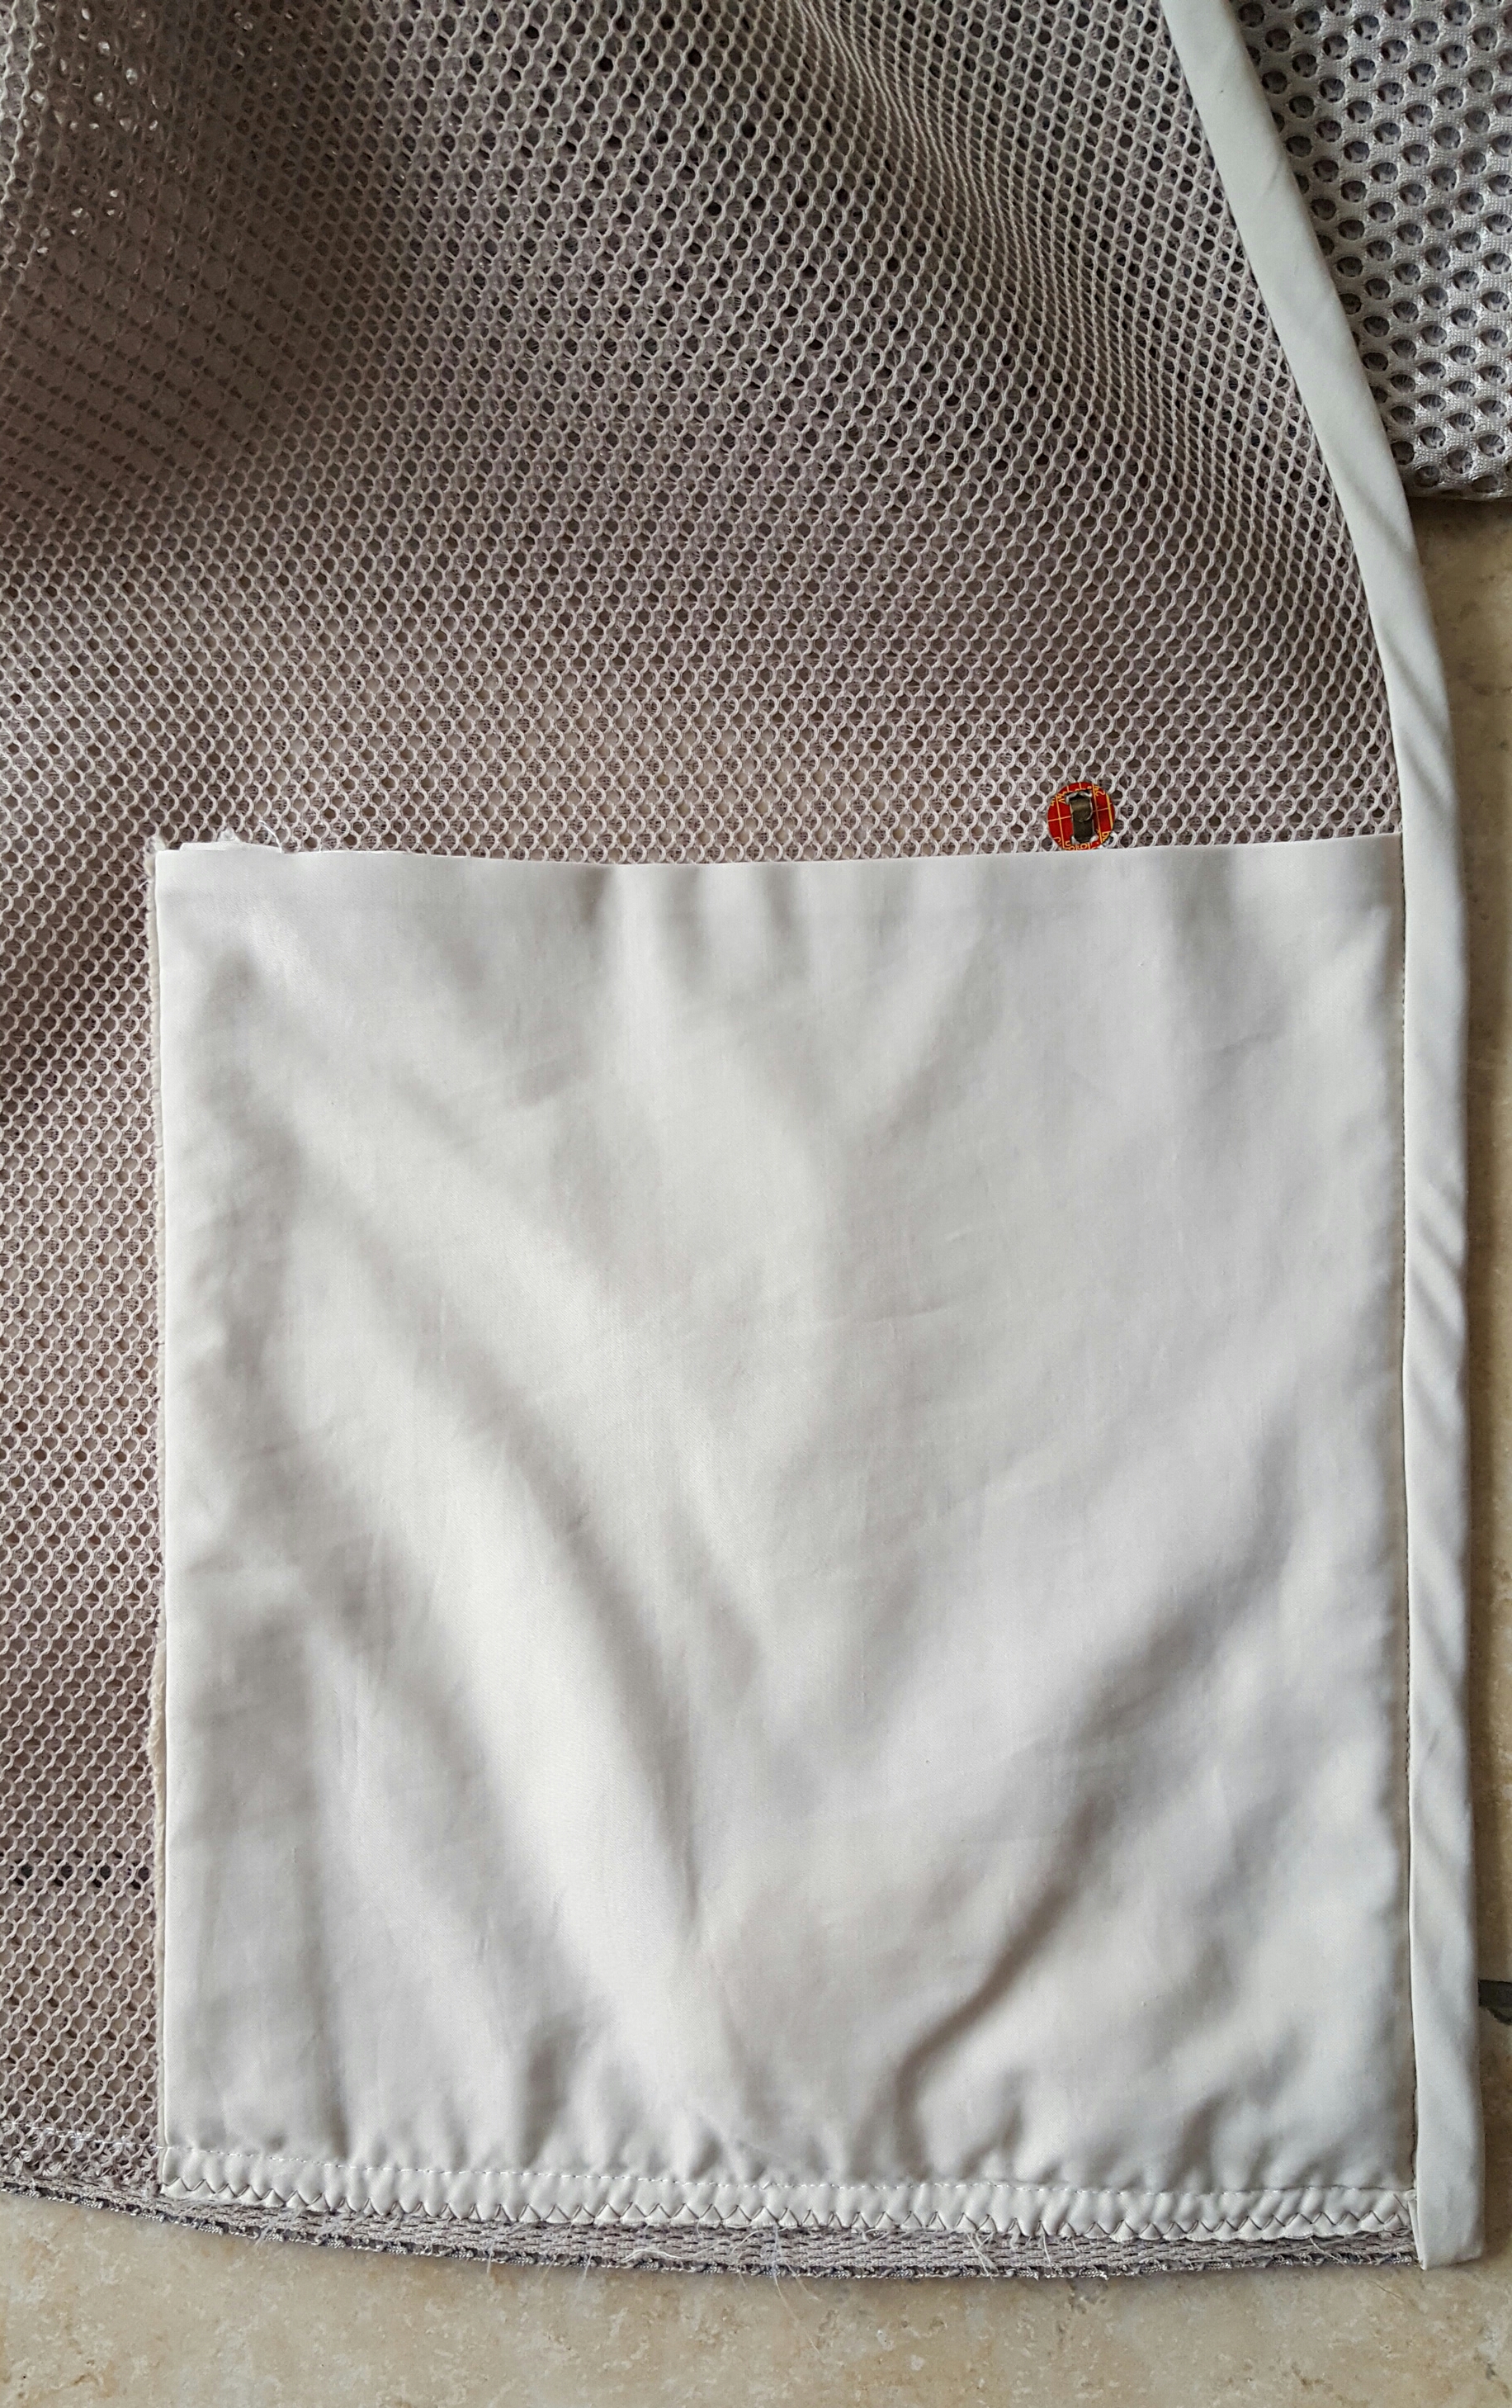
- Pocket Bag
(The red dot above the pocket bag is the snap backing.)
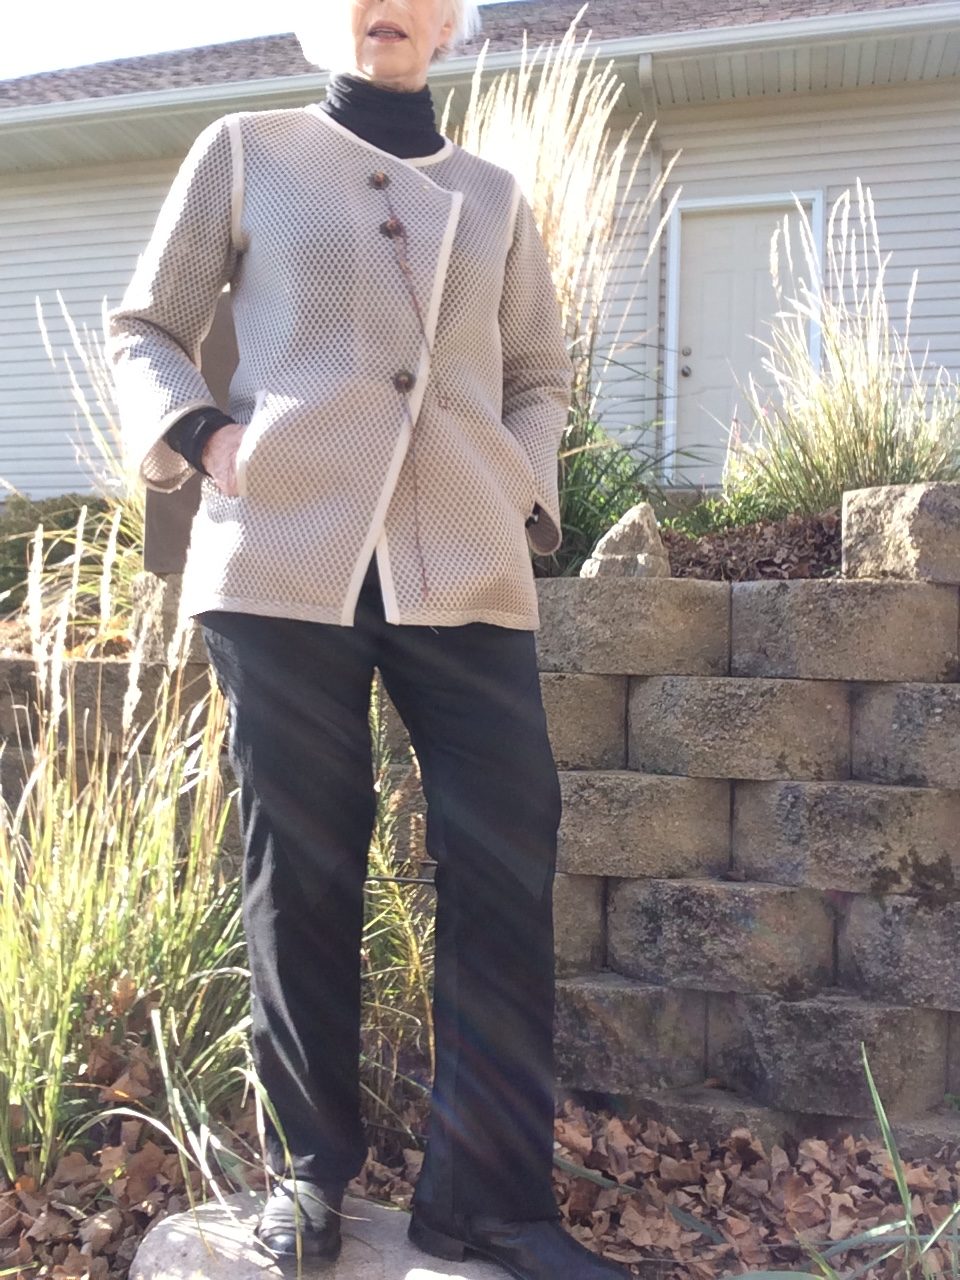
Closure
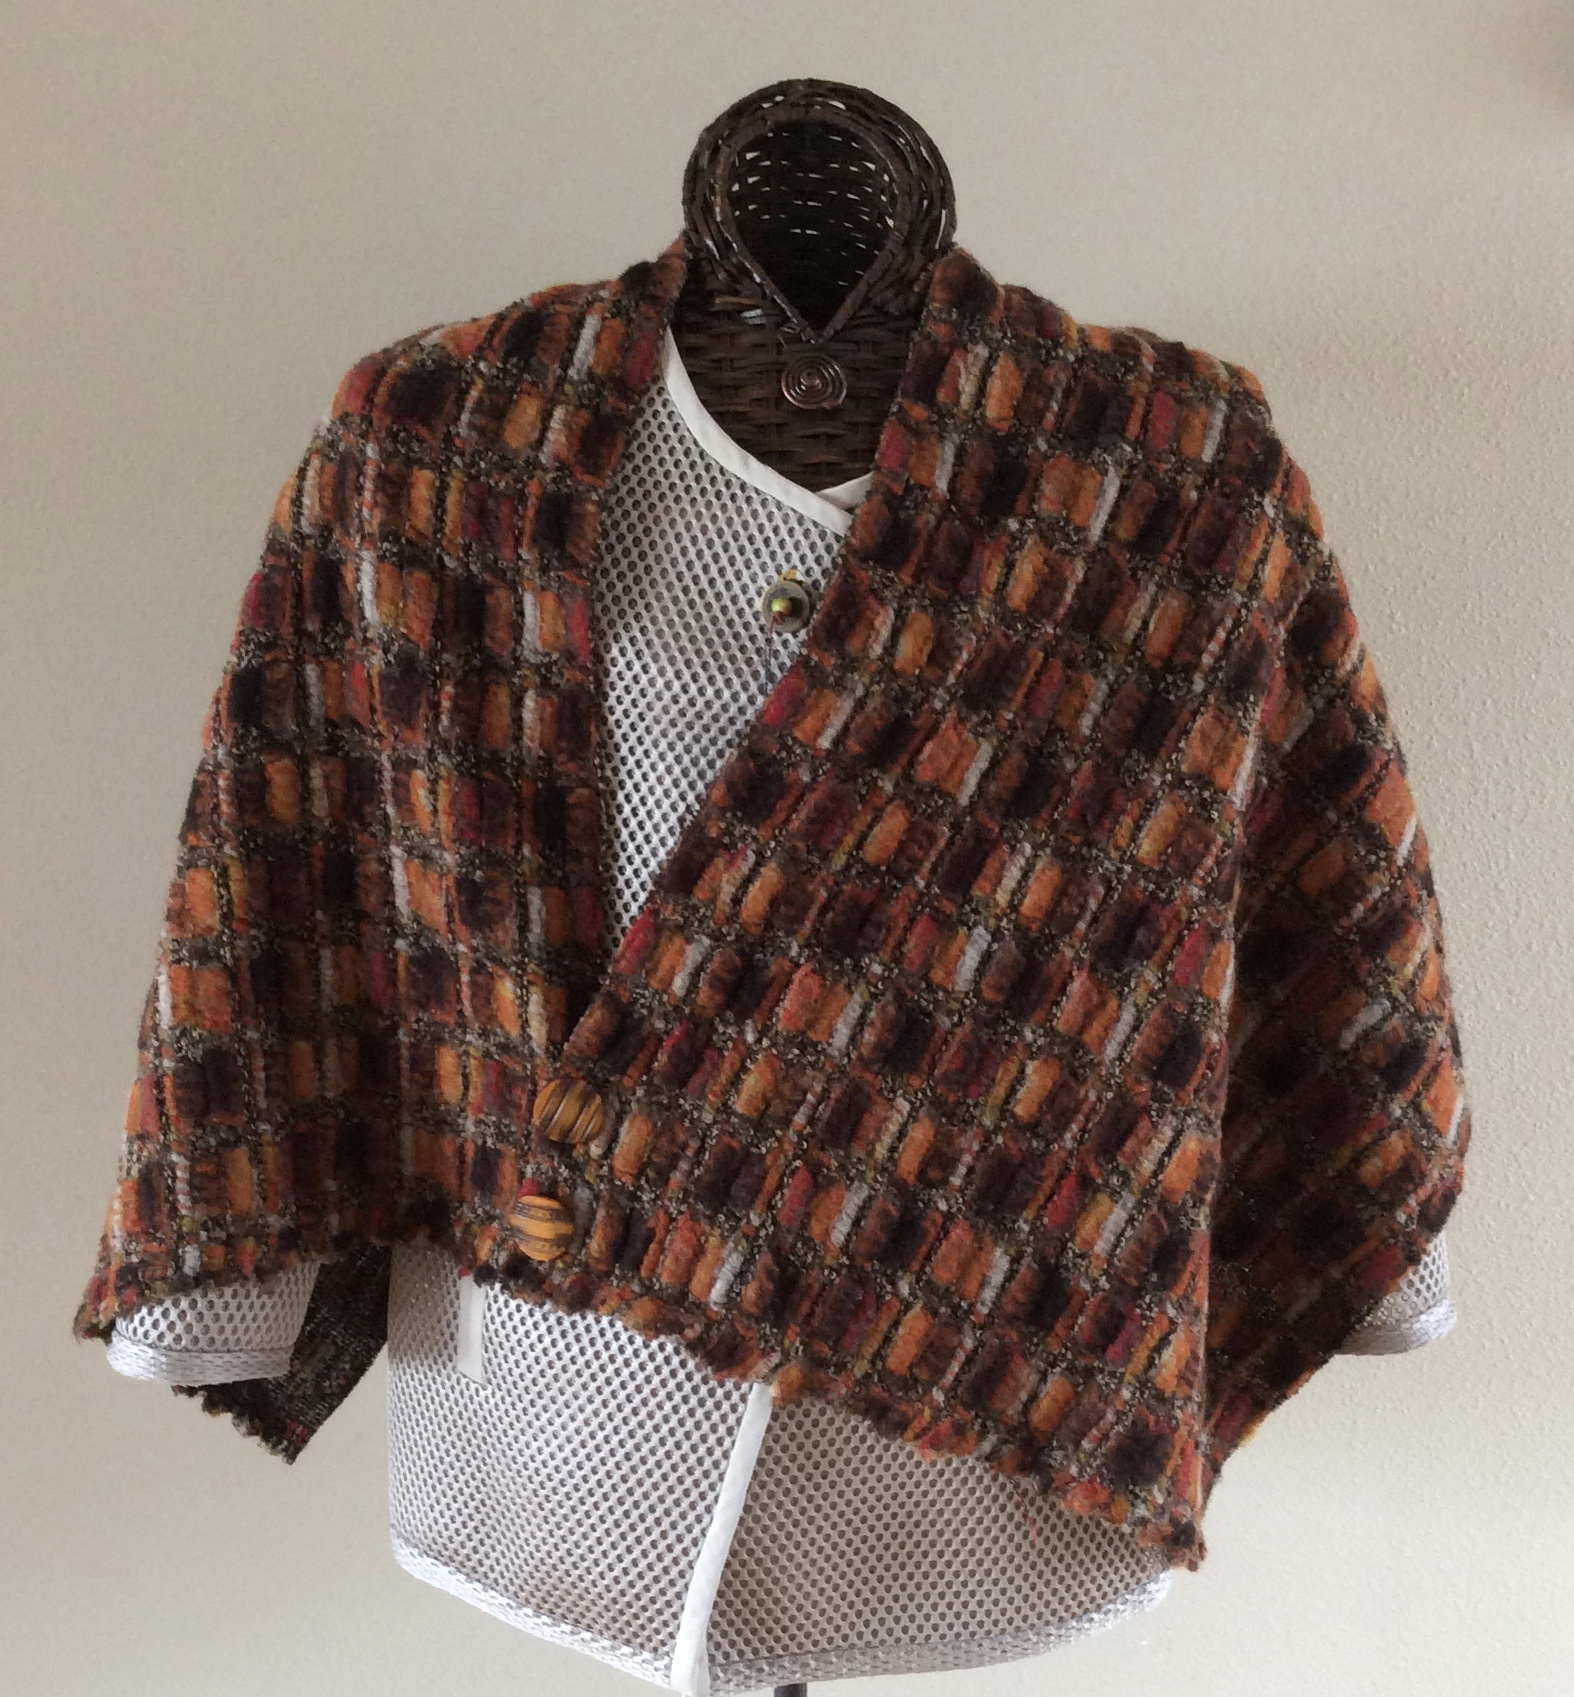
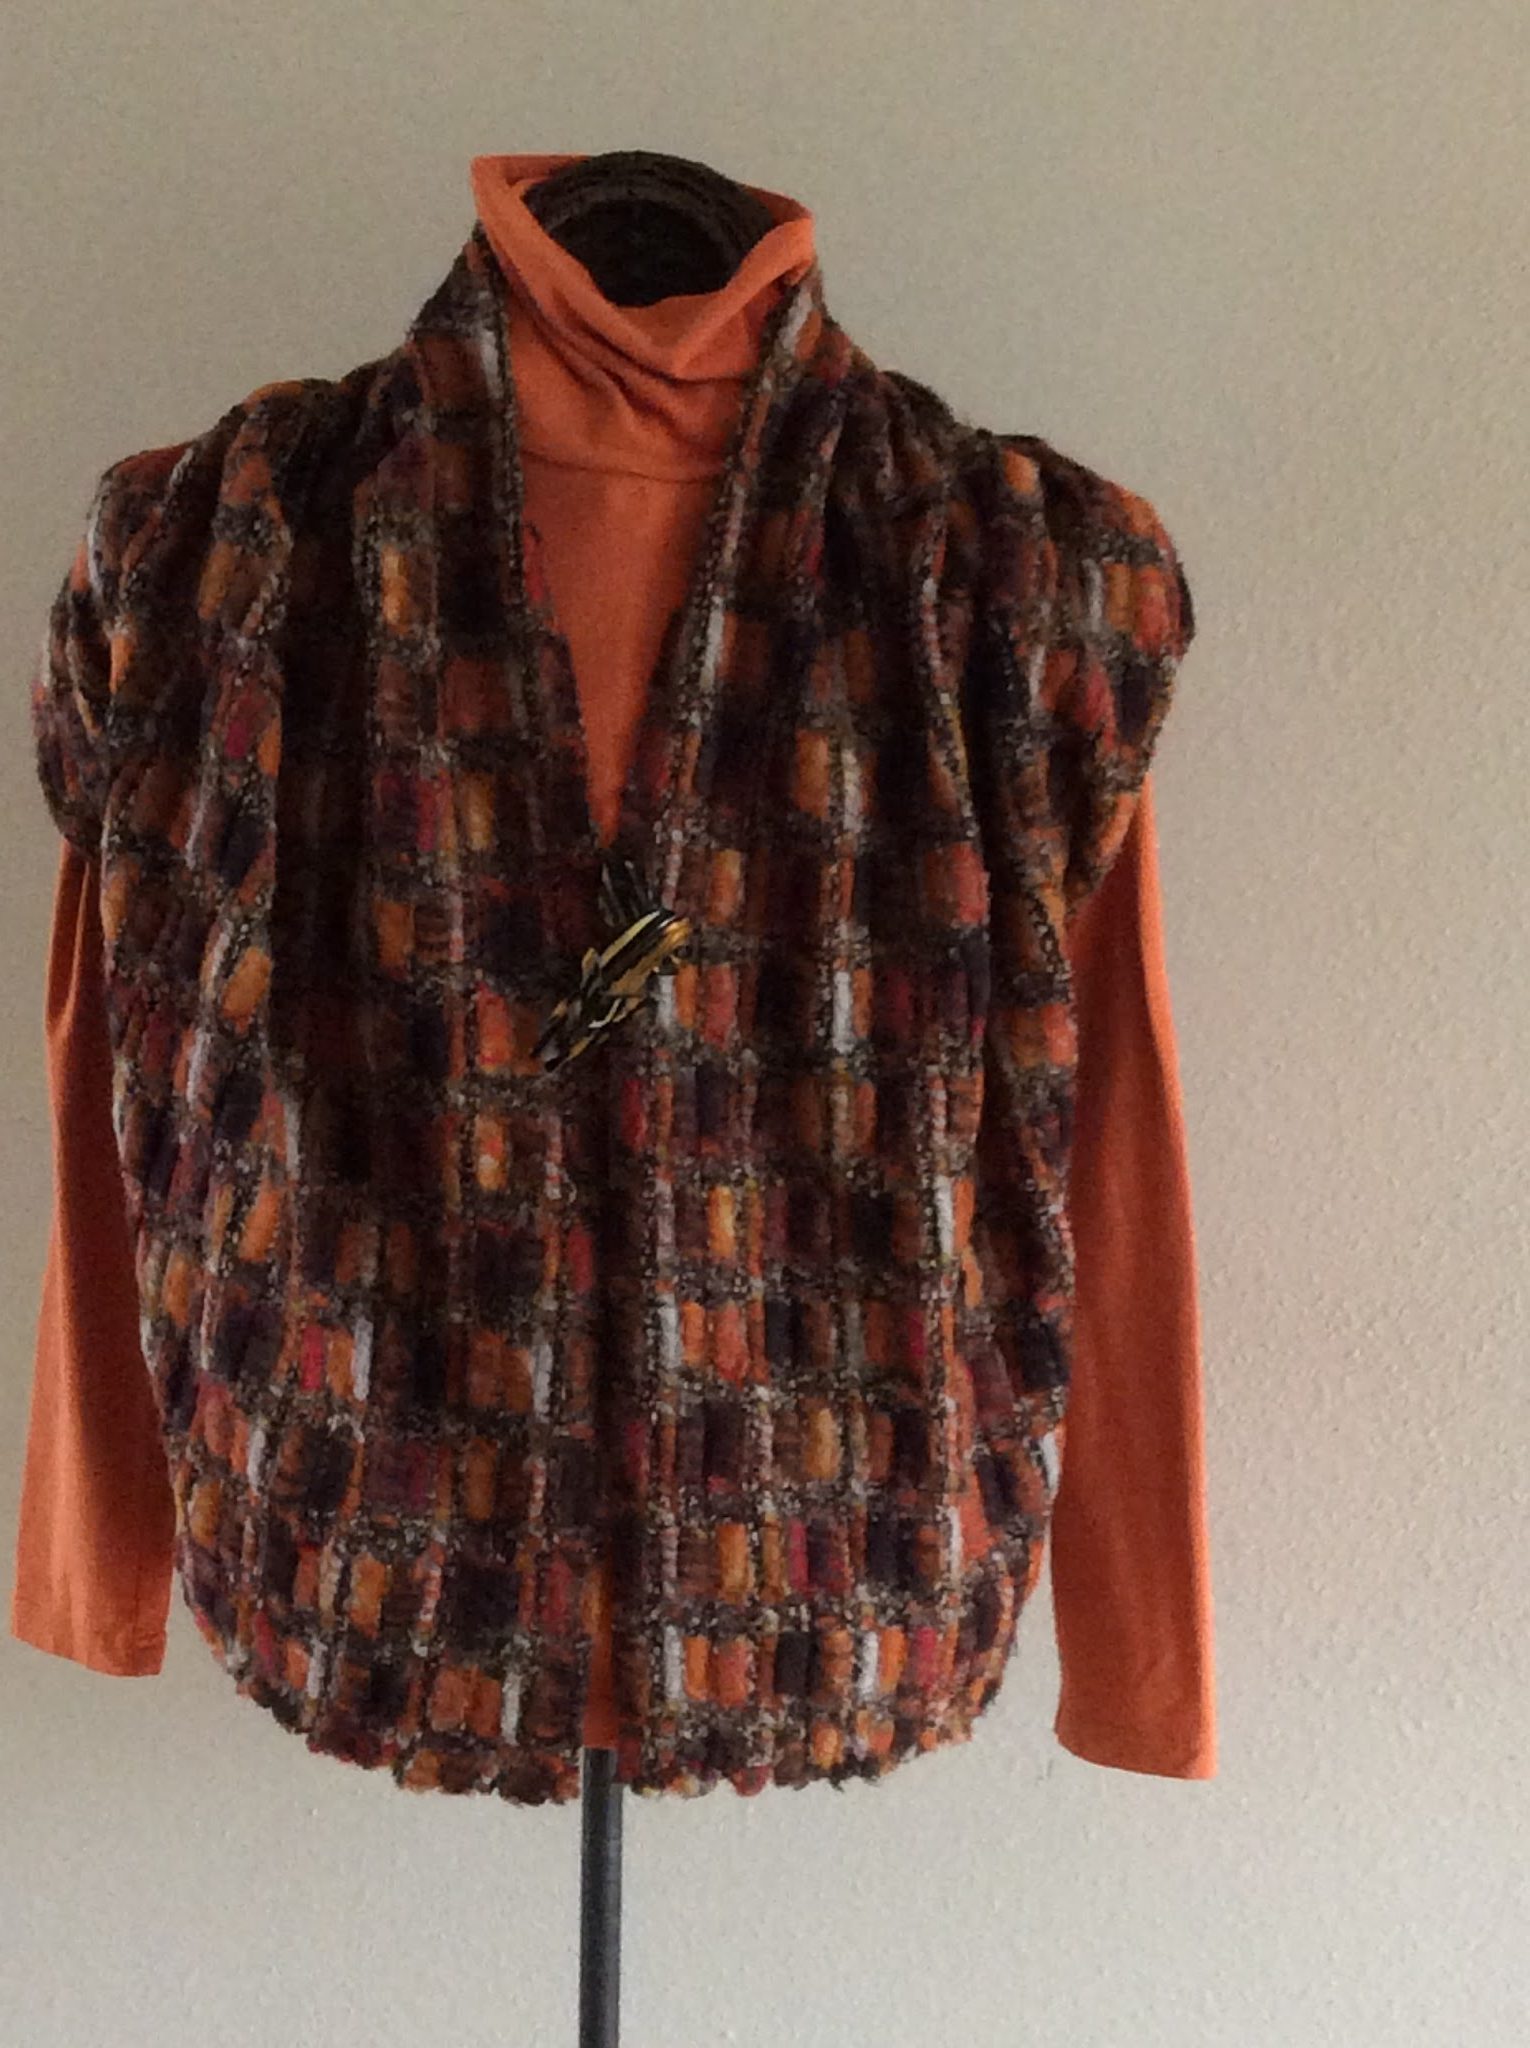
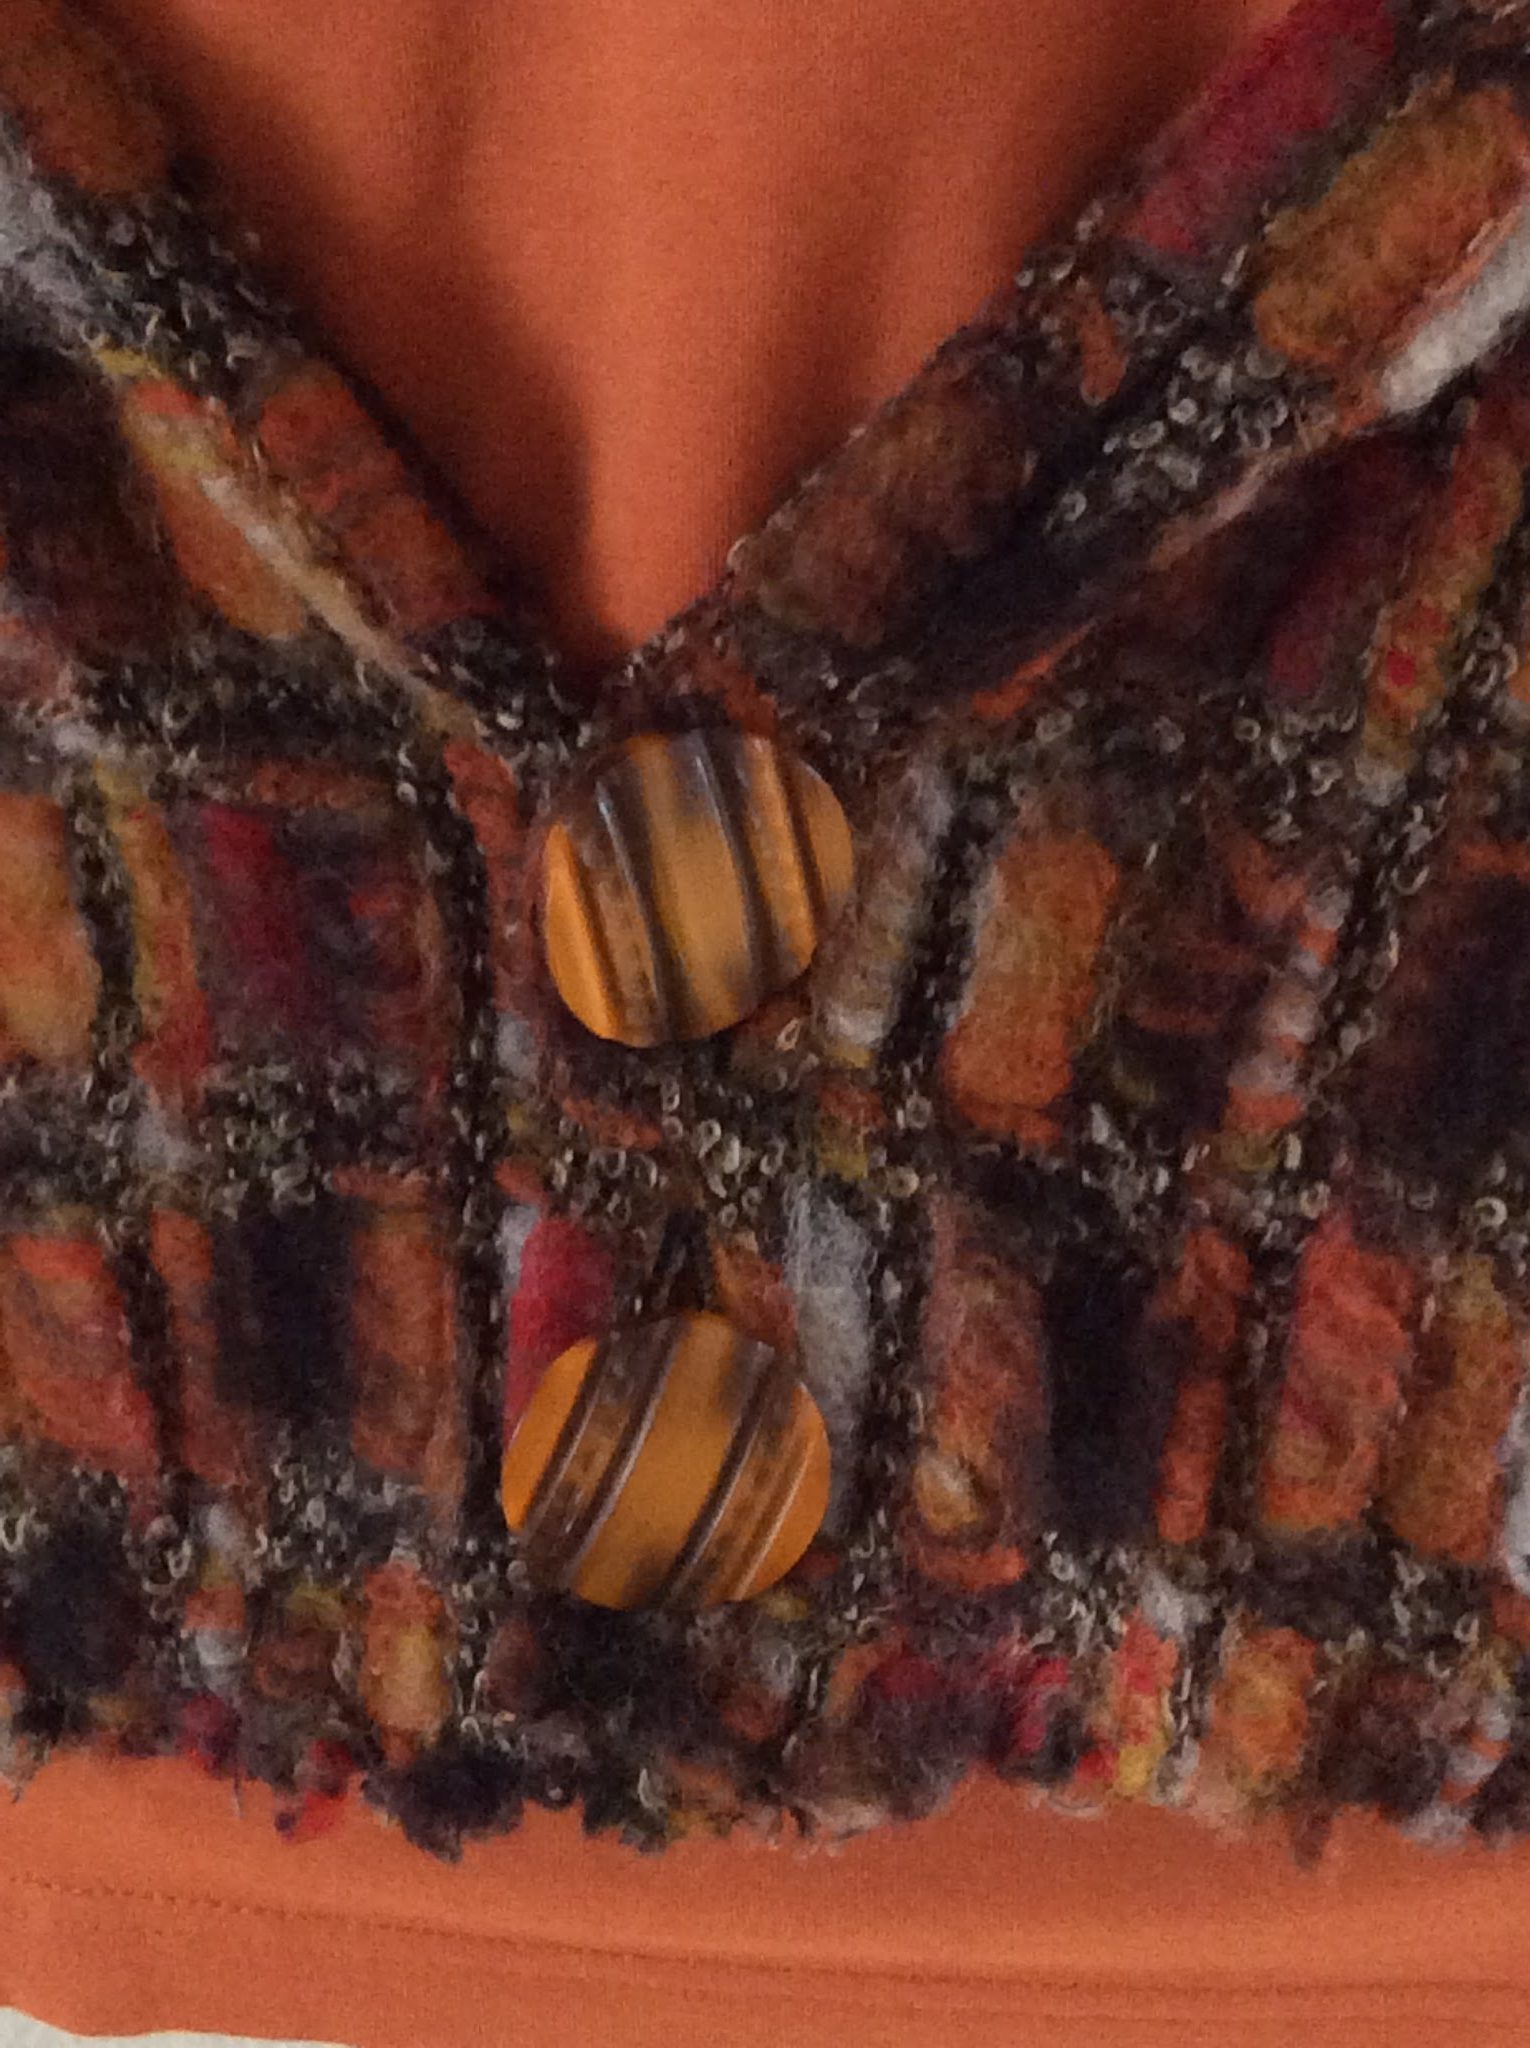
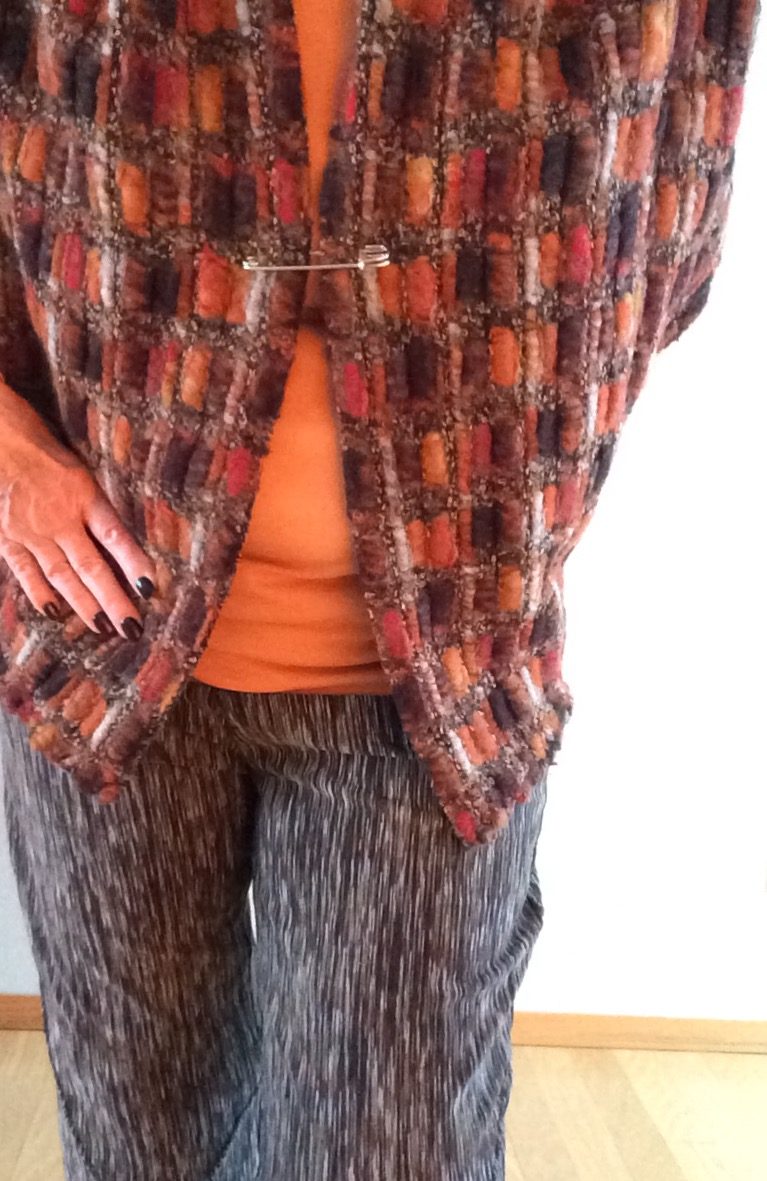
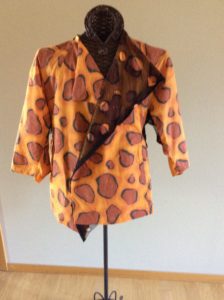
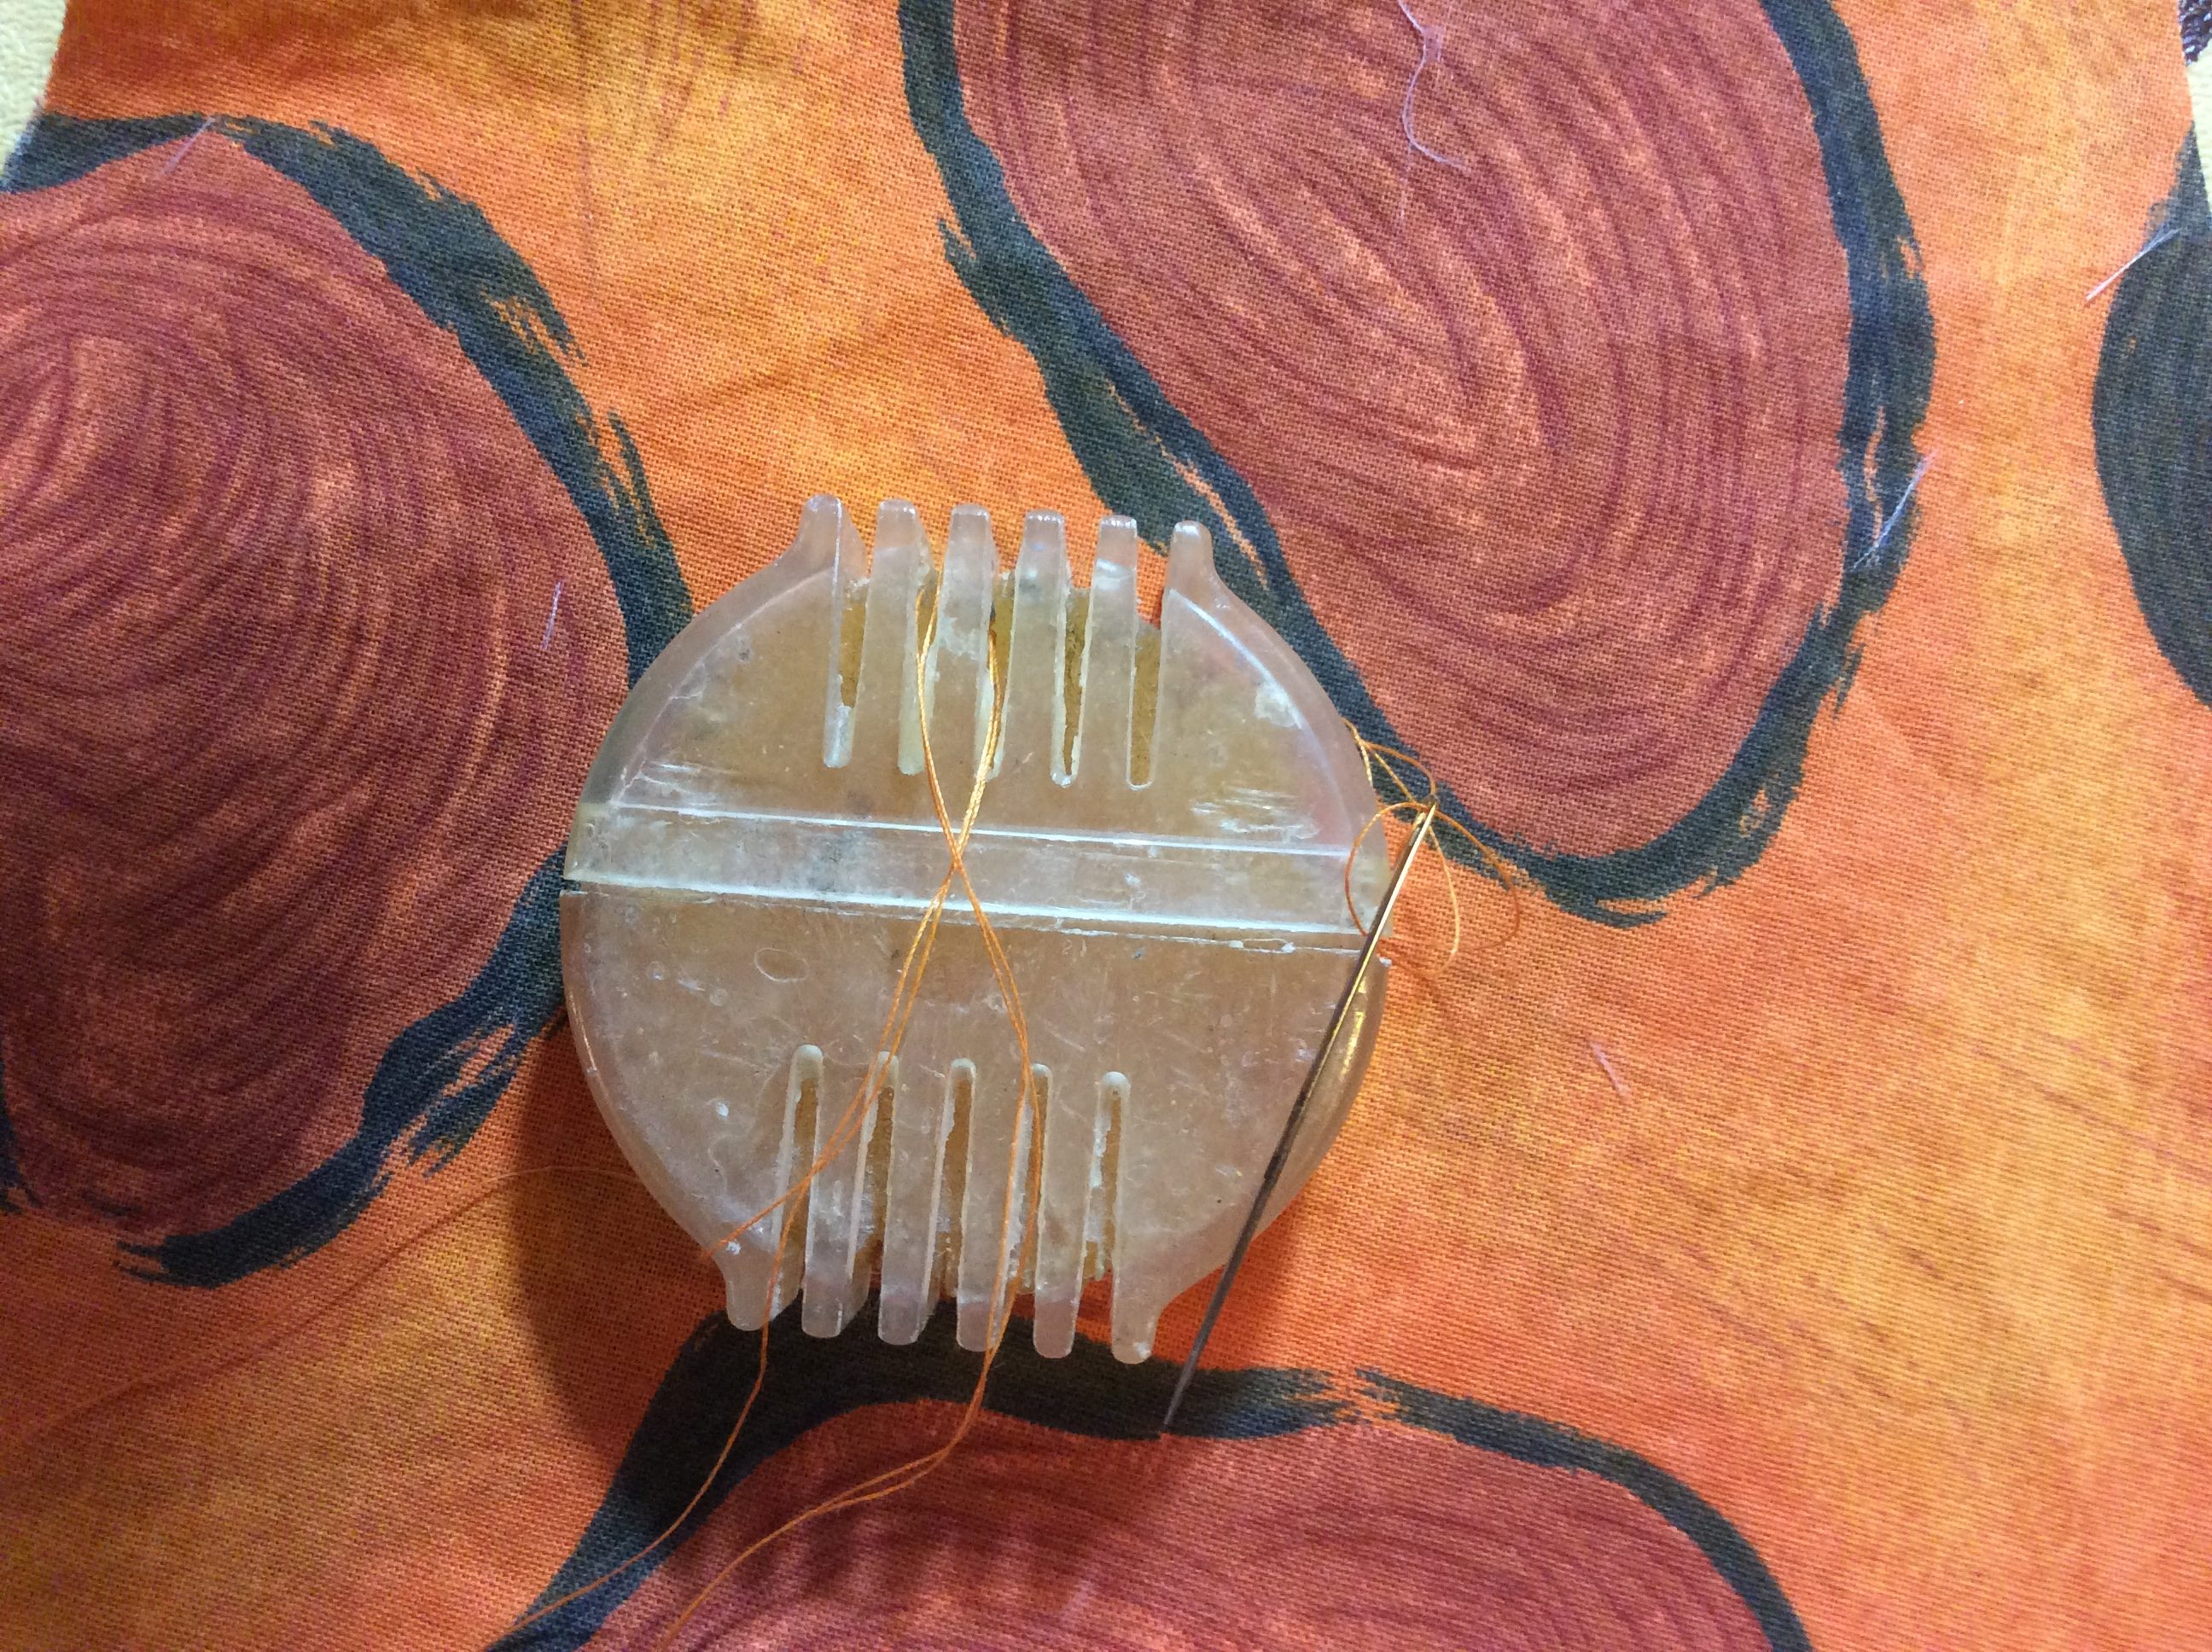
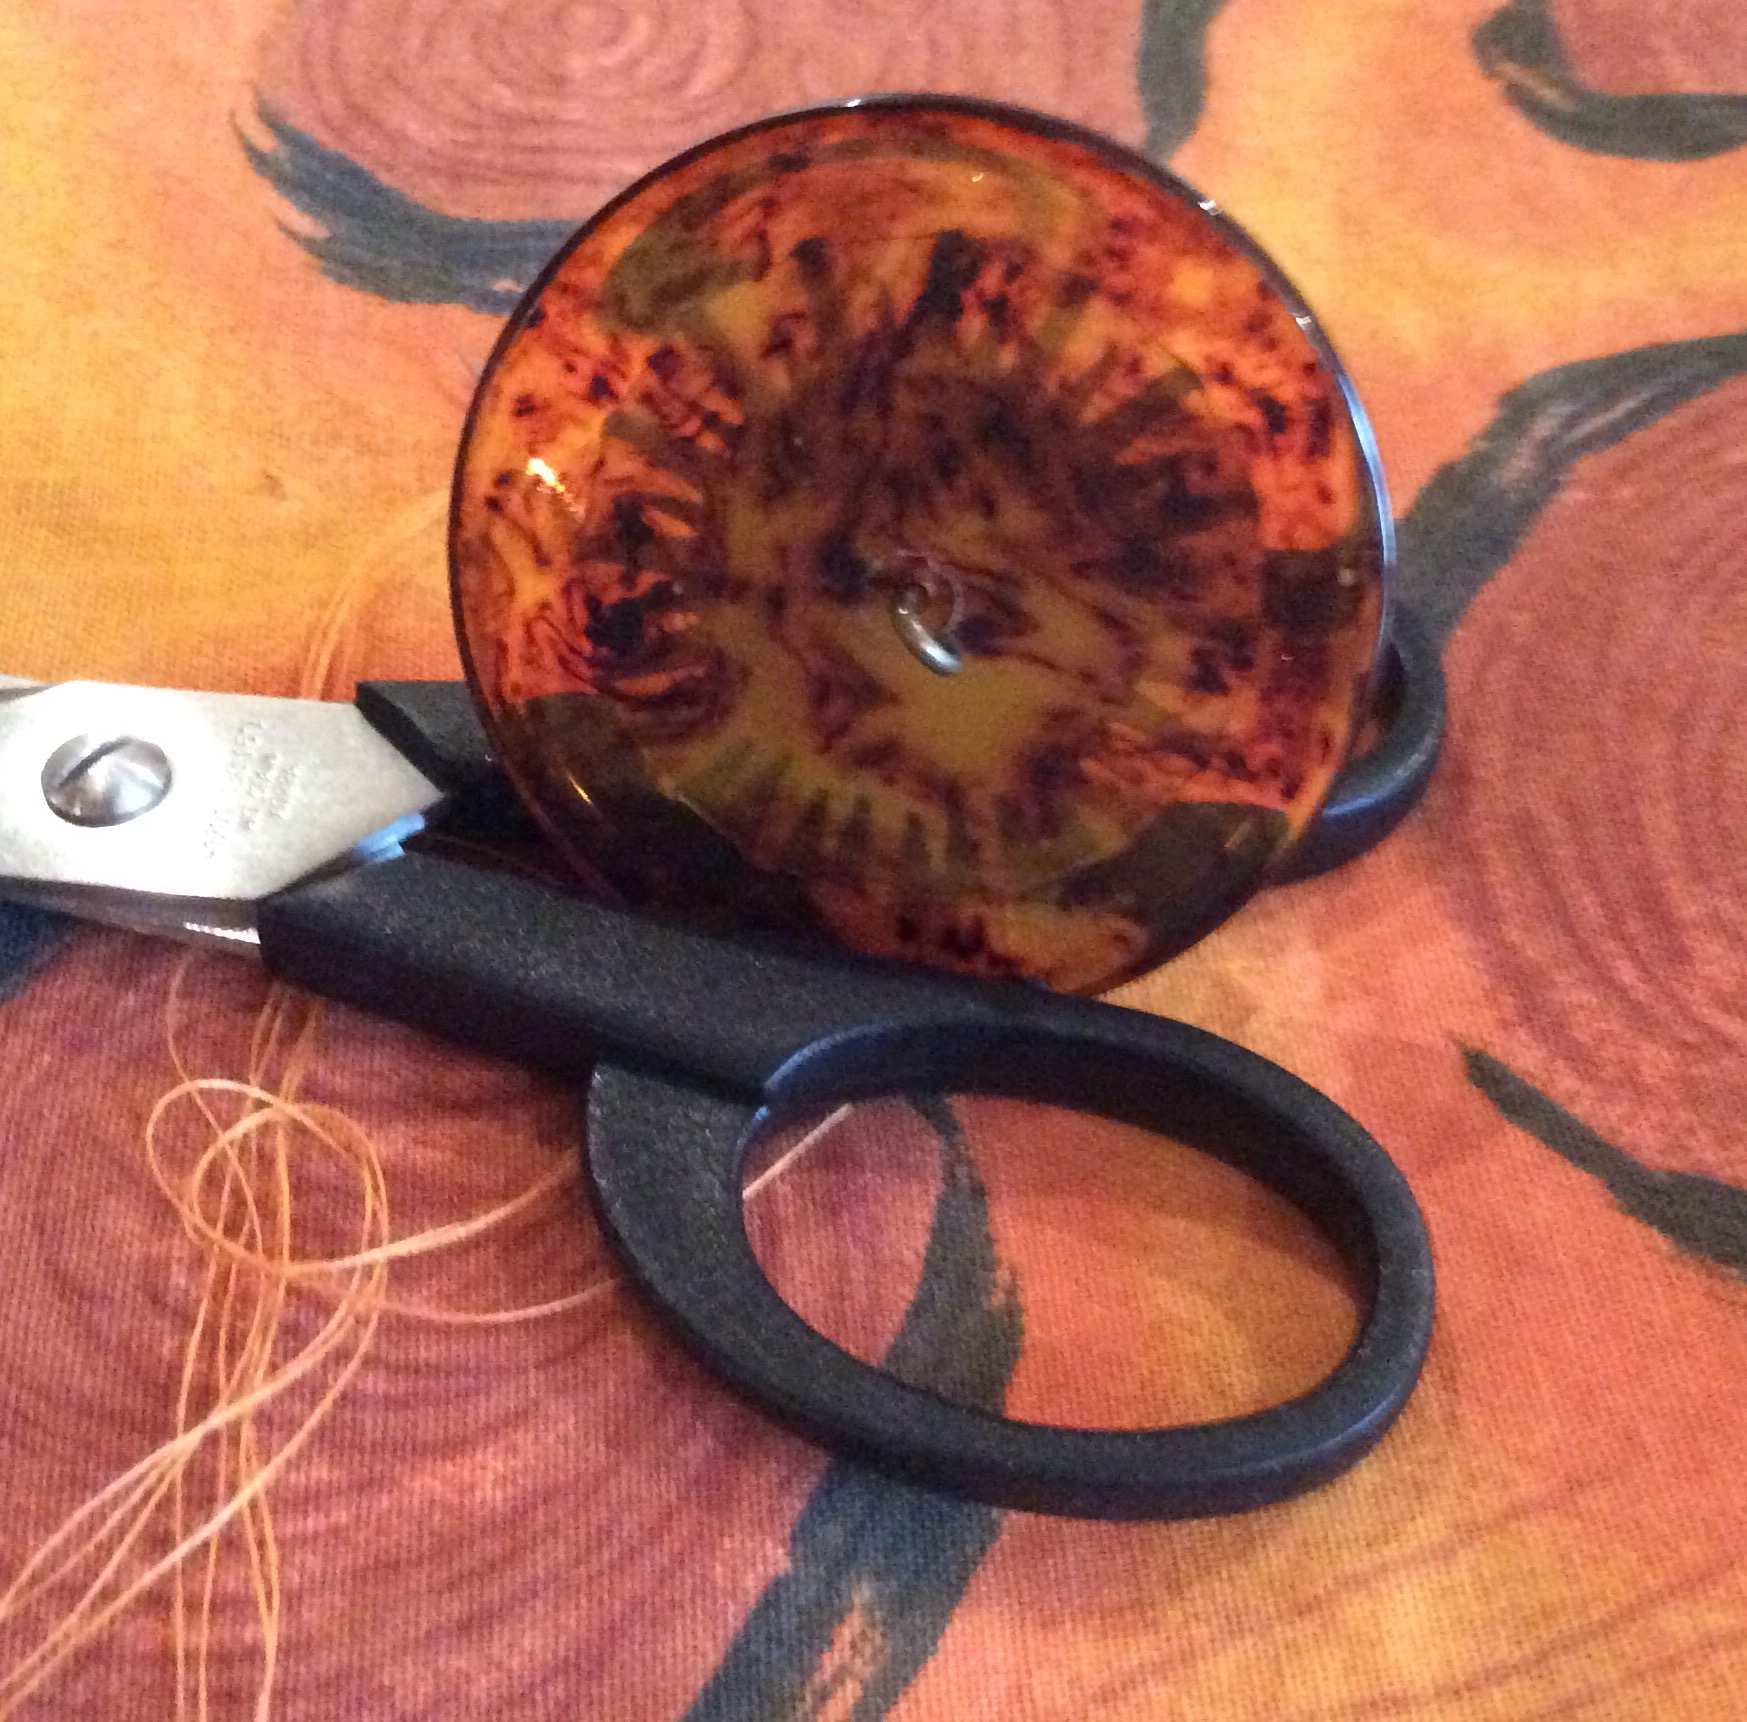
Initially, planned on a zipper, but couldn’t find one to suit my demanding ‘look’. Am now glad that I was forced to scrounge from my stash. as the button/bead/yarn closure added just the right amount of pizzazz.
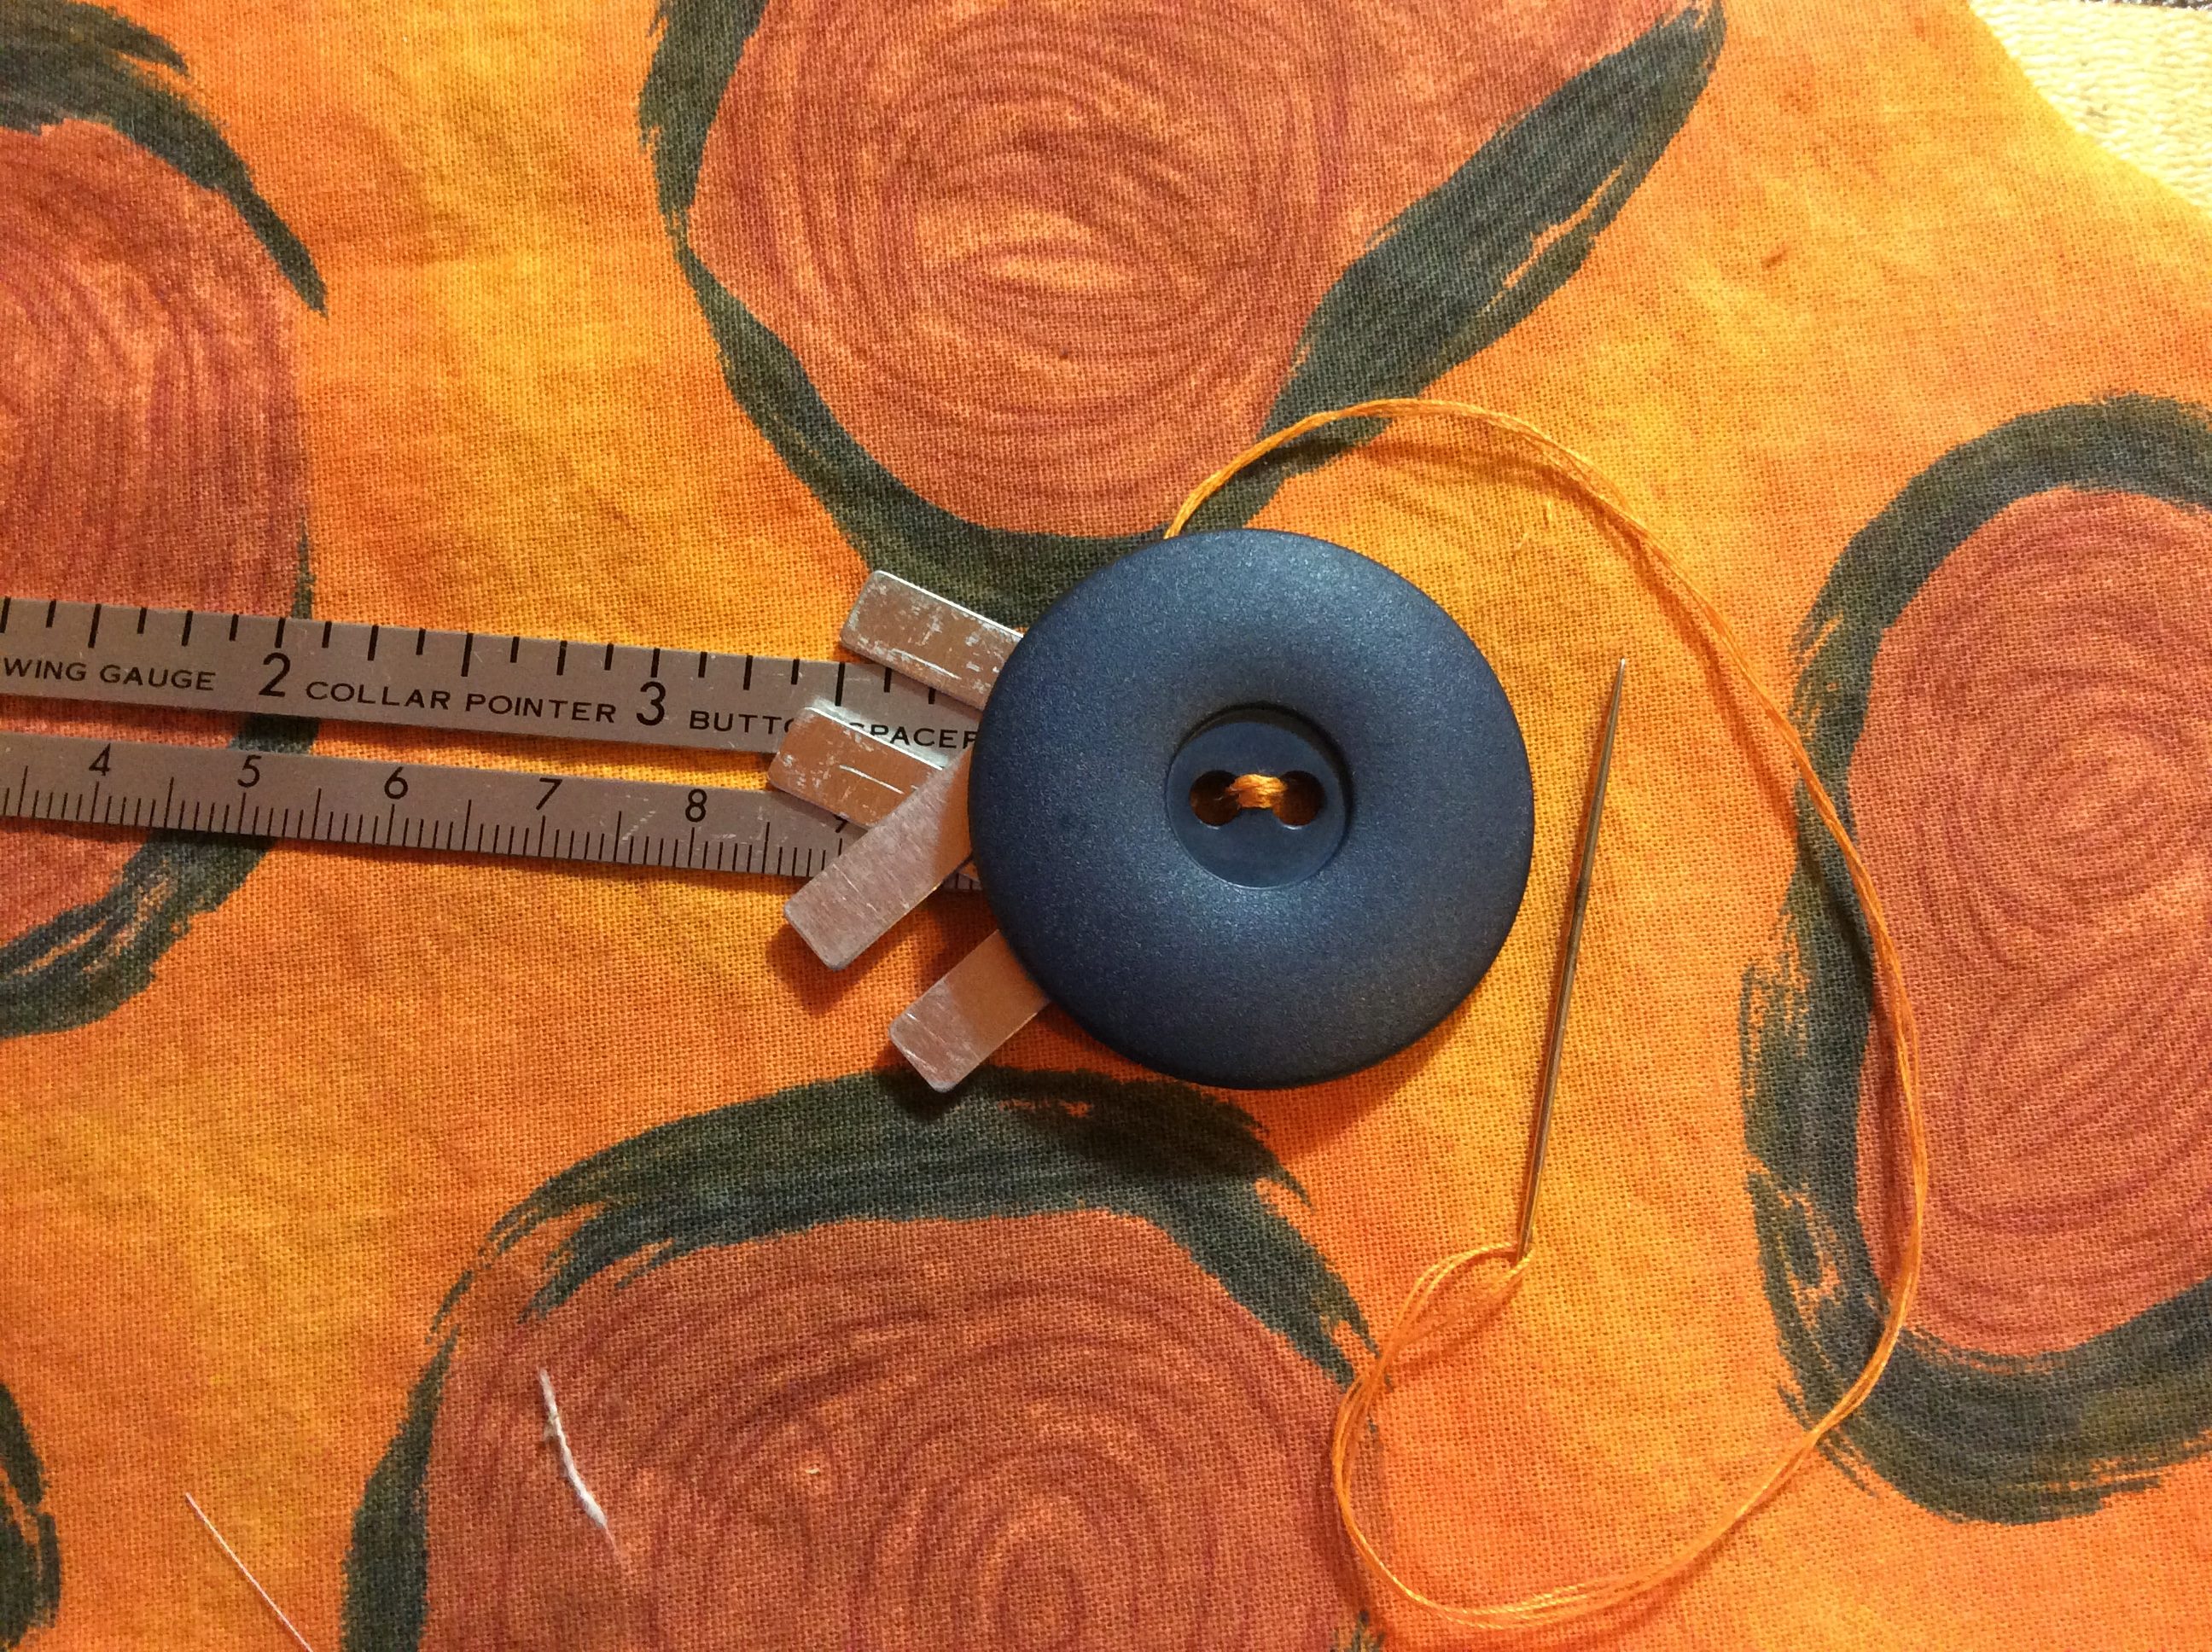
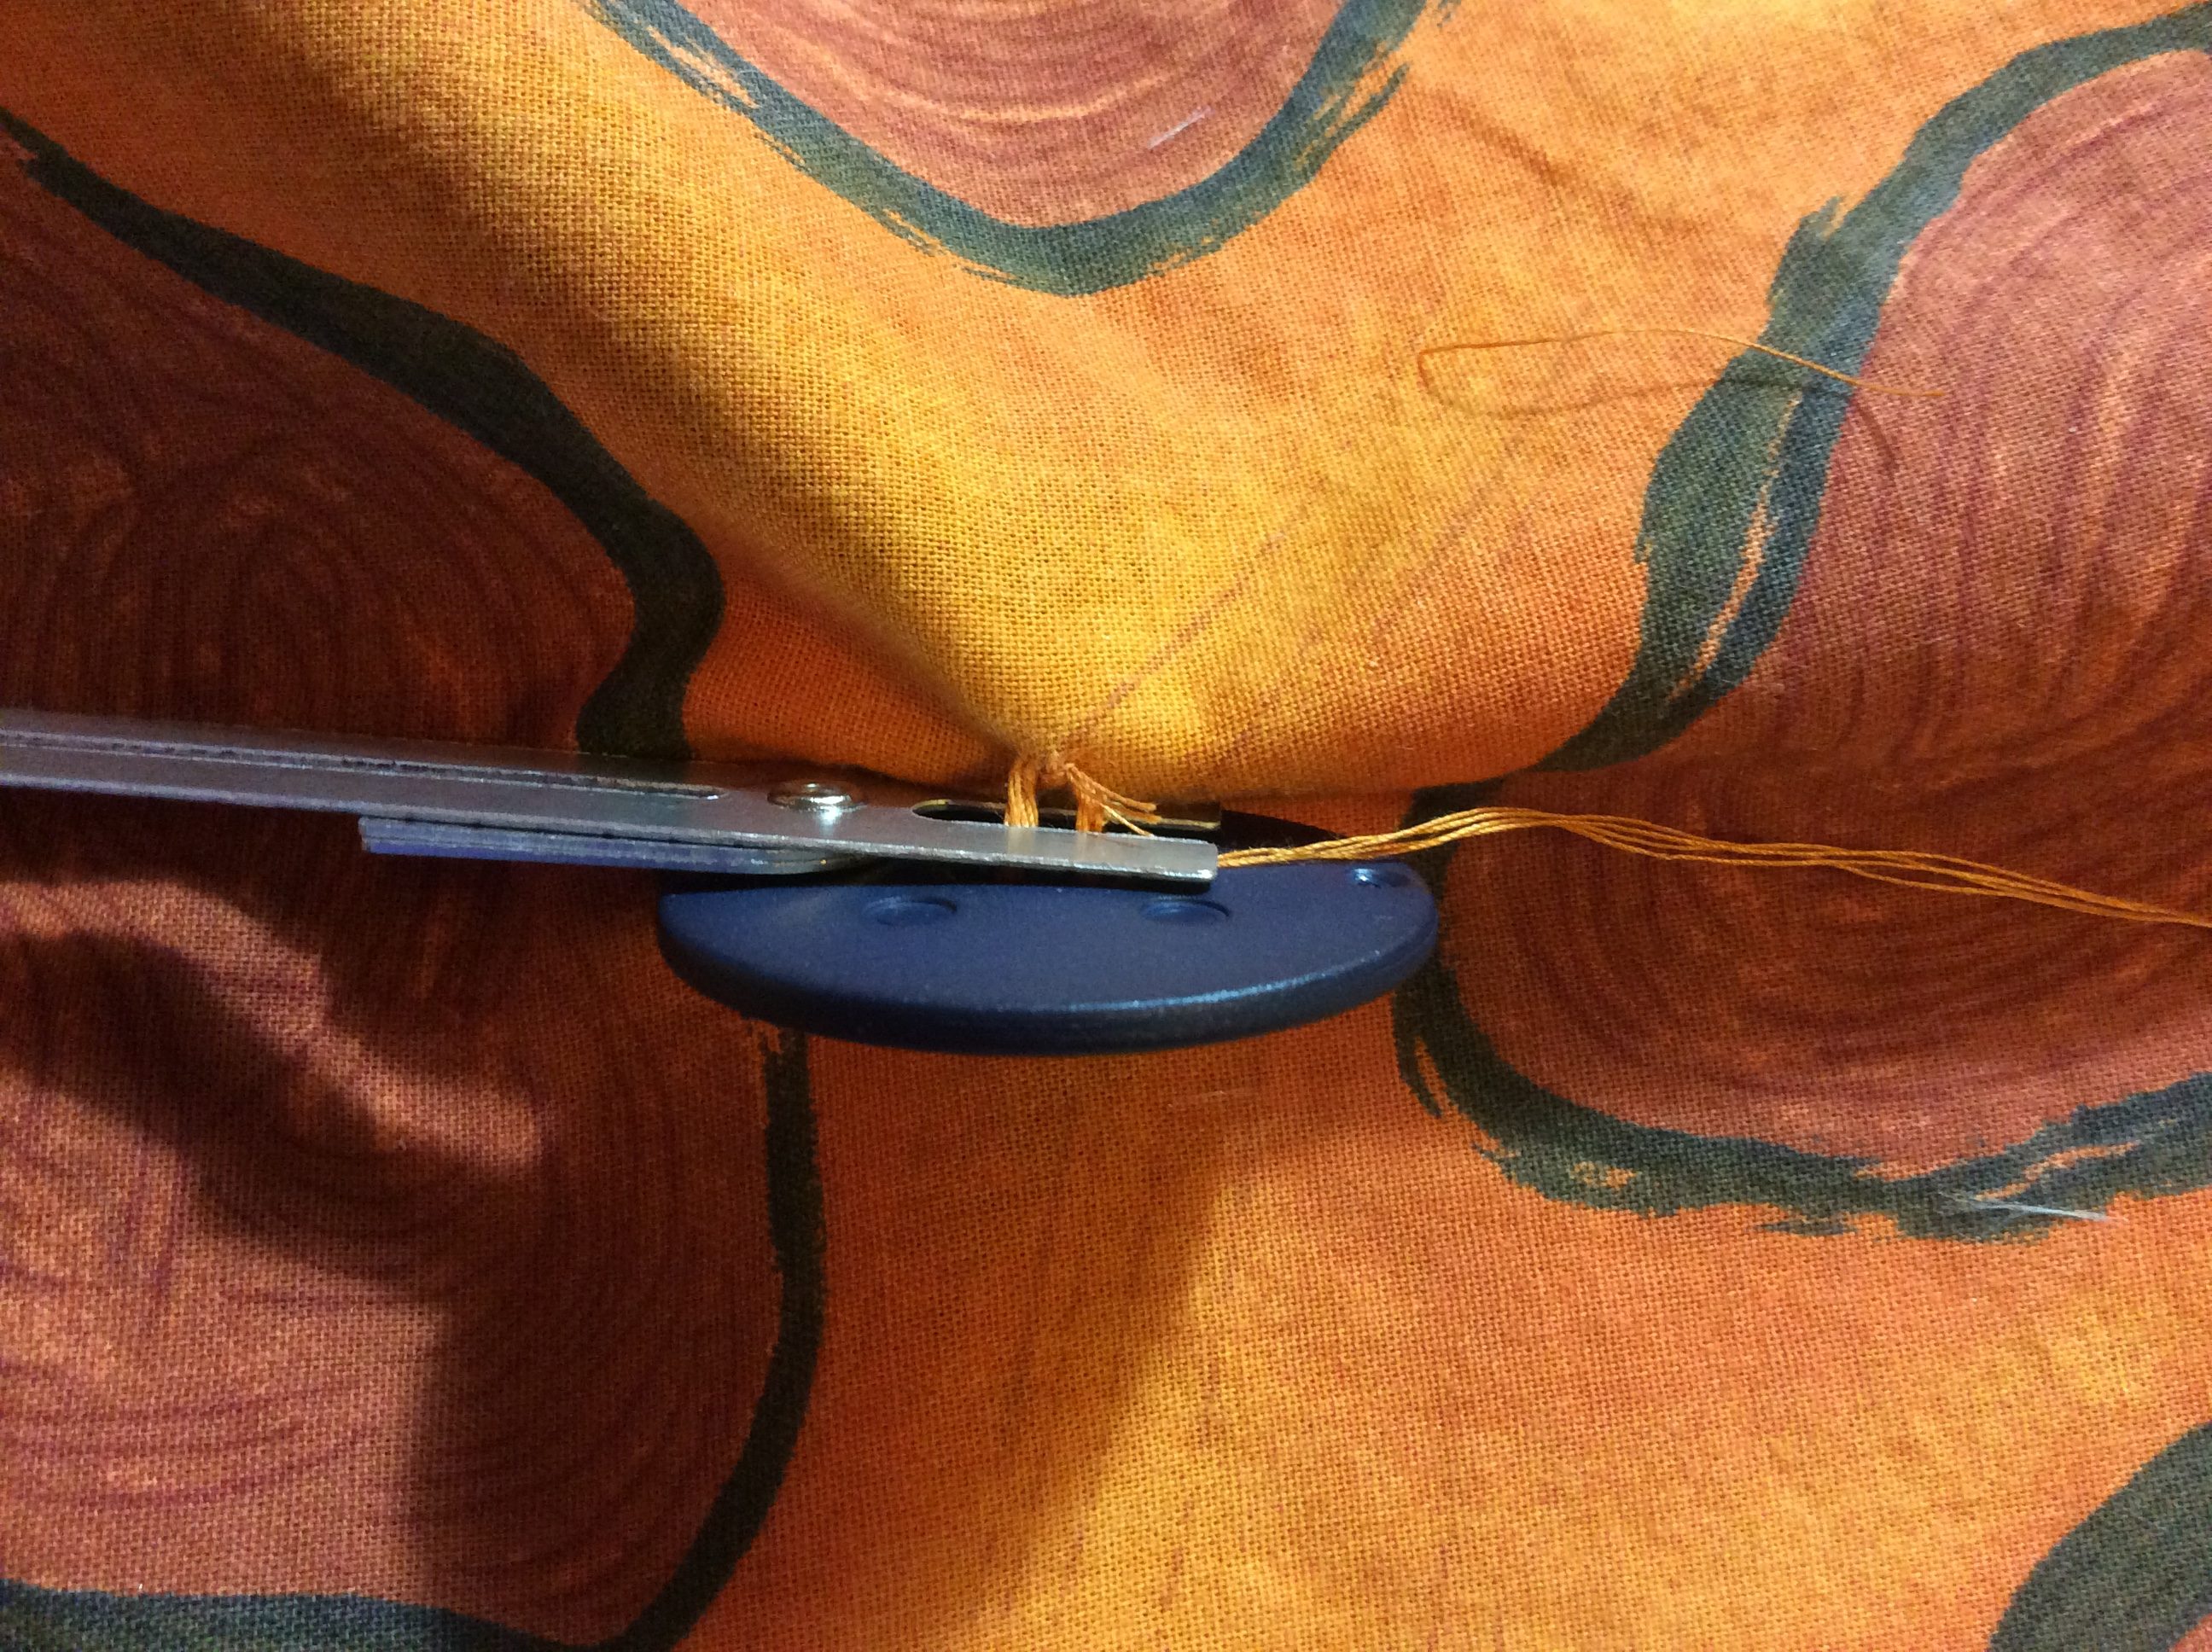
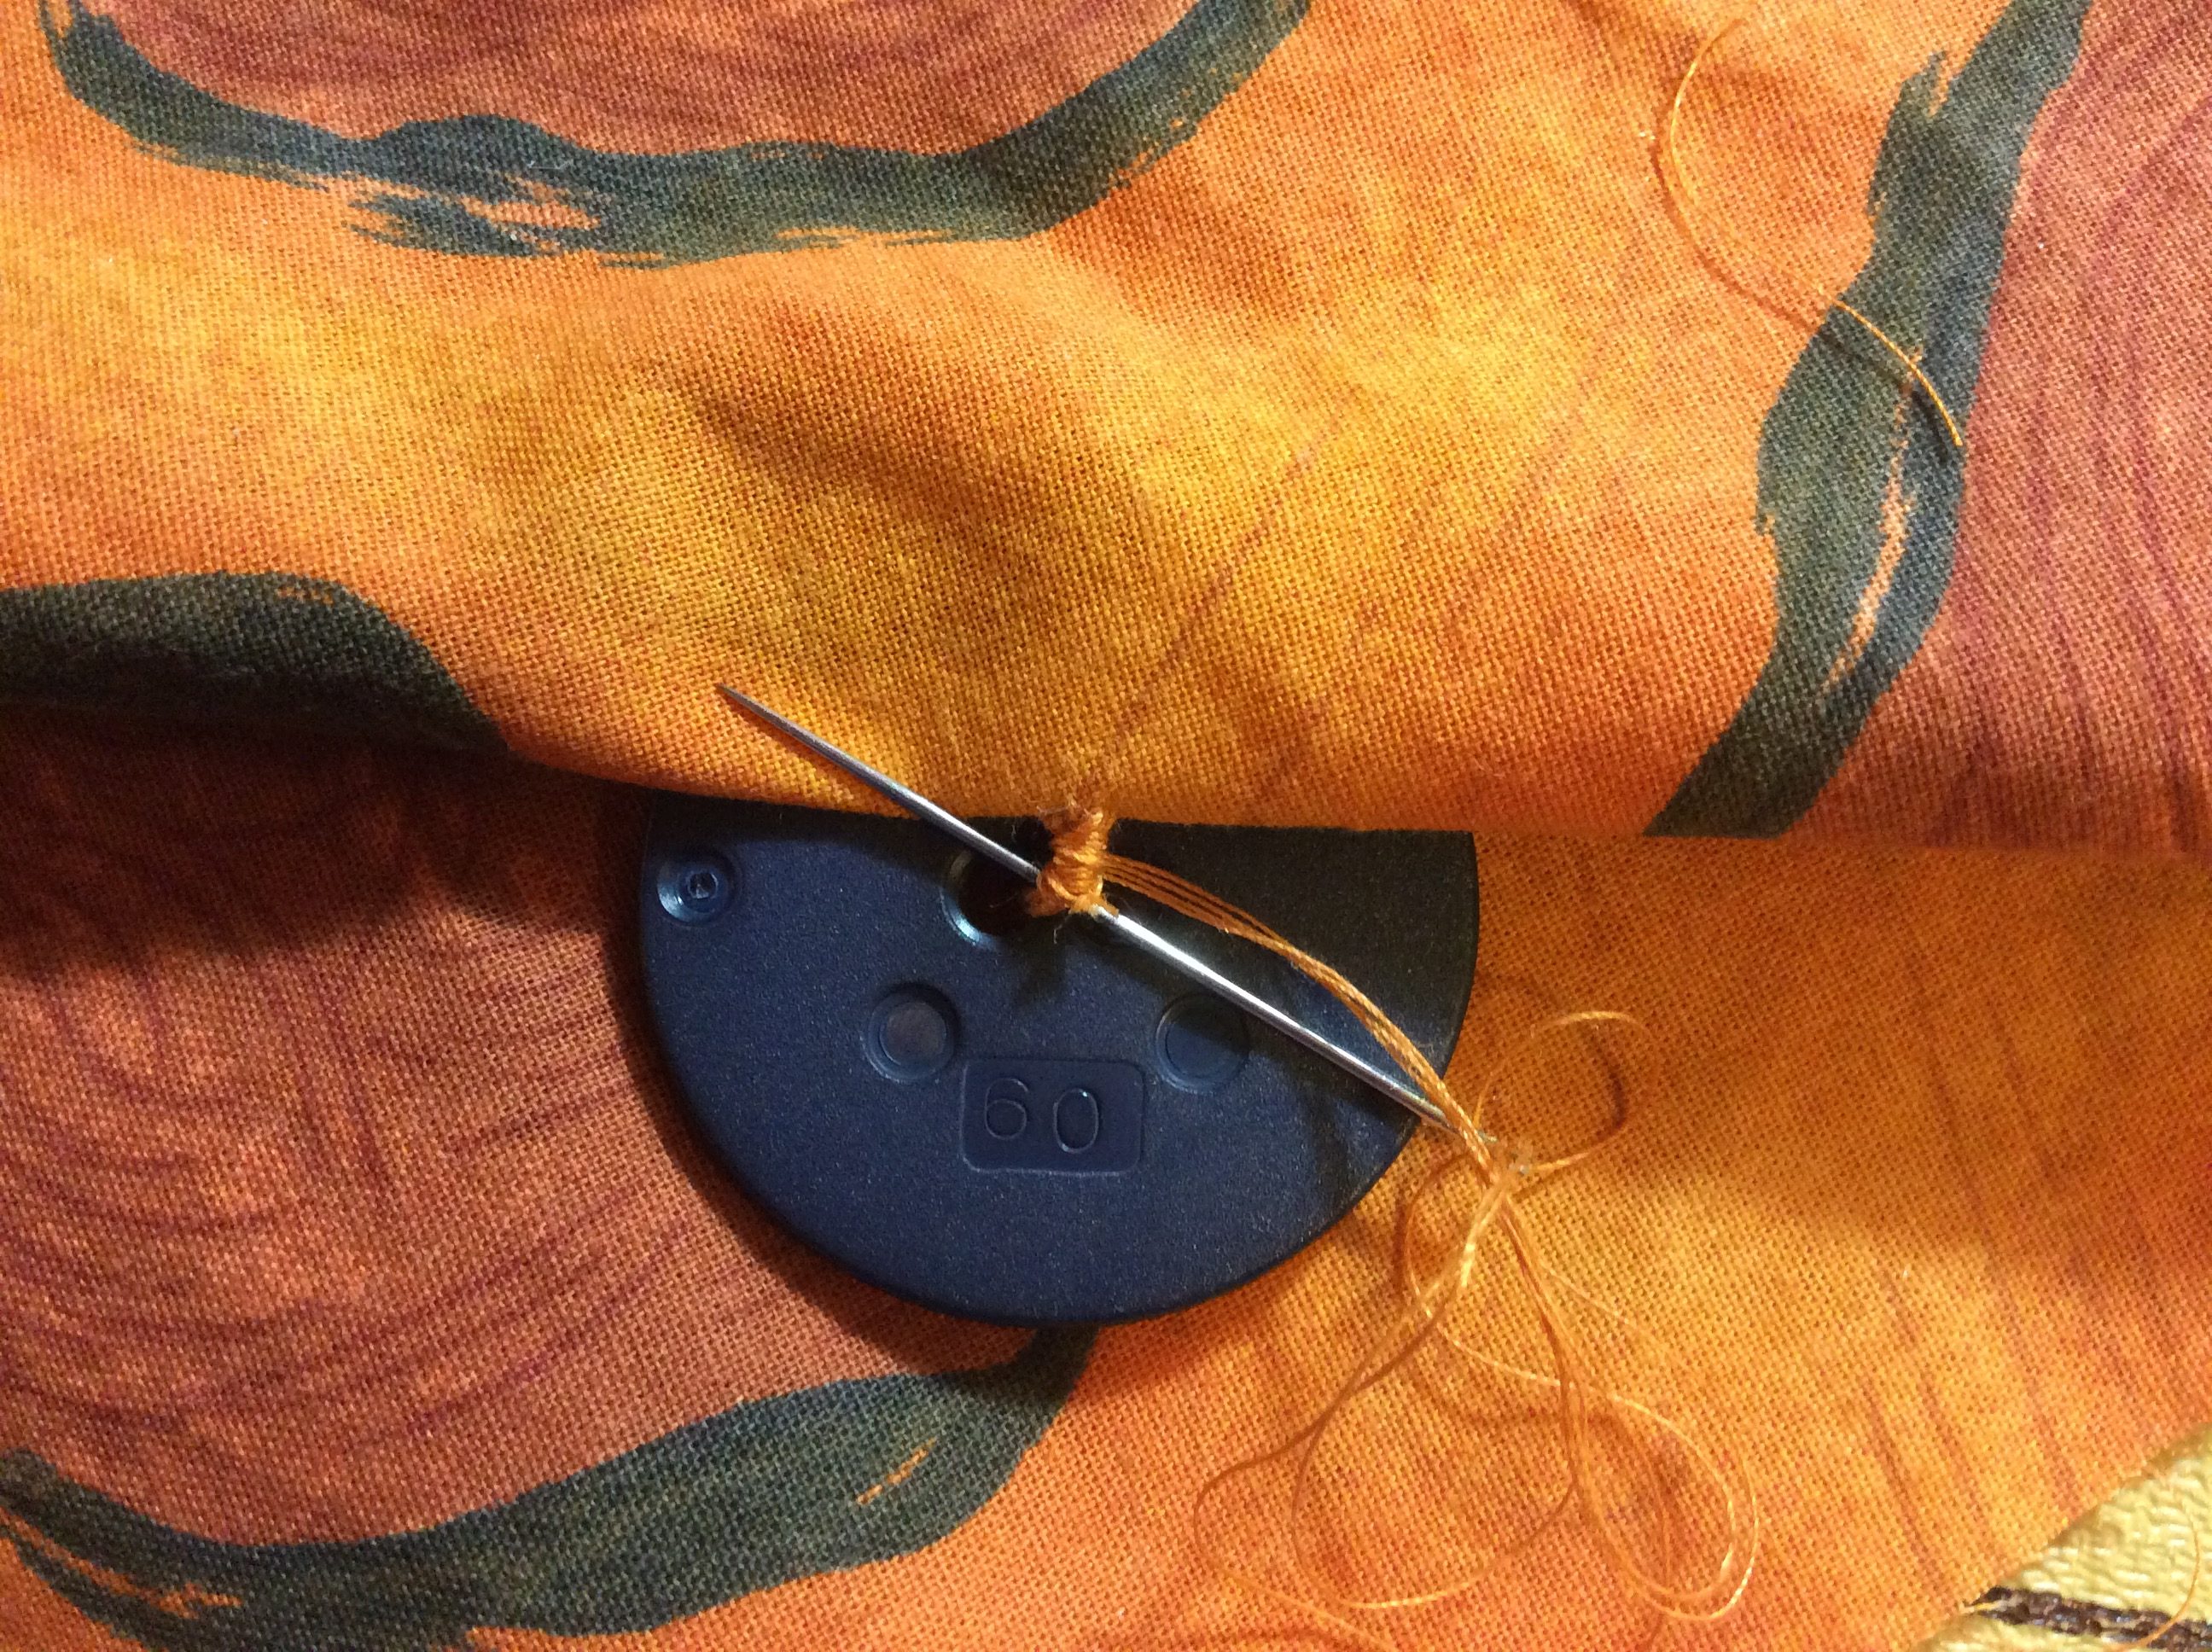
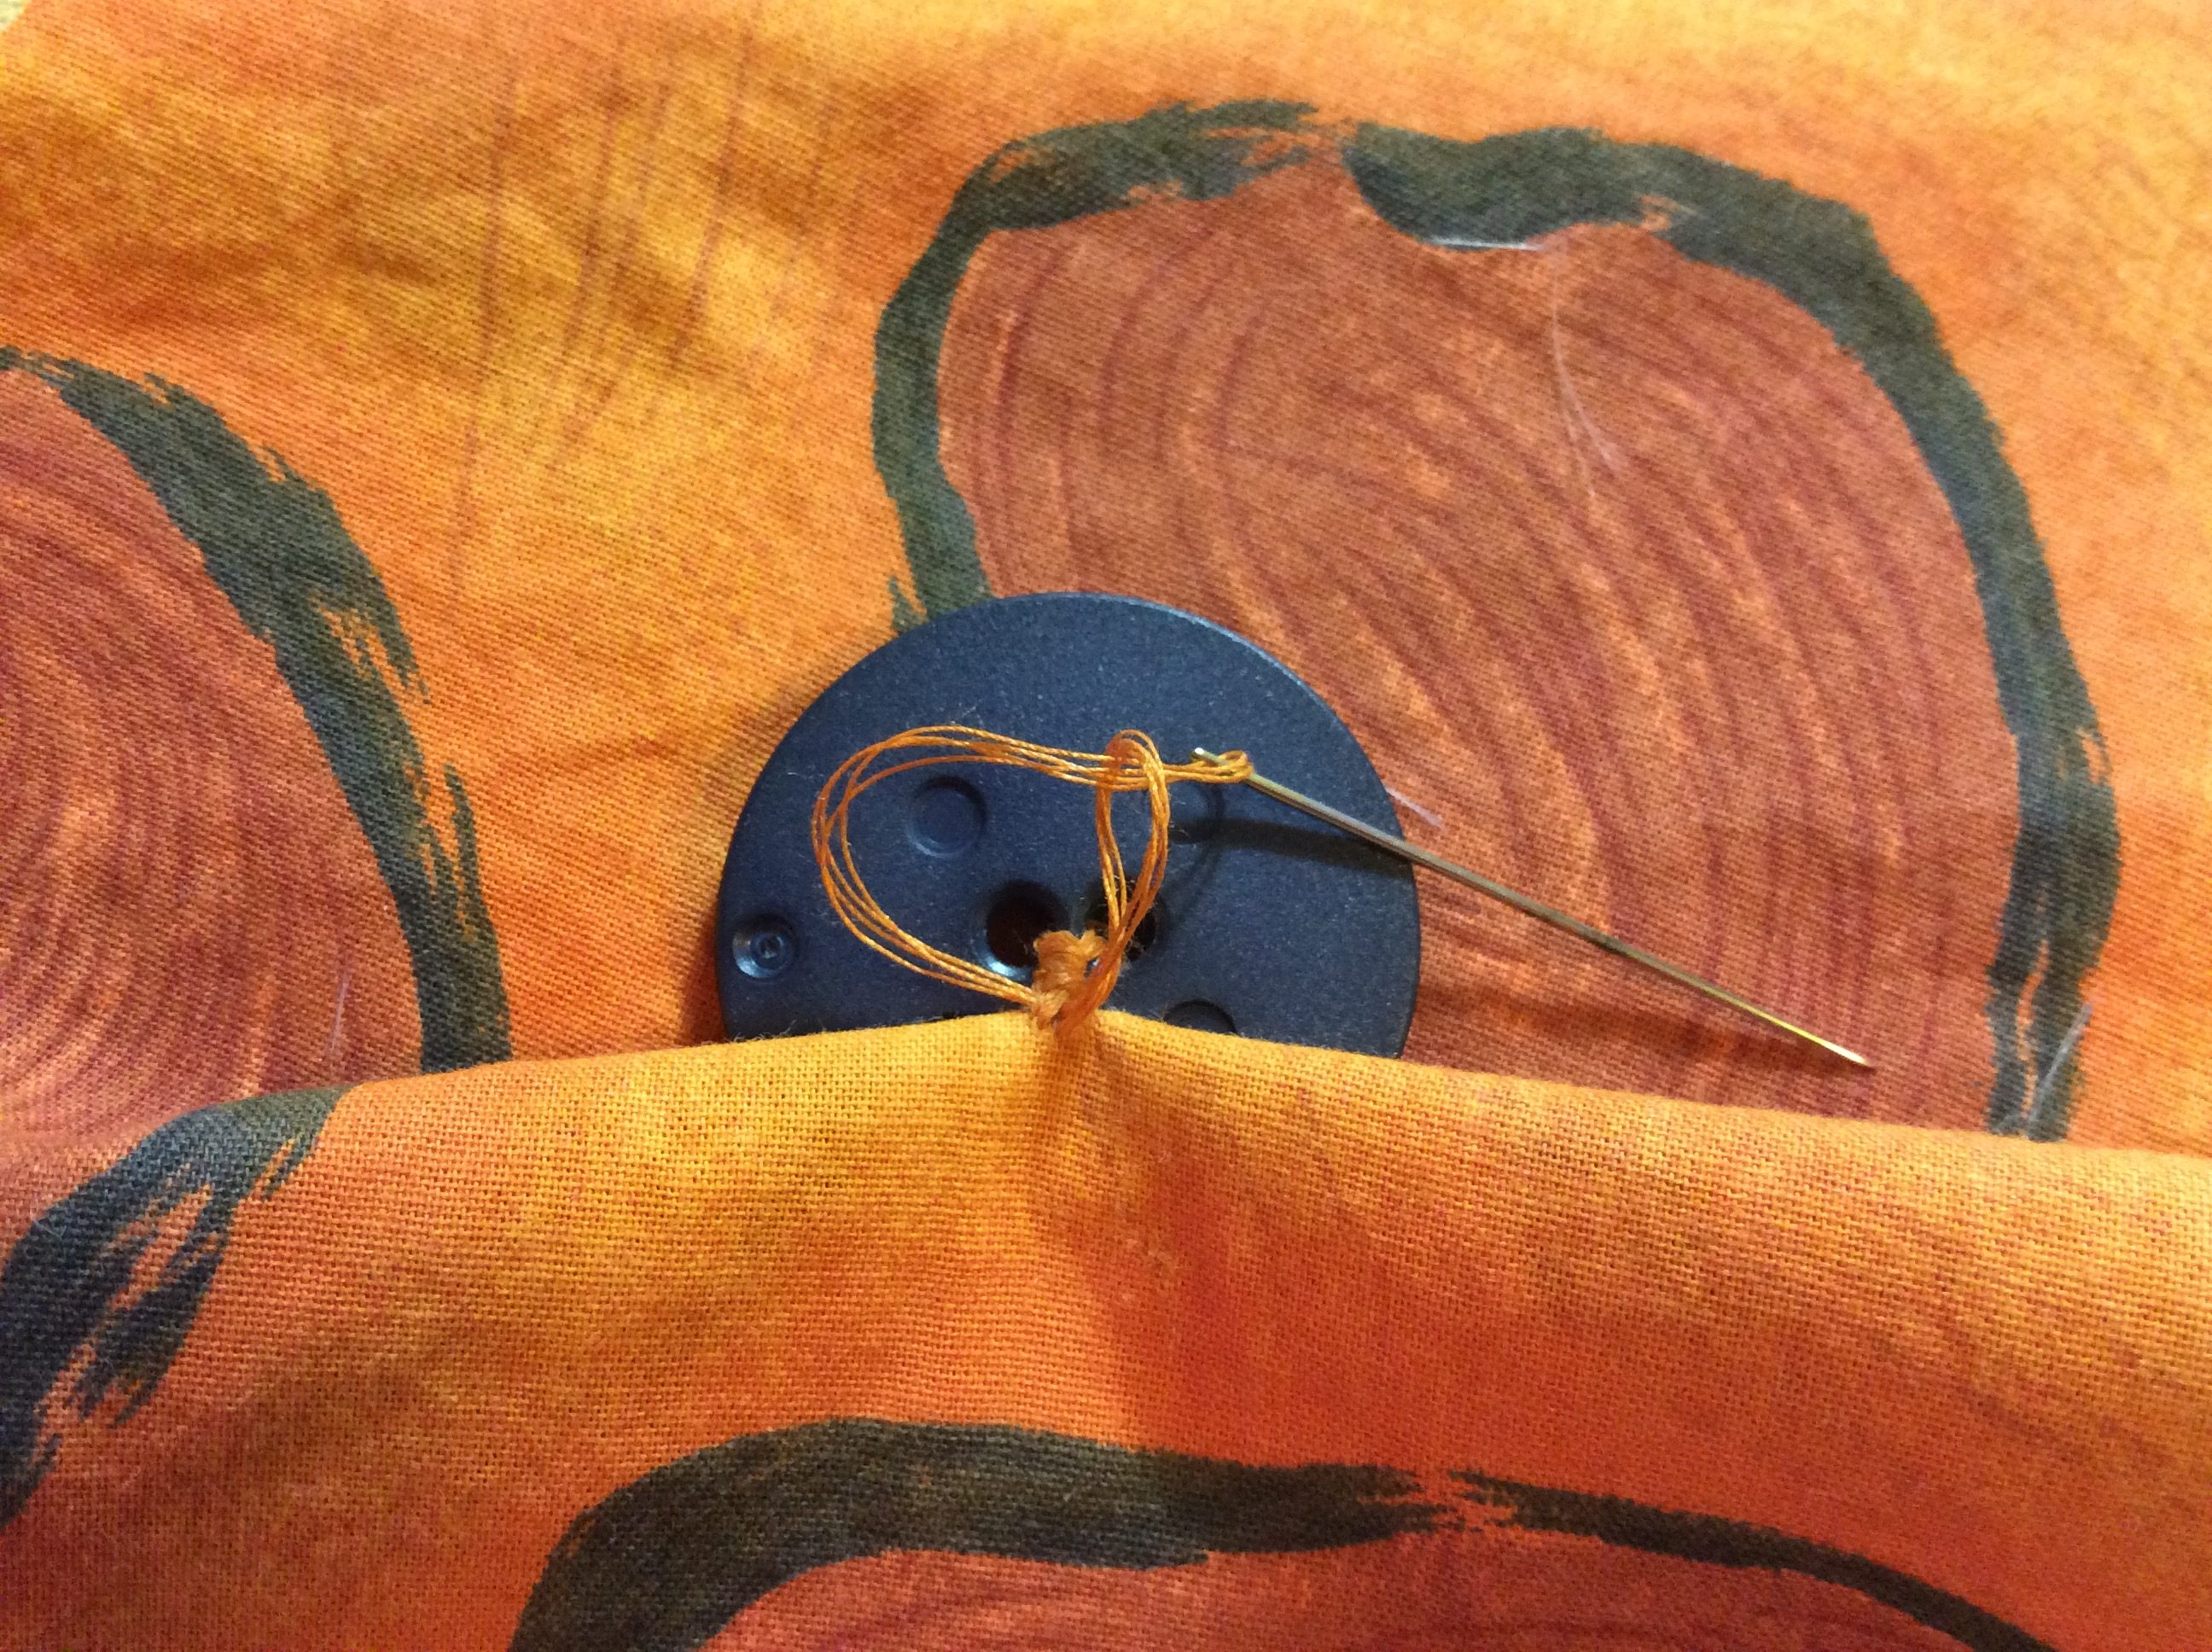
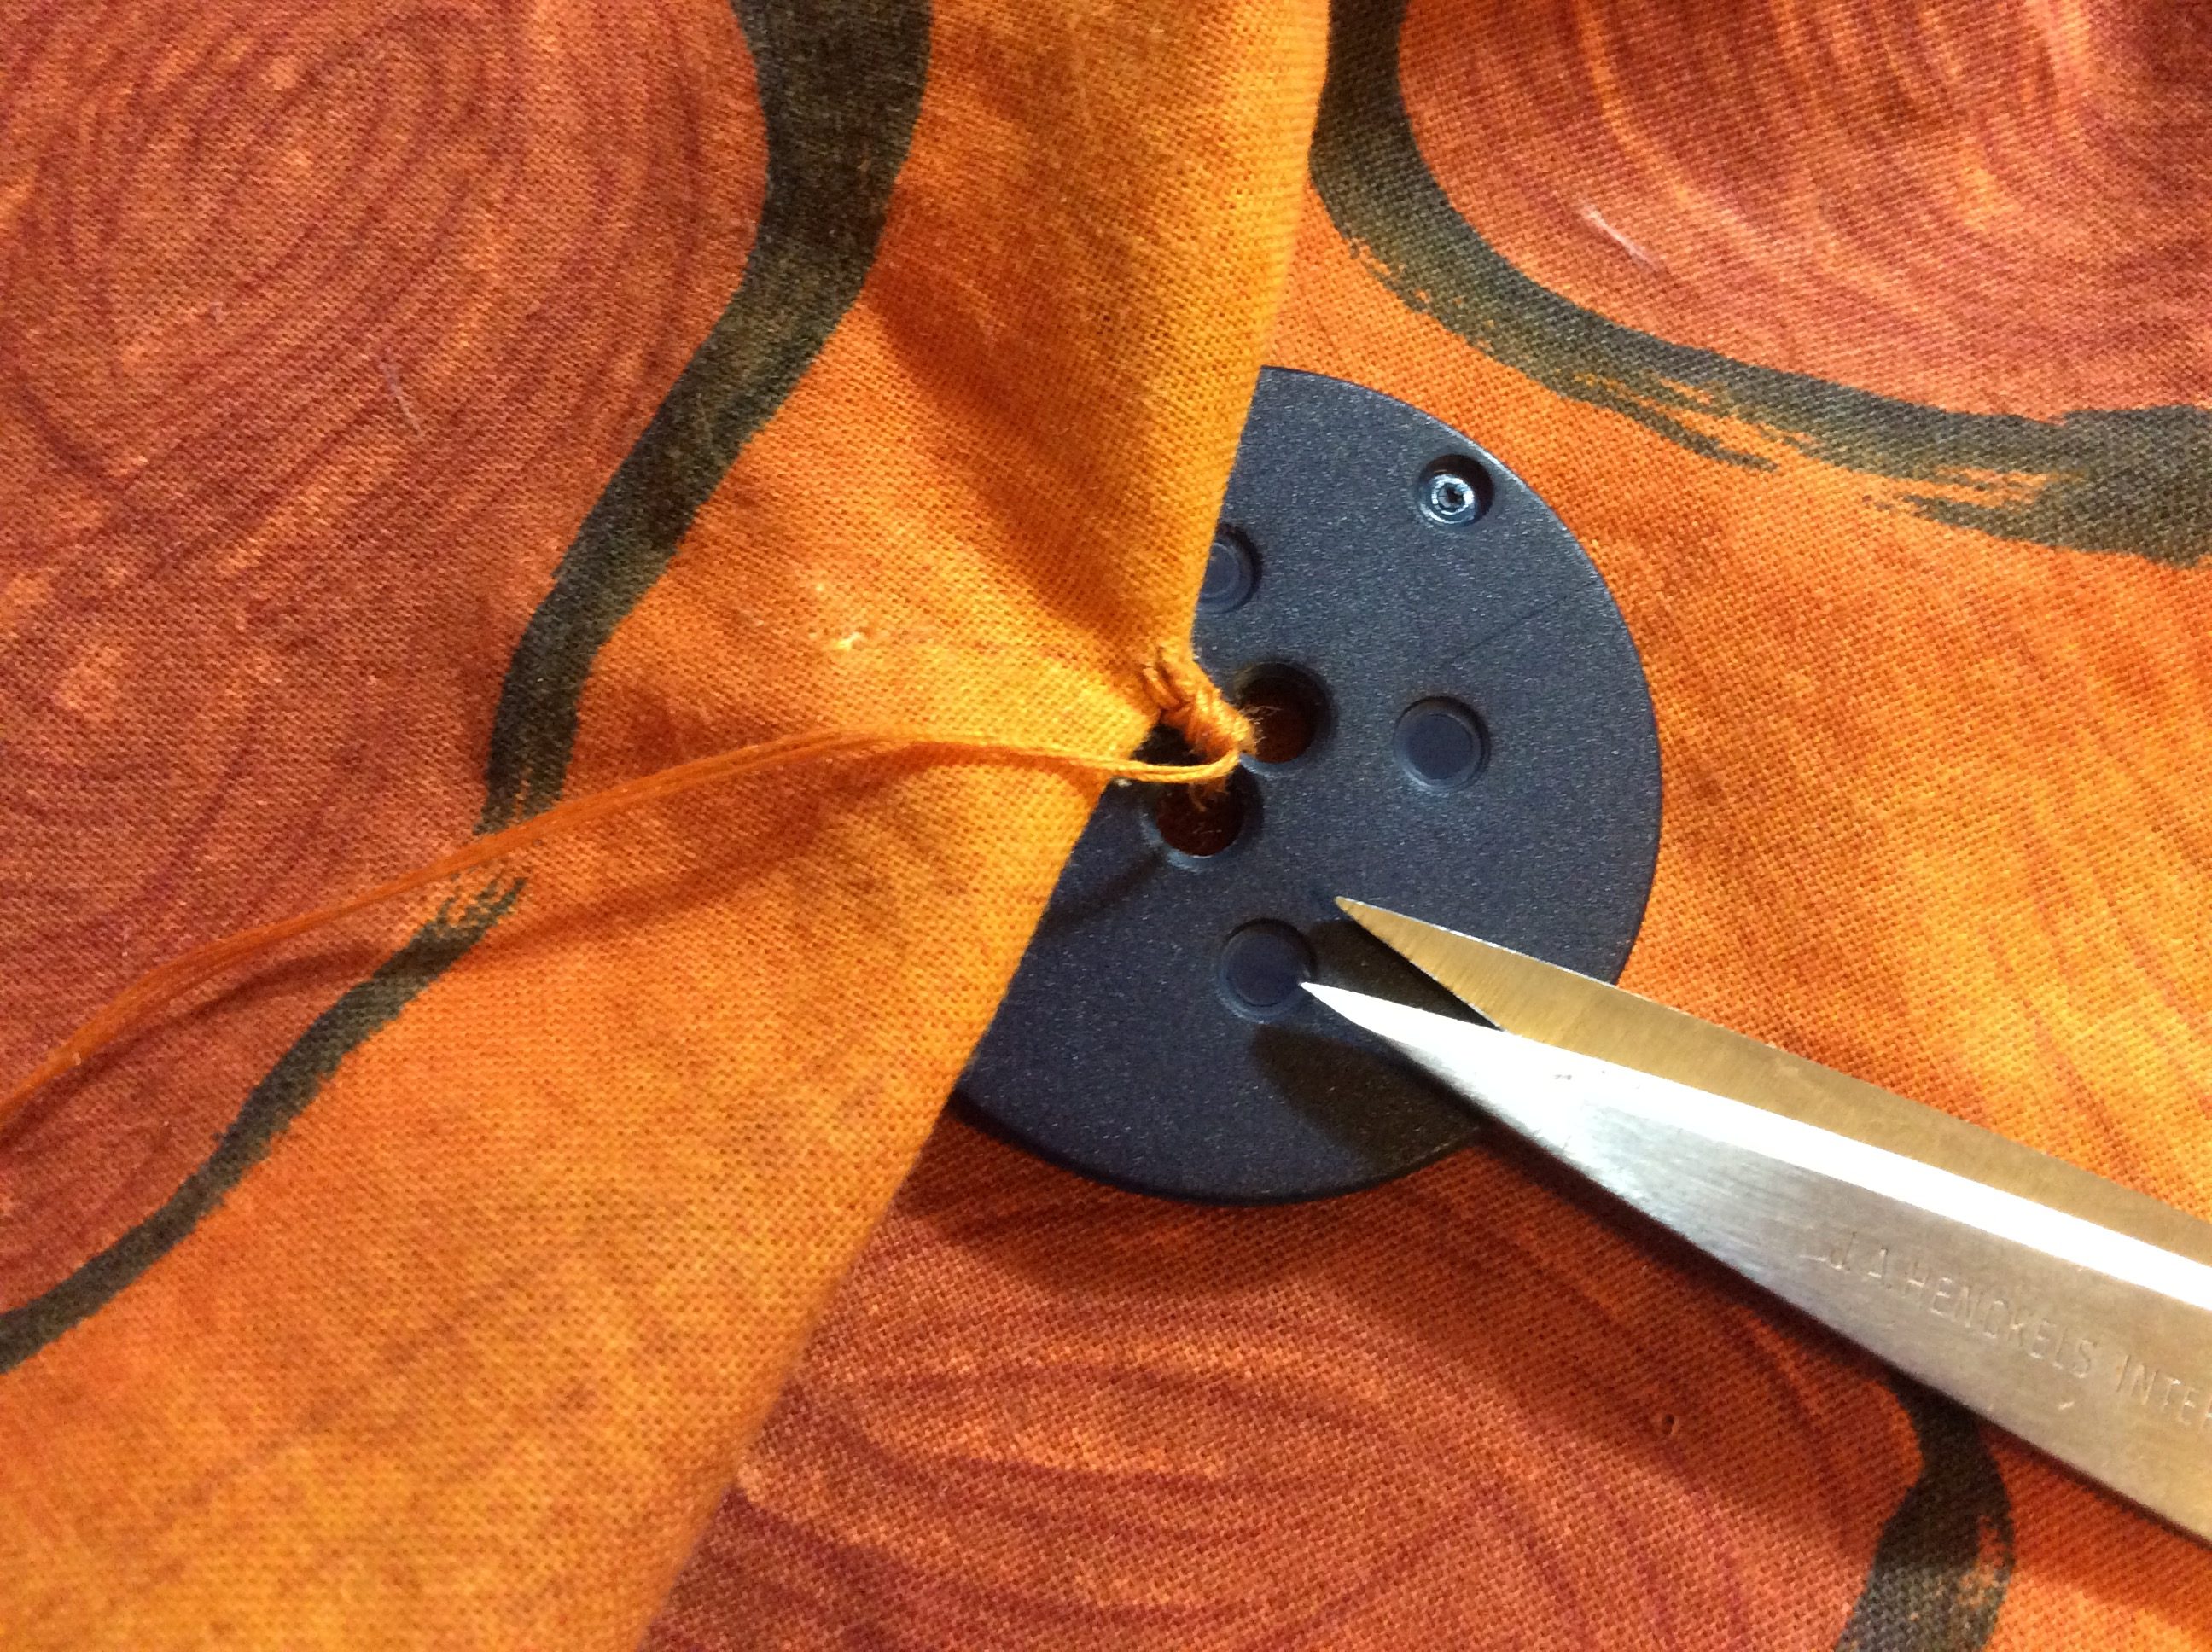
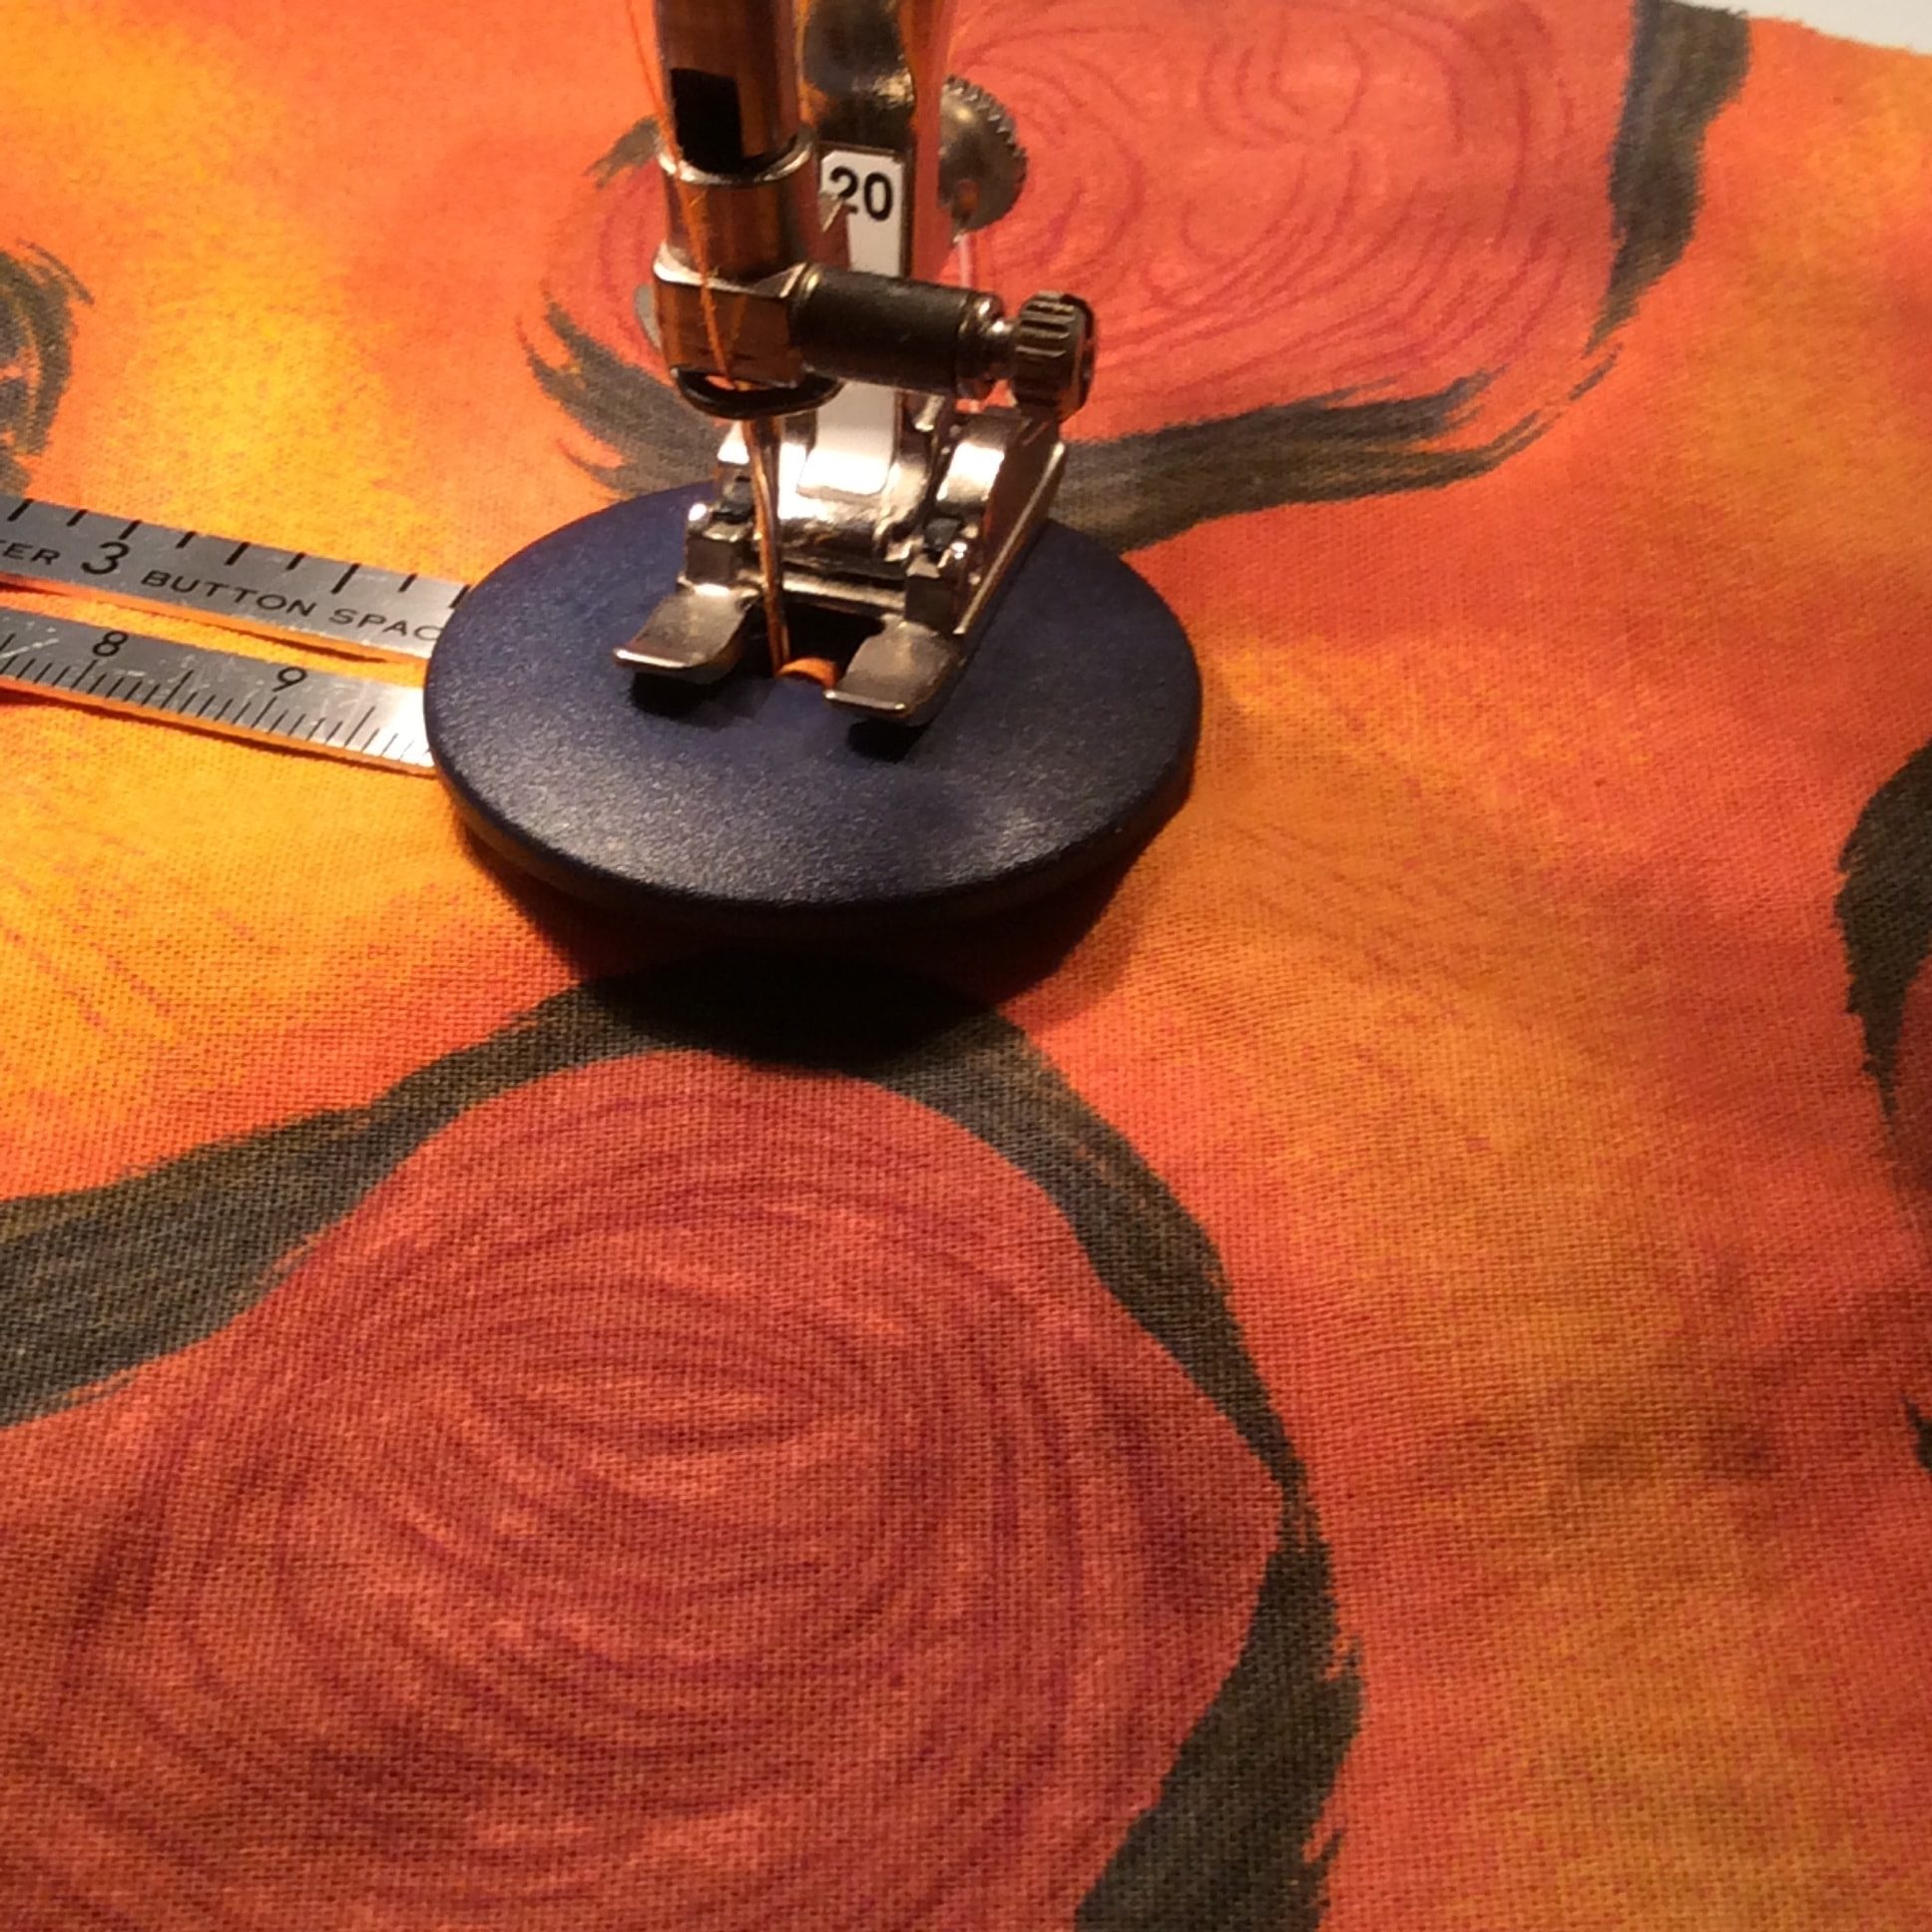
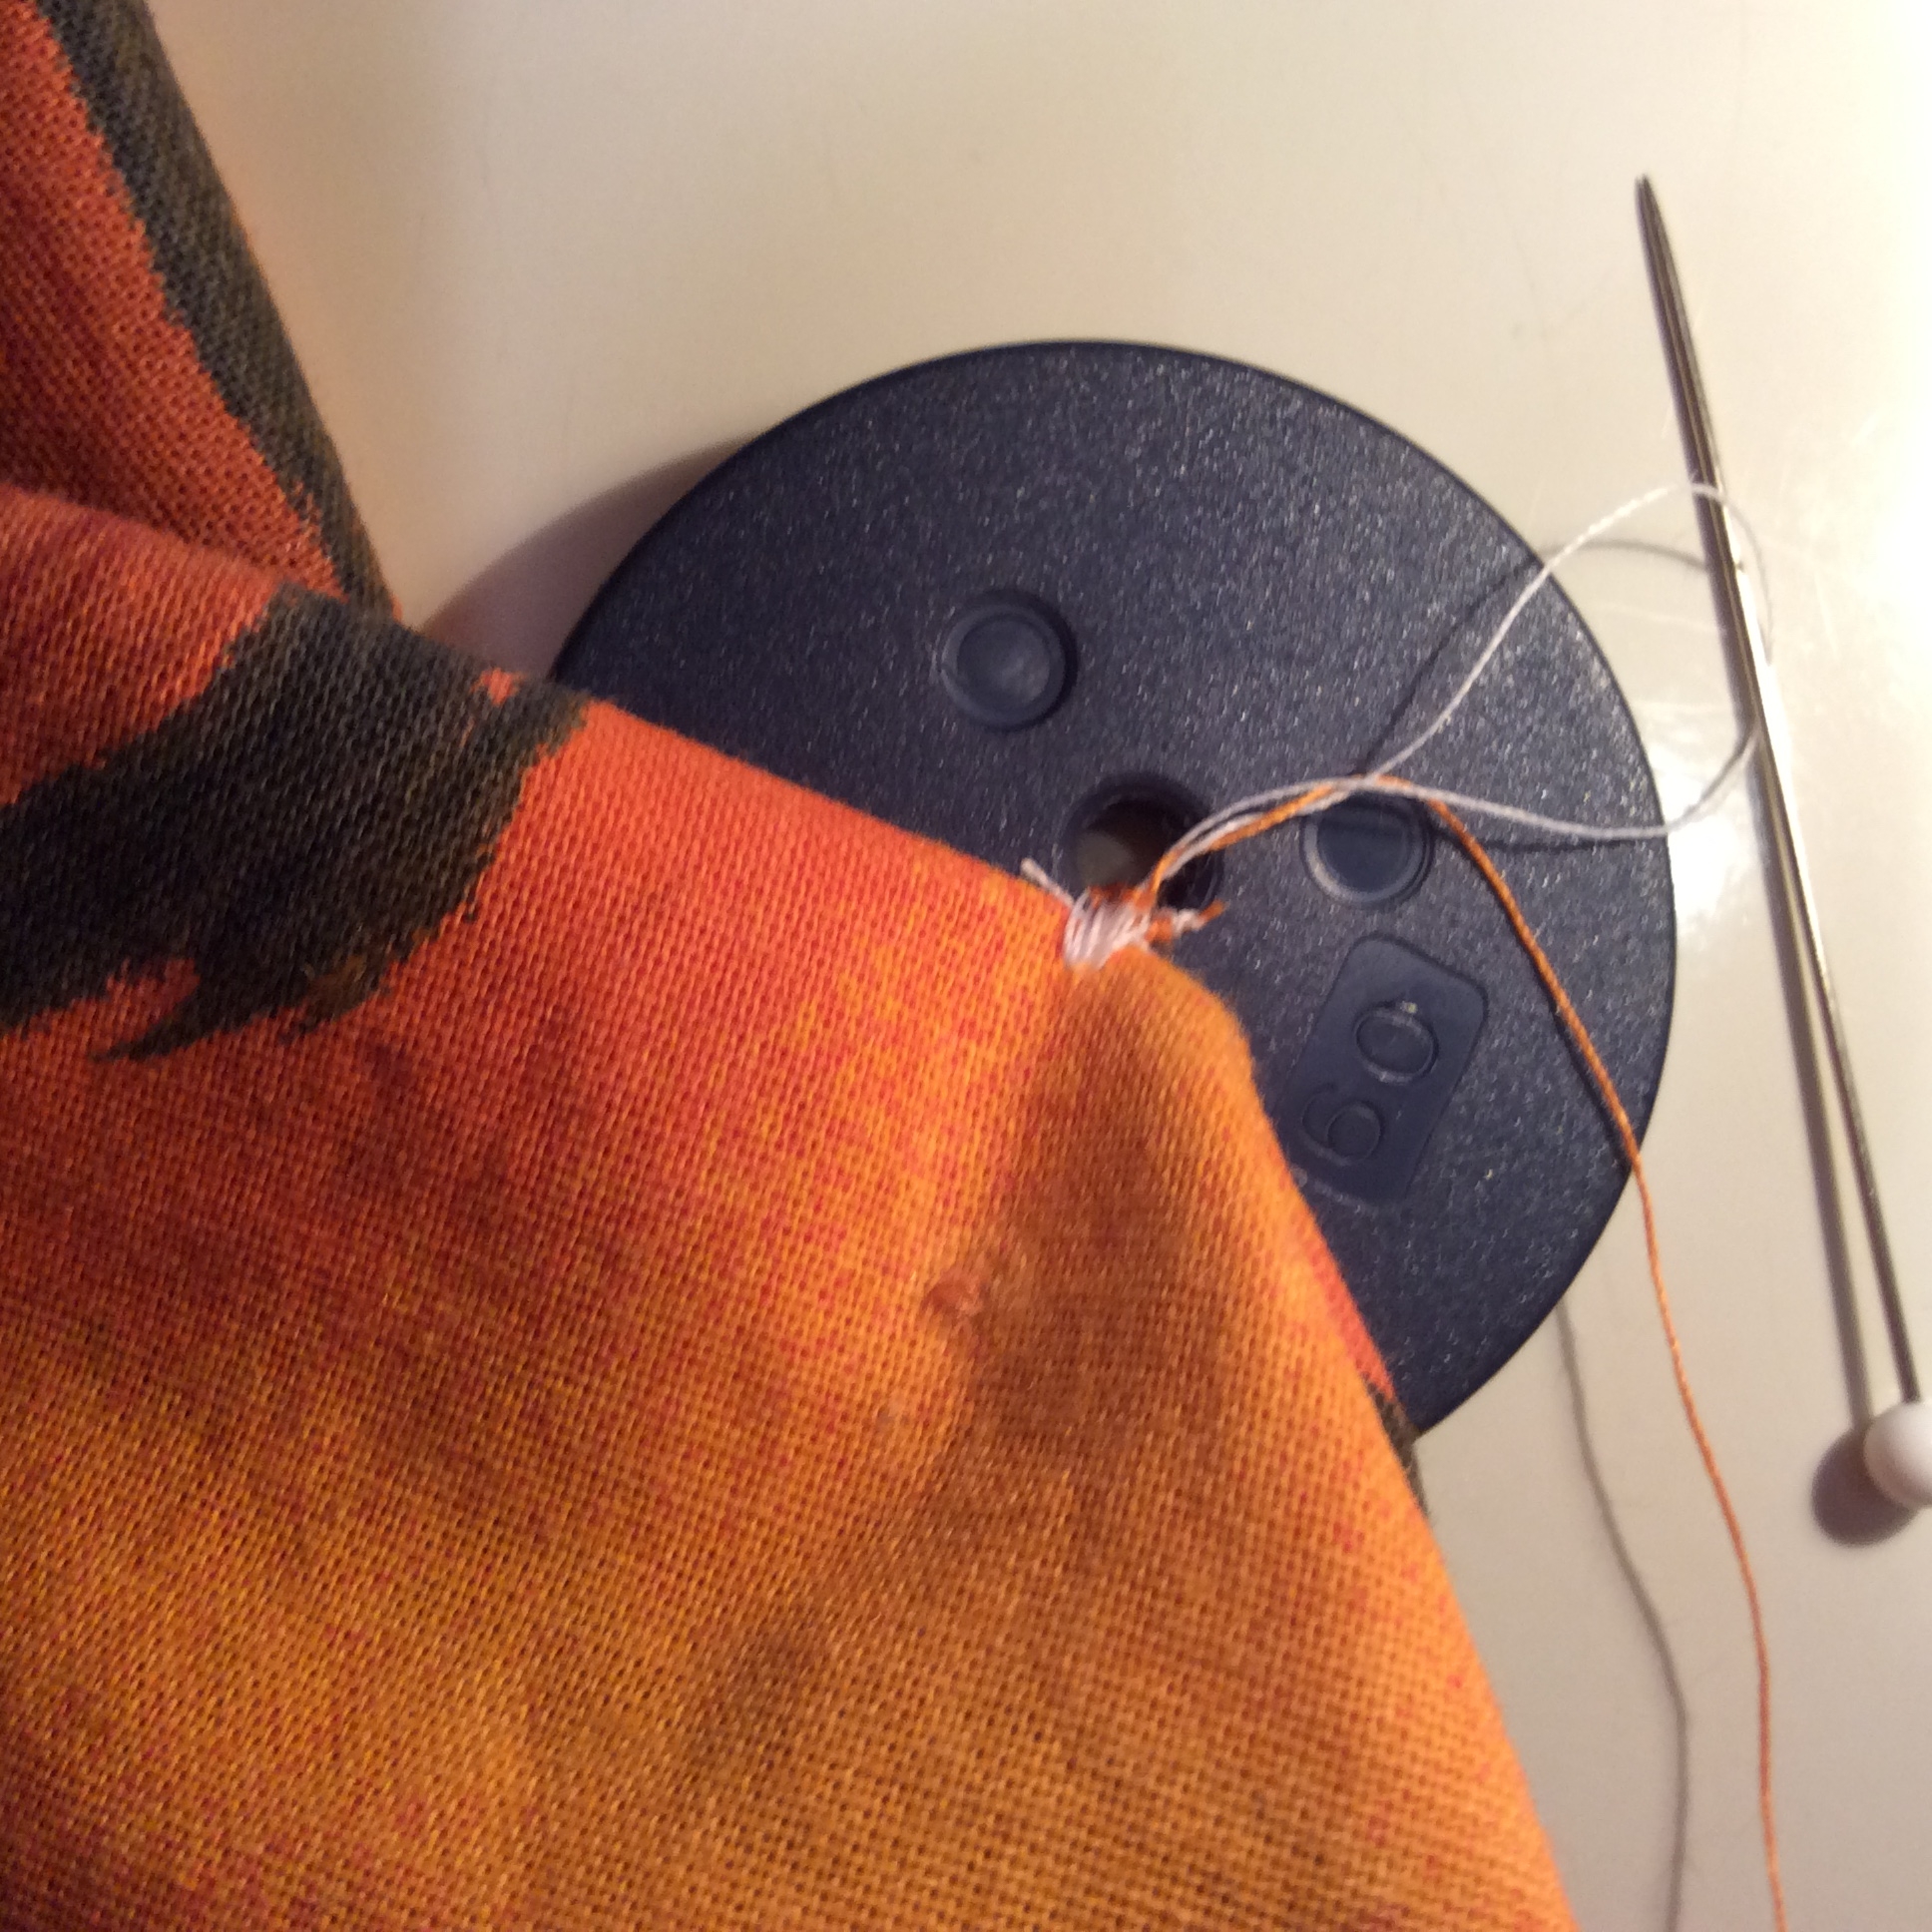
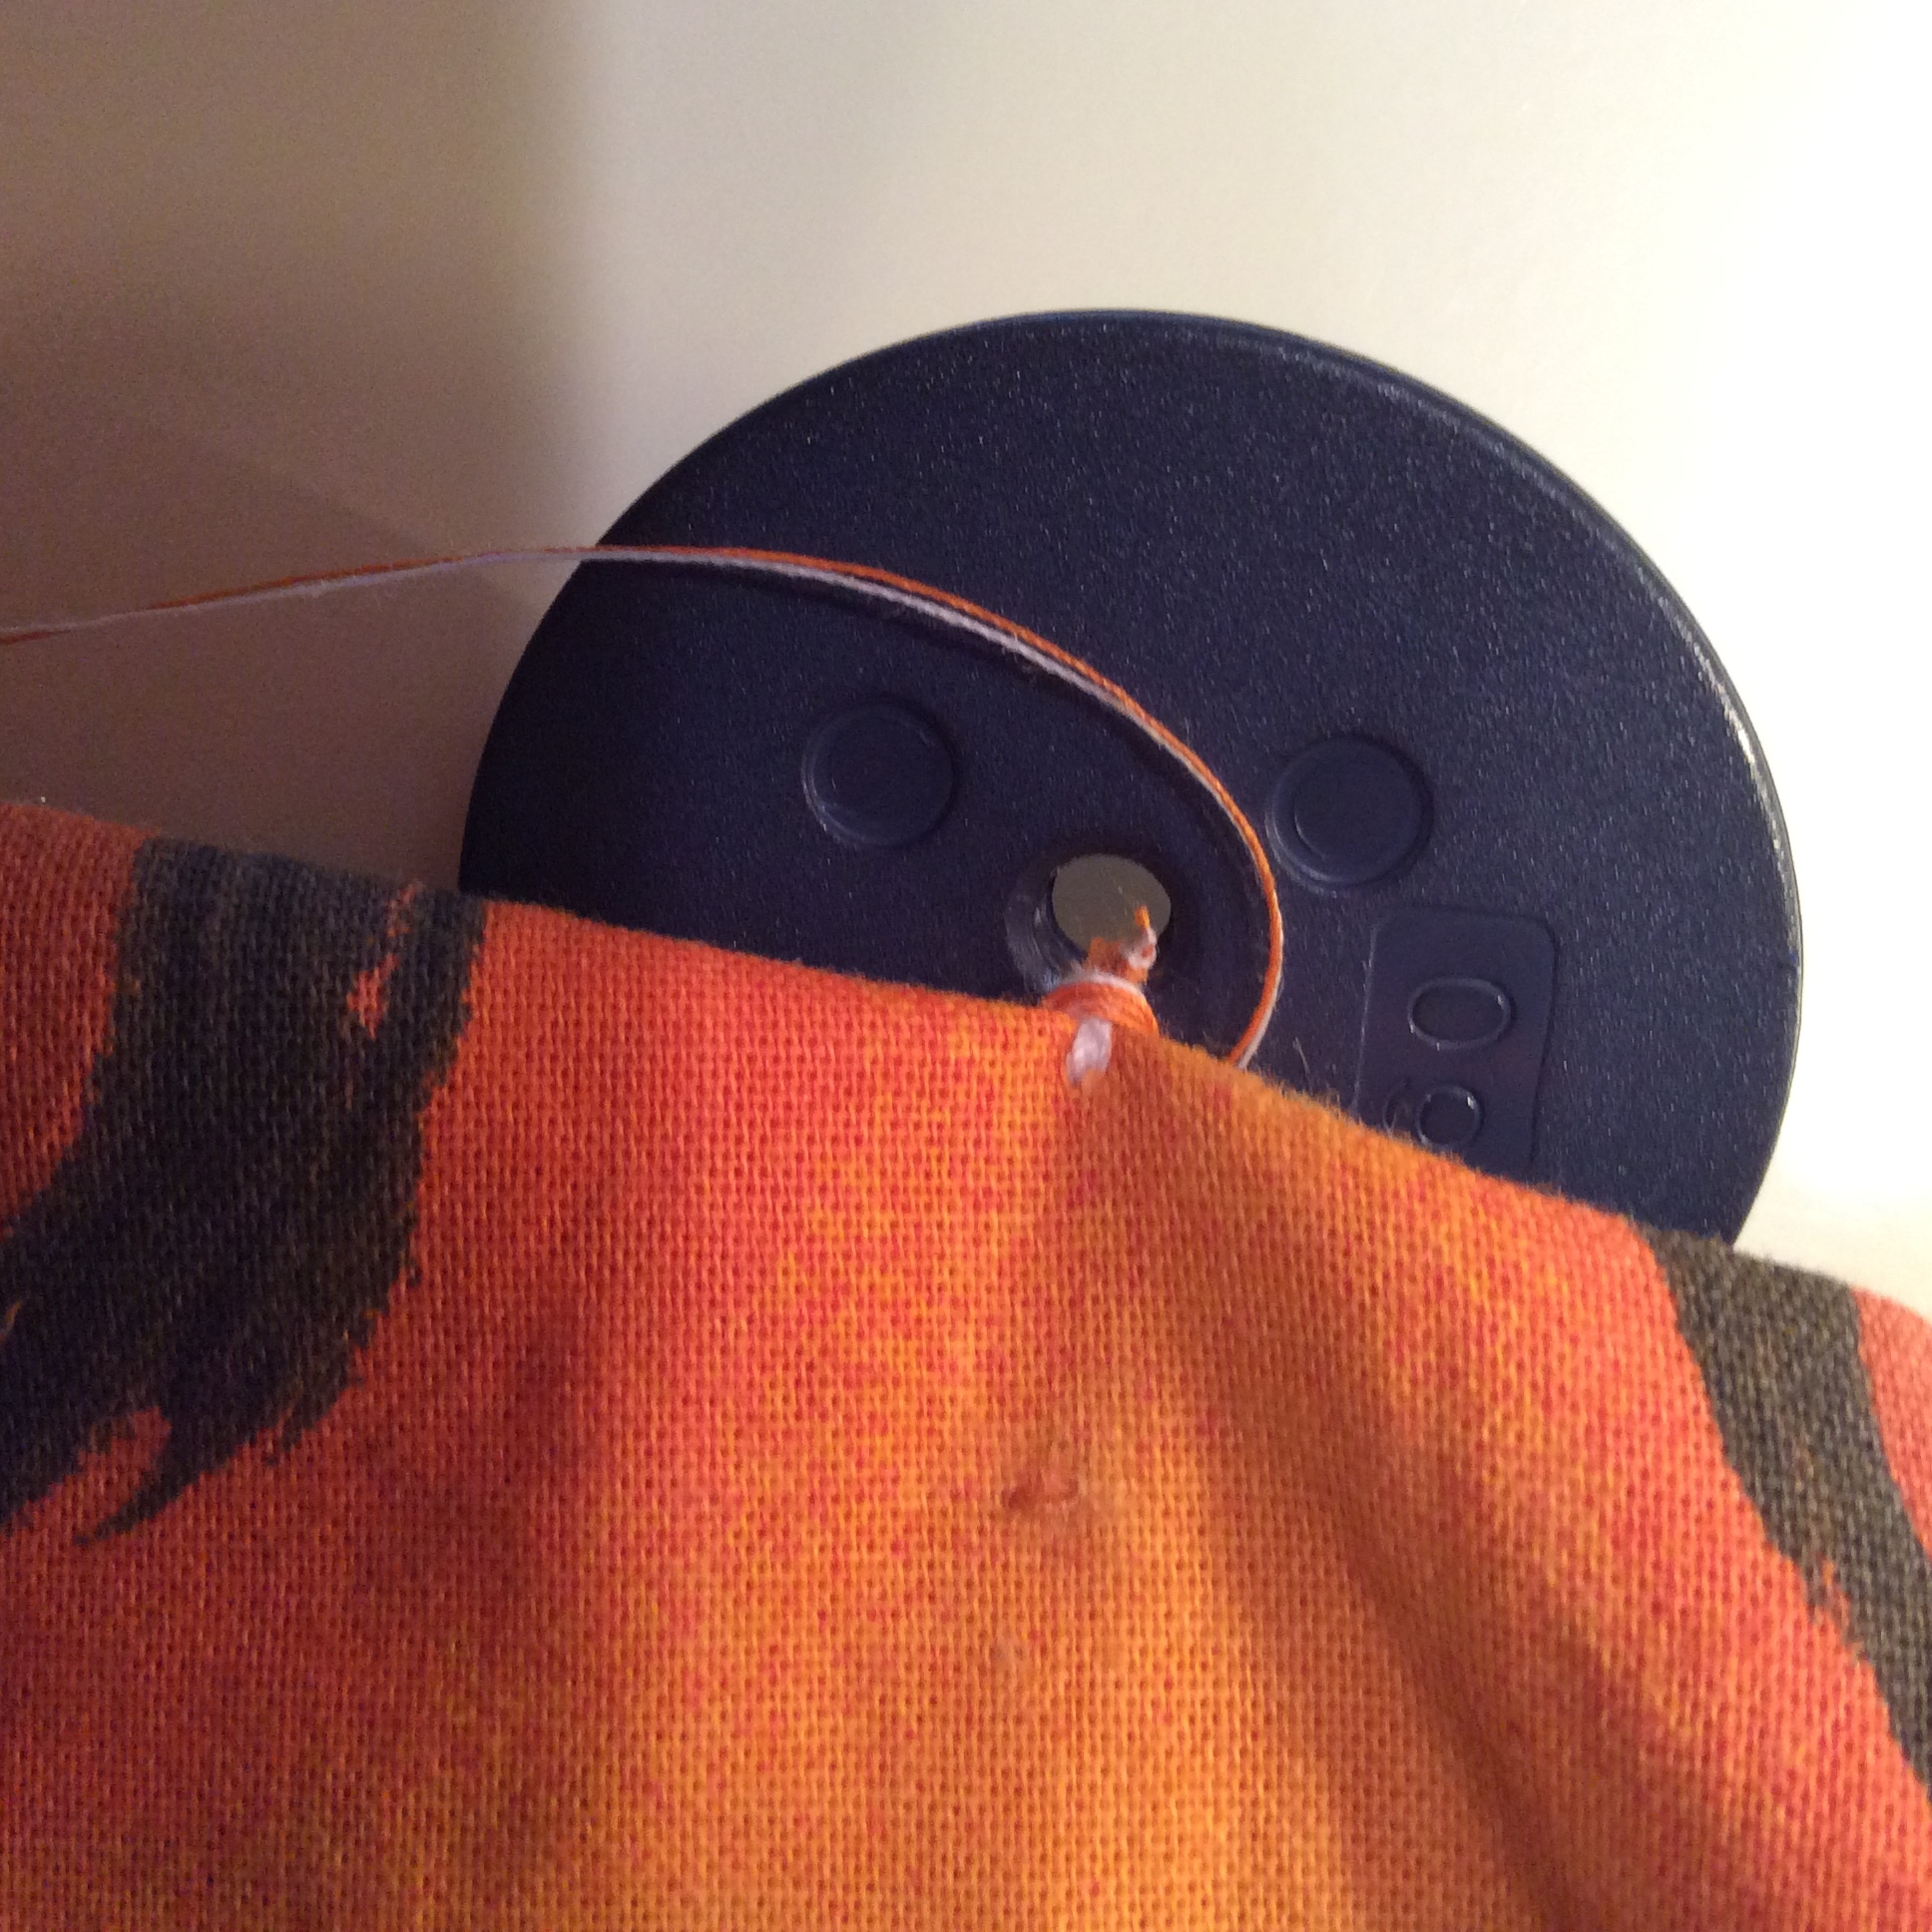
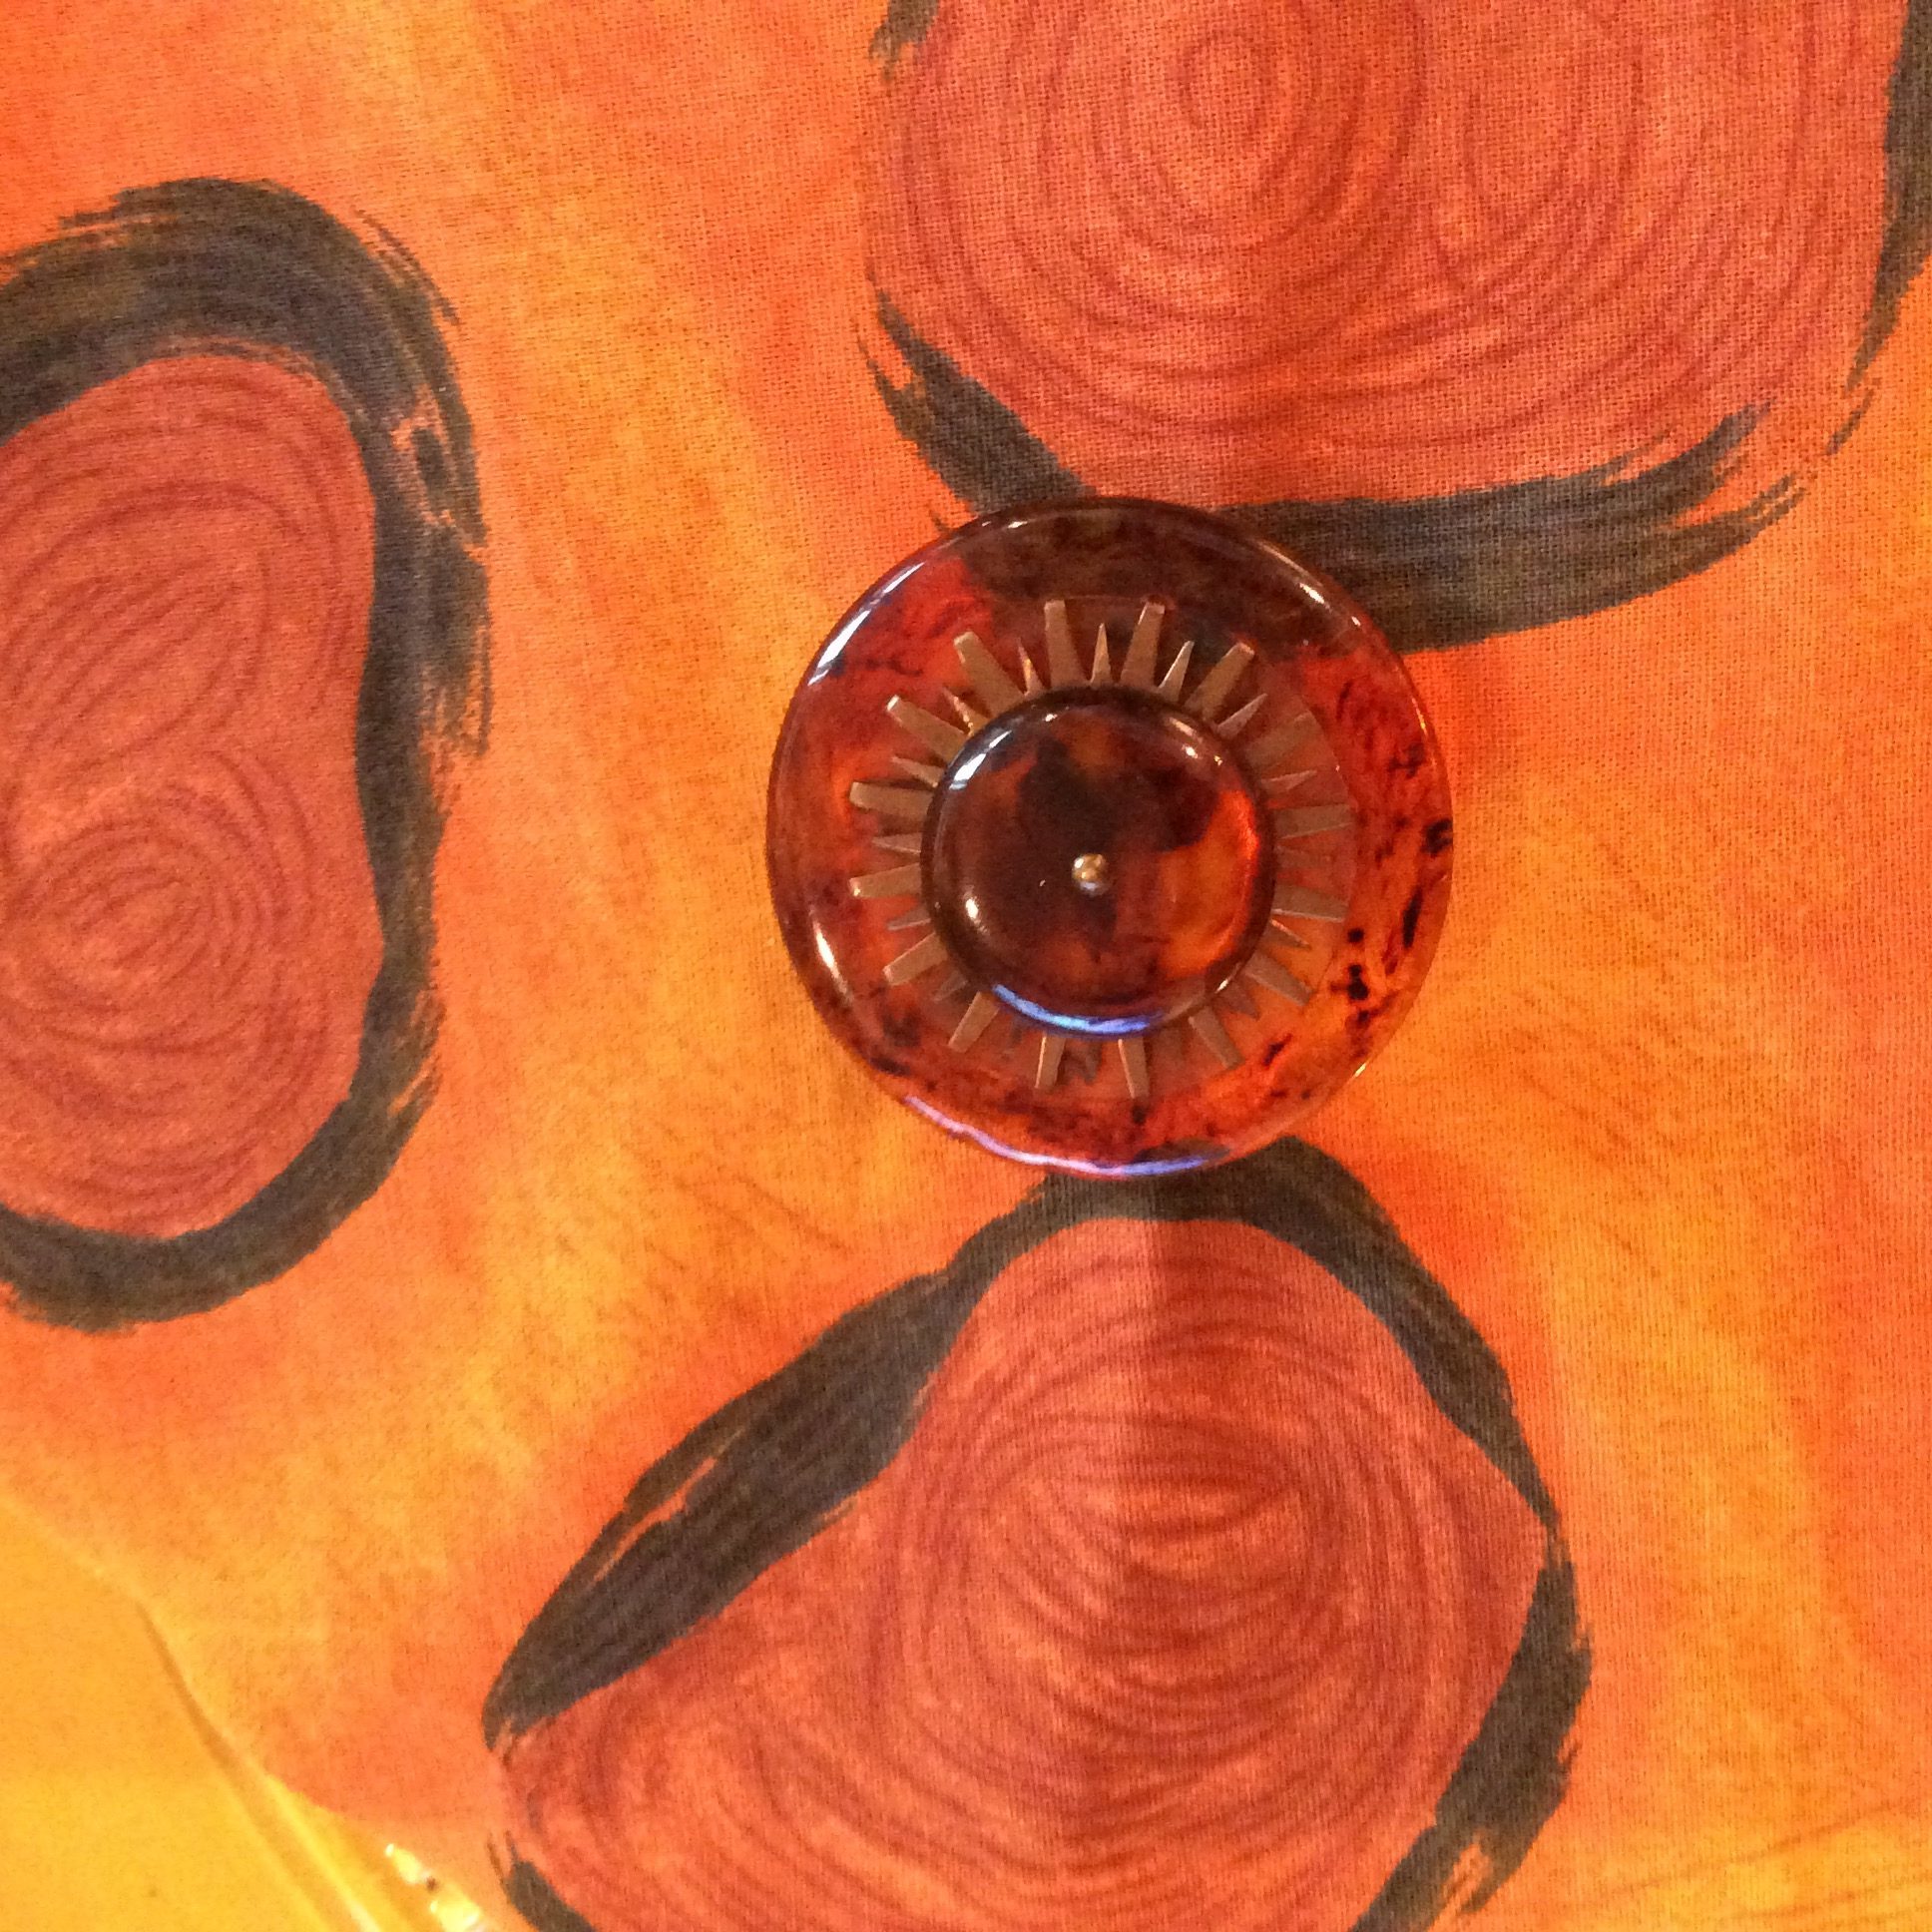
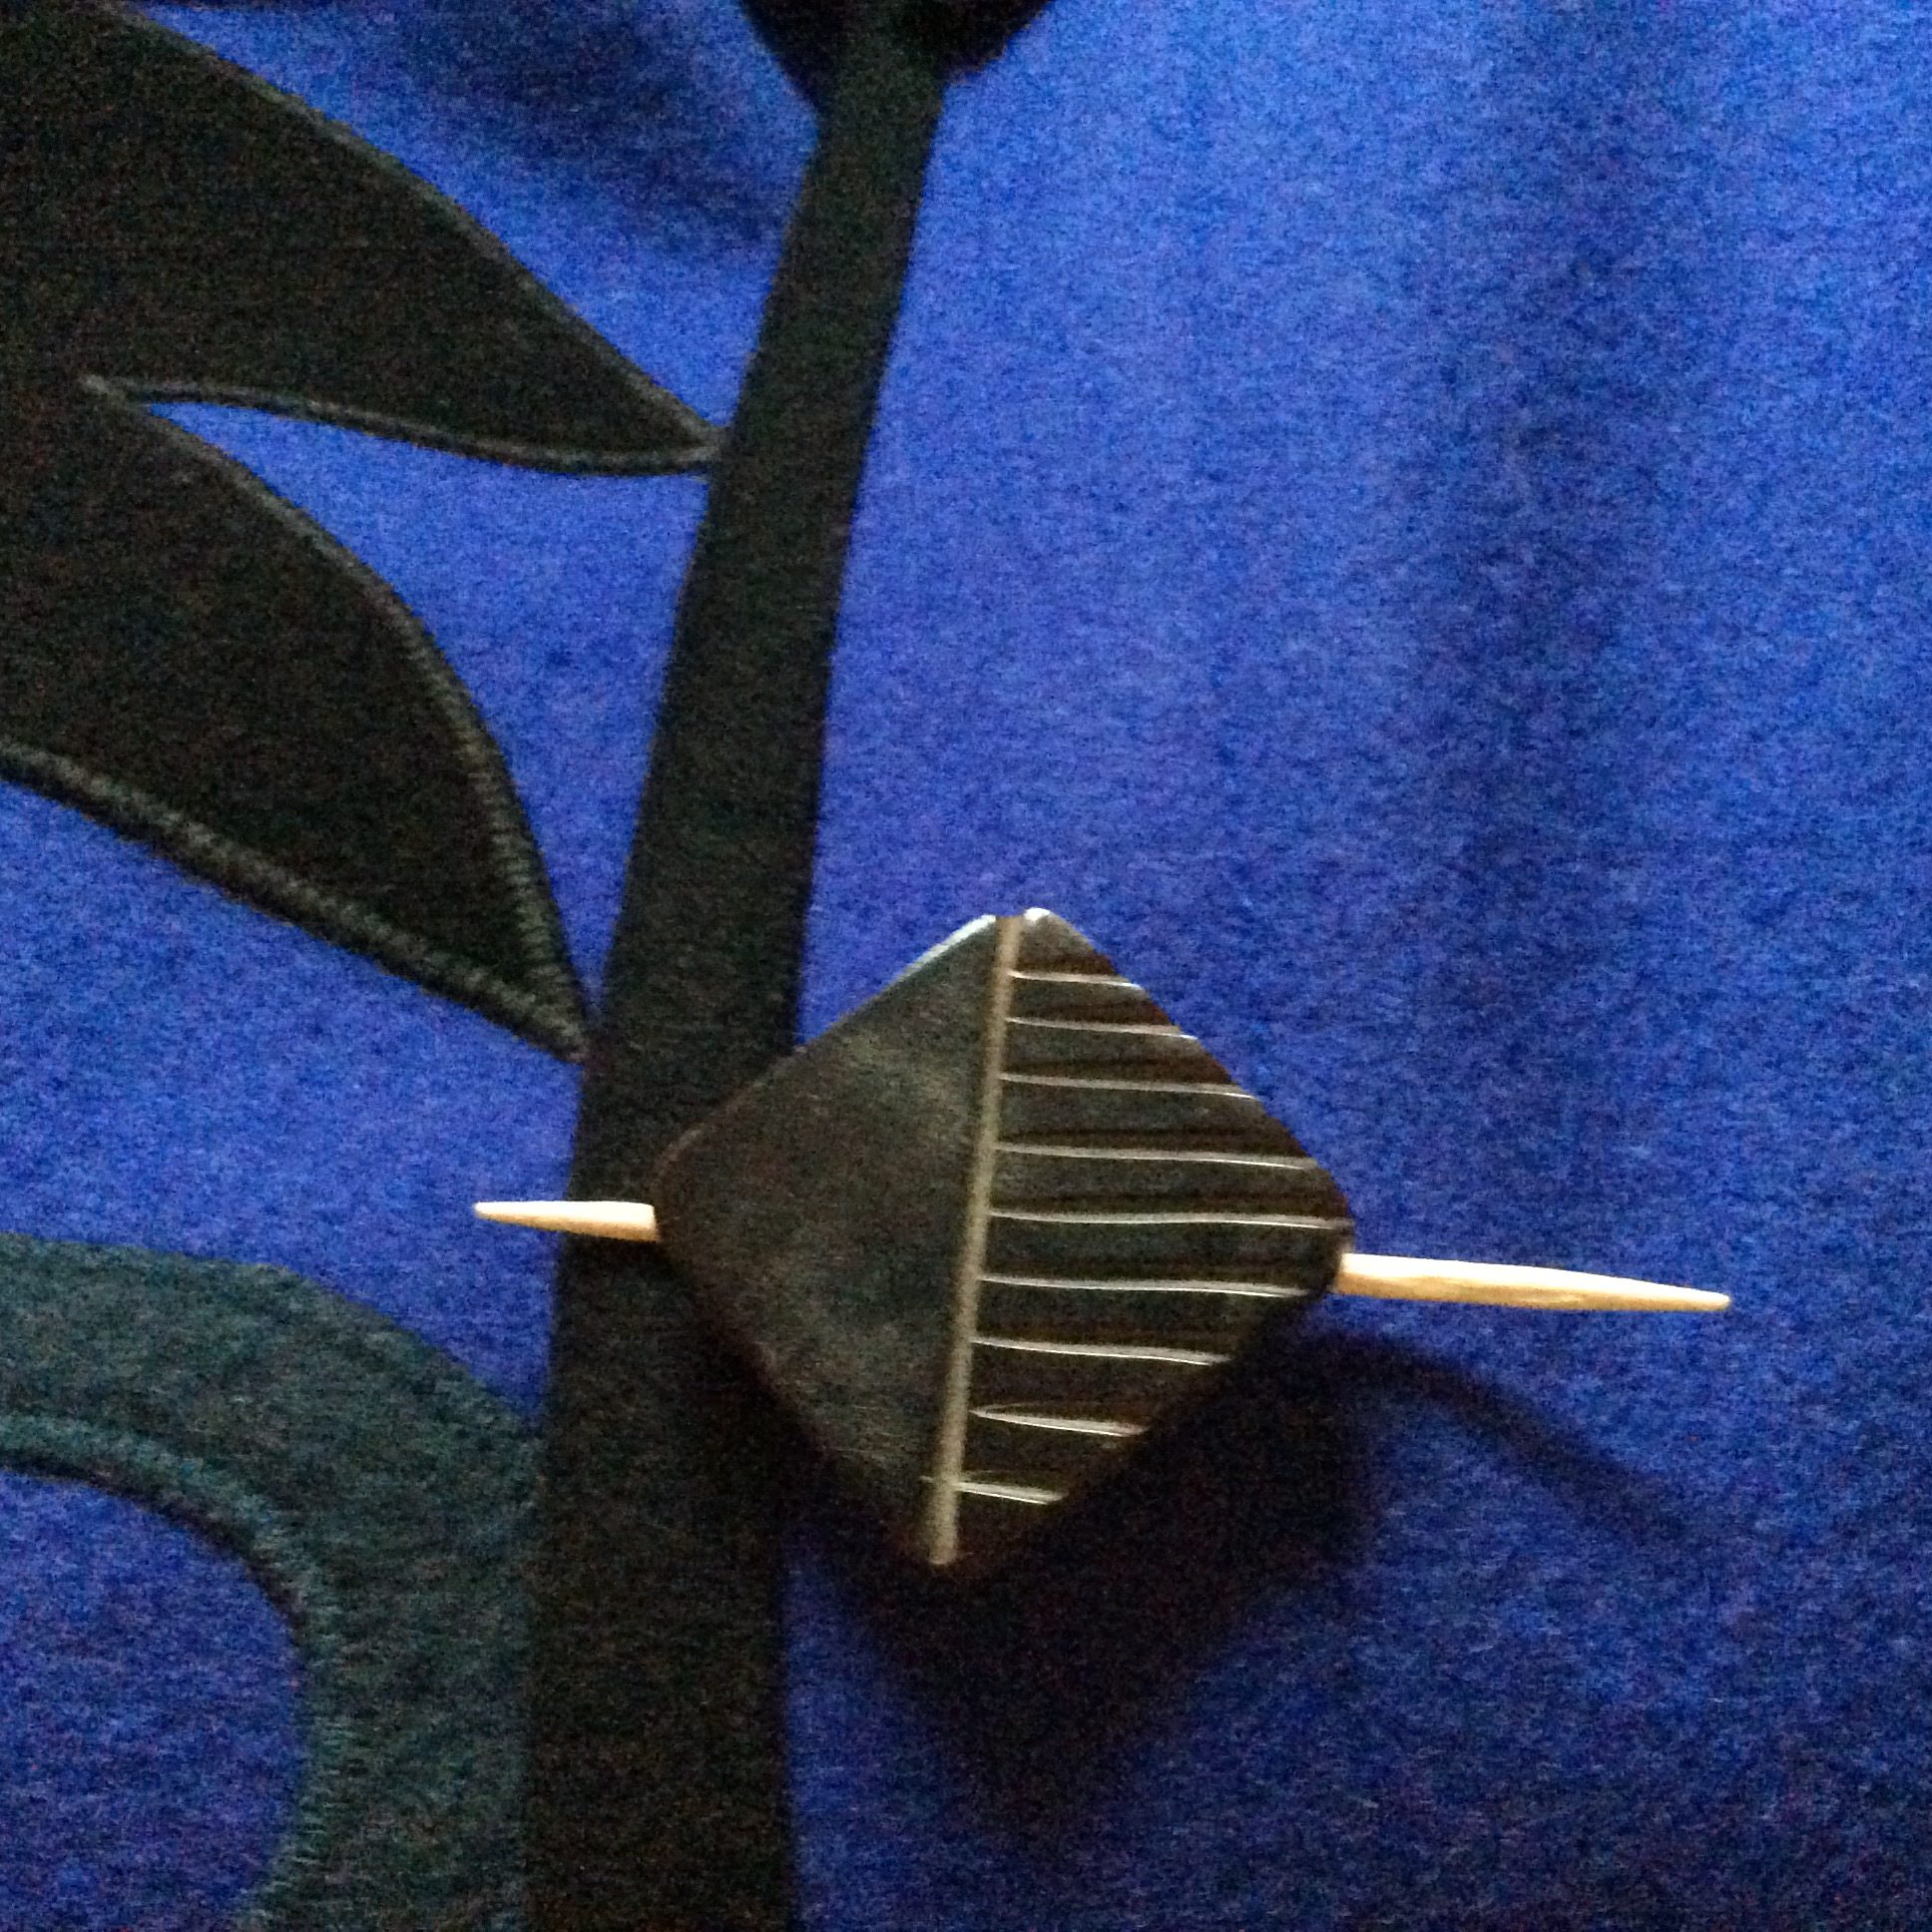
Instead of button holes, the Chinese coin and bead are attached over a snap–a magnetic purse snap–that has prongs. The prongs were easily worked through the fabric openings and securely clamped in place.
-
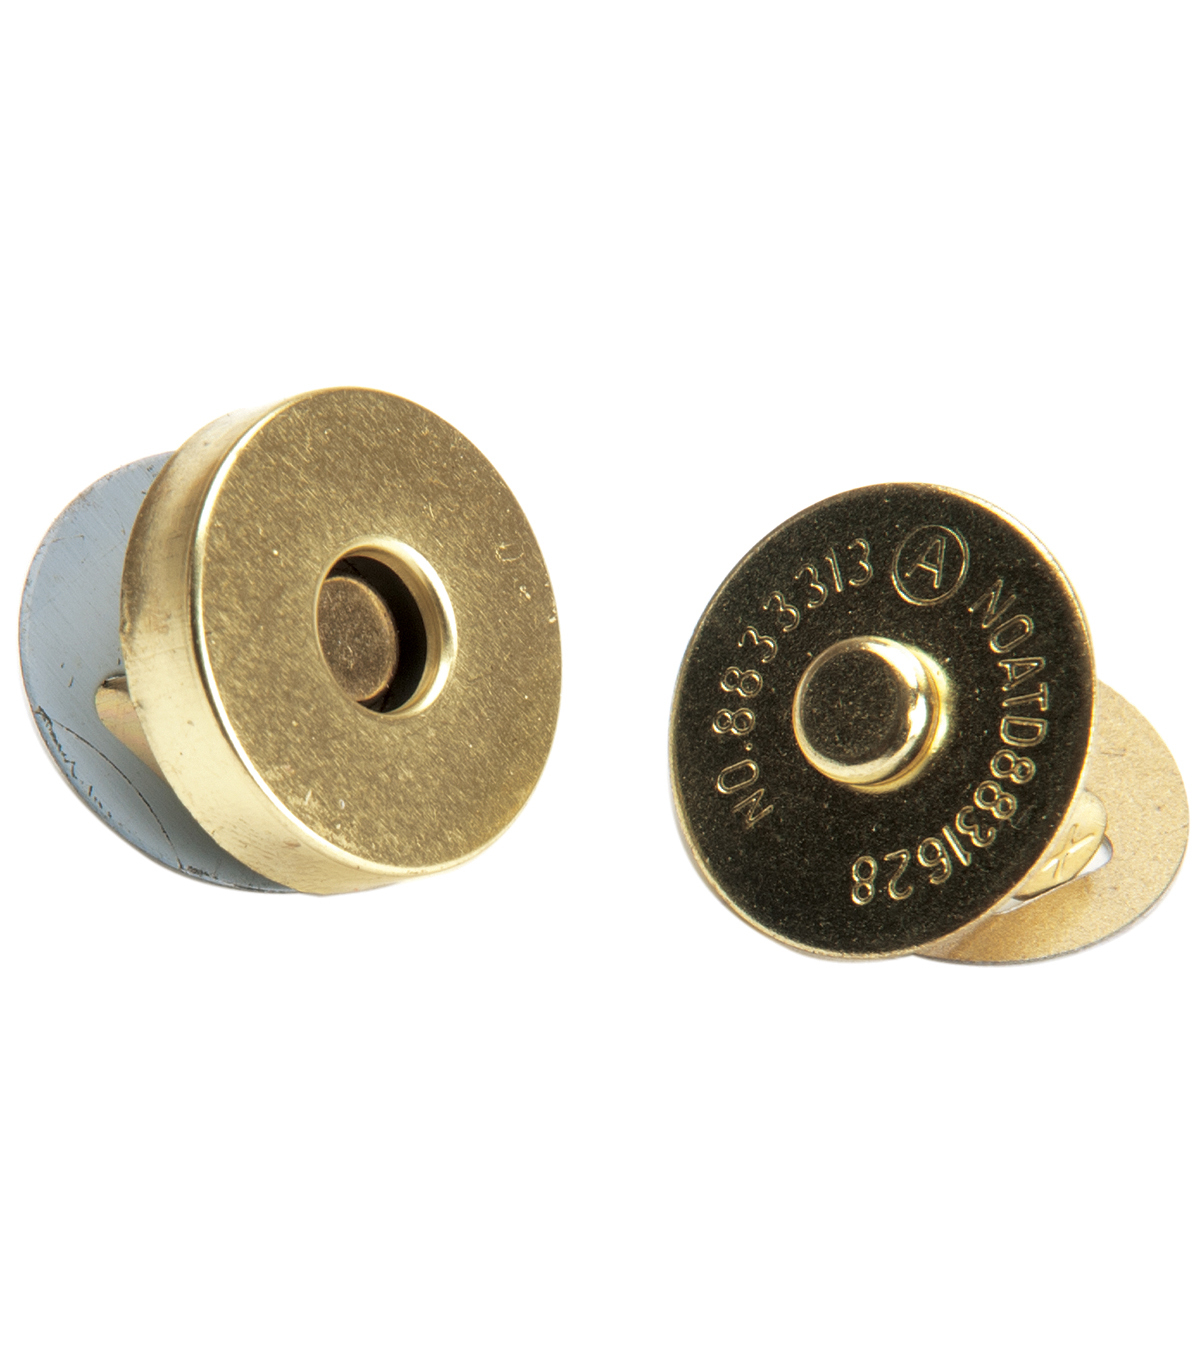
- Magnetic Purse Snaps
-
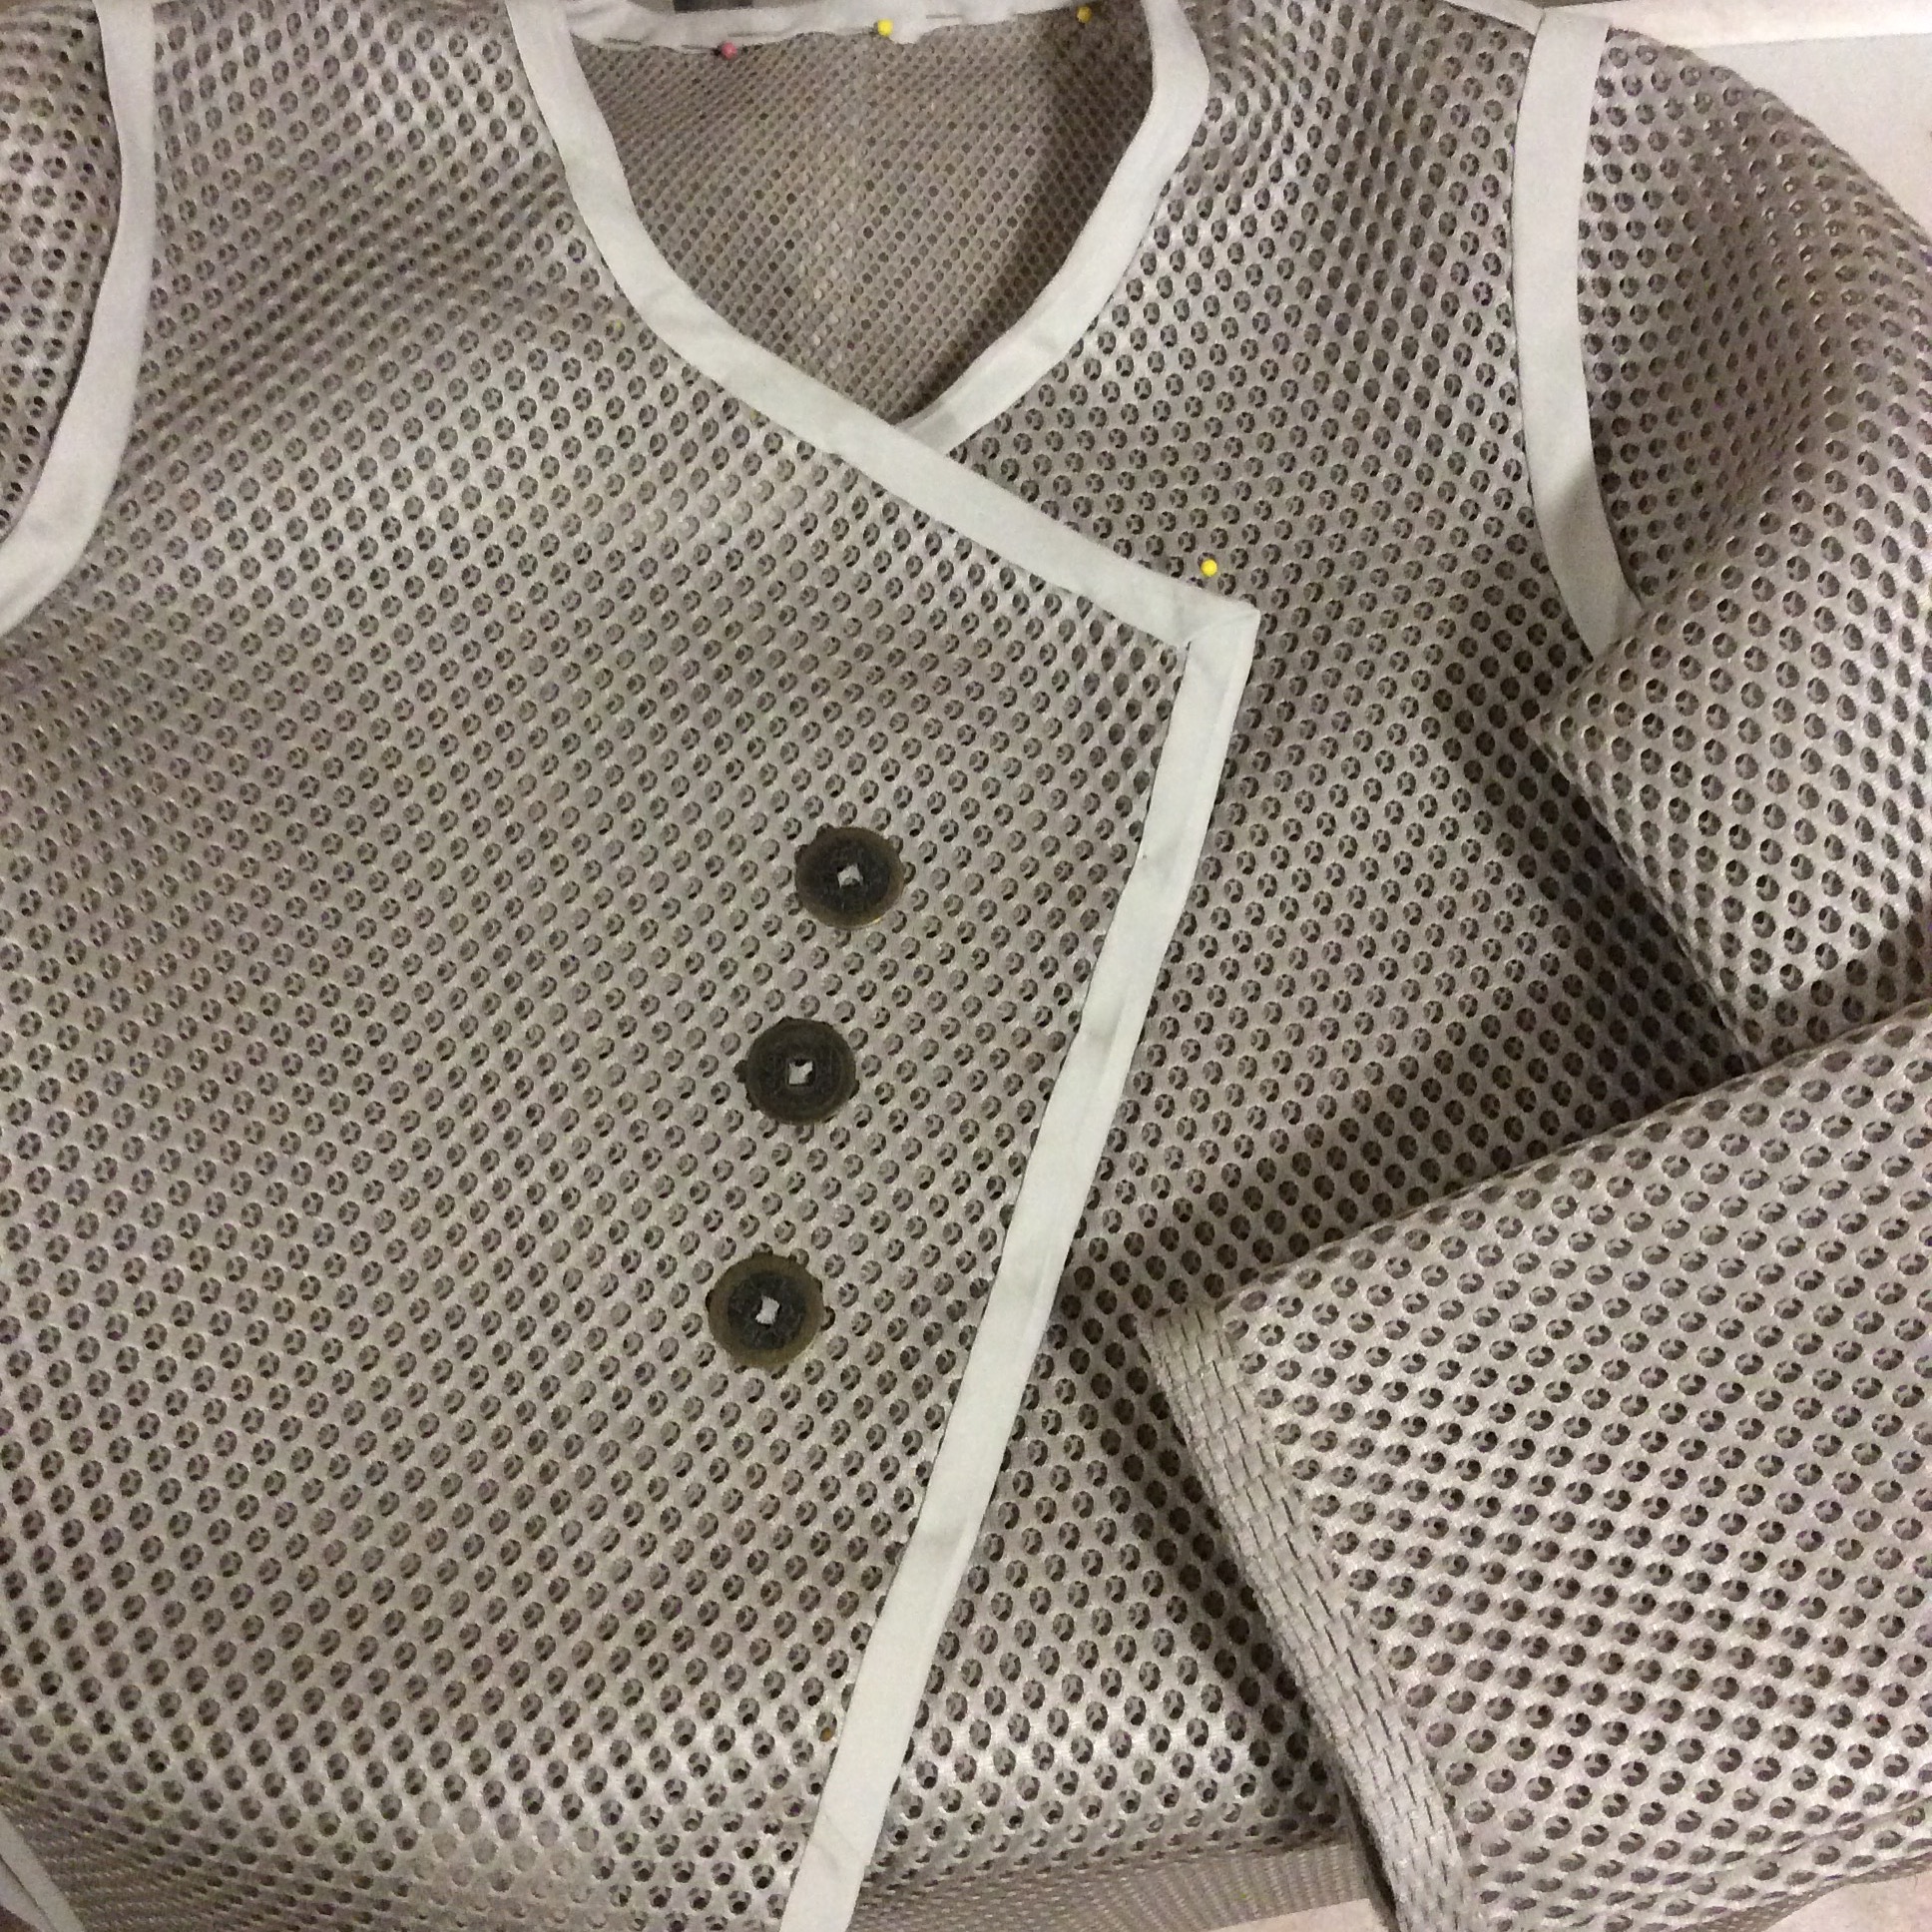
- Trying out Snap Positons
-
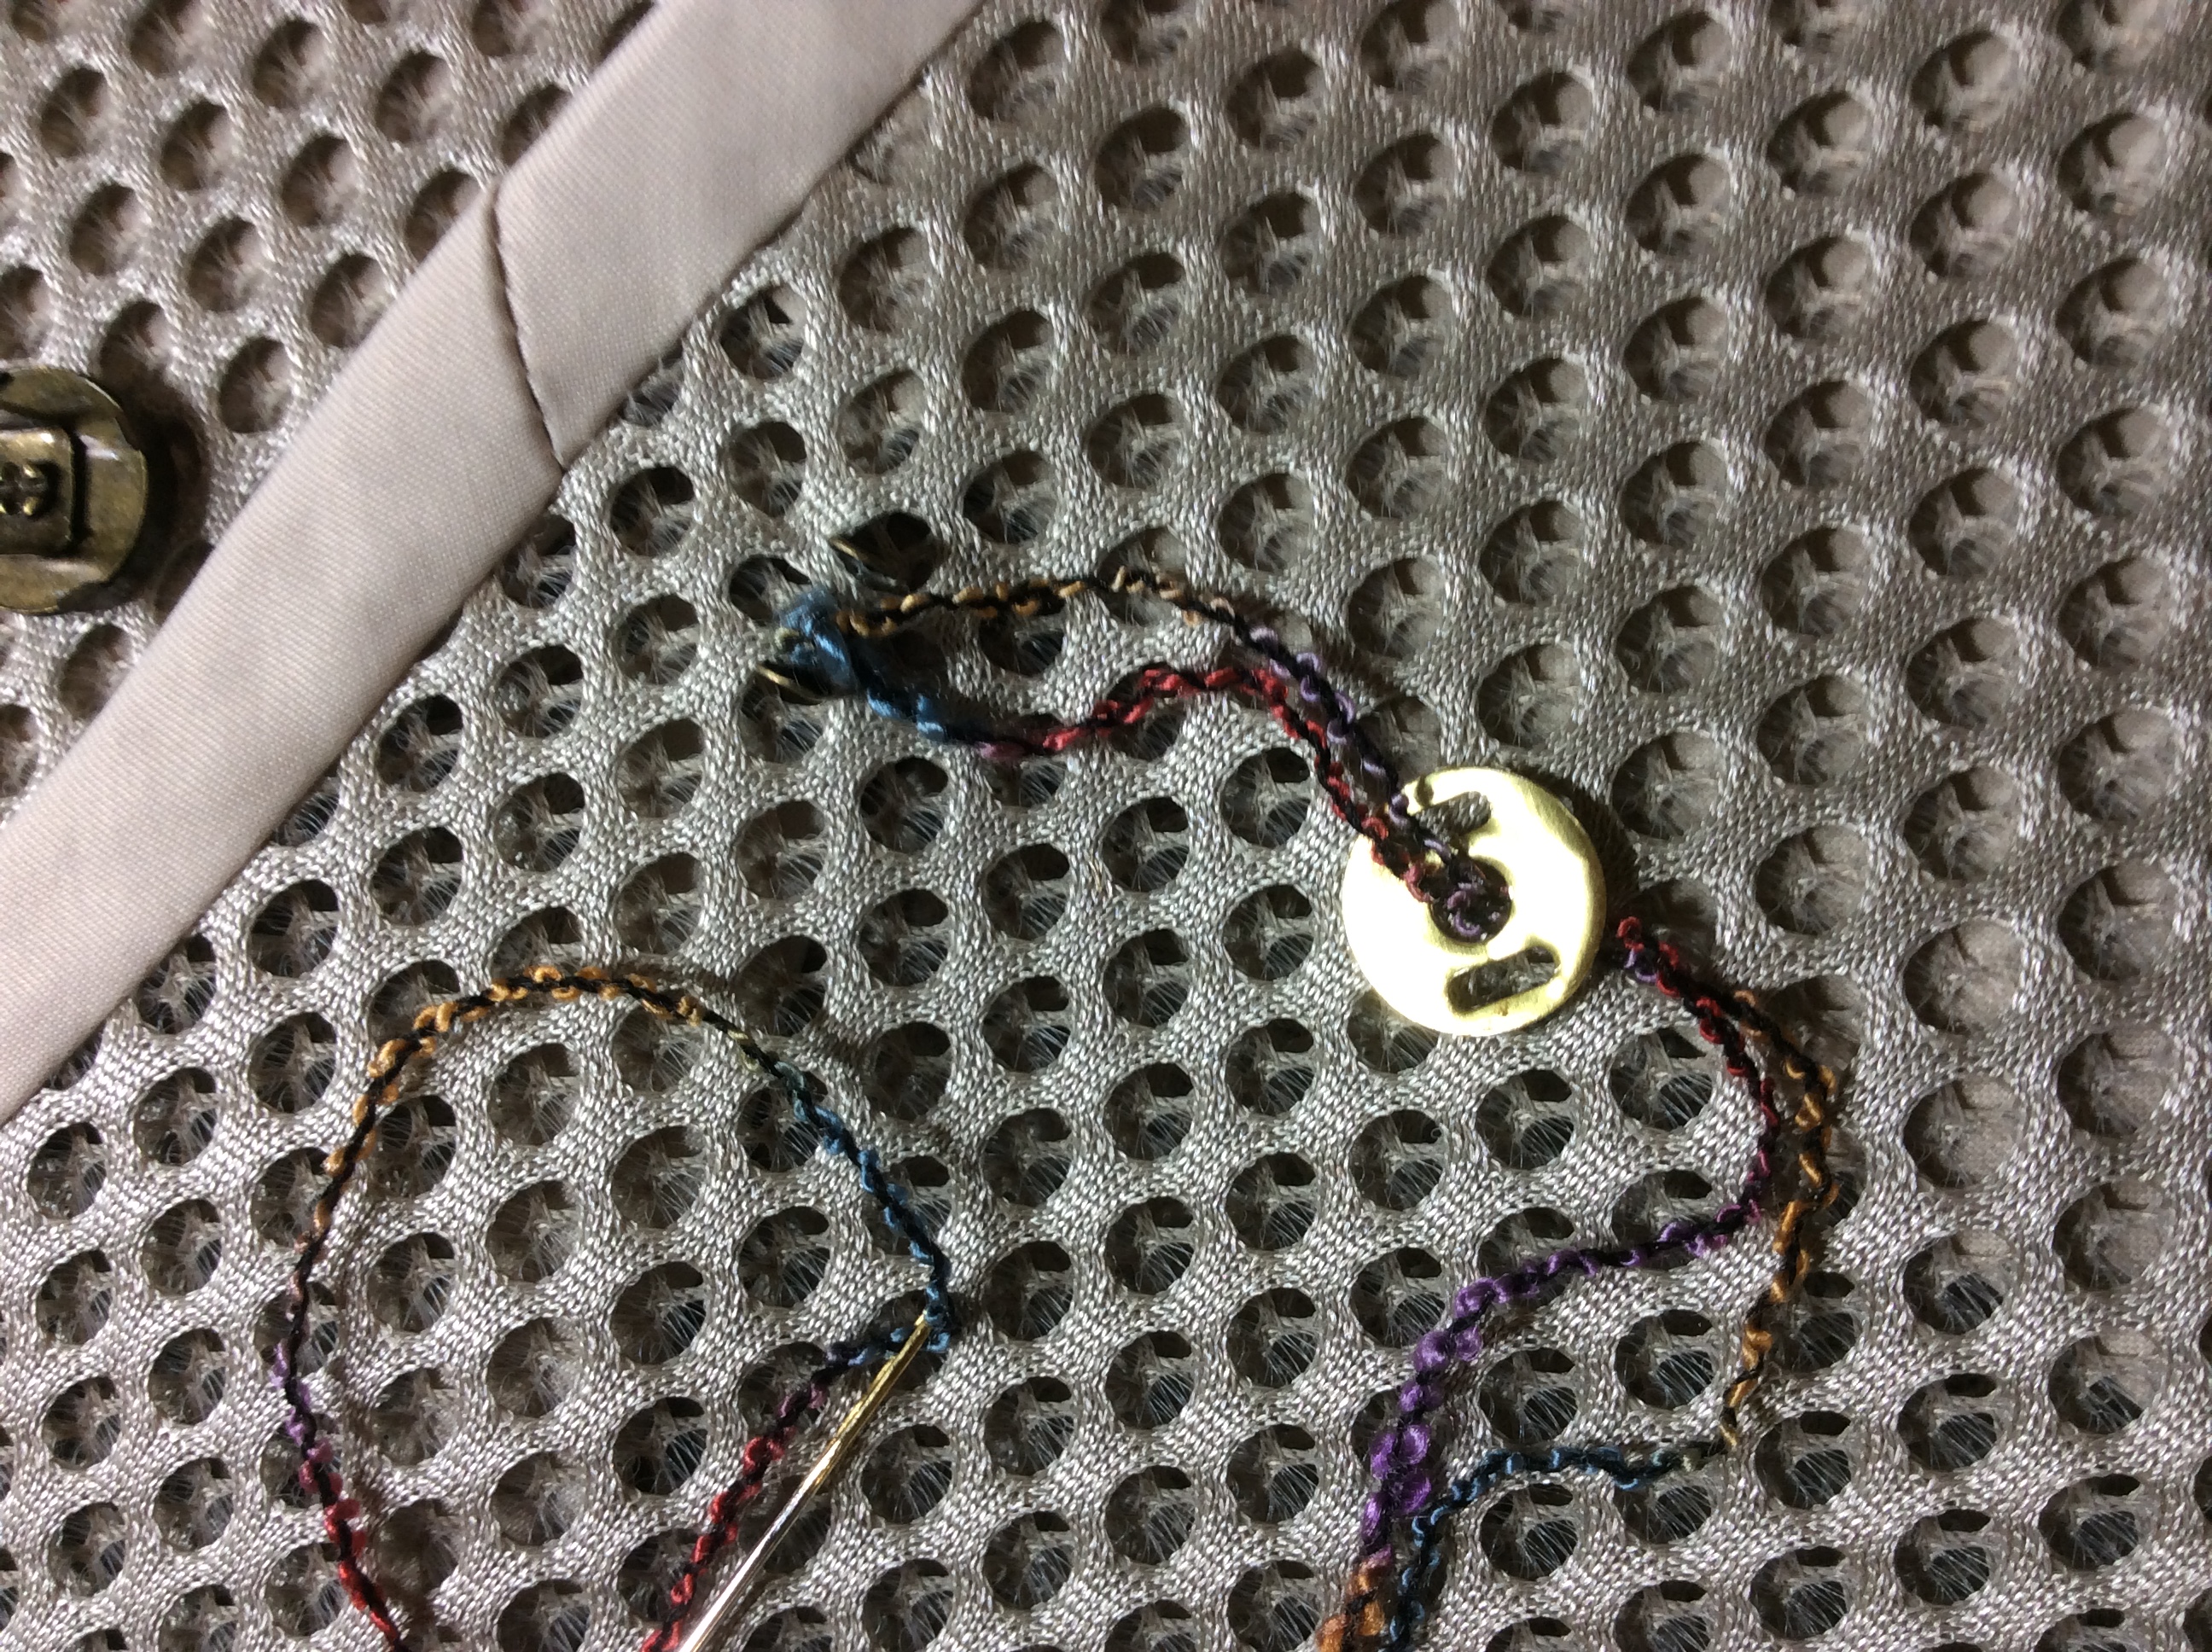
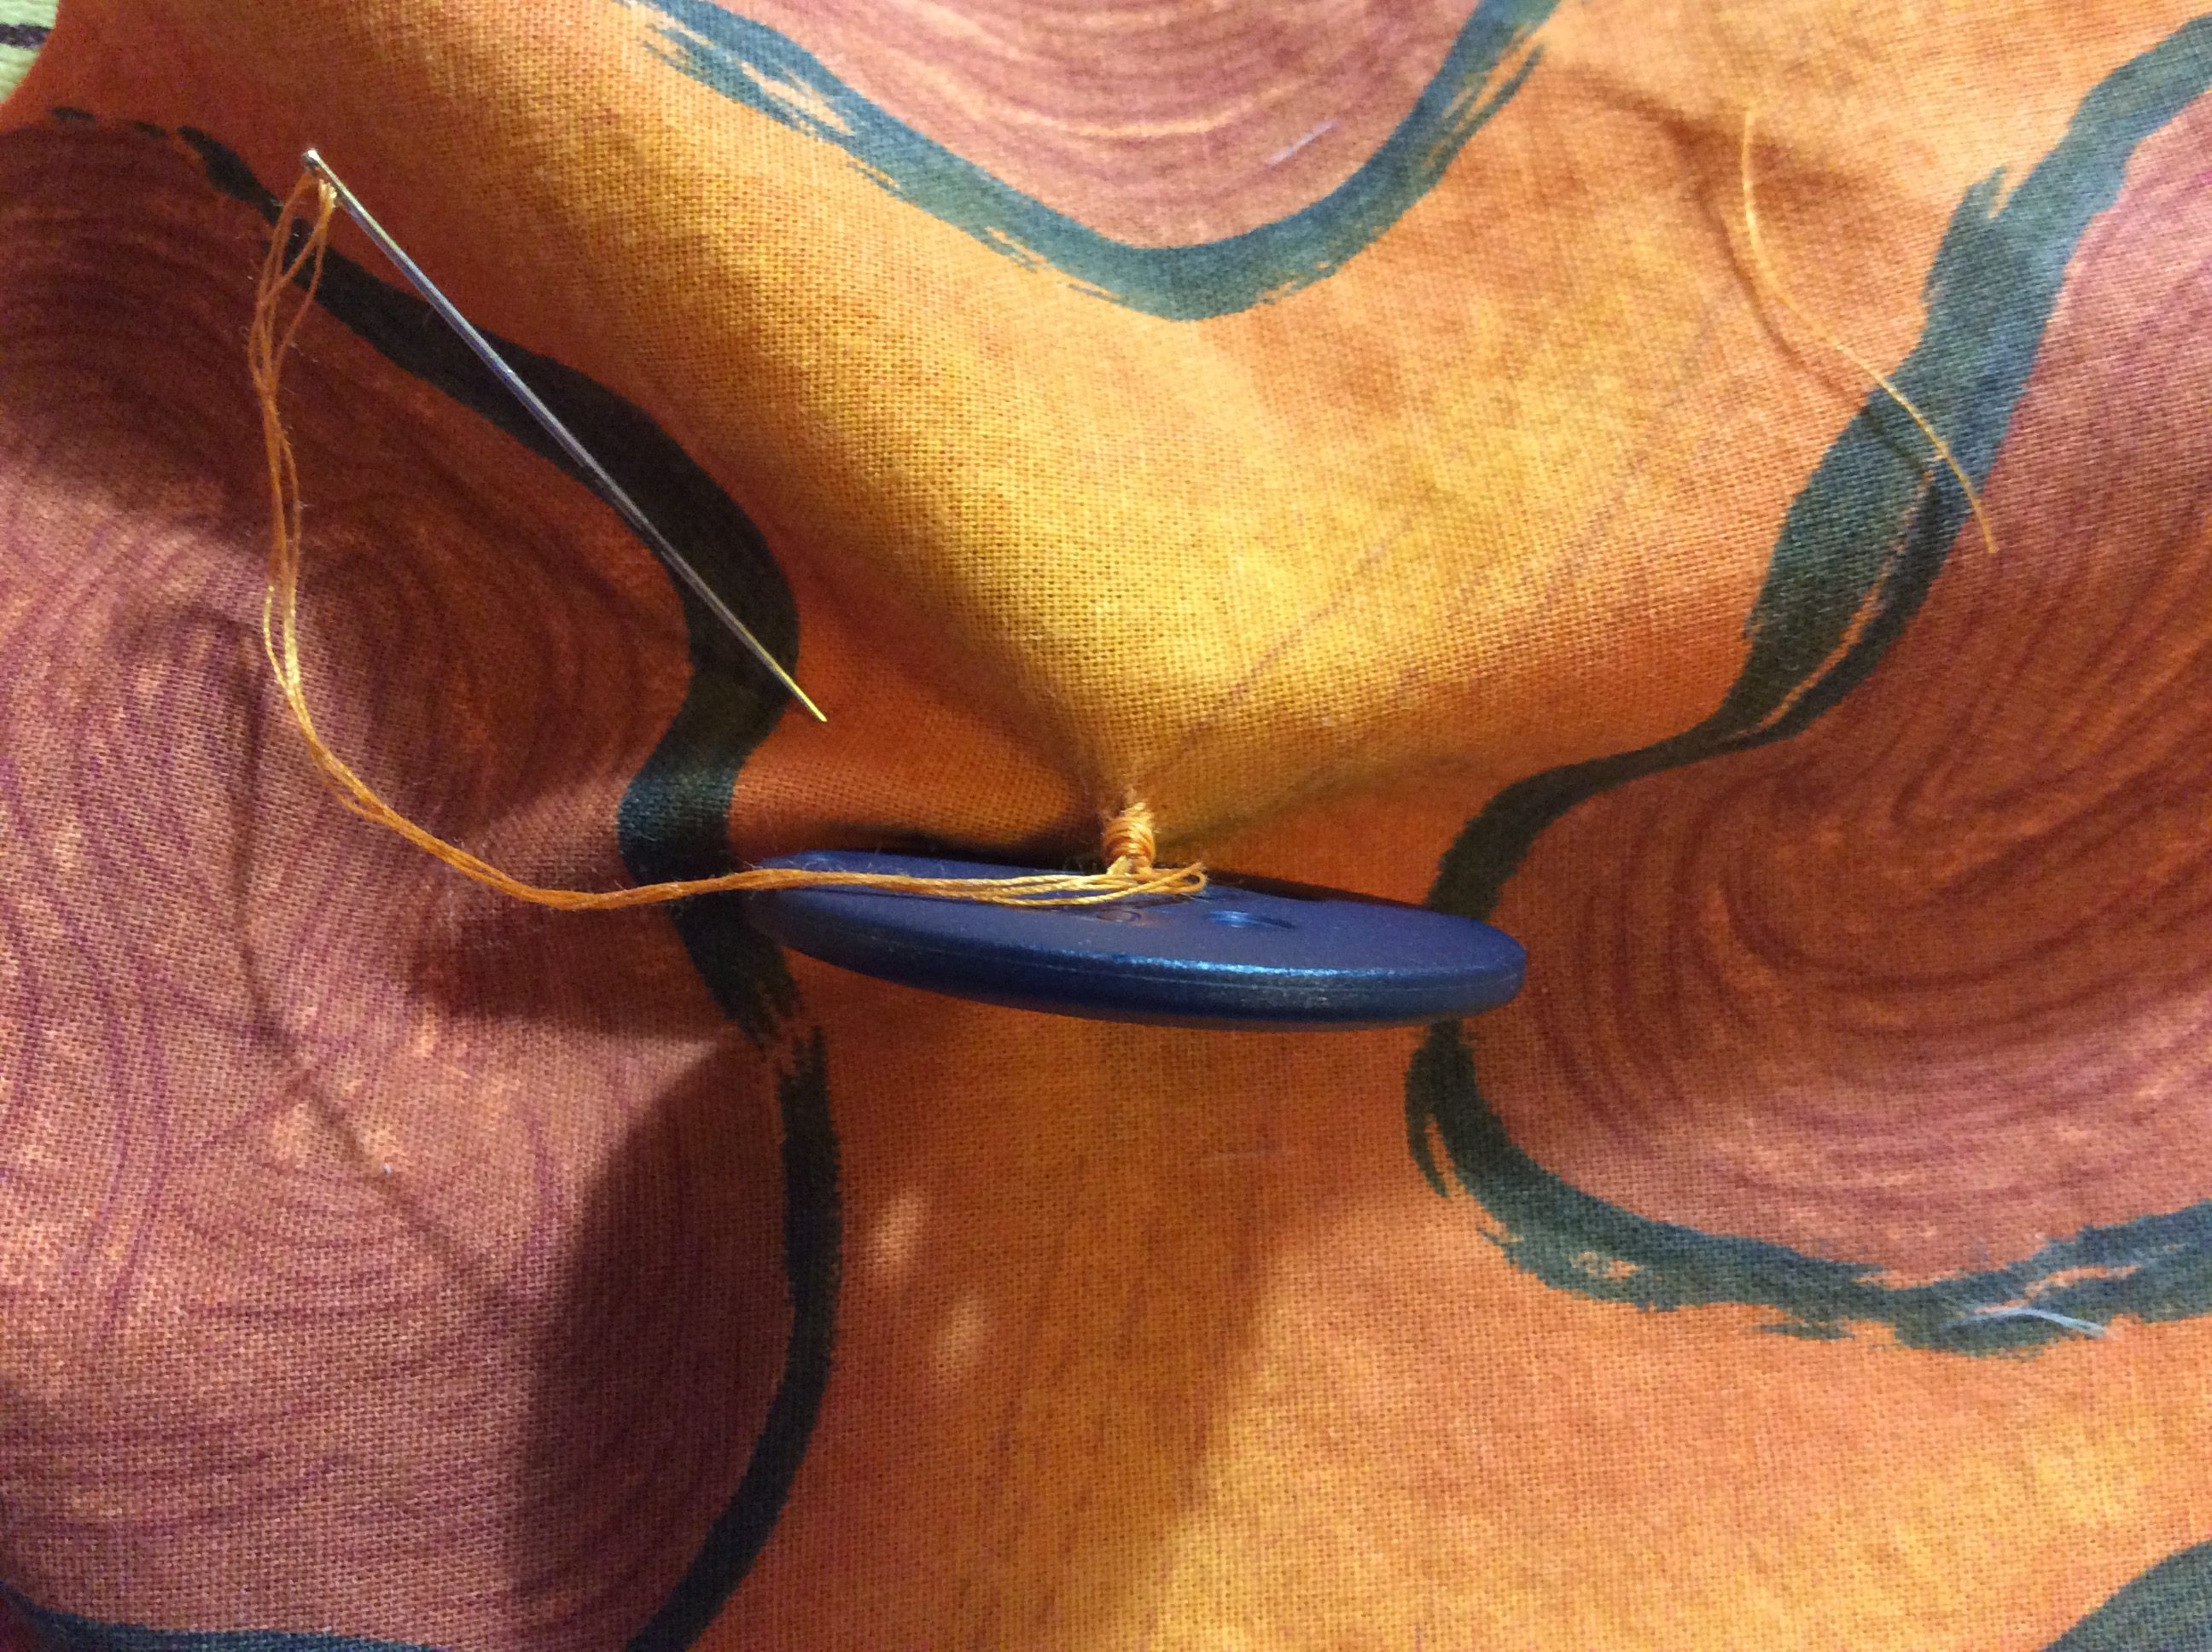
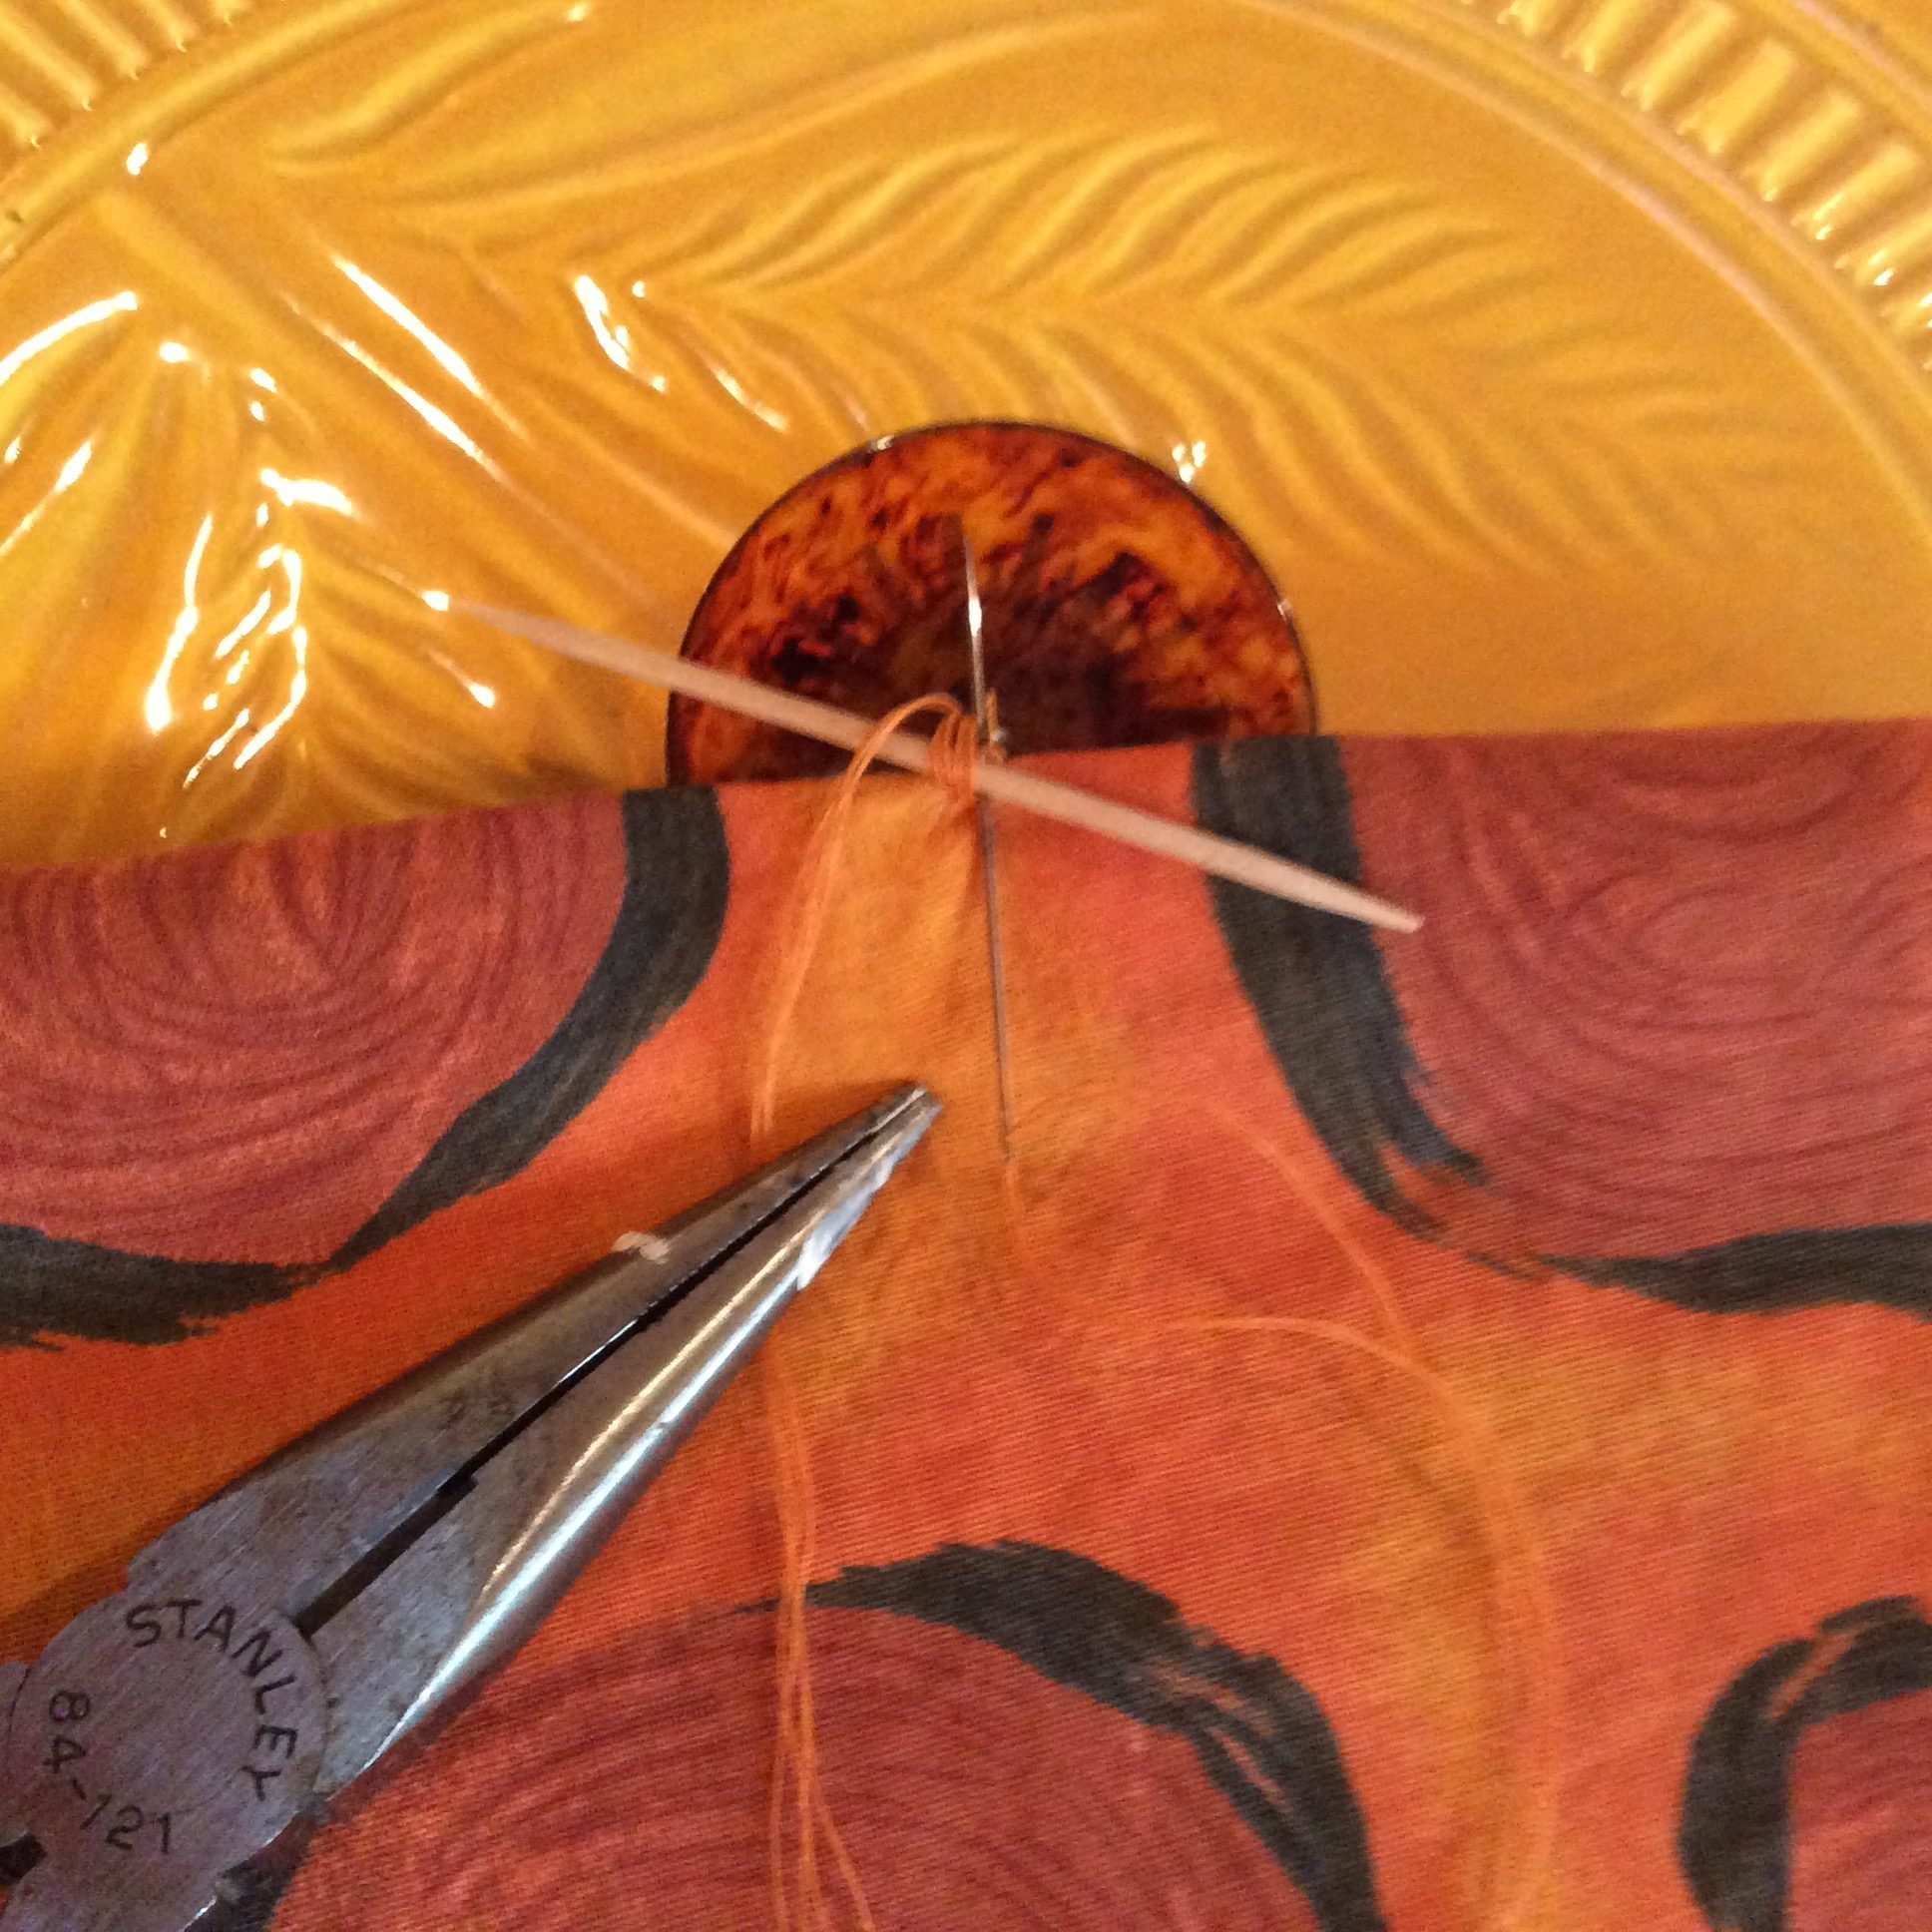
- Sewing Button over snap
-
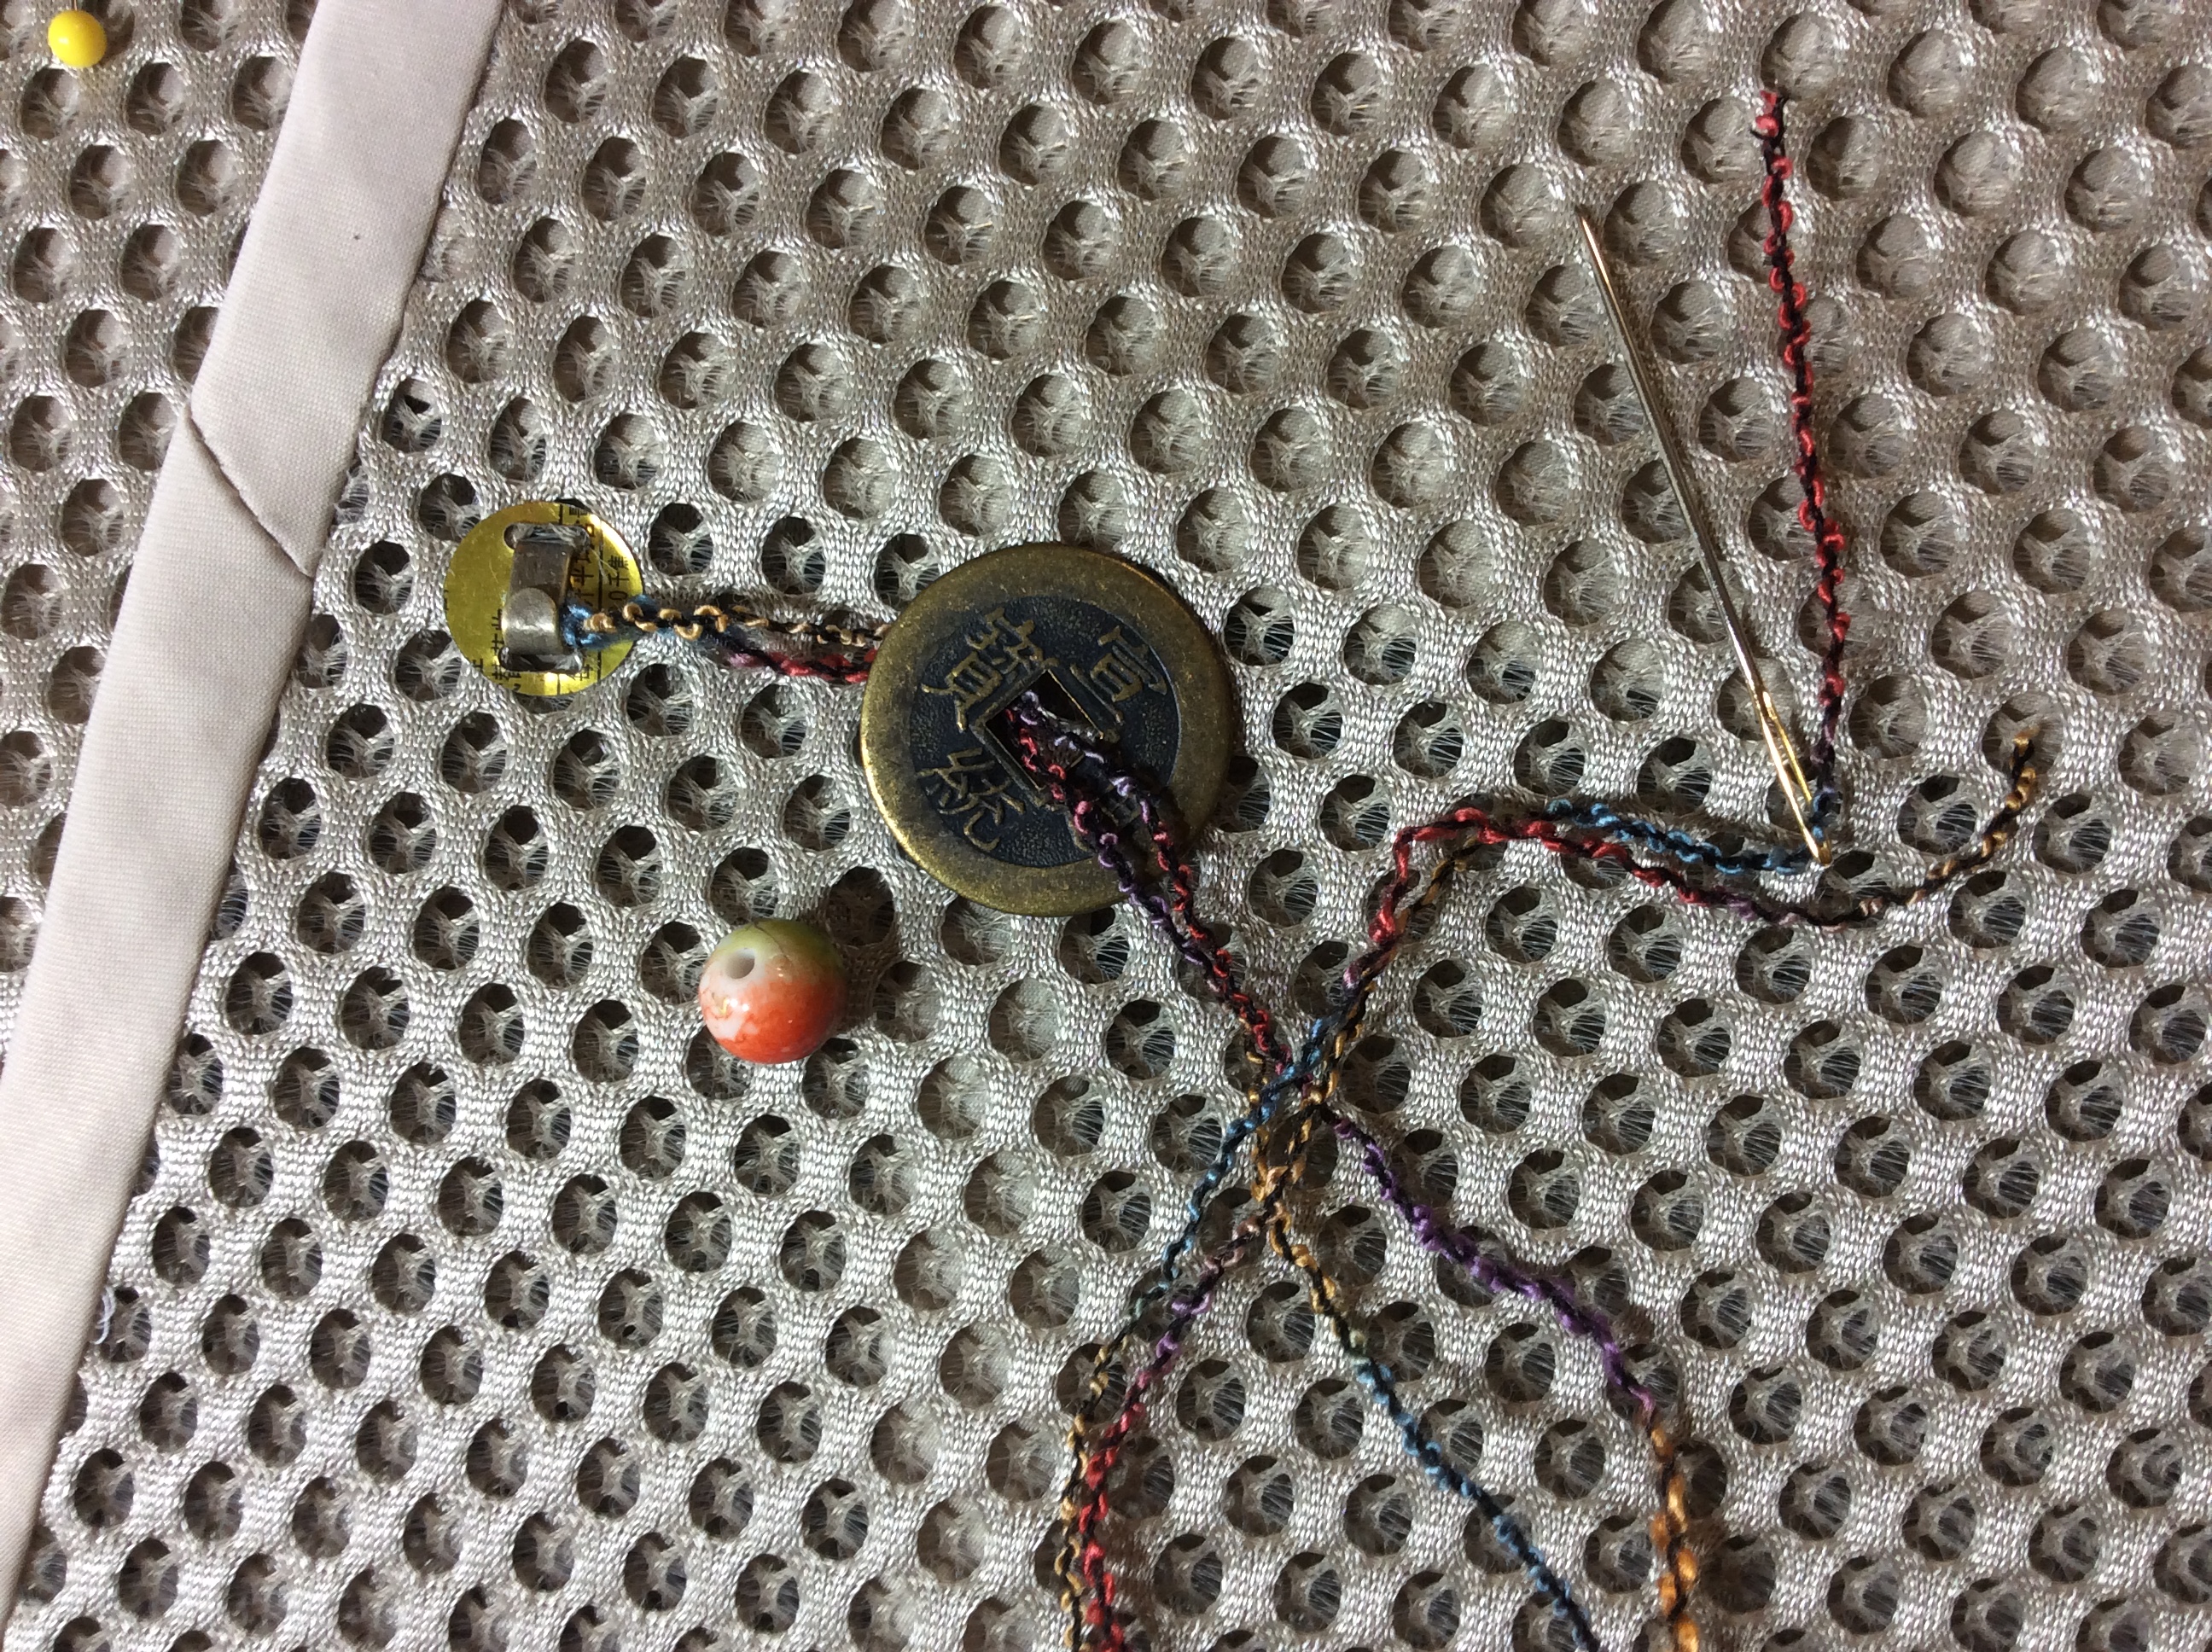
- Adding bead to hold button
-
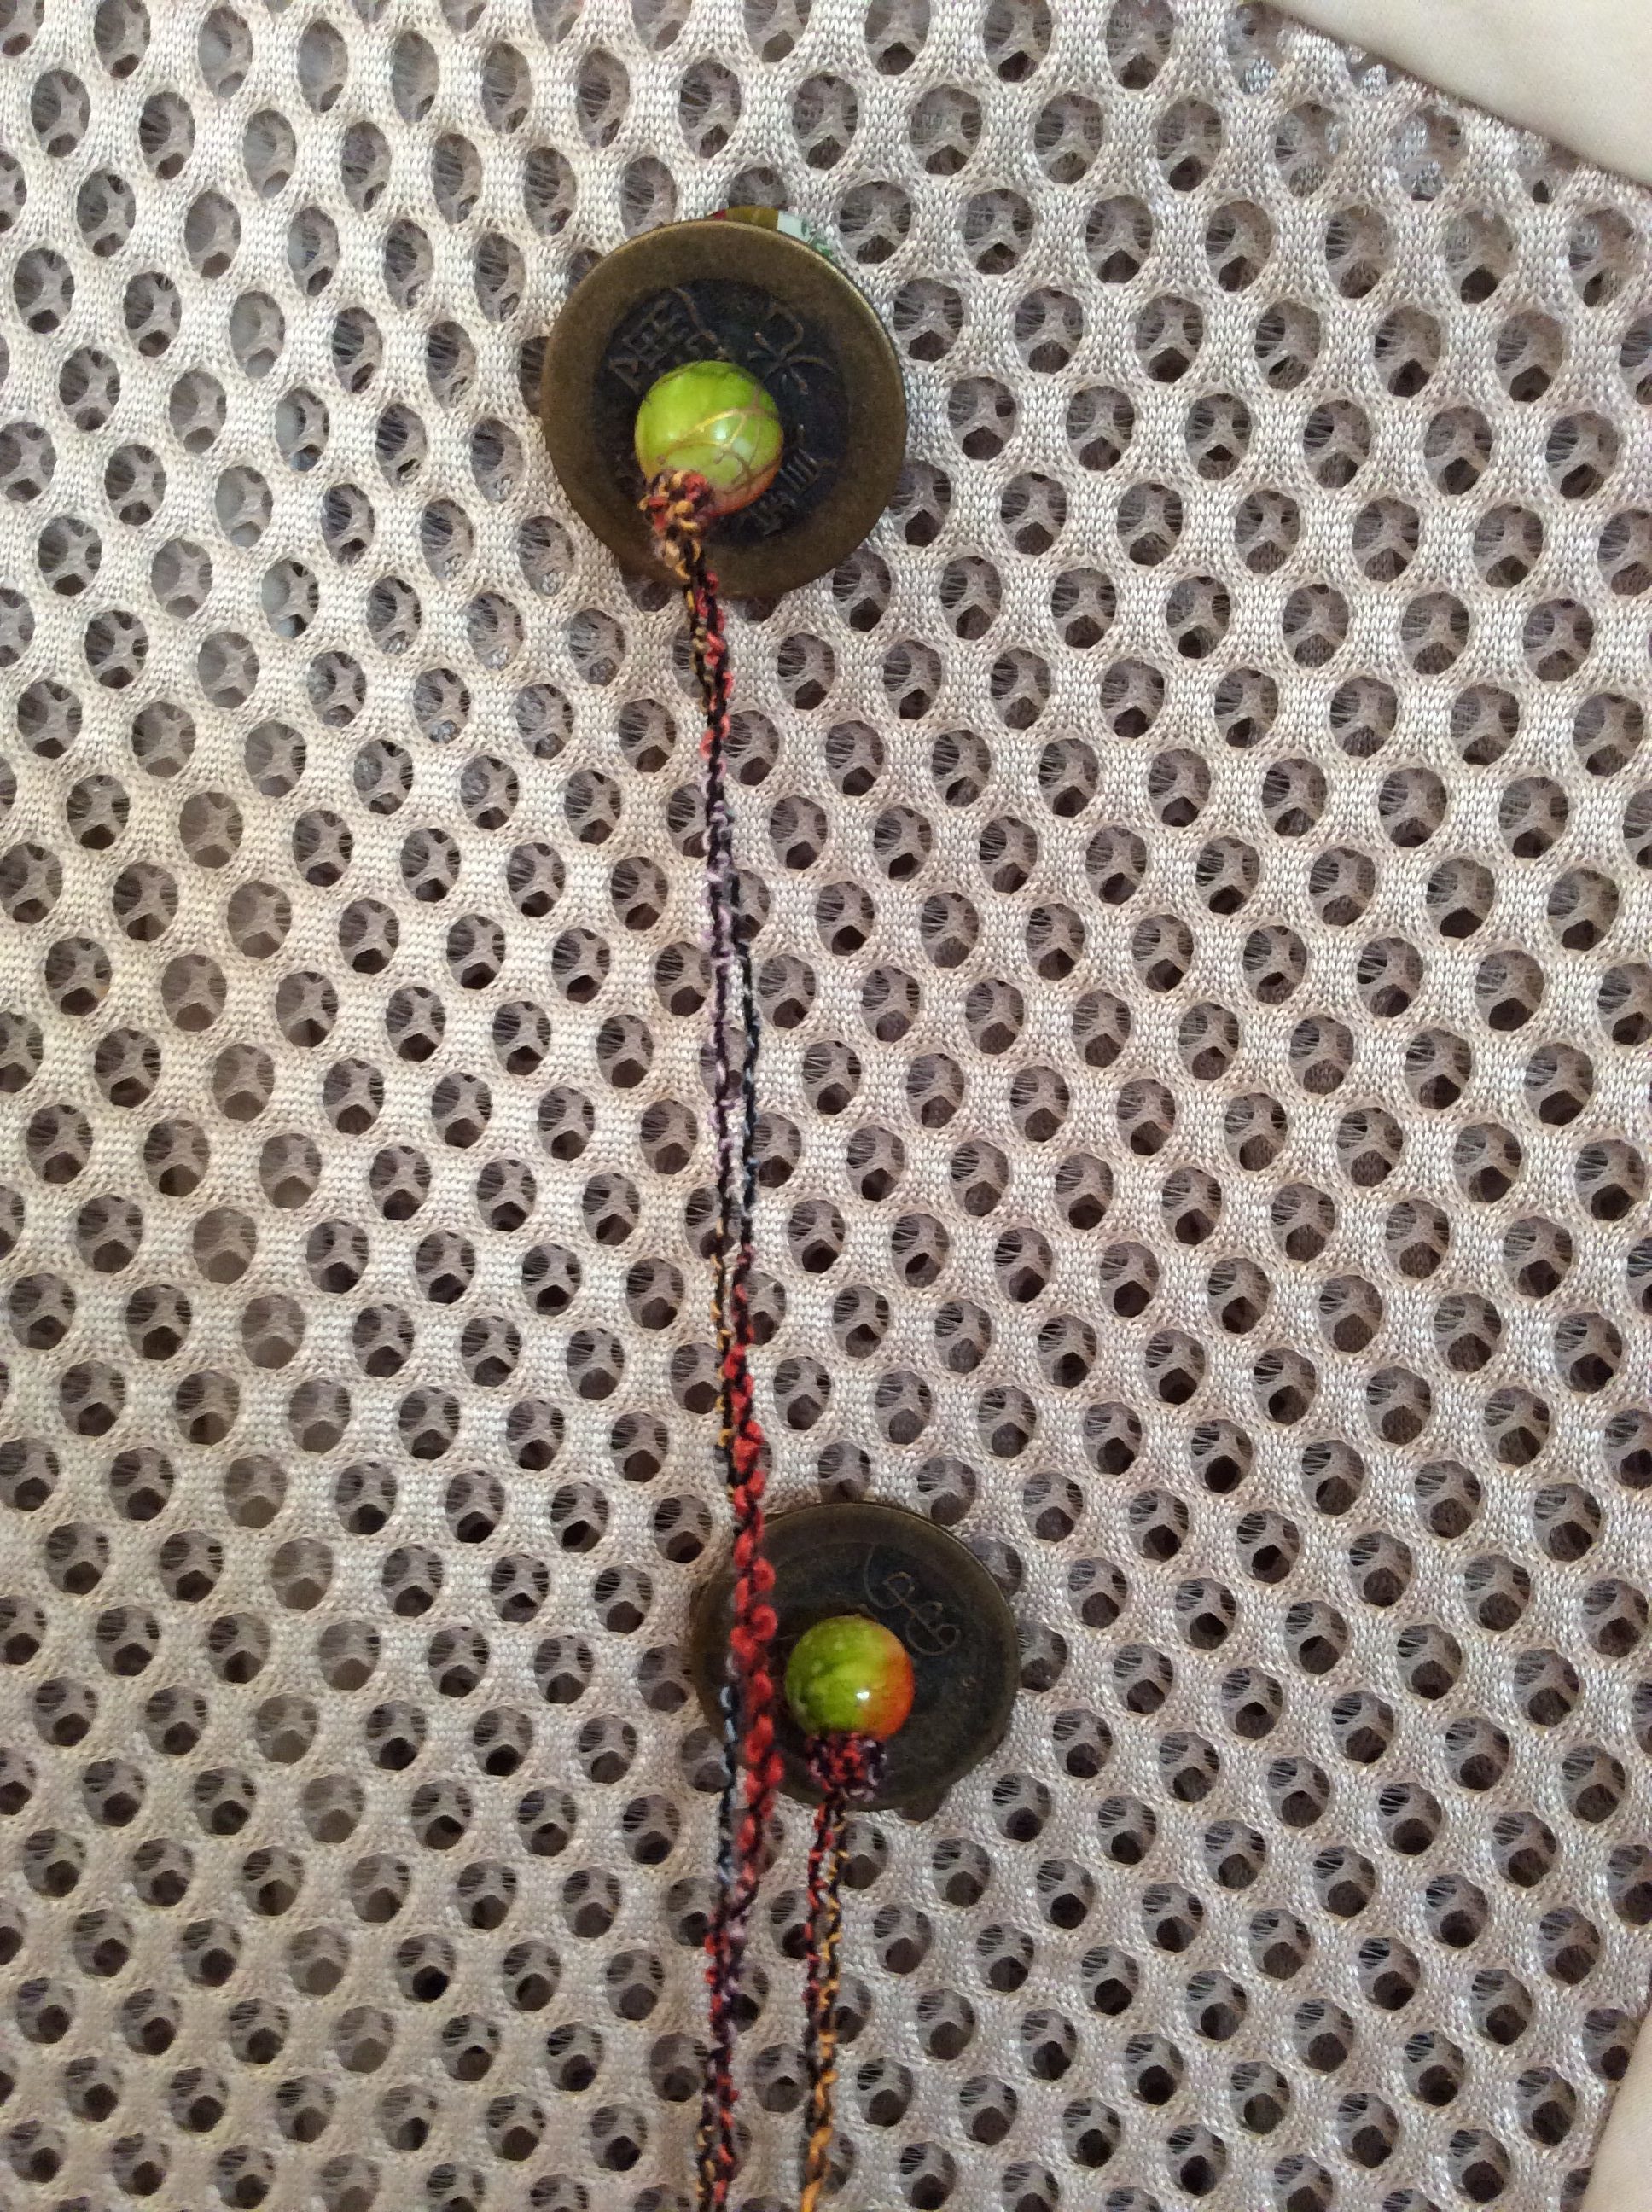
- Chinese coin, bead, speciality yarn
Other Details
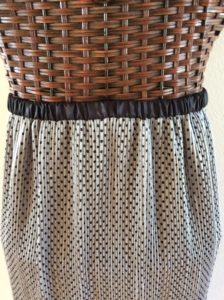
The selvedge was trimmed and applied to jacket hem and sleeves in lieu of repeating more bias trim.

Attaching selvedge trim

Selvedge Trimmed Sleeve
The underarm+sleeve seam are sewn as a conventional seam; sewing a butted seam would have been near impossible in the narrow sleeve. Plus, trim would need to cover the seam. Am finally getting smart; I didn’t even attempt it. The conventional seam was easily pressed and remains in position through many wearings.
The sleeve is inserted with a butted seam prior to stitching the underarm seam. It eased in perfectly.

Conventional underarm seam and armhole butted seam
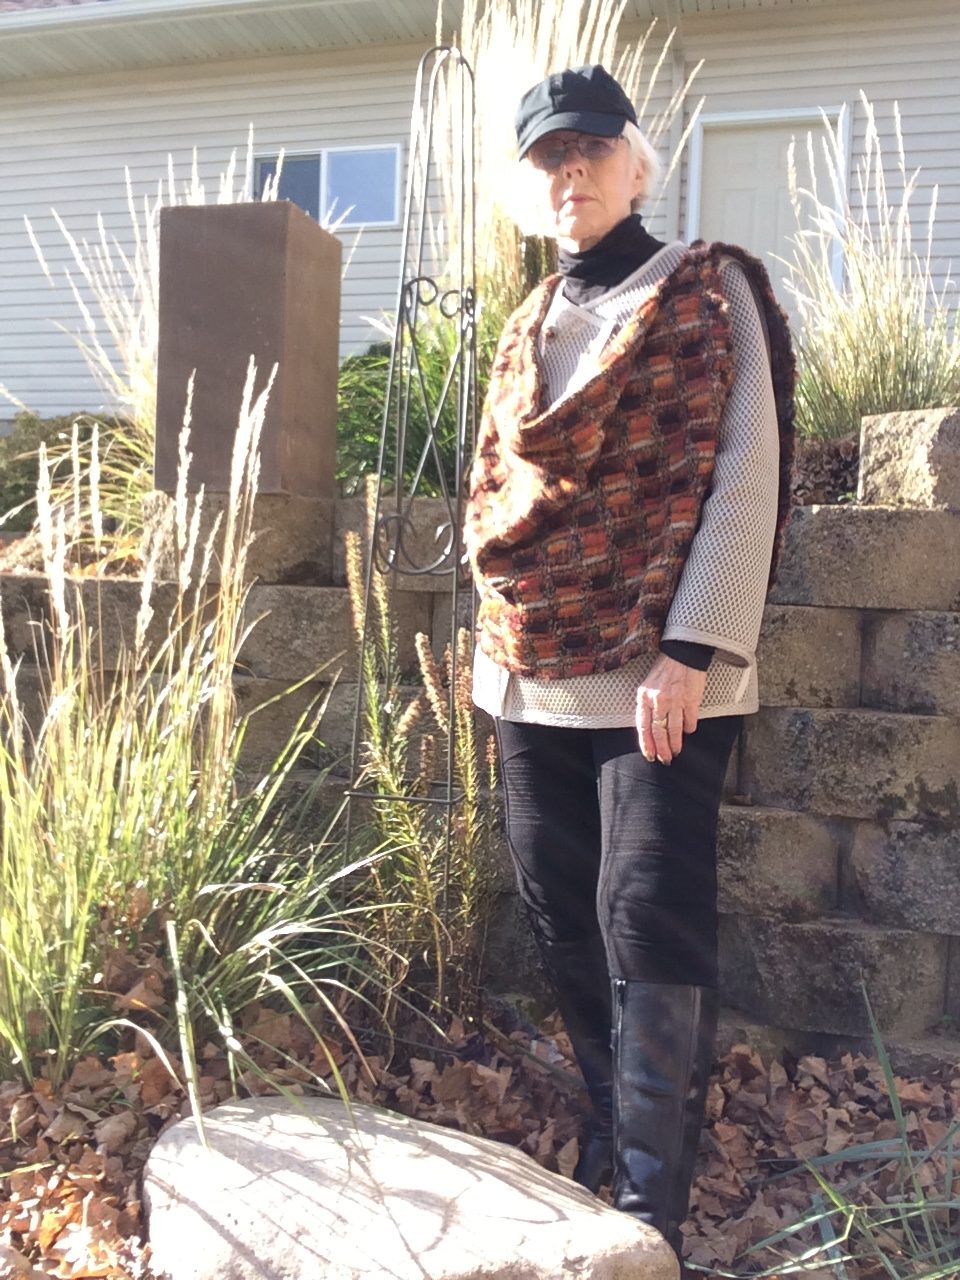
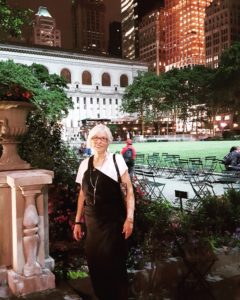
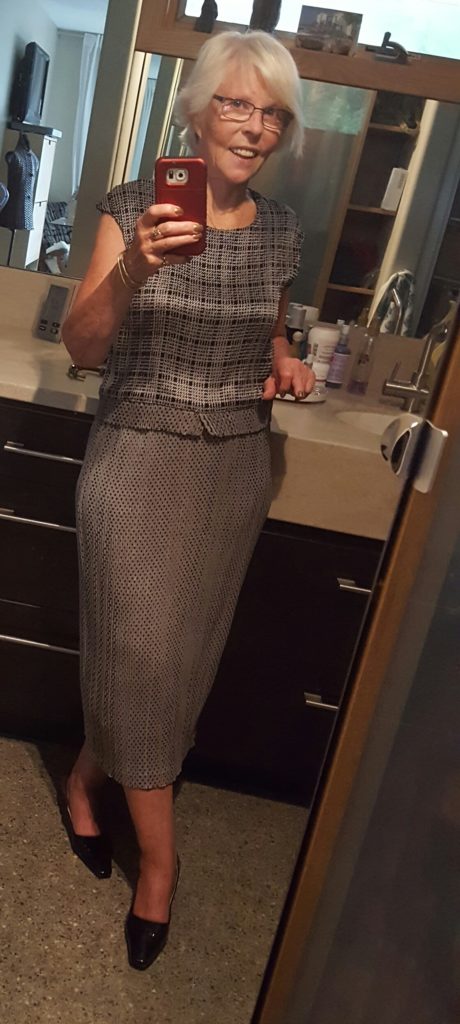
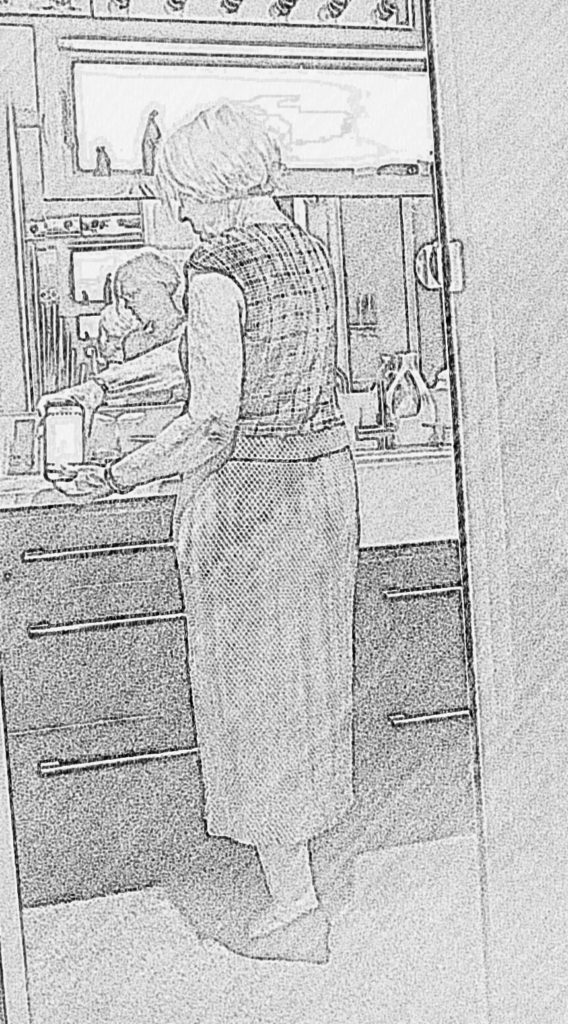
Wearability
I find it quite comfortable to wear. The open fabric spaces makes for breathability. It’s a good Spring and/or Fall garment, also to wear anytime the wind comes up or the temperature drops. And scarves are a good accessory.